Today I am going to make a double strand bracelet out of bead wire, black glass beads, red coral, and magnesite gemstone. I will be using a metal button for the closure.

Diy Double Strand Bracelet

Let’s first start off by making a loop for your button clasp by taking your piece of bead wire and stringing your seed beads onto the wire to form a loop. Hold the two ends of the wire together snuggly up against the seed beads. Add or remove beads to make the loop just loose enough for your button to slide through.

Once you get the loop the size you need for your button, hold the ends together evenly and slide one larger bead over both of the ends and push bead up snuggly to hold loop in place. Clamp one wire up close to larger bead so that you can work off the other wire.

Working off the other wire, add three or more seed beads, then start adding your larger beads in the order you choose till you get to about one inch of the desired length that you would like your bracelet to be.

Now move your clamp to the side that you just finished stringing, and start stringing your beads onto the other wire. Be sure to keep your bead wire even.


Once you get all your beads strung to where it is the same length as the other side, add a few more seed beads to each bead wire.

Now with ends together add one large bead onto the two wires and slide down to your seed beads.

Add your crimp tube, then your button.

Slide the ends of your wire back through the crimp tube. Pull the ends (keeping the crimp tube close to the large bead) fairly snug to tighten the loop with the button. Use your chain nose pliers if needed.

Now take your crimping pliers and place the crimp tube into the slot closes to the handles of the pliers. Separate the wires, (wire ends together, and beaded sides together) so that each wire ends up on opposite sides of the crimp tube. Squeeze the handles collapsing the tube forming a “V” shape.
Now turn the “V” shaped crimp bead sideways and place into the first hole of crimping pliers and squeeze folding the tube in half.

Use your flush cutters to trim the short wire back even with the crimp tube.

Conceal the crimp tube by placing a crimp cover over the tube and using the front notch of your crimping pliers to close.
That’s it! All done. Wasn’t that super easy?

You can use the same tutorial but just add another wire and have a four strand bracelet. Just keep both wires together when forming your loop for the button clasp, then separate each strand and start adding your beads. It will require two crimp tubes for the four strands. Mark the ends of one wire so that you will know which ends to crimp together. (crimp the two marked ends together and the two unmarked together).
***This post contains affiliate links, if you click on an affiliate link & buy something I may receive a small commission at no extra charge to you. The affiliate money I earn helps pay the expenses to keep this site running. Please read my full advertising disclosure for more info. Thanks so much for your support!***
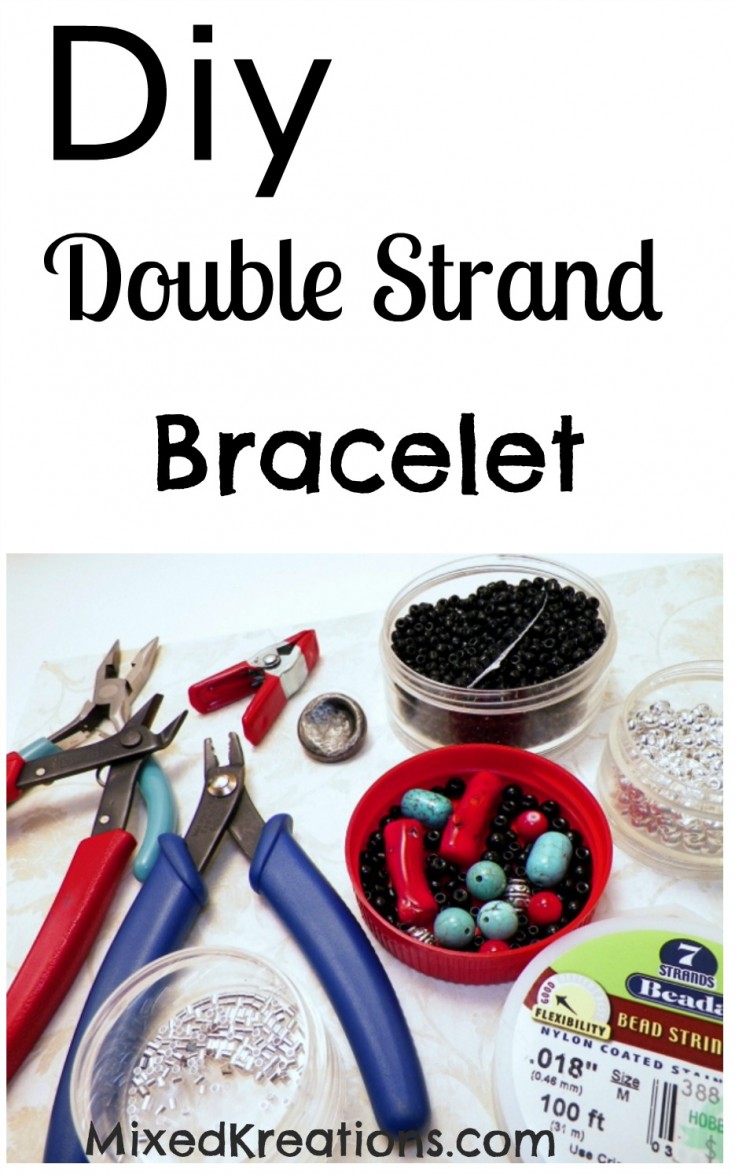
Supply List For Double Strand Bracelet
6/0 seed beads (your choice in color)
Assortment of larger beads
One 22″ piece of bead wire
Metal button
Crimp tube
Crimp cover
Bead Clamp
Flush cutters
Chain nose pliers
Crimping pliers
Do you make jewelry? If so what media do you use most? Wire, stringing, etc.
Other Post You May Enjoy
Handmade copper and turquoise bracelet
Wire Wrapped copper beads
Copper tube beads
I found this to be very helpful! I’ve never made any jewelry before, and the bracelet is pretty, looks easy to put on/off and fun to make. And you provided plenty of photos which really help in understanding the instructions. Thank you!
Thank you Joan!