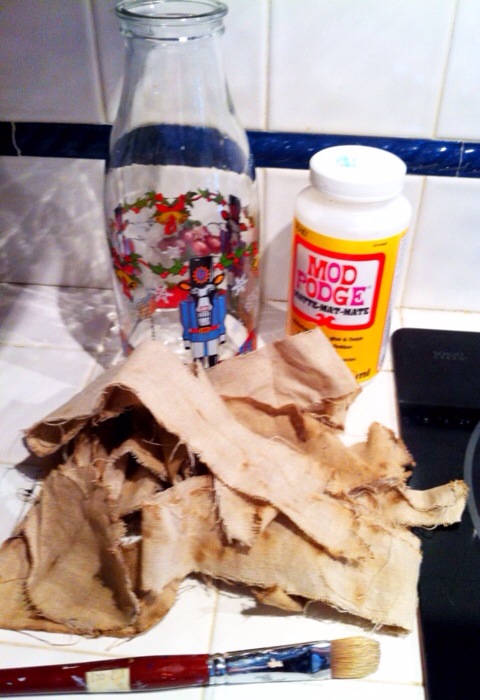
…d piece of fabric to cover the bottom of the bottle. Apply a thick coat of mod podge to bottom of your bottle, then add the round piece of fabric, pressing it down and smoothing it to the bottom of your bottle. Once the bottom is dry flip right side up. You will start at top of your bottle and work your way down. Apply a thick coat of mod podge on the top part of your bottle. Take a strip of your fabric and start wrapping and twisting the fabric a…
Search Results for: mod podge
One Of A Kind Bottle Cap Necklace
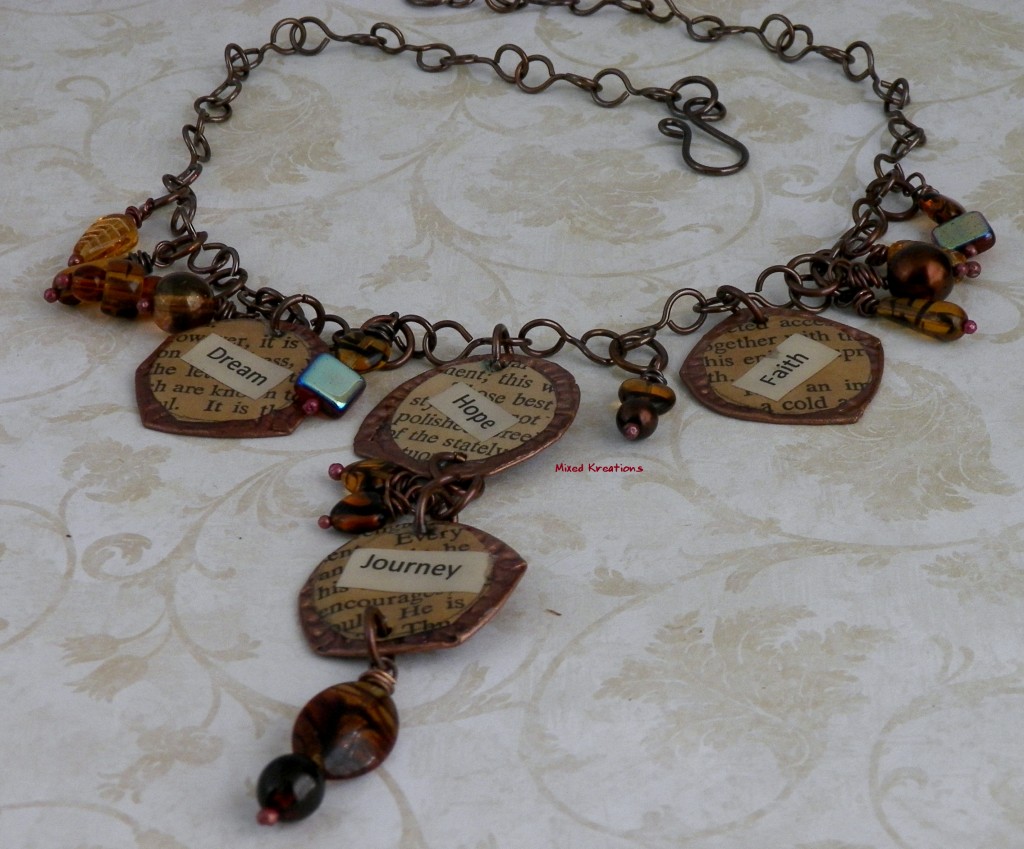
…rcle shapes from my aged paper to fit on top of each bottle caps 4. I used mod podge to glue them down. Let dry 5. I now glued the paper words on top of the circle shapes with mod podge. Let dry 6. Then I painted a coat of mod podge over the top. Now I was getting ready to put my creation together when I spotted the mod podge dimensional magic. Hmm, wonder what that would look like. So I grabbed the bottle and… 7. Apply mod podge dimensional magic…
How To Make Animal Print Switch Plate Covers
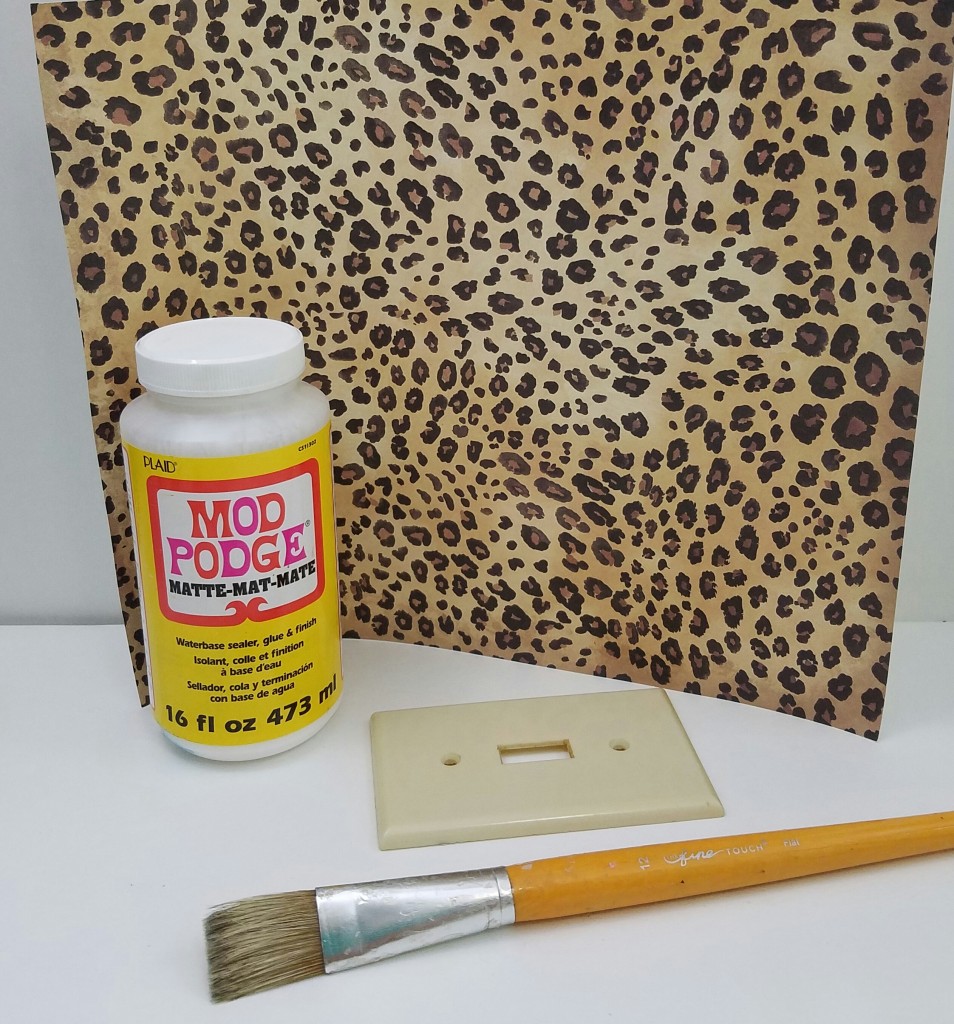
…e scrapbook paper lay flat once glued down. Now go around the edges adding mod podge then use the same rolling to the edge method to glue the edges down smoothly. These diy animal print switch covers will bring a smile Powered By the Tweet This Plugin Tweet This Once the mod podge is dry go around and sand the edges with an emery board to remove any excess paper, and smooth the edges. Next I added the antique medium to darken the animal print. Let…
Repurposed Plastic Container For Homemade Chocolate Biscotti
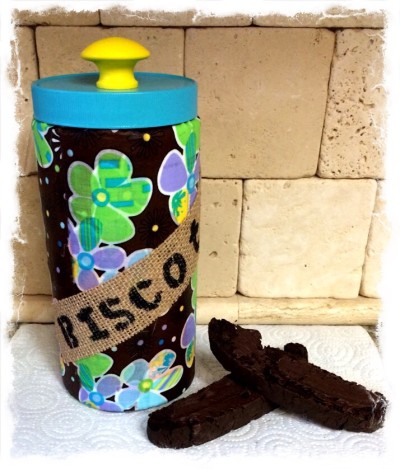
…ush. Trace around the bottom of your container. Cut your bottom piece out. Mod Podge the bottom piece on. Measure the length, and around the container that you are repurposing, then cut your fabric to those dimensions. Start with one end of your fabric and using Mod Podge glue it to your container. Apply a coat of Mod Podge over the fabric. Let dry. Now flip your container upright and use Mod Podge to glue the raw edge of your fabric down. Paint t…
DIY Faux Leather Cross With Wings
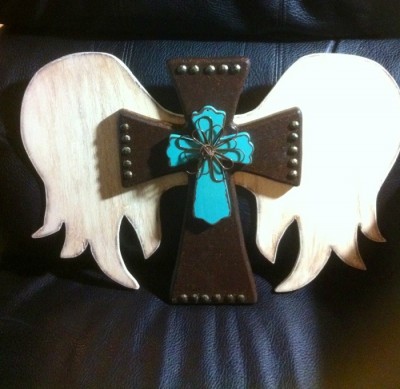
…ng to remove any excessive paint. Once dry mix up another small portion of Mod Podge, and burnt umber. This time using less Mod Podge, and a little more burnt umber. Get a clean plastic bag and repeat the process above until covered. Let dry, and if needed apply another coat. The less Mod Podge, and more burnt umber used will make the cross darker. But you do need some Mod Podge for the glaze. Trying out a new paint technique, faux leather cross w…
Decoupaged Tin Cans
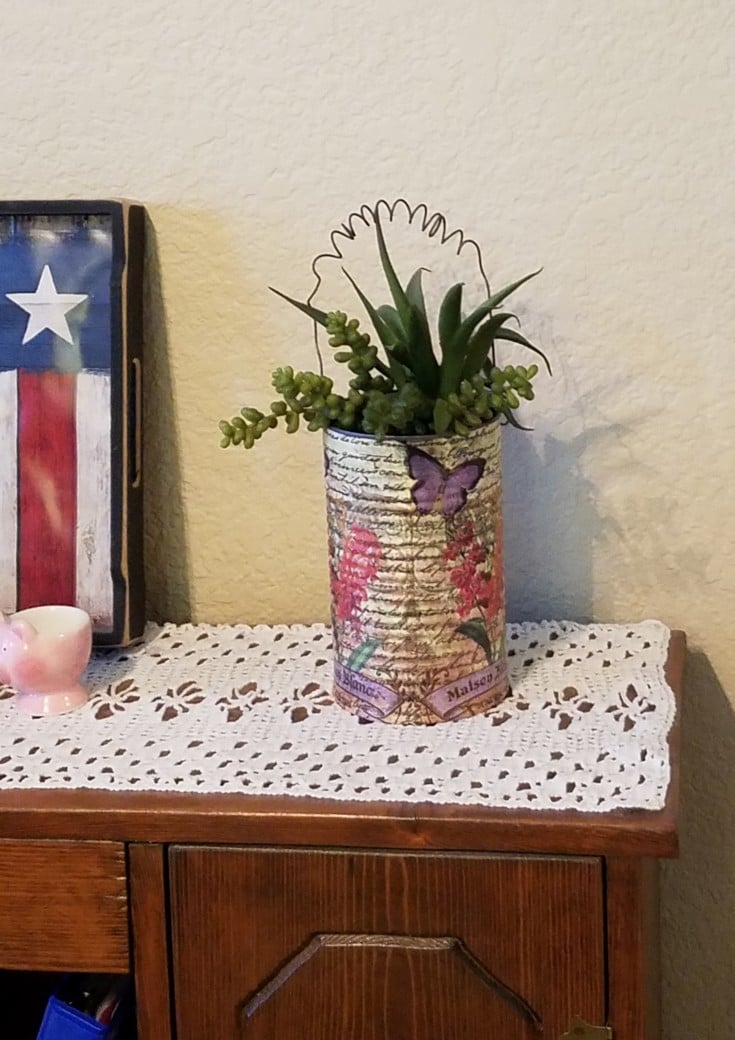
…his will be tucked under and glued down later. Keep adding a light coat of Mod Podge down the side working the napkin down and around the can, until the can is covered. If two napkins are needed just line the edge up with the other and glue down with Mod Podge working around in small sections until the decoupaged tin can is completely wrapped. If you go slowly and work in small sections, it really isn’t difficult to get the napkin in place. Make o…
Diy Grungy Can – Repurposed Tin Can
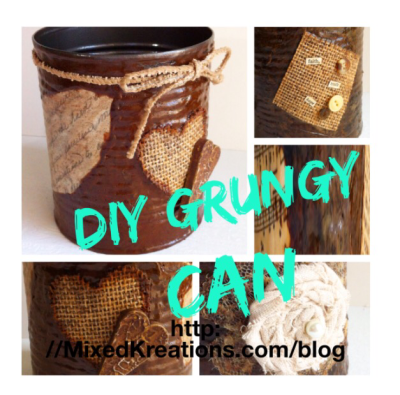
…k paper, whatever shape you desire. Then Mod Podge it on your tin can, and Mod Podge over it also. To make your grungy can you will need a mixture of Mod Podge and coffee granules. Add to a disposable container and mix well. Start by painting the edges and around your scrapbook paper. Cover your can completely with the mixture, except over the scrapbook paper. First time I ever seen a grungy I knew I had to make me one of my own. #GrungyCan #TinCa…
Lady Baltimore Vintage Train Case Makeover

…next step I debated whether to leave the fabric as is or to add a coat of Mod Podge over it. The Mod Podge won out. I figured the extra coat would protect the fabric, and make it easier to clean if something was to spill on the inside. Now back to the outside, it needs something else. At first, I was going to cut out some of the post card patterns that’s on the fabric that I used for the inside. Then decoupage it to the outside, but decided again…
Diy Dallas Cowboys Tile Coasters
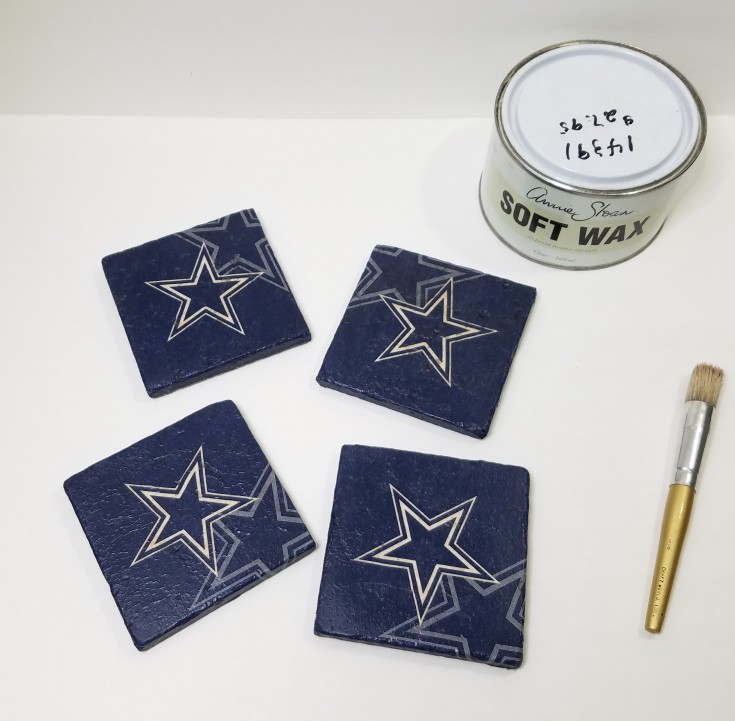
…fit your tile with a little bit of an overlap on all sides. Next add some Mod Podge to the top of your tile. Place the printed napkin on top smoothing out the wrinkles as you go. Let day. Now go back and add some Mod Podge to the sides of the travertine tile and smooth the over lapping pieces of the napkin over the edges. The corners can be folded over and tacked down with a little more Mod Podge. Let dry! Once dry add another coat of Mod Podge o…
Diy Christmas Coasters – Red Farm Truck

…aving room for overlap on tiles. You will need four. Next add a coating of Mod Podge to the top of one of the tiles. Then center the napkin pattern onto the tile and gently press and spread out on the tile. Smooth out the wrinkles best as you can. Add a thin coat of Mod Podge on top of the tile but not on the overlap pieces. Let dry 15 minutes. Then repeat until all four Diy Christmas Tiles have the pattern on and one coat of Mod Podge on top. The…
- 1
- 2
- 3
- …
- 13
- Next Page »