
…to give it a coat of Mod Podge for protection. Have I said how much I love Mod Podge? Great stuff!!! Now I added a piece of twine around the neck of my Harvest Time Mason Jar Vase. That’s it! Very simple fit project. I love how it turned out. Are you addicted to Mason jar crafts as I am? *This post contains affiliate links, if you click on an affiliate link & buy something I may receive a small commission at no extra charge to you….
Search Results for: Mod podge
Easy Diy Tile Coasters
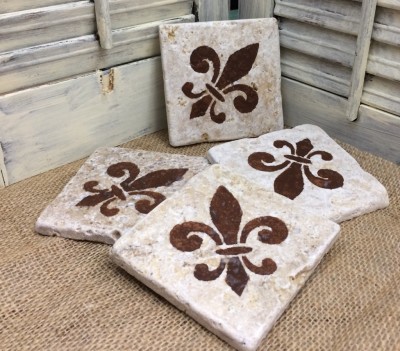
…no extra charge to you. The affiliate money I earn helps pay the expenses to keep this site running. Please read my disclosure for more info. Thanks so much for your support!* Material Needed * 4 Travertine tiles * Stencil of choice * Acrylic Paint * Mod Podge * Stencil Sponge * Paint Brush * Felt * Glue * Scissors If you enjoyed this project, please don’t forget to share it with your friends and/or save it to Pinterest. More Post You May Enjoy! T…
Tea Light Lanterns Hunter’s Style – Repurposed Jars
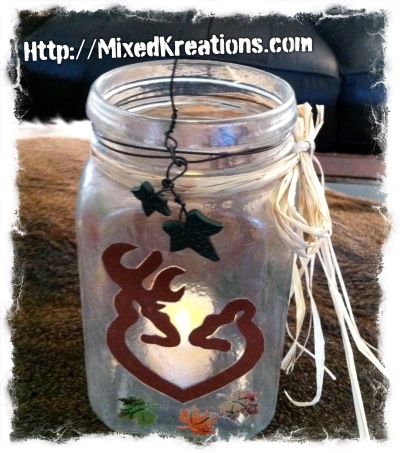
…and still have a touch of hunting decor. To make these I cut out the deer heads with heart, and used a craft punch to cut out the leaves. Then I mod podge the cutouts on my jars. Once dry I mixed just a little coffee granules with mod podge and applied that over the entire jars to give them an aged appearance. Finished it off with a wire to hang it by, polymer clay leaves to dangle off the wire, and some raffia. Have you made any tea light lantern…
Diy Animal Print Soap Dispenser
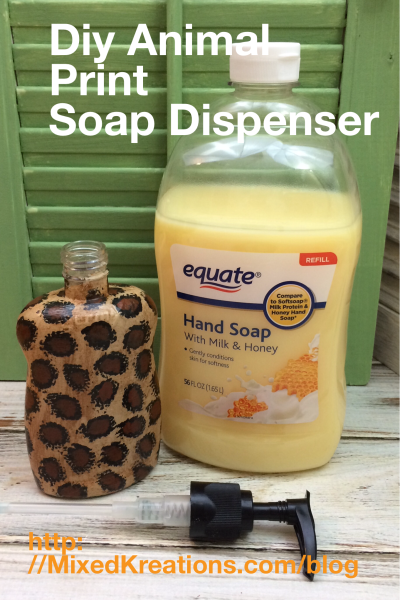
…for your support!* Materials Needed For This Project One empty plastic hand soap dispenser Acrylic paints, black, burnt umber, light tan Antiquing gel Mod Podge Paint brushes Liquid soap Do you like to turn trash into treasures? …
DIY Vintage Zebra Print Block With Cross
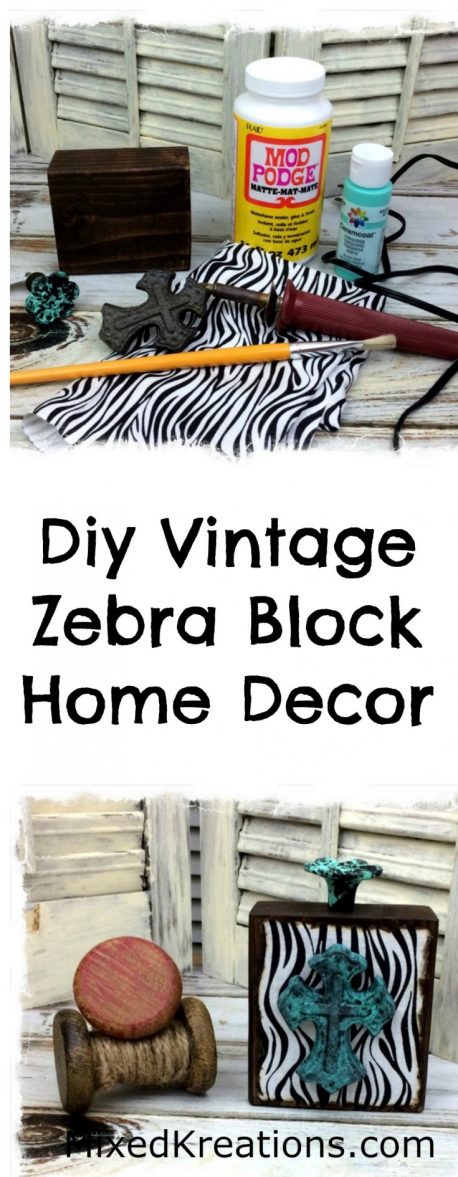
…you. The affiliate money I earn helps pay the expenses to keep this site running. Please read my full advertising disclosure for more info. Thanks so much for your support!*** Material List Small wood block stained Scrap fabric Mod Podge Wood burner Vintage pull knobs Metal cross Paint brush Turquoise acrylic paint Black acrylic paint More Wood Block Projects You May Enjoy! Diy vintage wood block You and me heart block with key Chevron photo bloc…
Diy Wood Signs And Farmhouse Style Tray
…it so much easier. Then I gave it a light distressing, and covered it with Mod Podge for protection. Diy Wood Signs and a Farmhouse Style Tray with a matching mason jar vase. Powered By the Tweet This Plugin Tweet This On the Good Eats sign after I painted the wood white I used my stencils to add the lettering. This wooden tray and mason jar were a complete surprise for them. They sent pictures for the good eats, and live, laugh, and love sign, bu…
Easy Diy Shabby Terra Cotta Coasters
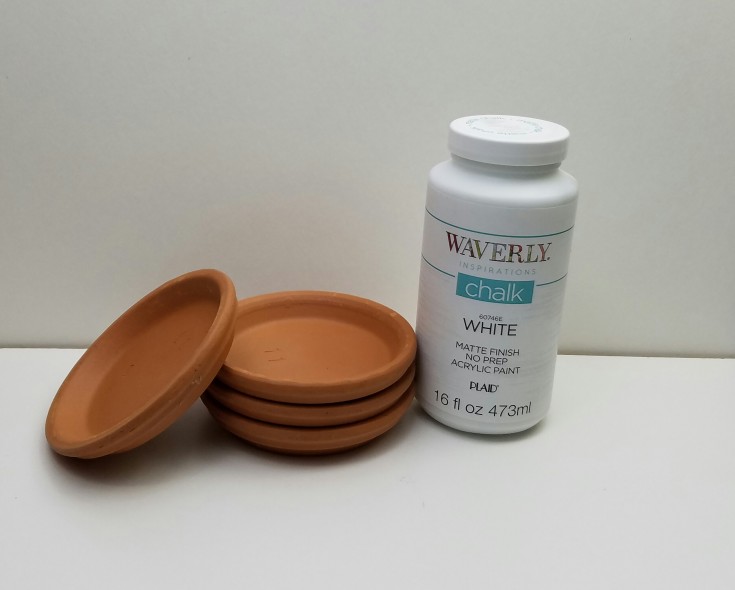
…his site running. Please read my full advertising disclosure for more info. Thanks so much for your support!* Material List For Terra Cotta Coasters Terra Cotta Saucers Chalk PaintStencils Stencil Sponge Mod Podge Old Paint brush Felt or Super Sliders, for the bottom of each coaster More Post You May Enjoy! Texas Tile Coasters Easy Diy Tile Coasters Shabby Home Decor With Vintage Tag…
How To Make A Dallas Cowboys Tin Can Pencil Holder
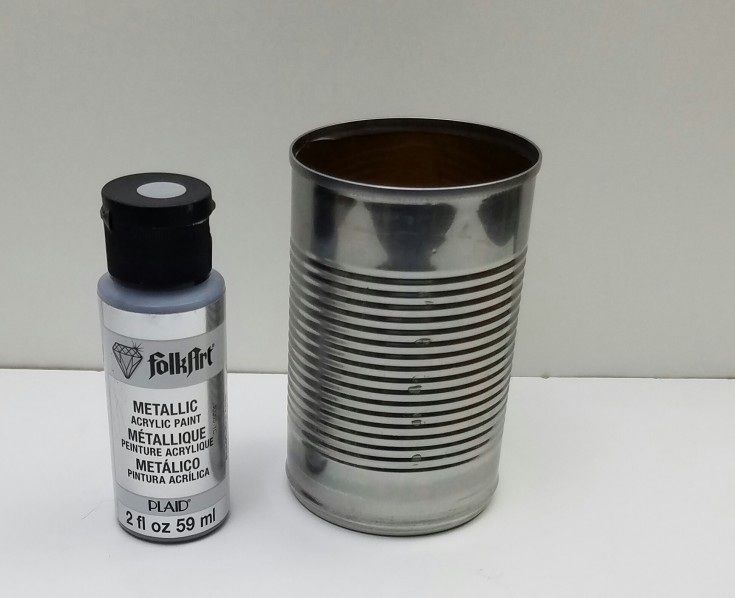
…g disclosure for more info. Thanks so much for your support!* Materials List Tin can Metallic, white, and navy blue acrylic paint Paintbrushes Old toothbrush Antiquing medium Mod Podge More Tin Can Projects You May Enjoy! Quick and easy repurposed tin cans How to make rusty tin cans Diy Grungy can…
Easy Relax Vintage Sign
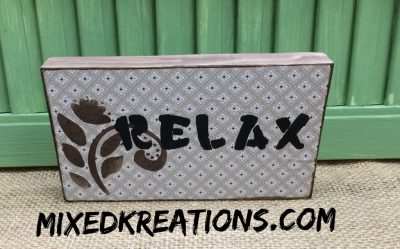
…running. Please read my full advertising disclosure for more info. Thanks so much for your support!* Materials Needed For Relax Vintage Sign Scrapbook paper Exacto knife Mod Podge Cutting board Distress stain Sandpaper Letter & design stencils Wood stain or aging solution Paint brush…
Diy Loose Change Jar – Laundry Room
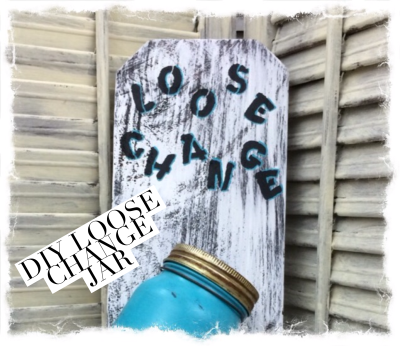
…it up a bit letting the brown undercoat show through. Seal Mason jar with Mod Podge. Add your aged Mason jar lid. First cut, sand, and stain a board approximately 15″ in lenght. Dry brush while acrylic paint over your stained board leaving some of the stain showing through. Once dry stencil your wording on. Add a little of turquoise paint to the edges of your letters to brighten them up. Drill two holes about 1 1/2″ apart in your wood where you w…
- « Previous Page
- 1
- …
- 7
- 8
- 9
- 10
- 11
- …
- 13
- Next Page »