As you get to know me better, you will come to realize that I love creating things. I always have for as long as I can remember. It give me great joy to take something and turn it into something that can be treasured for many years if not forever.
I have created many things in my lifetime, some things I didn’t enjoy, and will never do again, but at I least tried. Then there are some things that I am determined I am going to master, like polymer clay. I get so frustrated with it when it doesn’t turnout like I want. But once the frustration dies down I give it another try.
Well today I am going to make paper beads, I am going to turn this experience into a tutorial that I can share with you, by taking pictures of each step, and providing instructions. This way you can give it a try too, I think this will be fun.
Material Needed
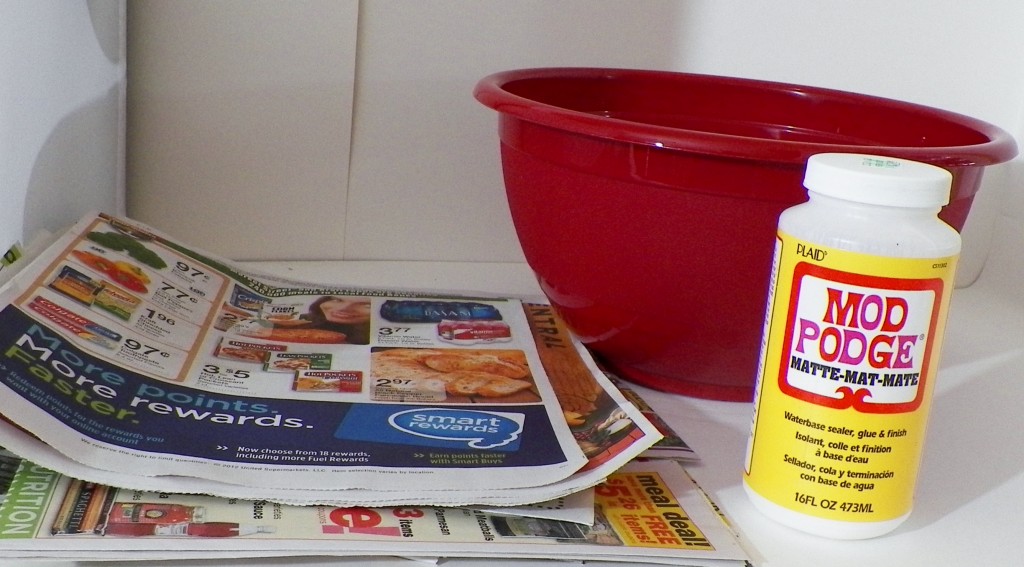
Scrape paper
Large bowl
Hot water
White glue or Mod Podge
Toothpicks
Styrofoam block
Gloves
Wax paper
Cookie sheet or flat tray
Drill
Sand paper
Acrylic paint
Optional: Antiquing gel
How To Make Paper Beads
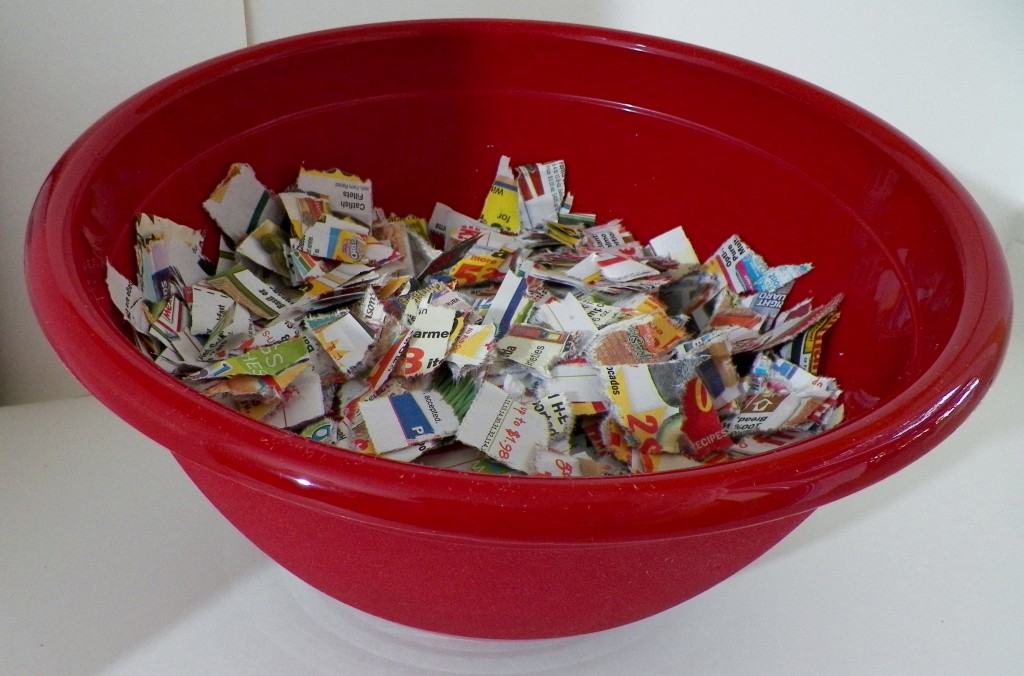
Now that you have everything gathered to make paper beads, let’s get started. First shred or cut up your paper into small pieces and place into your bowl.
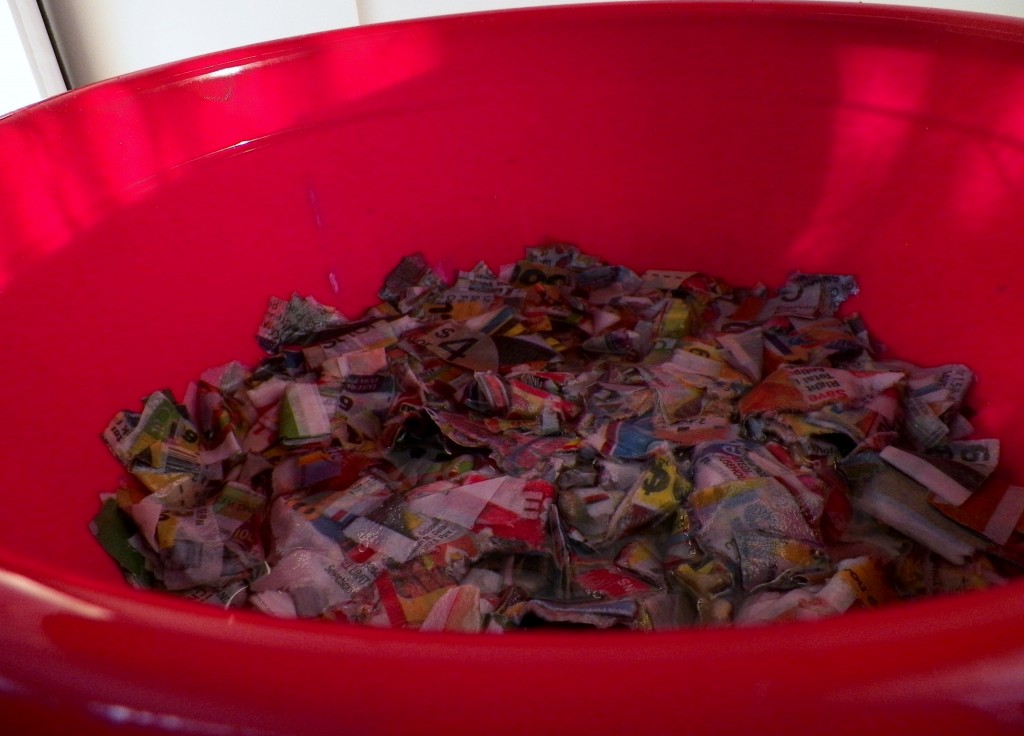
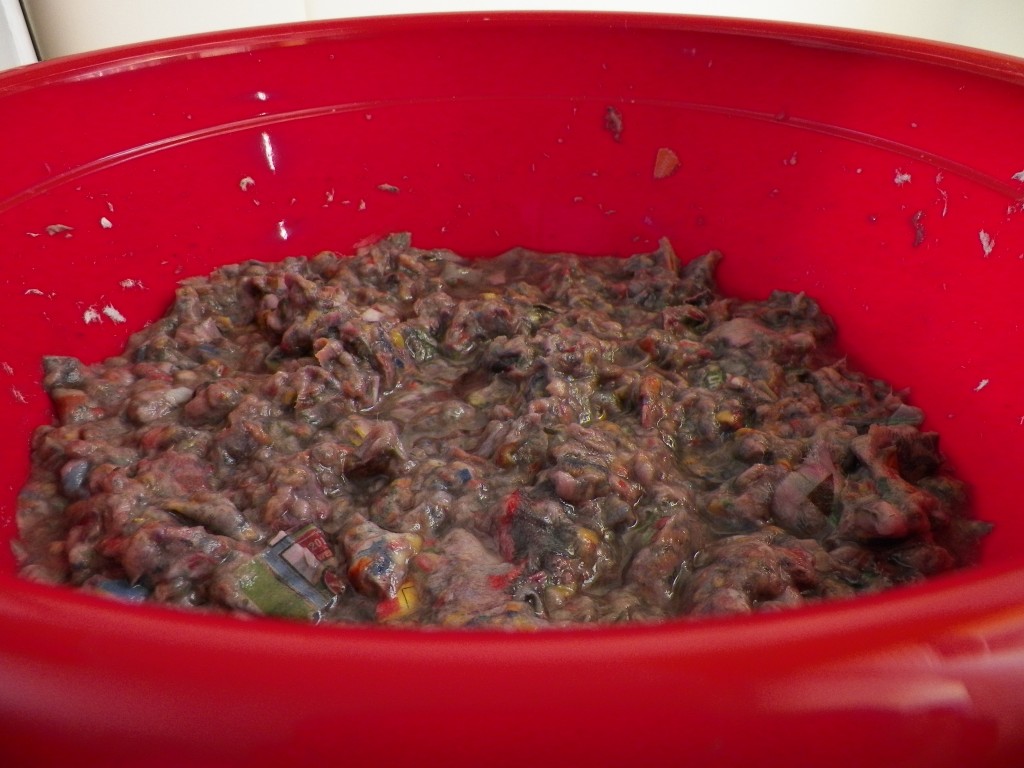
Heat up some water and pour over your shredded paper until it is covered, then stir. Every once in a while throughout the day give it a stir. As the paper breaks down you will need to add more water and stir. The hot water helps it break down faster. I started this project in the morning and it was ready by that evening. But you could let it sit overnight.
Once the paper turns to mush you are then ready to starting making your paper beads.
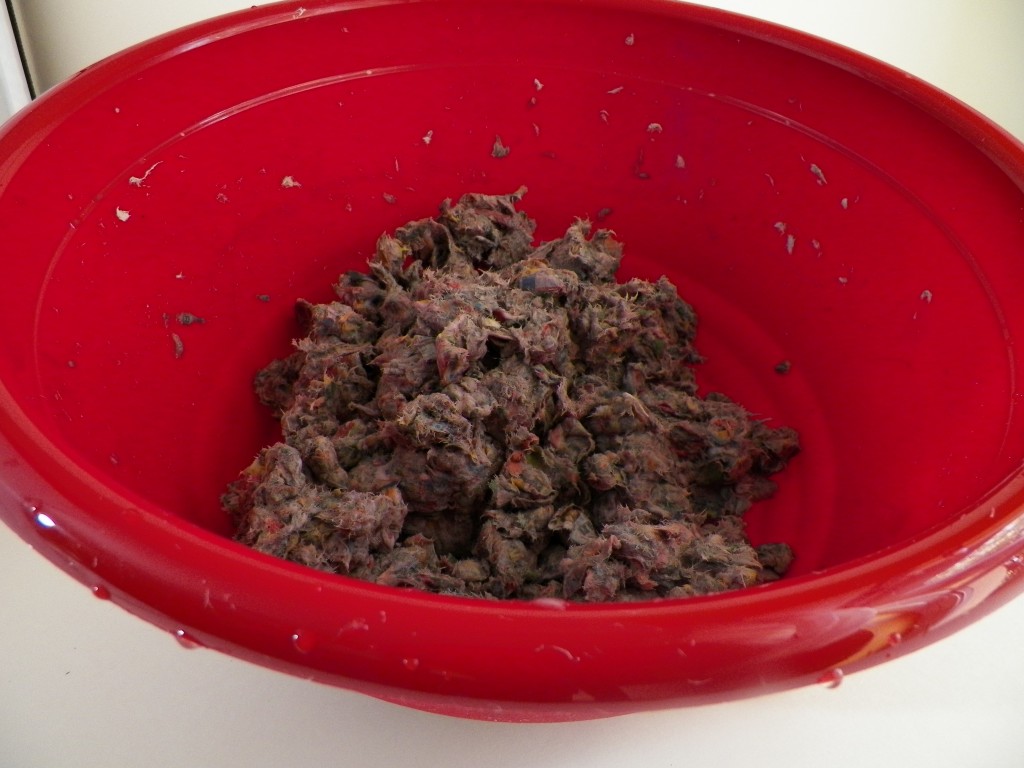
Put your gloves on then squeeze as much water out of the paper mush as you can.
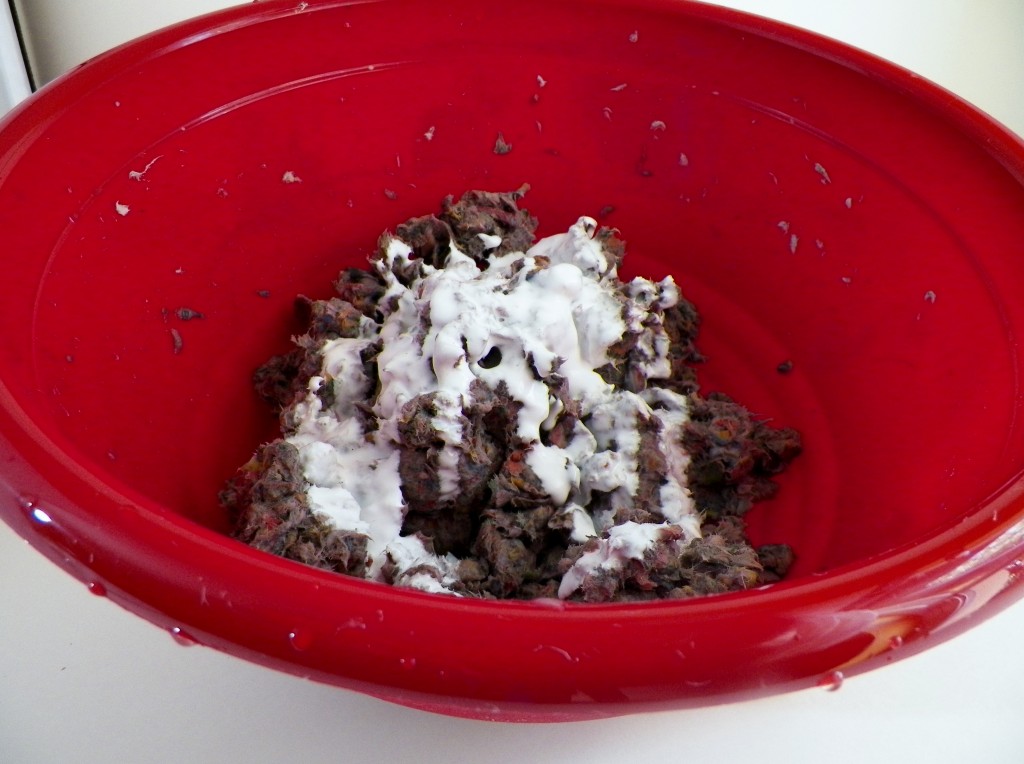
Pour some white glue or mod podge over the squeezed out paper mush and mix.
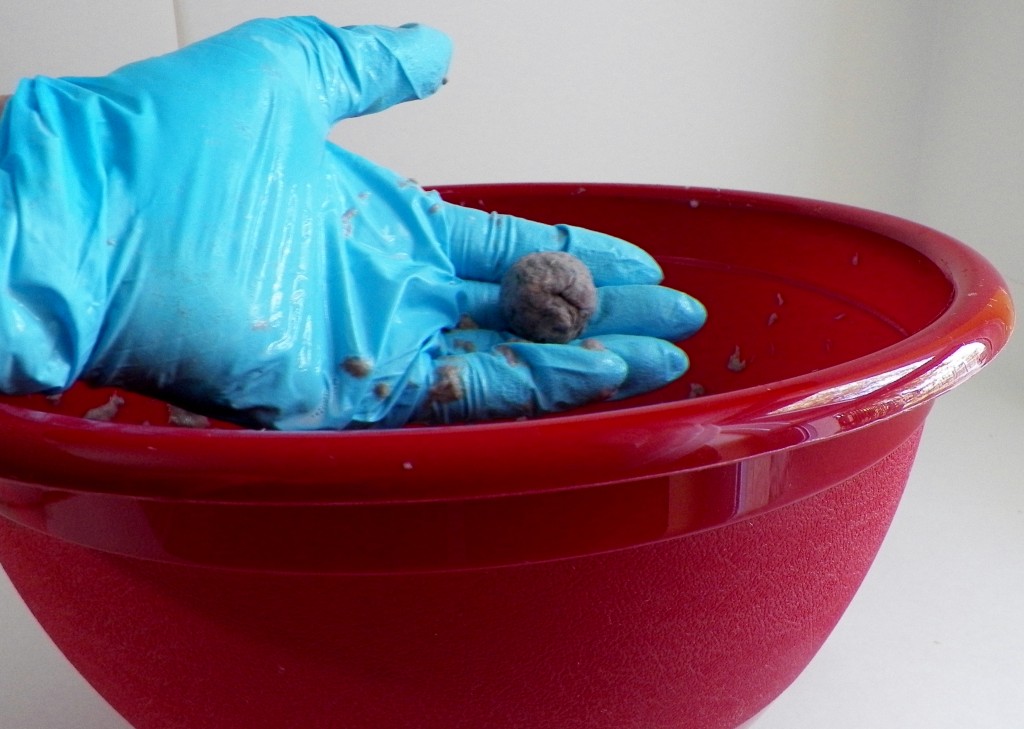
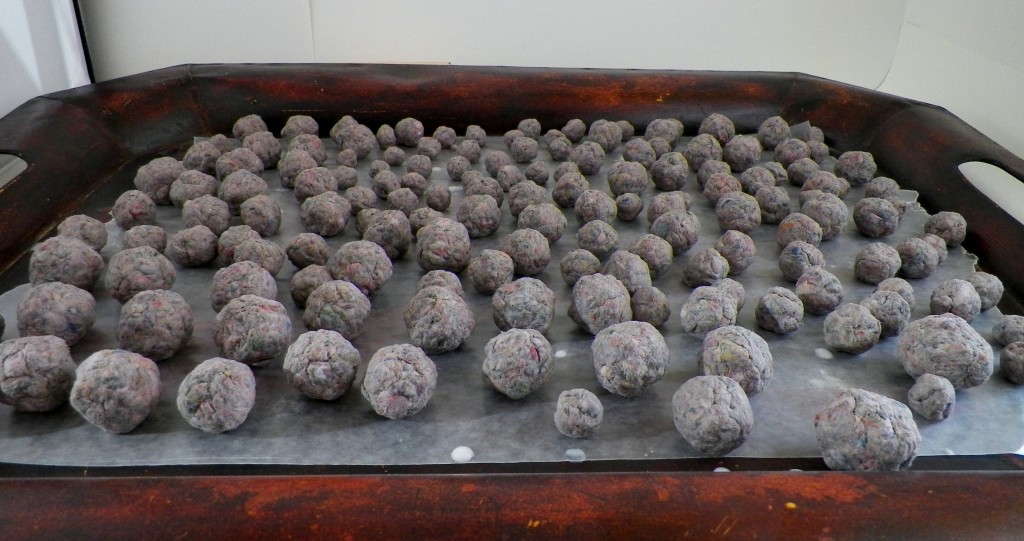
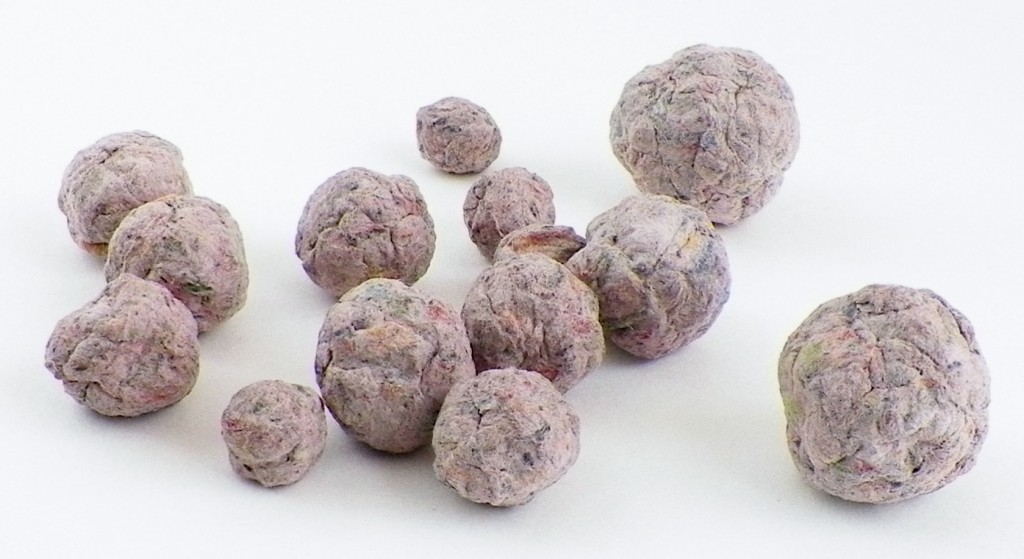
Now start forming paper beads. I made all sizes, big and small. (Next time I will try making some paper heart beads).
Place beads on wax paper lined tray to dry. Turn beads at least once a day until dried. It took three days for mine to dry.
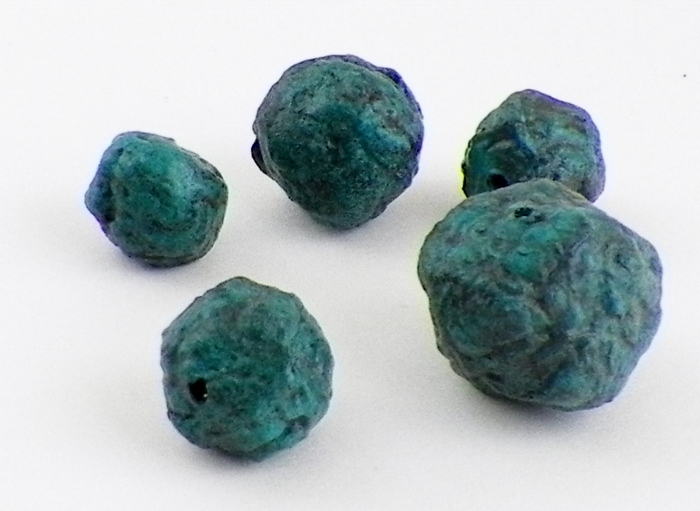
Once paper beads are dry you can drill your hole. Sand any rough spots.
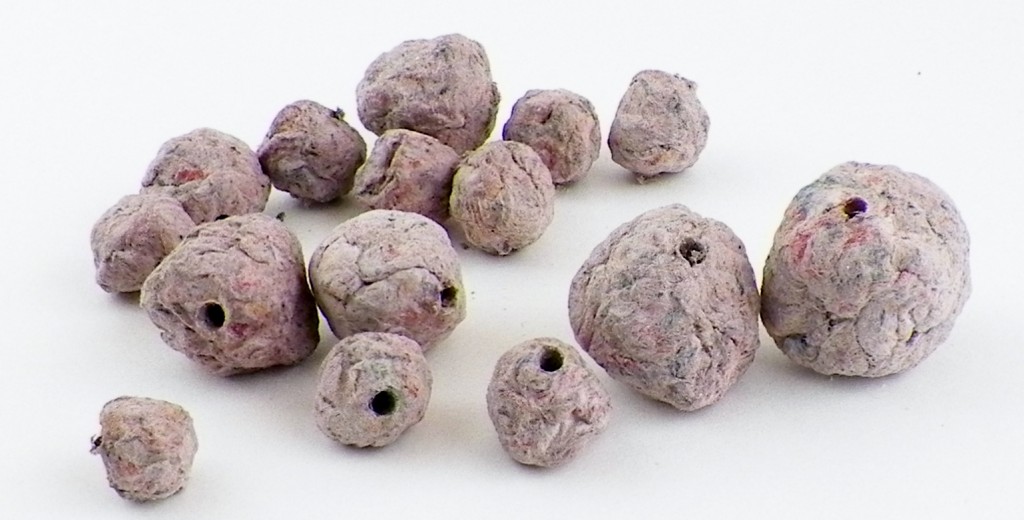
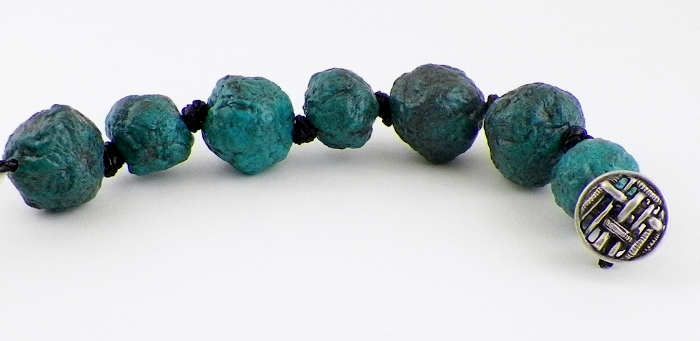
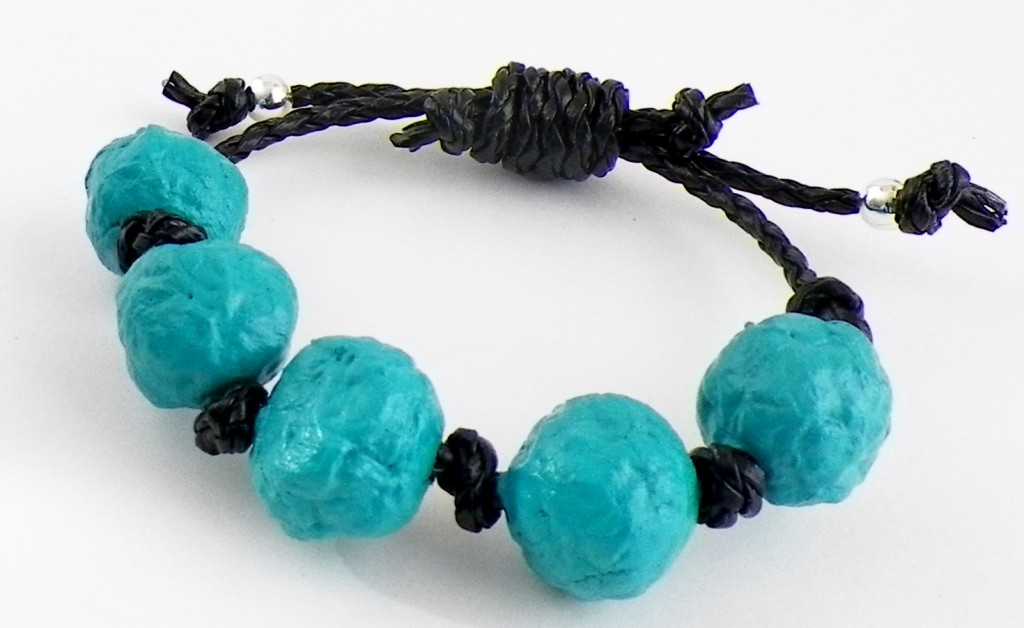
How to make paper beads with water, newspaper, and glue. Then just paint, antique and seal for a unique bracelet.
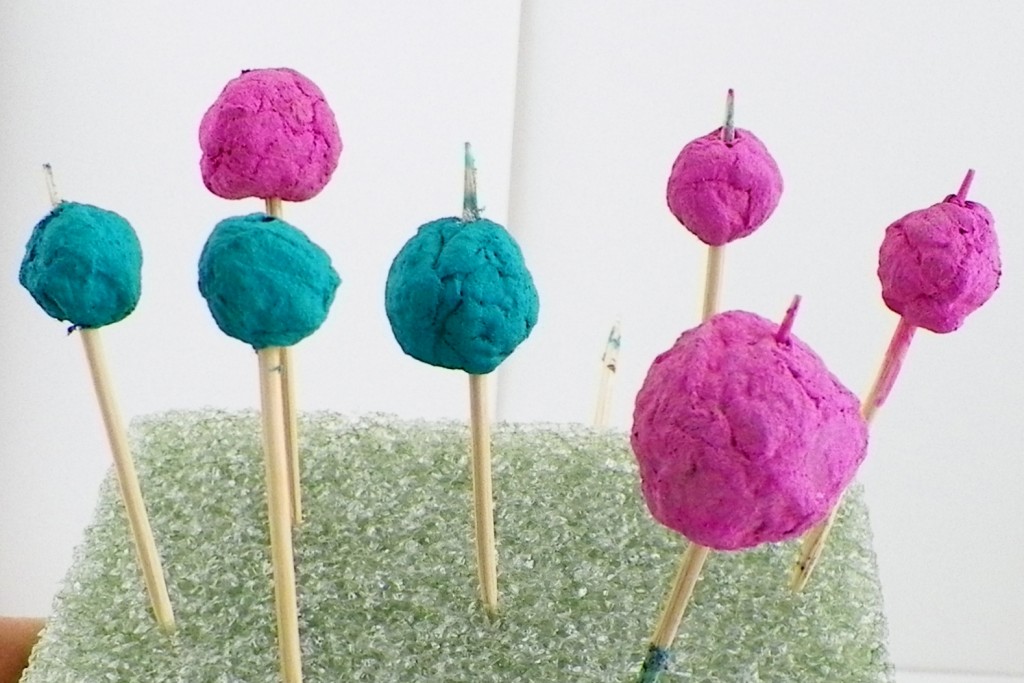
Now it is time to paint your paper beads. Put the beads on toothpicks, then into the Styrofoam block to dry. I put two coats of paint on mine.
If you want to give your beads an aged look then add your antiquing gel now. Once dry apply mod podge or another clear sealer over your beads for protection and to give them a shine.
Now you’re ready to use your new paper bead making skills, and make some beautiful unique jewelry.
I hope you enjoyed this tutorial and had a lot of fun making paper beads. I always love learning a new craft. Don’t you?
I would love to see any finished pieces that you make.
È tanto tempo che vorrei provare a fare le perline ma non so on che proporzione devo mettere carta e colla
Se mi puoi aiutare tu ringrazio
Hi Margherita! These are paper beads that you will form into a ball then drill a hole through once dry. Just follow the step by step directions to make these beads.