Hi All! Looking for some gift ideas with Christmas getting near. Than how about a handmade personalized family name sign. These make great gifts that can be displayed indefinitely.
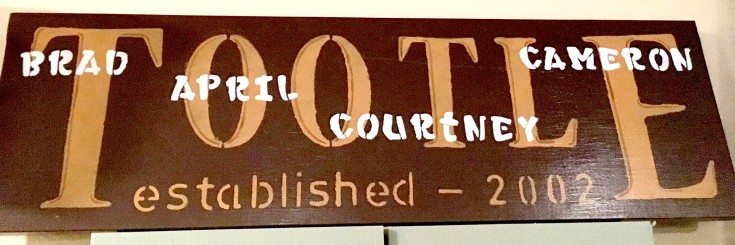
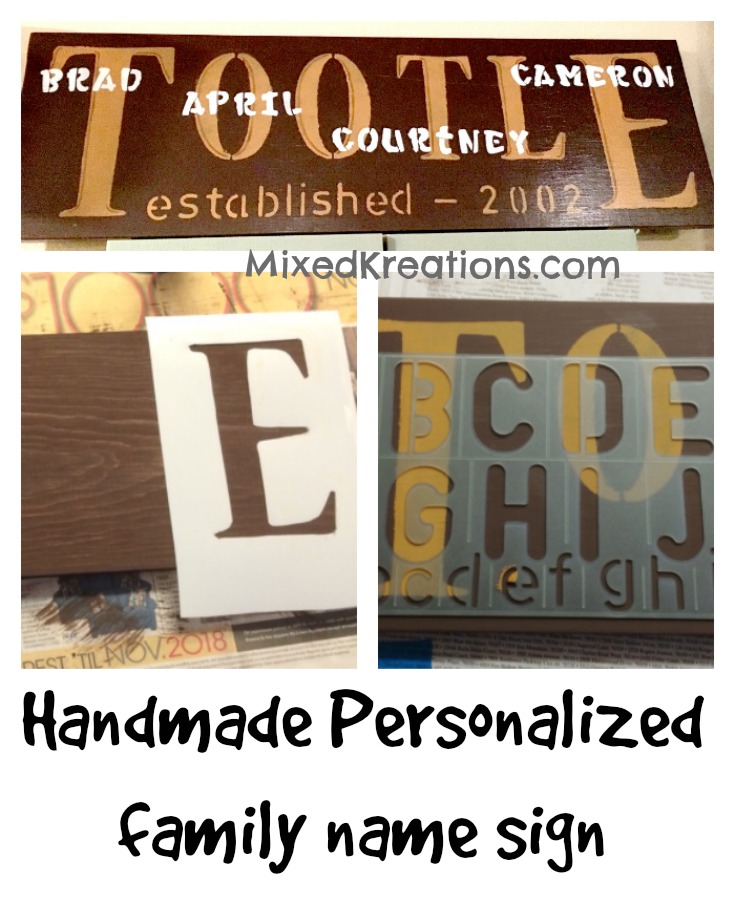
This personalized family name sign is a house warming present for my daughter. I took pictures of each step, so I could share the steps for making your own handmade personalized family name sign.
How To Make a Personalized Family Name Sign
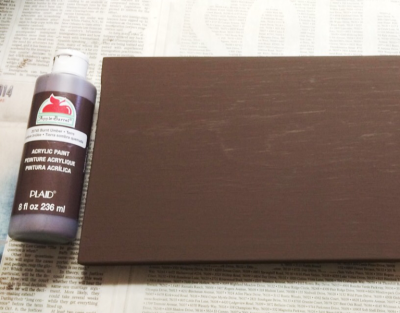
I started out with a piece of solid pine approximately 7 1/2″ x 28″. I used two coats of burnt umber.
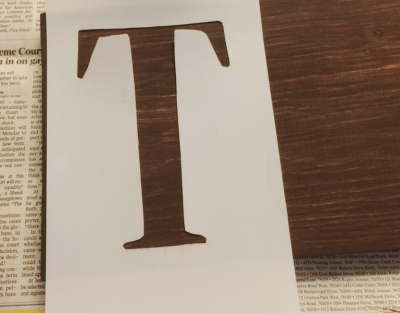
Using a 6″ letter stencil set I stenciled the first letter of the last name on the far left side.
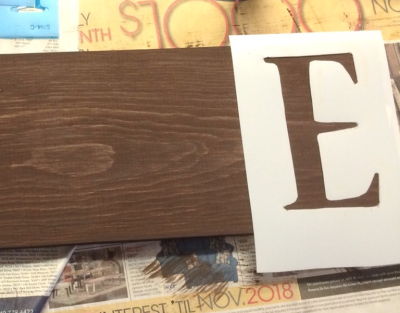
Next I used the stencil for the last letter in the name, and stenciled it in the far right.
Now you should have a 6″ letters at each end of the board.
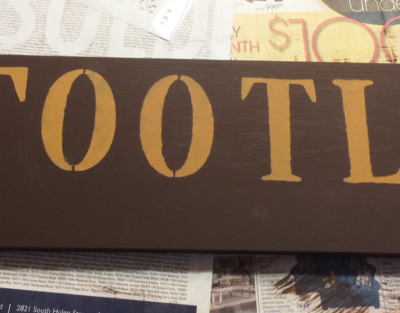
Using a 4″ letter stencil set I added the rest of the letters of their last name spacing evenly.
Alternating from one side to the other working towards the middle, spacing and centering the letters evenly.
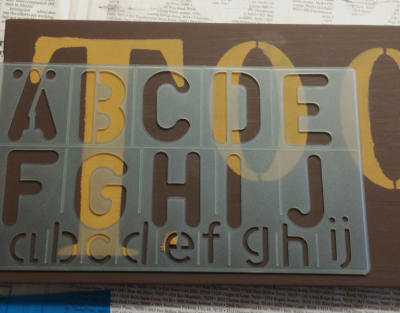
Switching to a 1 1/2″ letter stencils, working from each end towards the middle on the lower portion of your board between the two larger letters.
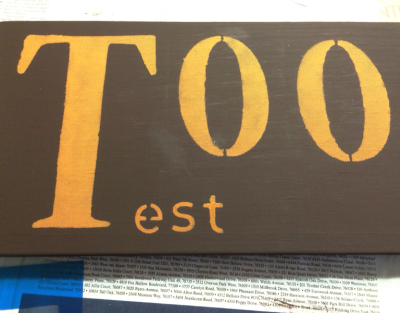

Add the date the family/marriage was established.
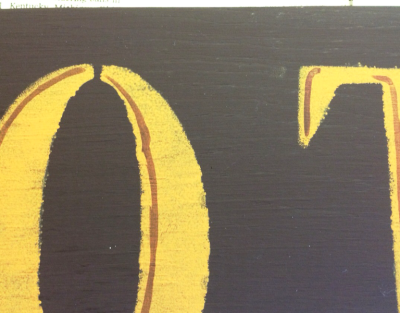
Use a fine paint brush and add a little detailing like below.
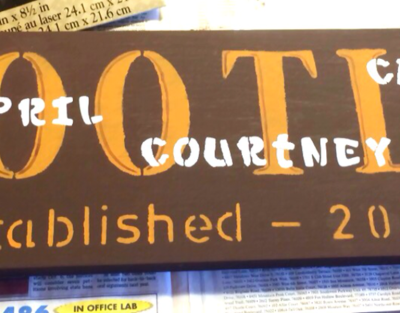
Now it’s time to add the name of each family member. You will need a 1″ letter stencils. Decide your layout, then start adding the names by working from each end towards the center (I found it to be easier for me to center and space my lettering by working from ends towards the middle).
A clear sealer for protection, and a sawtooth hook on the back for hanging, and you have yourself a nice handmade family name sign.

I am very happy how my personalized family name sign turned out. The actual picture my daughter sent me was for a longer last name, plus the family members names were all short names, so I had to make some adjustments when making this sign. But I think she will be very pleased.
Leave a Reply