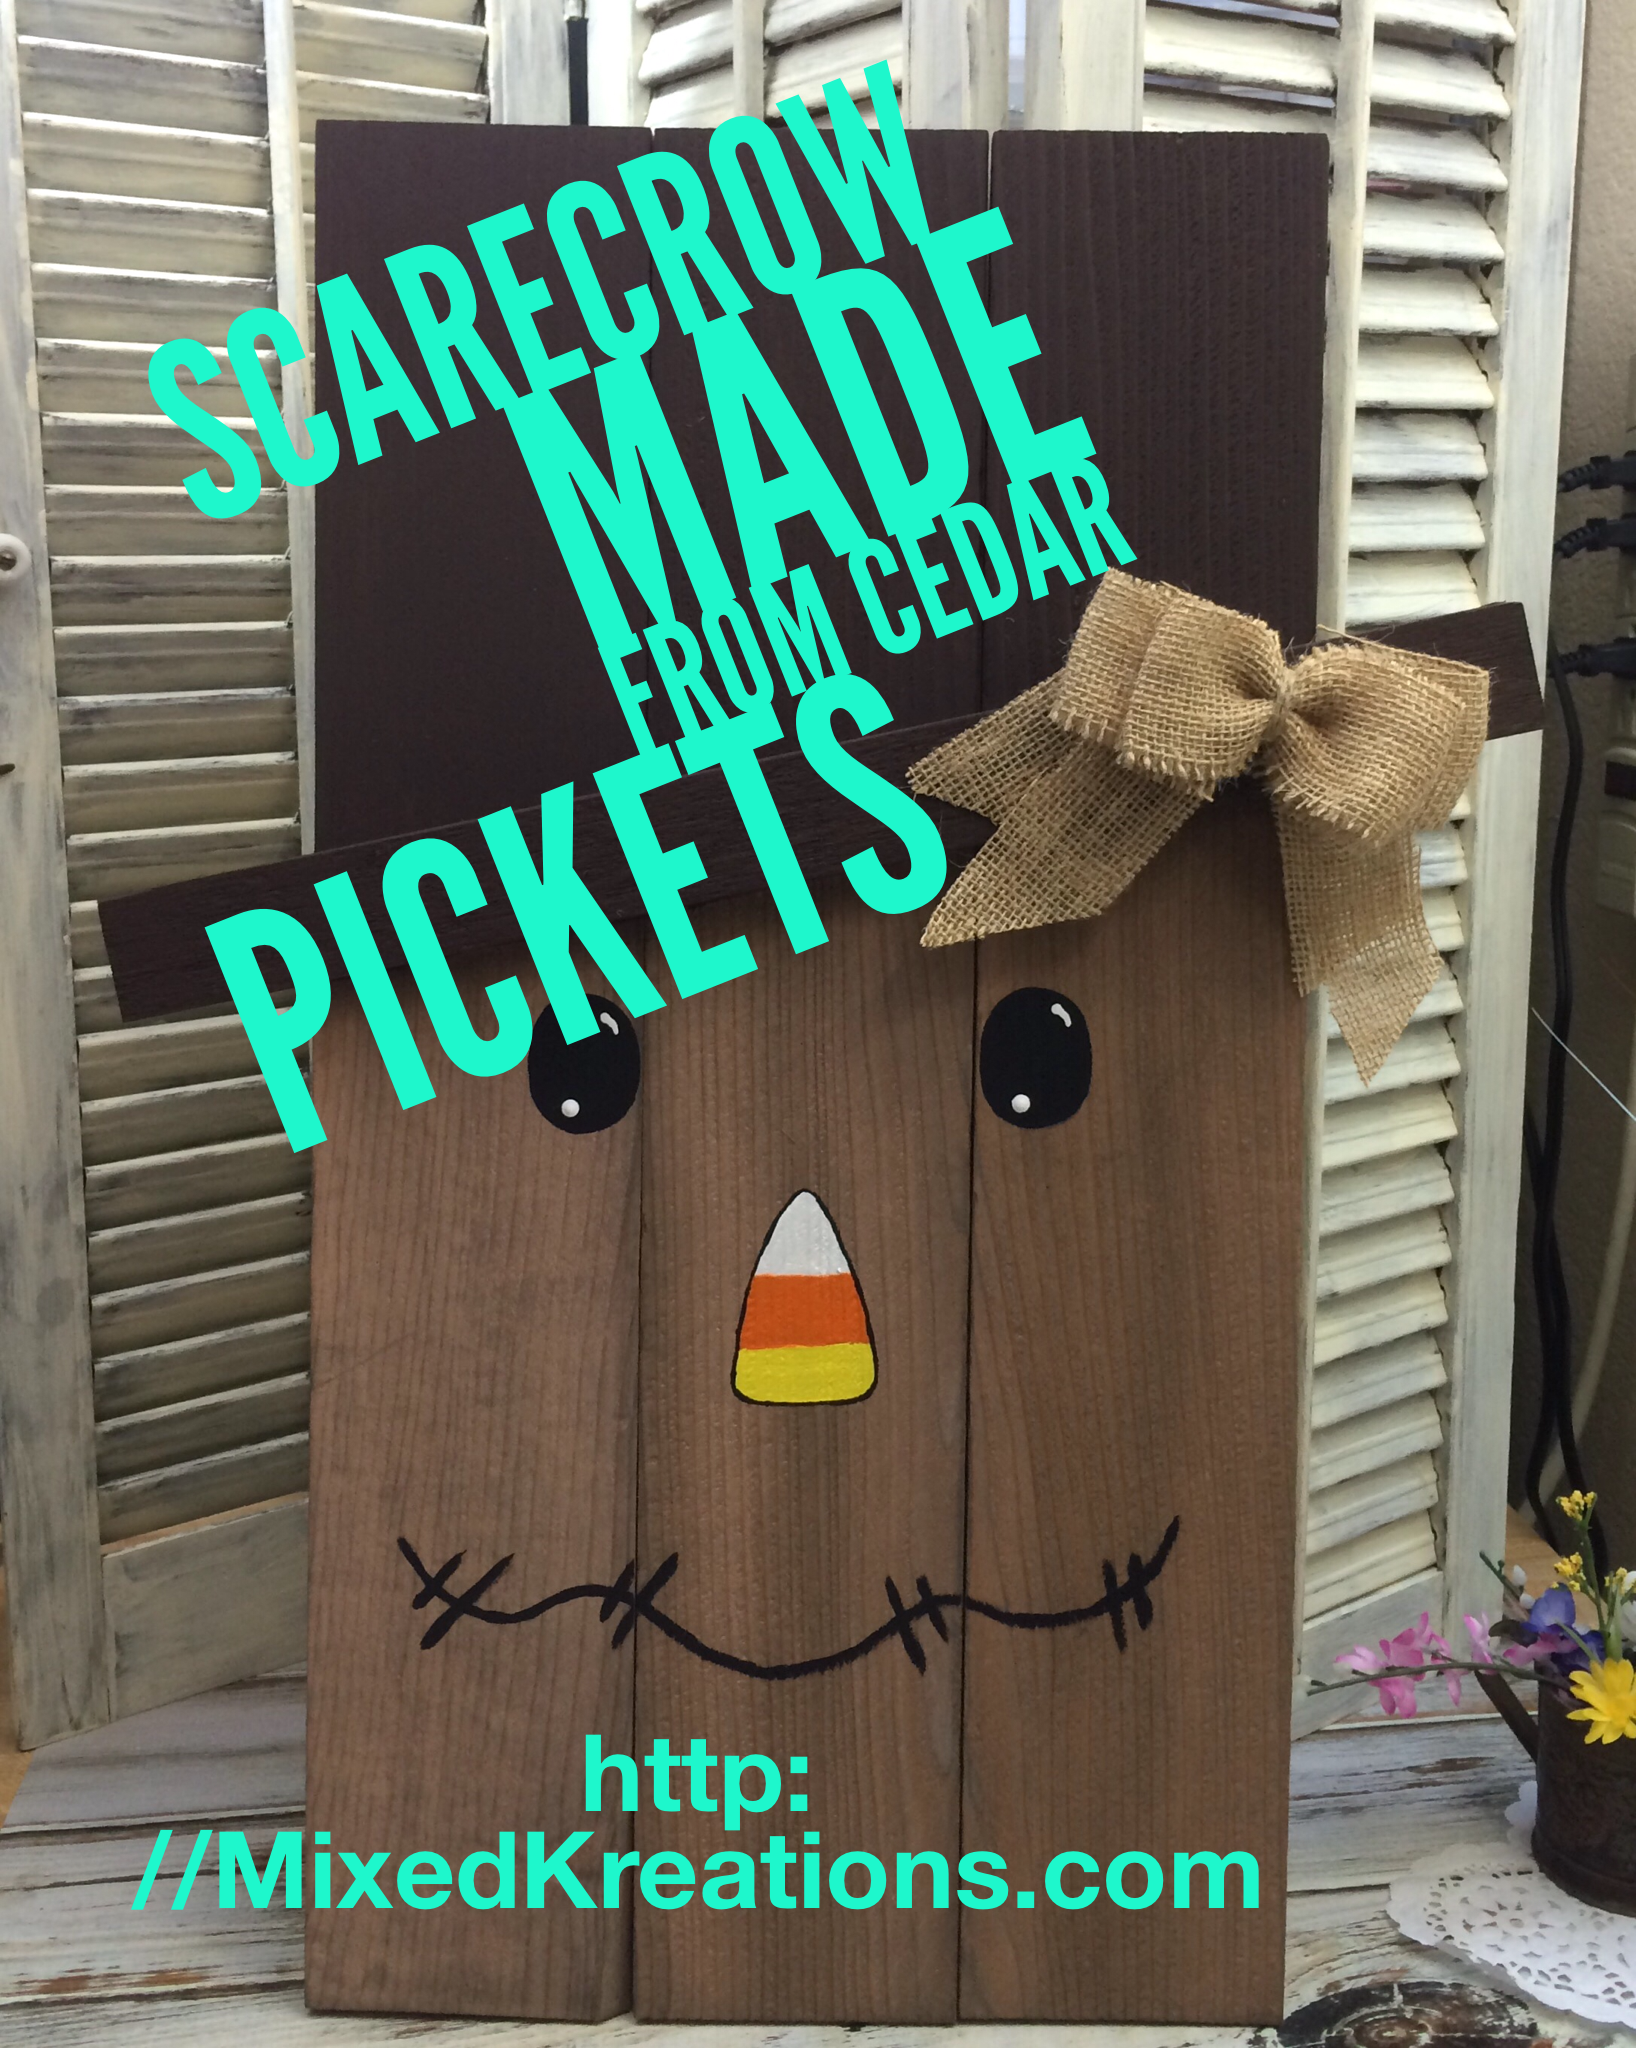
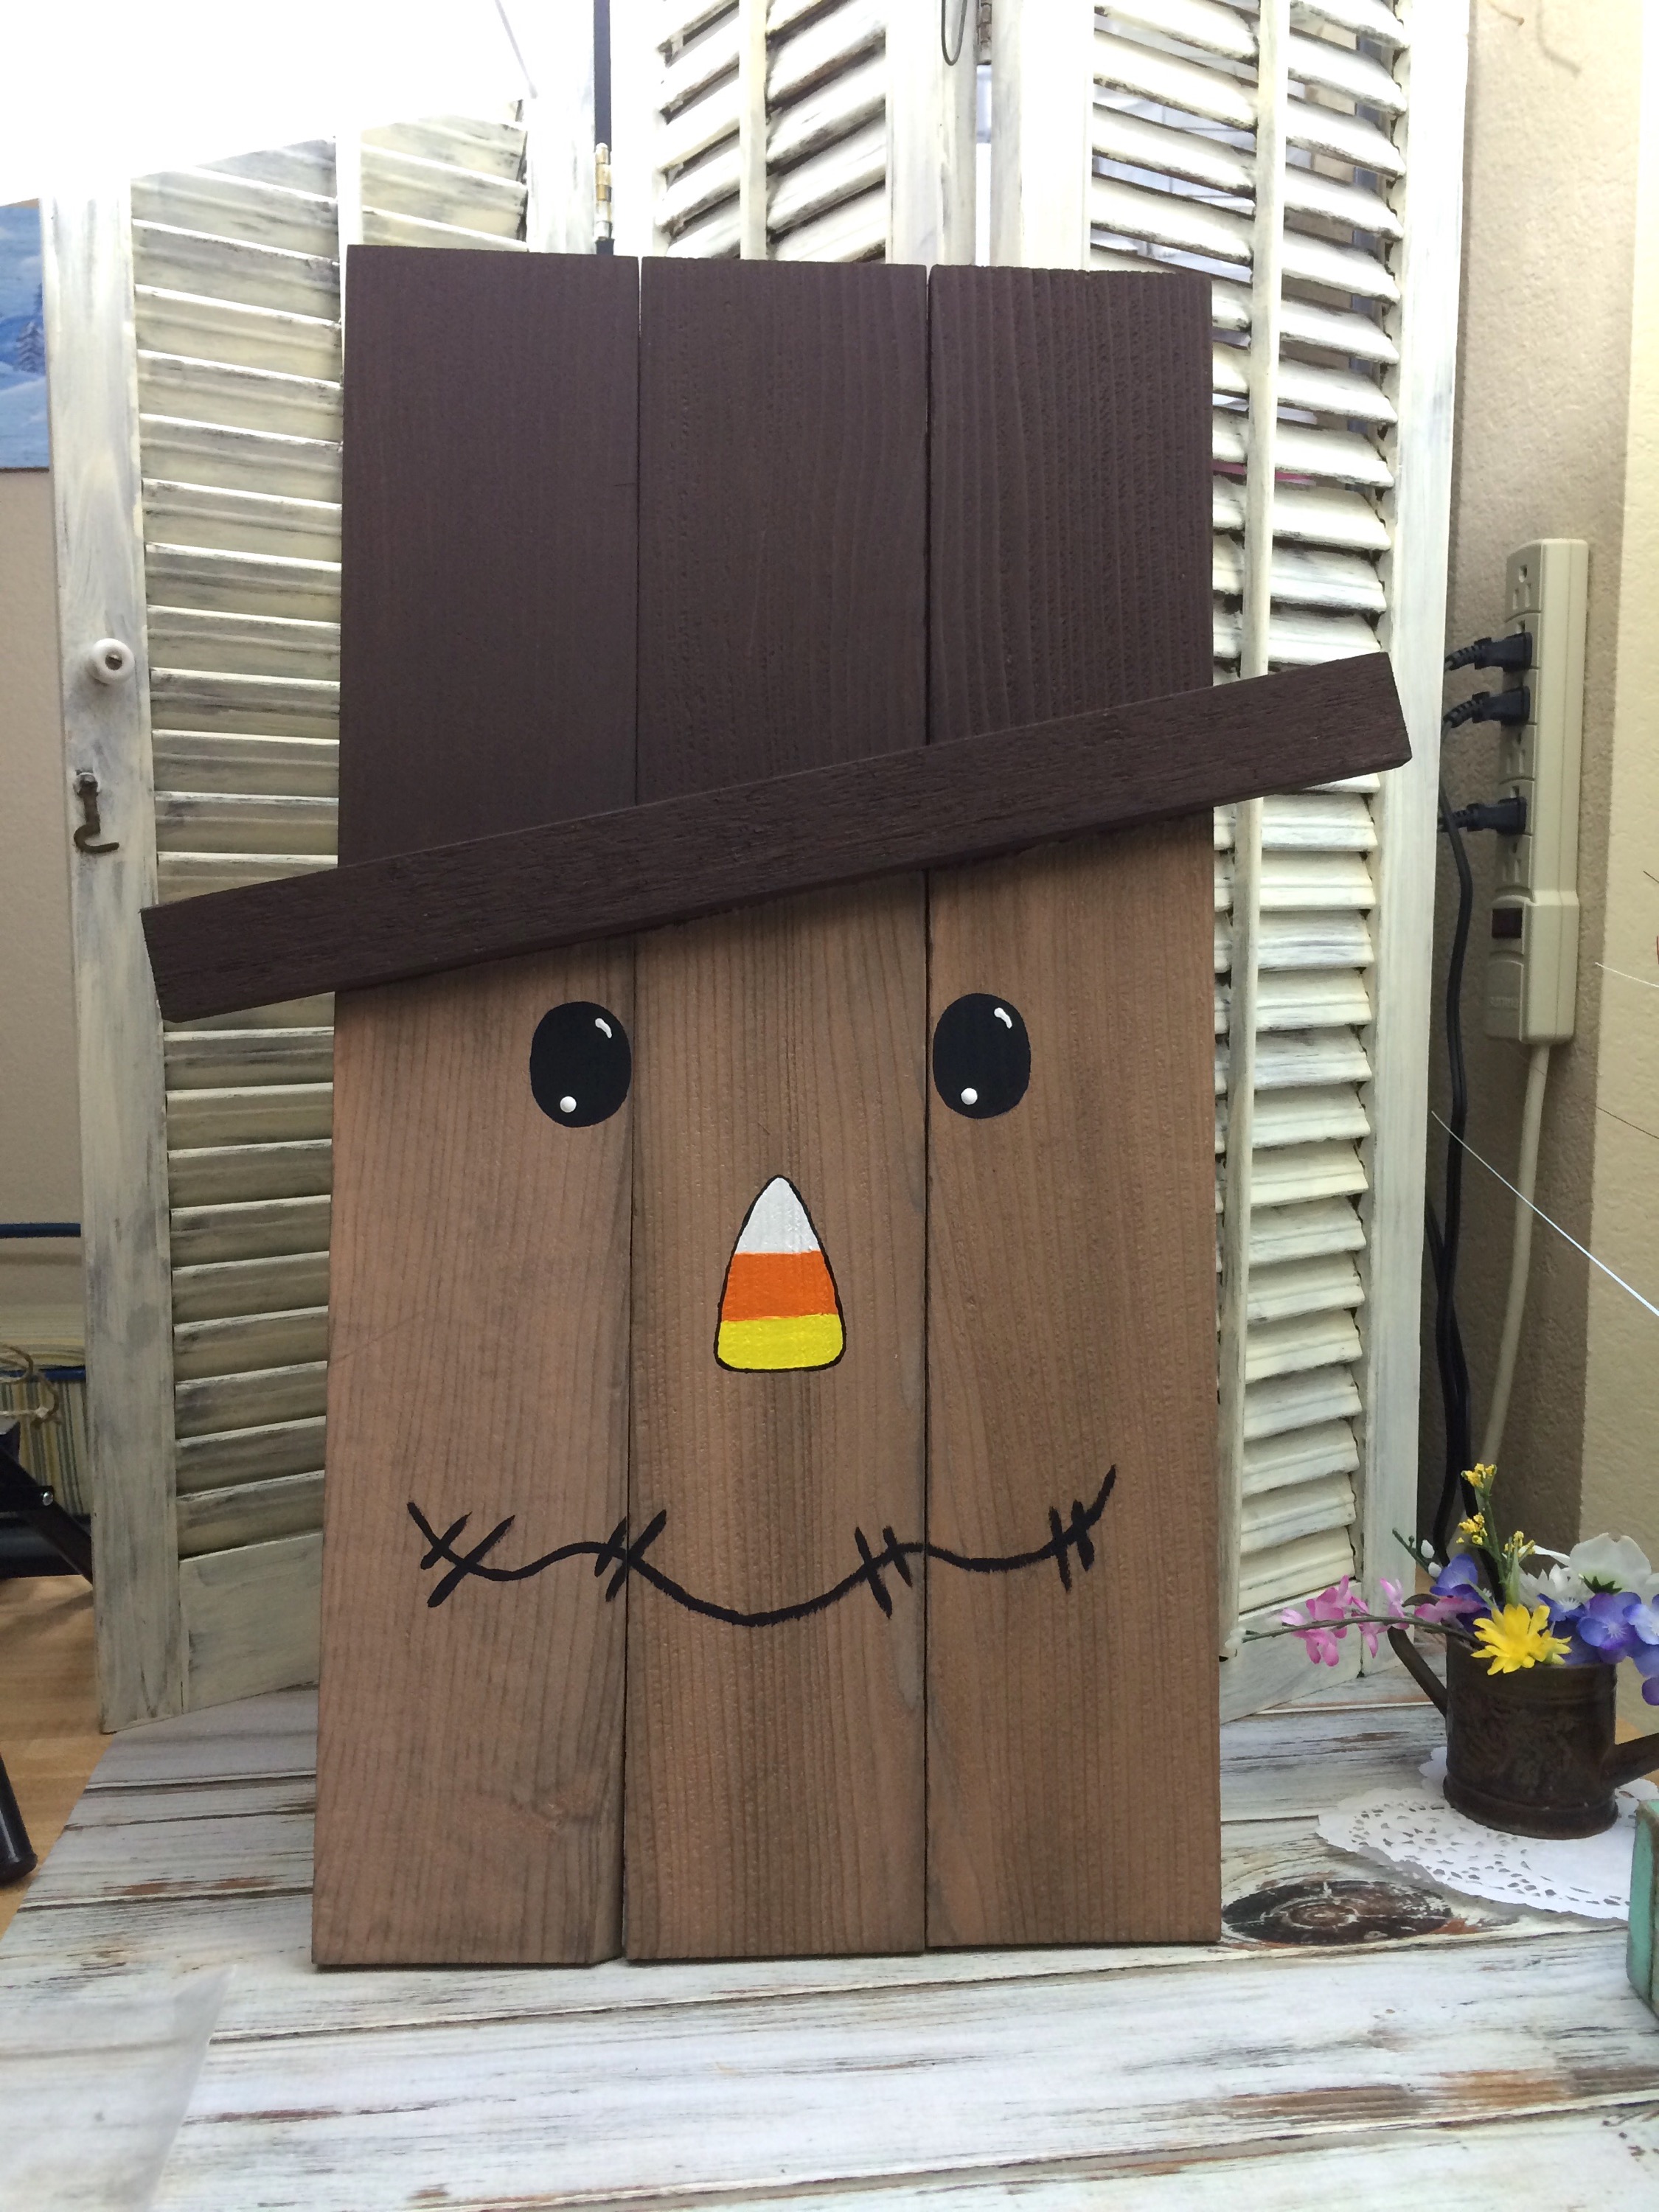
This Diy scarecrow was created from a picture that a friend recently sent to me asking if I could make a large version of the scarecrow for her.
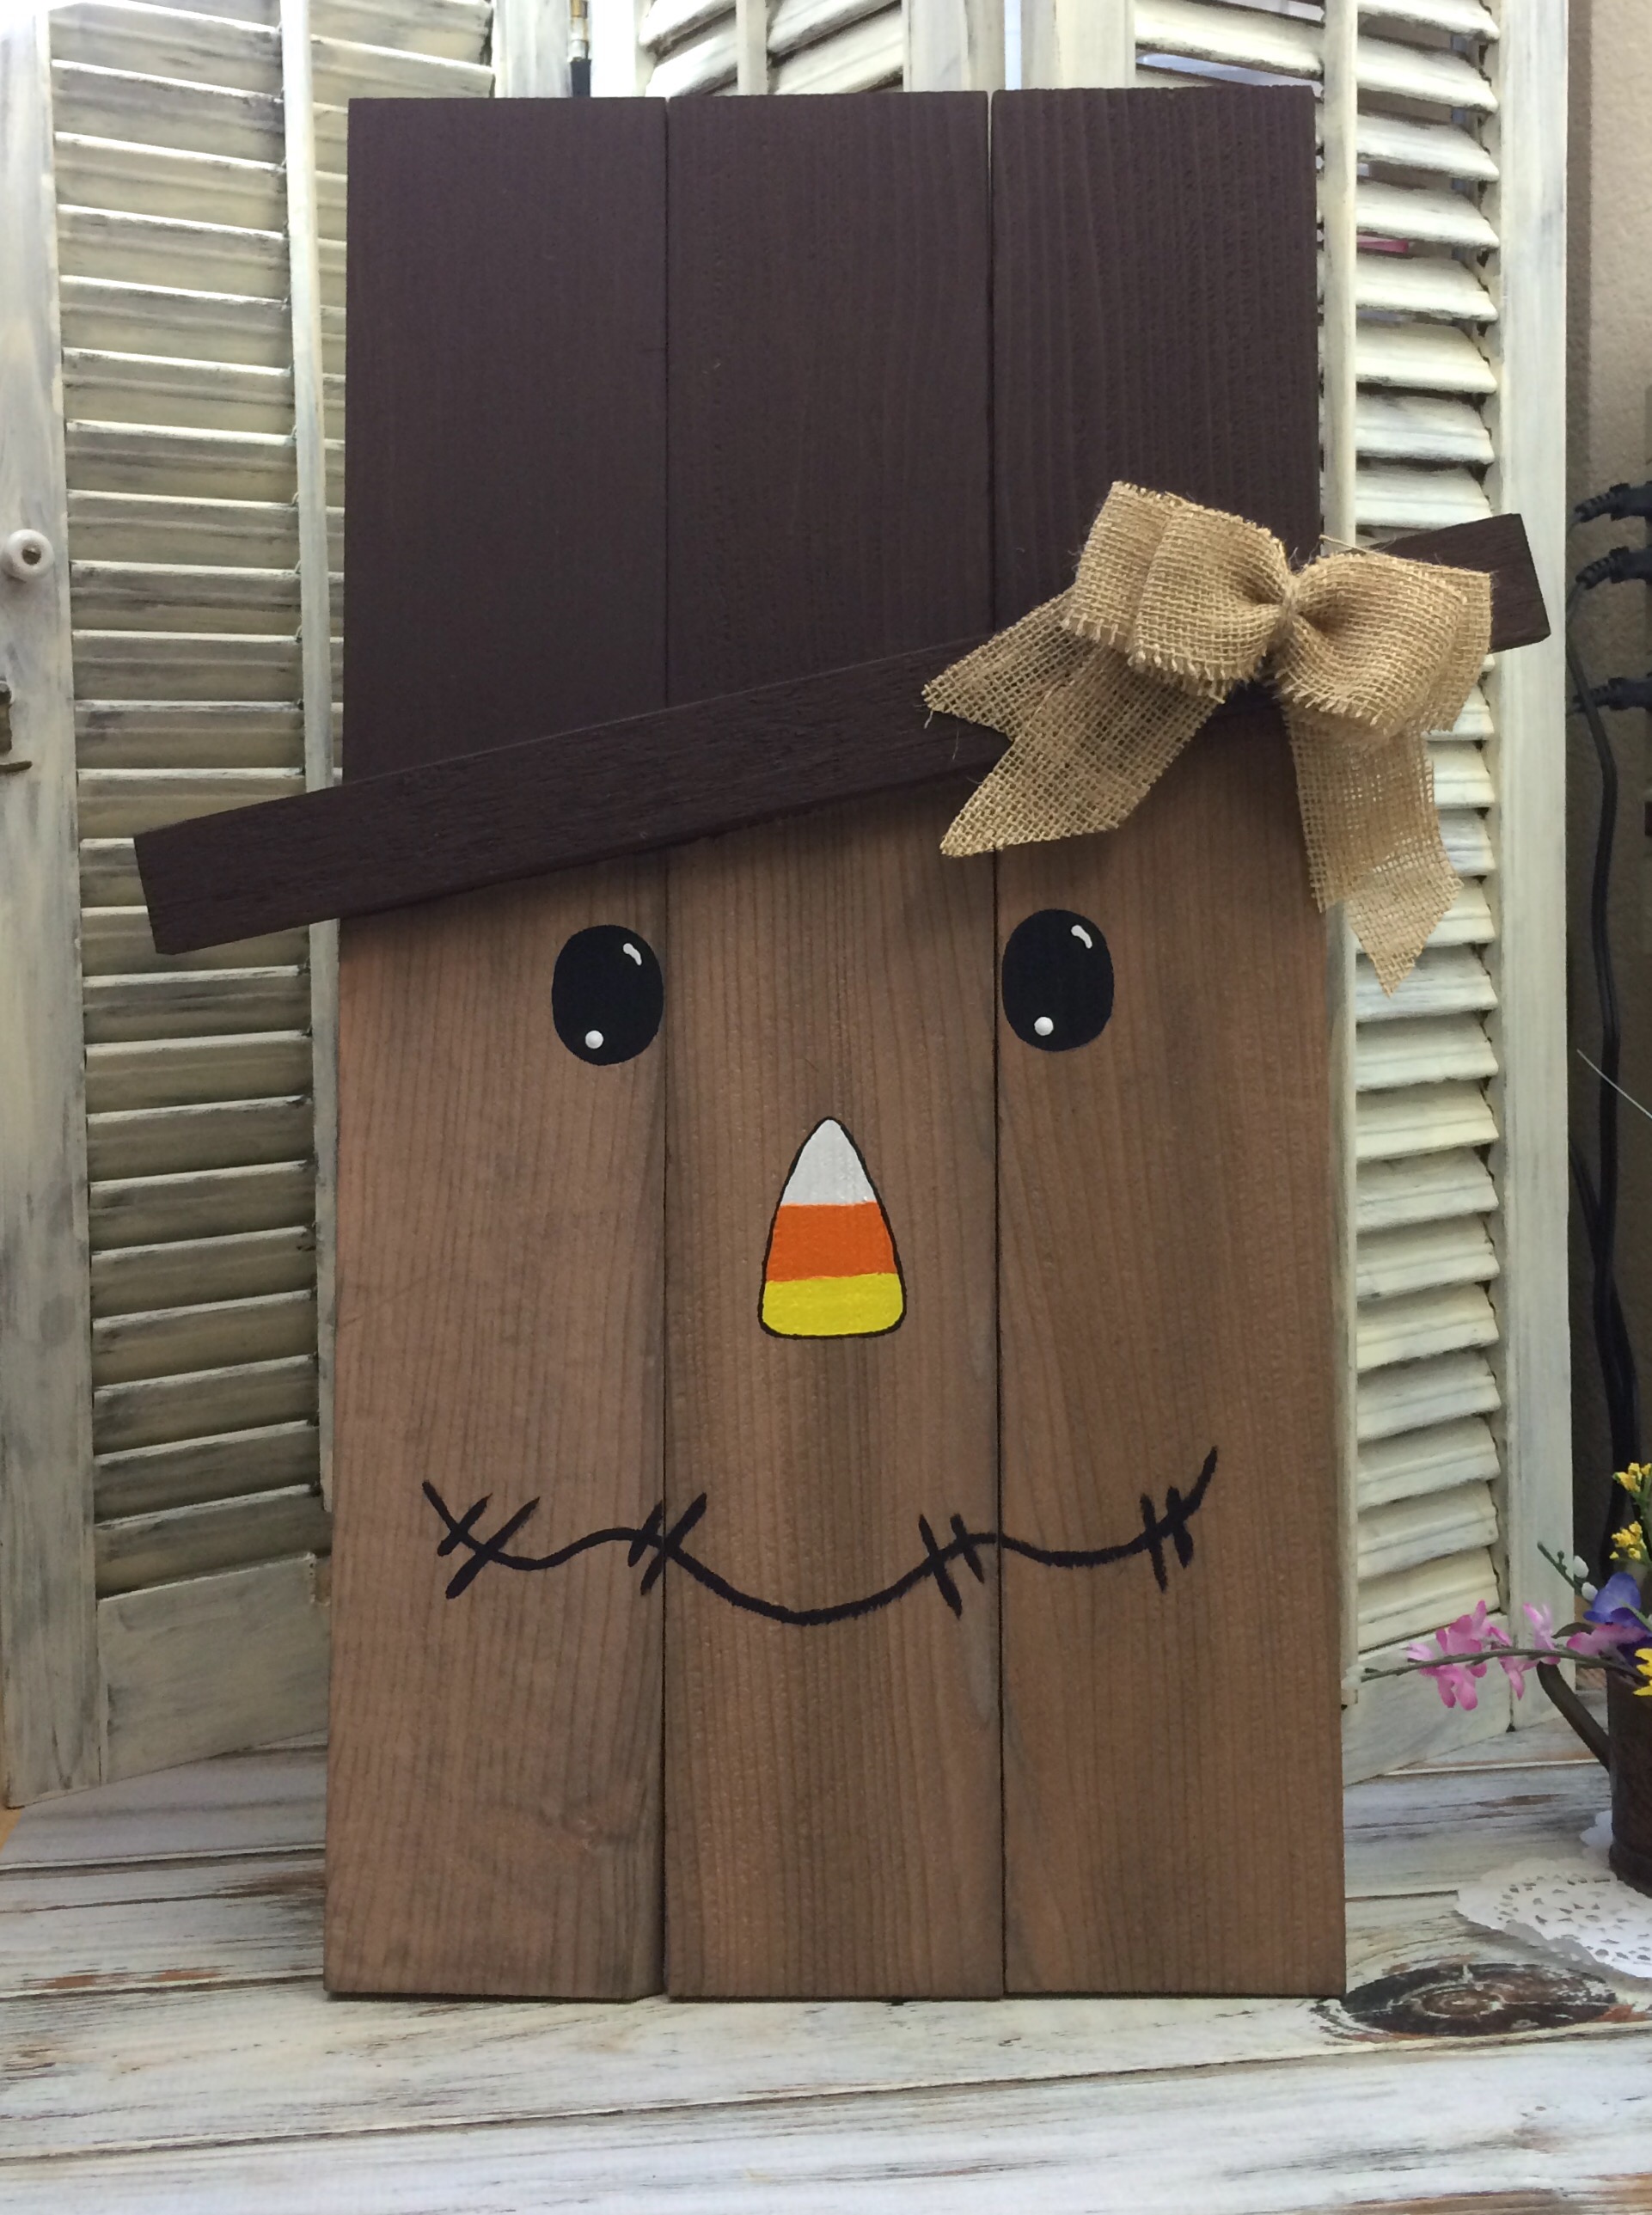
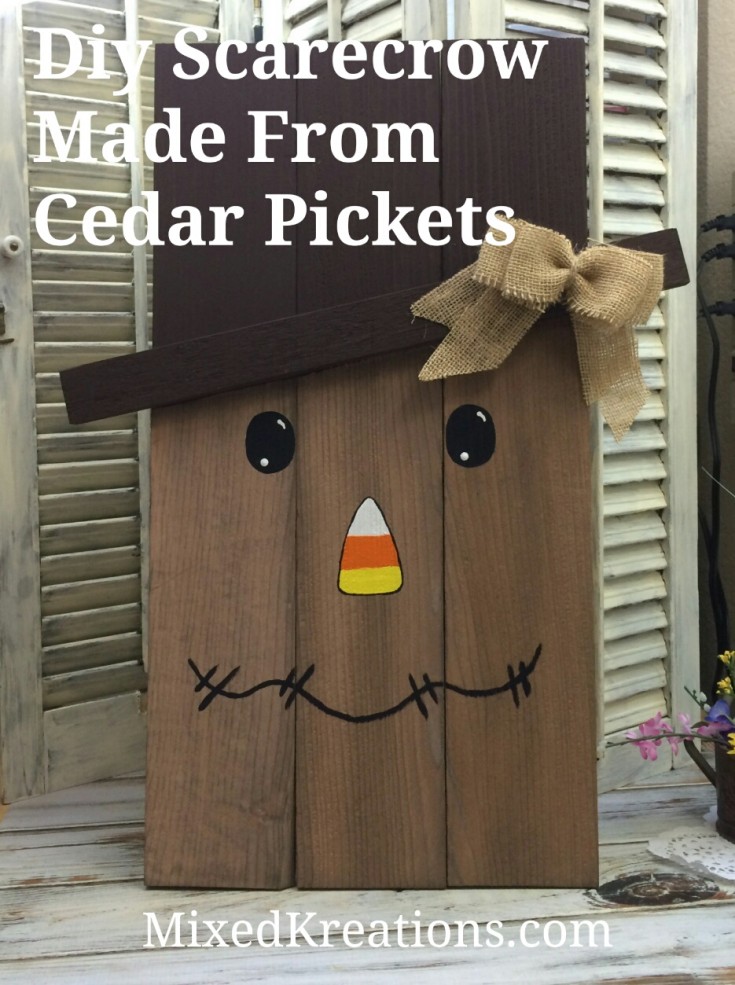
He turned out so adorable that I wanted to share with you how I made my diy scarecrow.
Diy Scarecrow
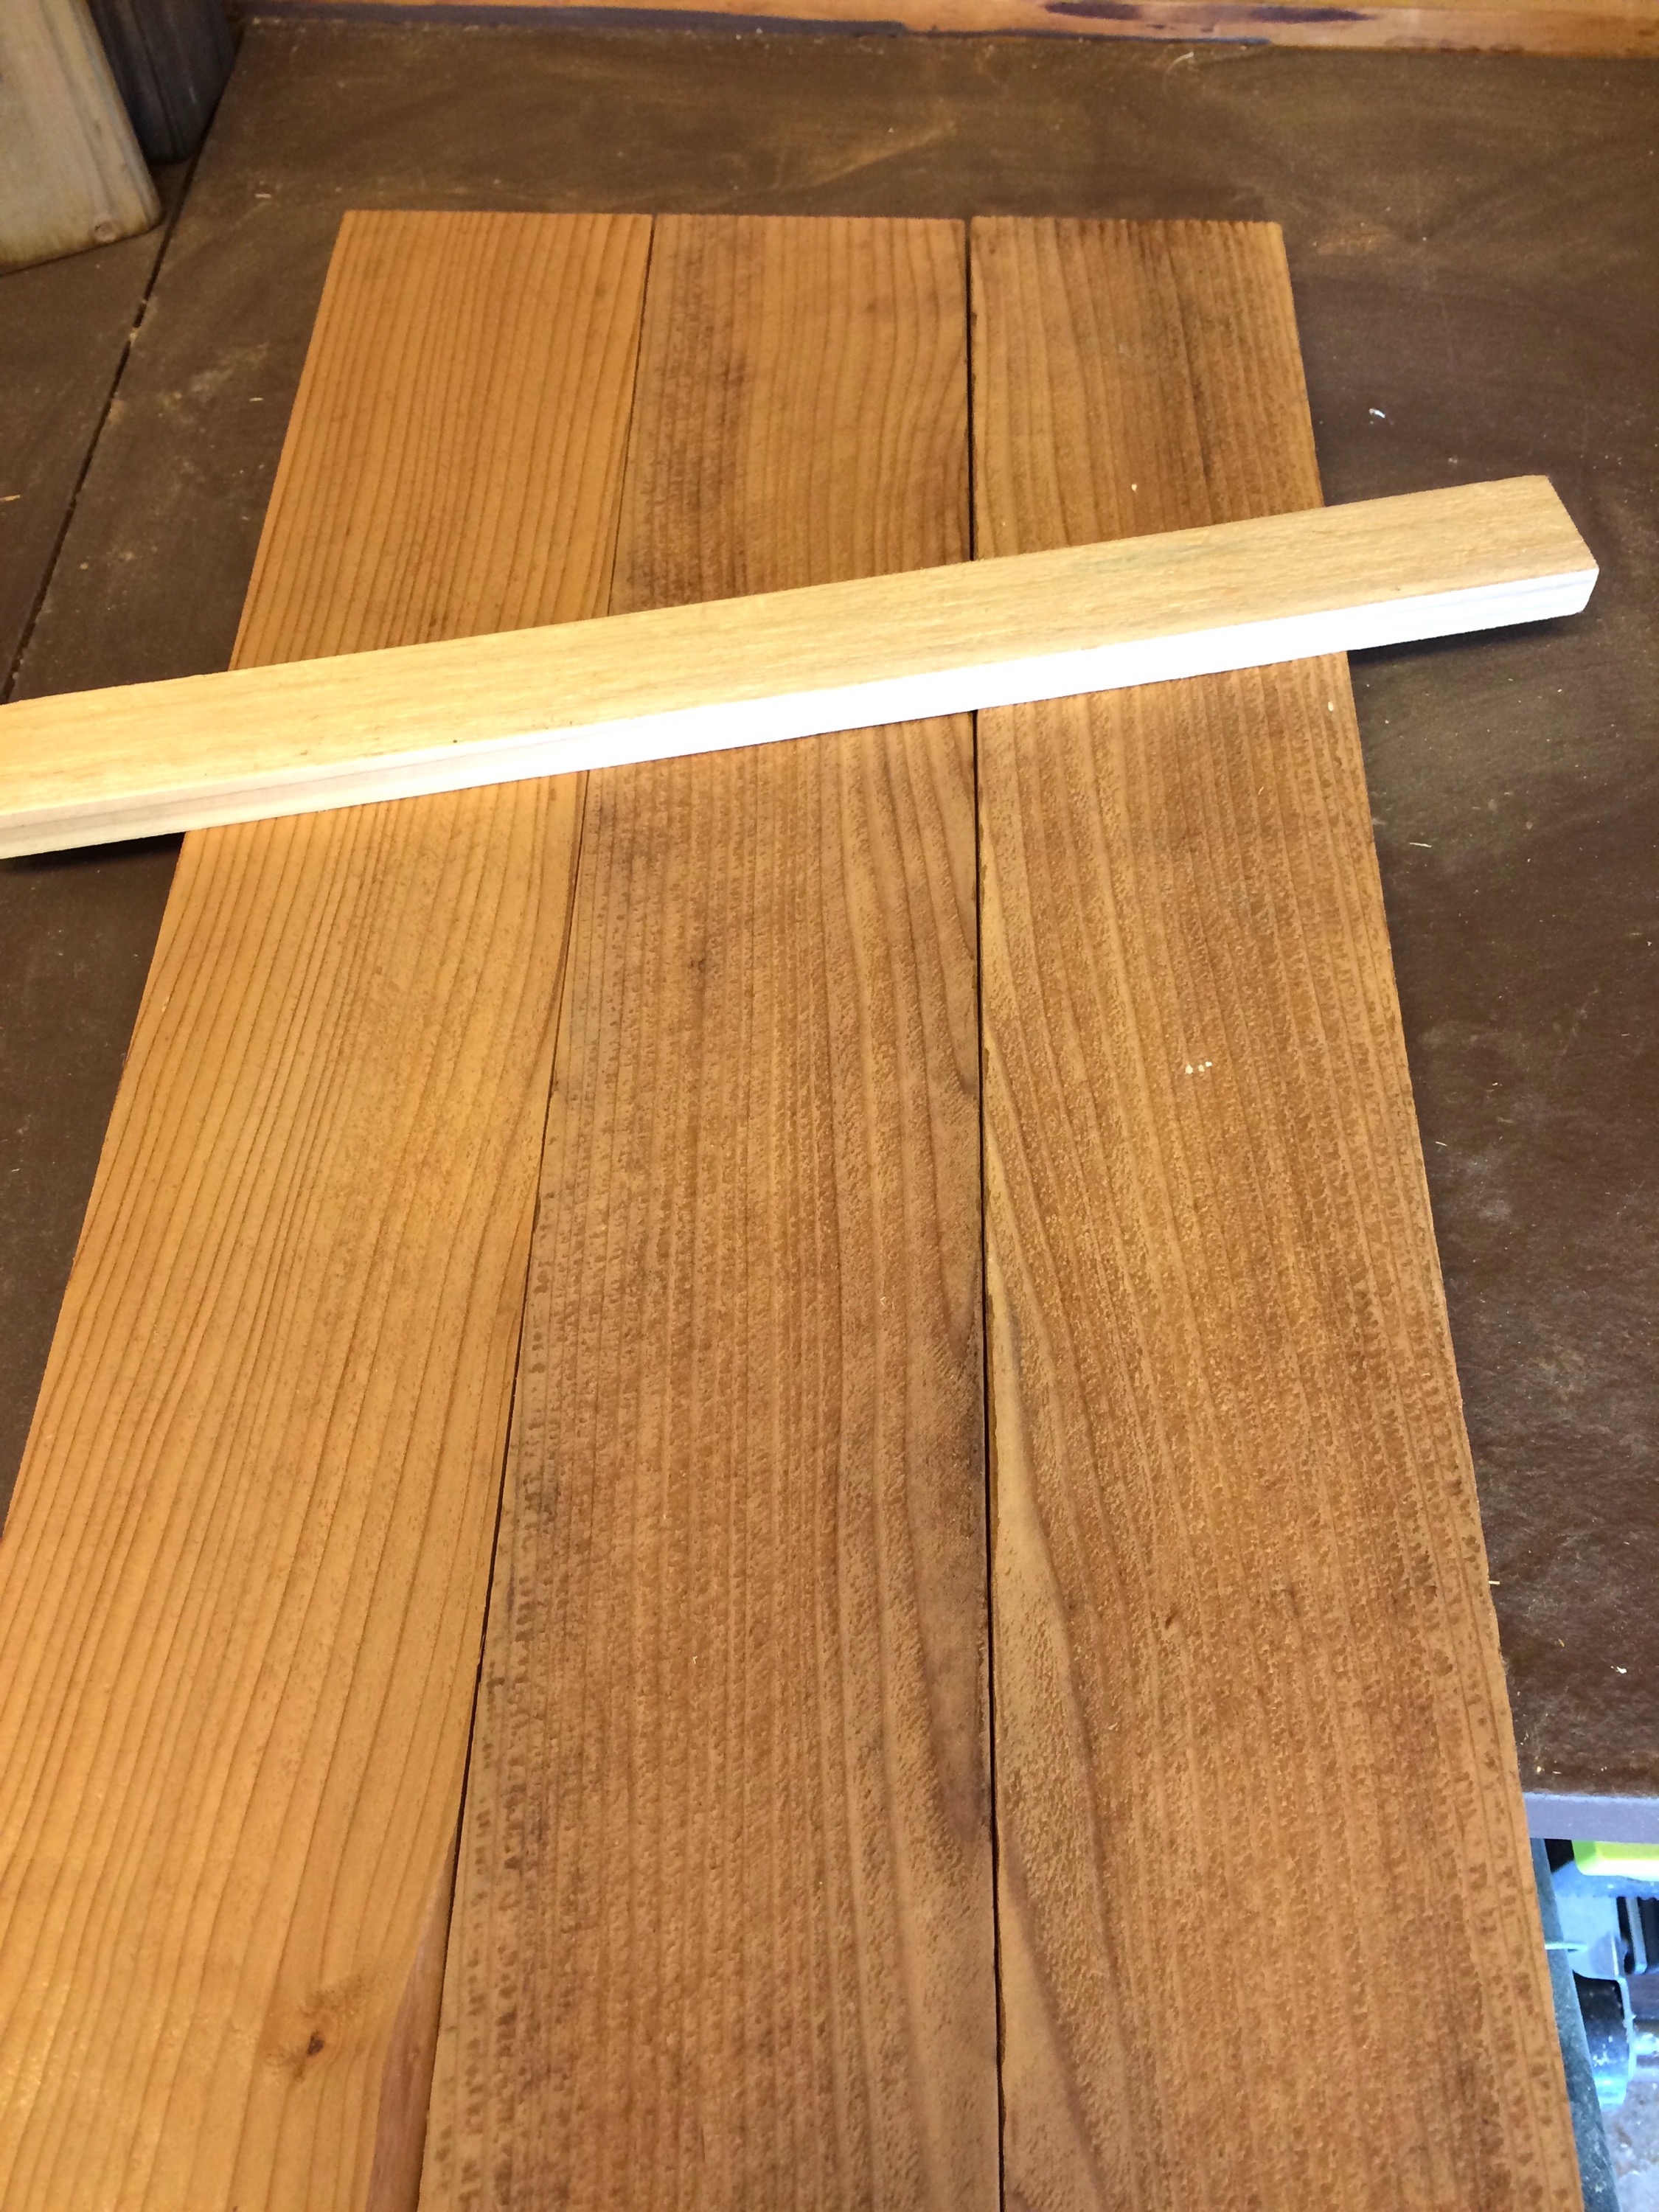
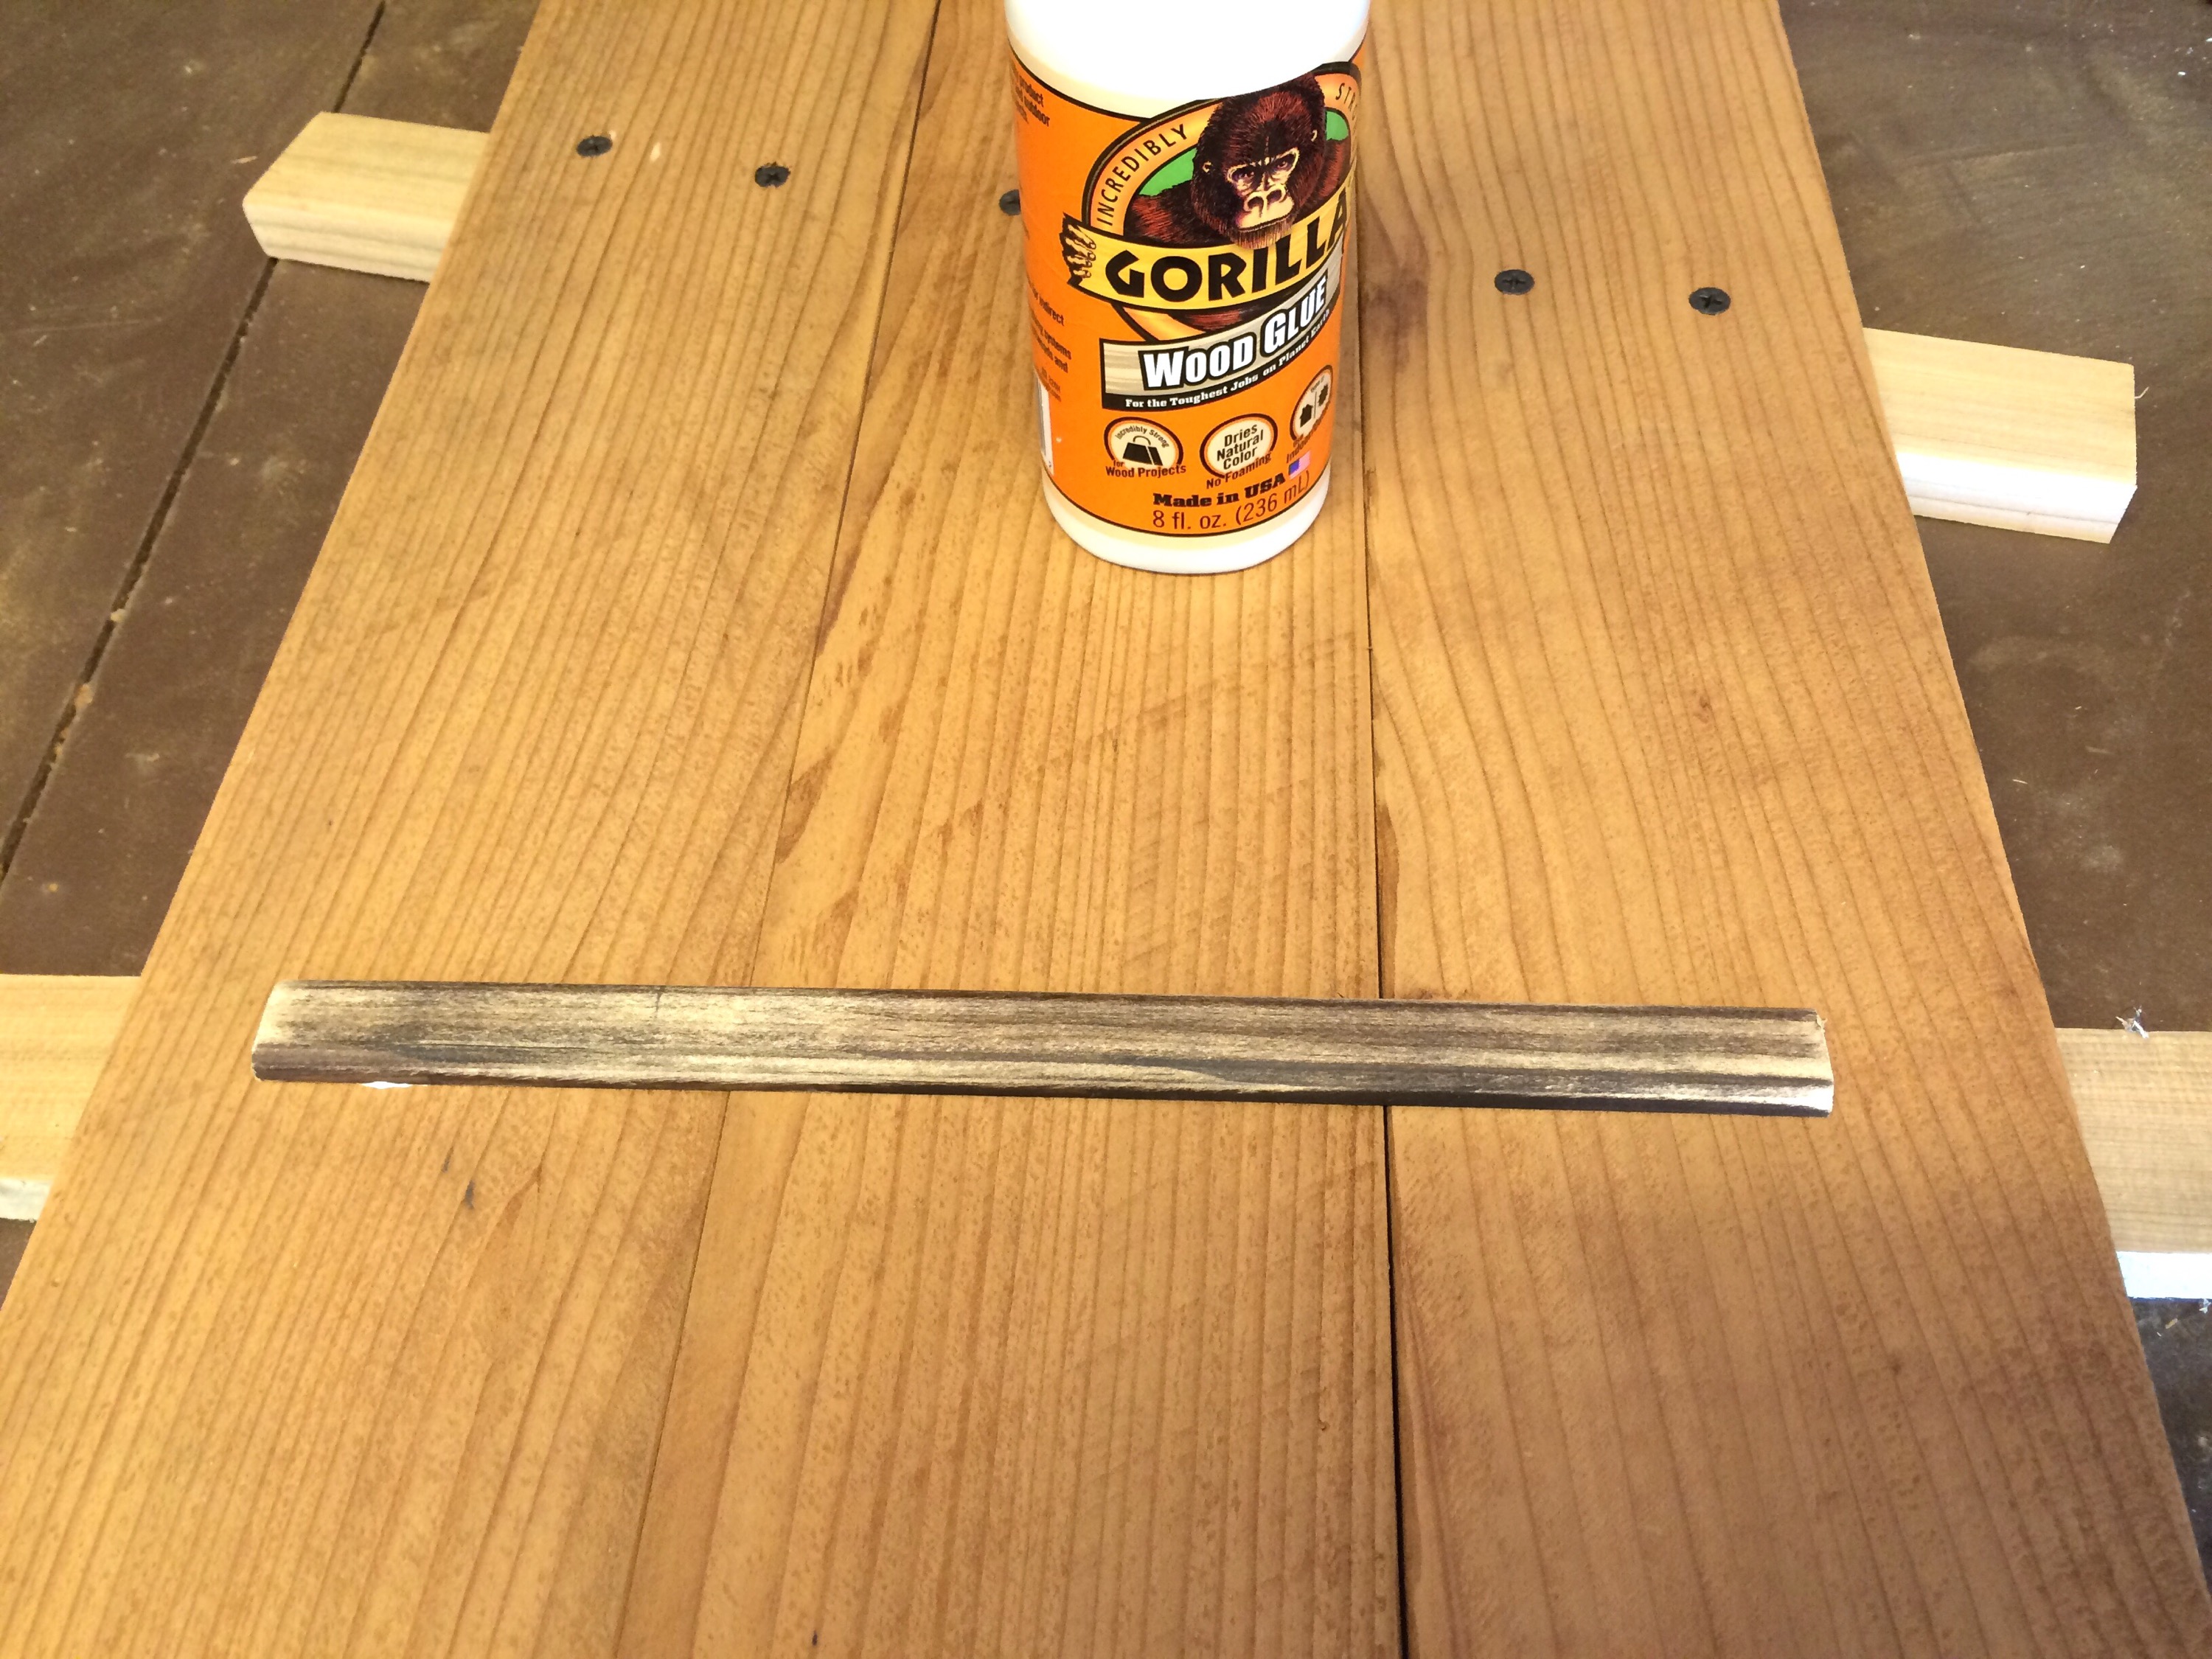
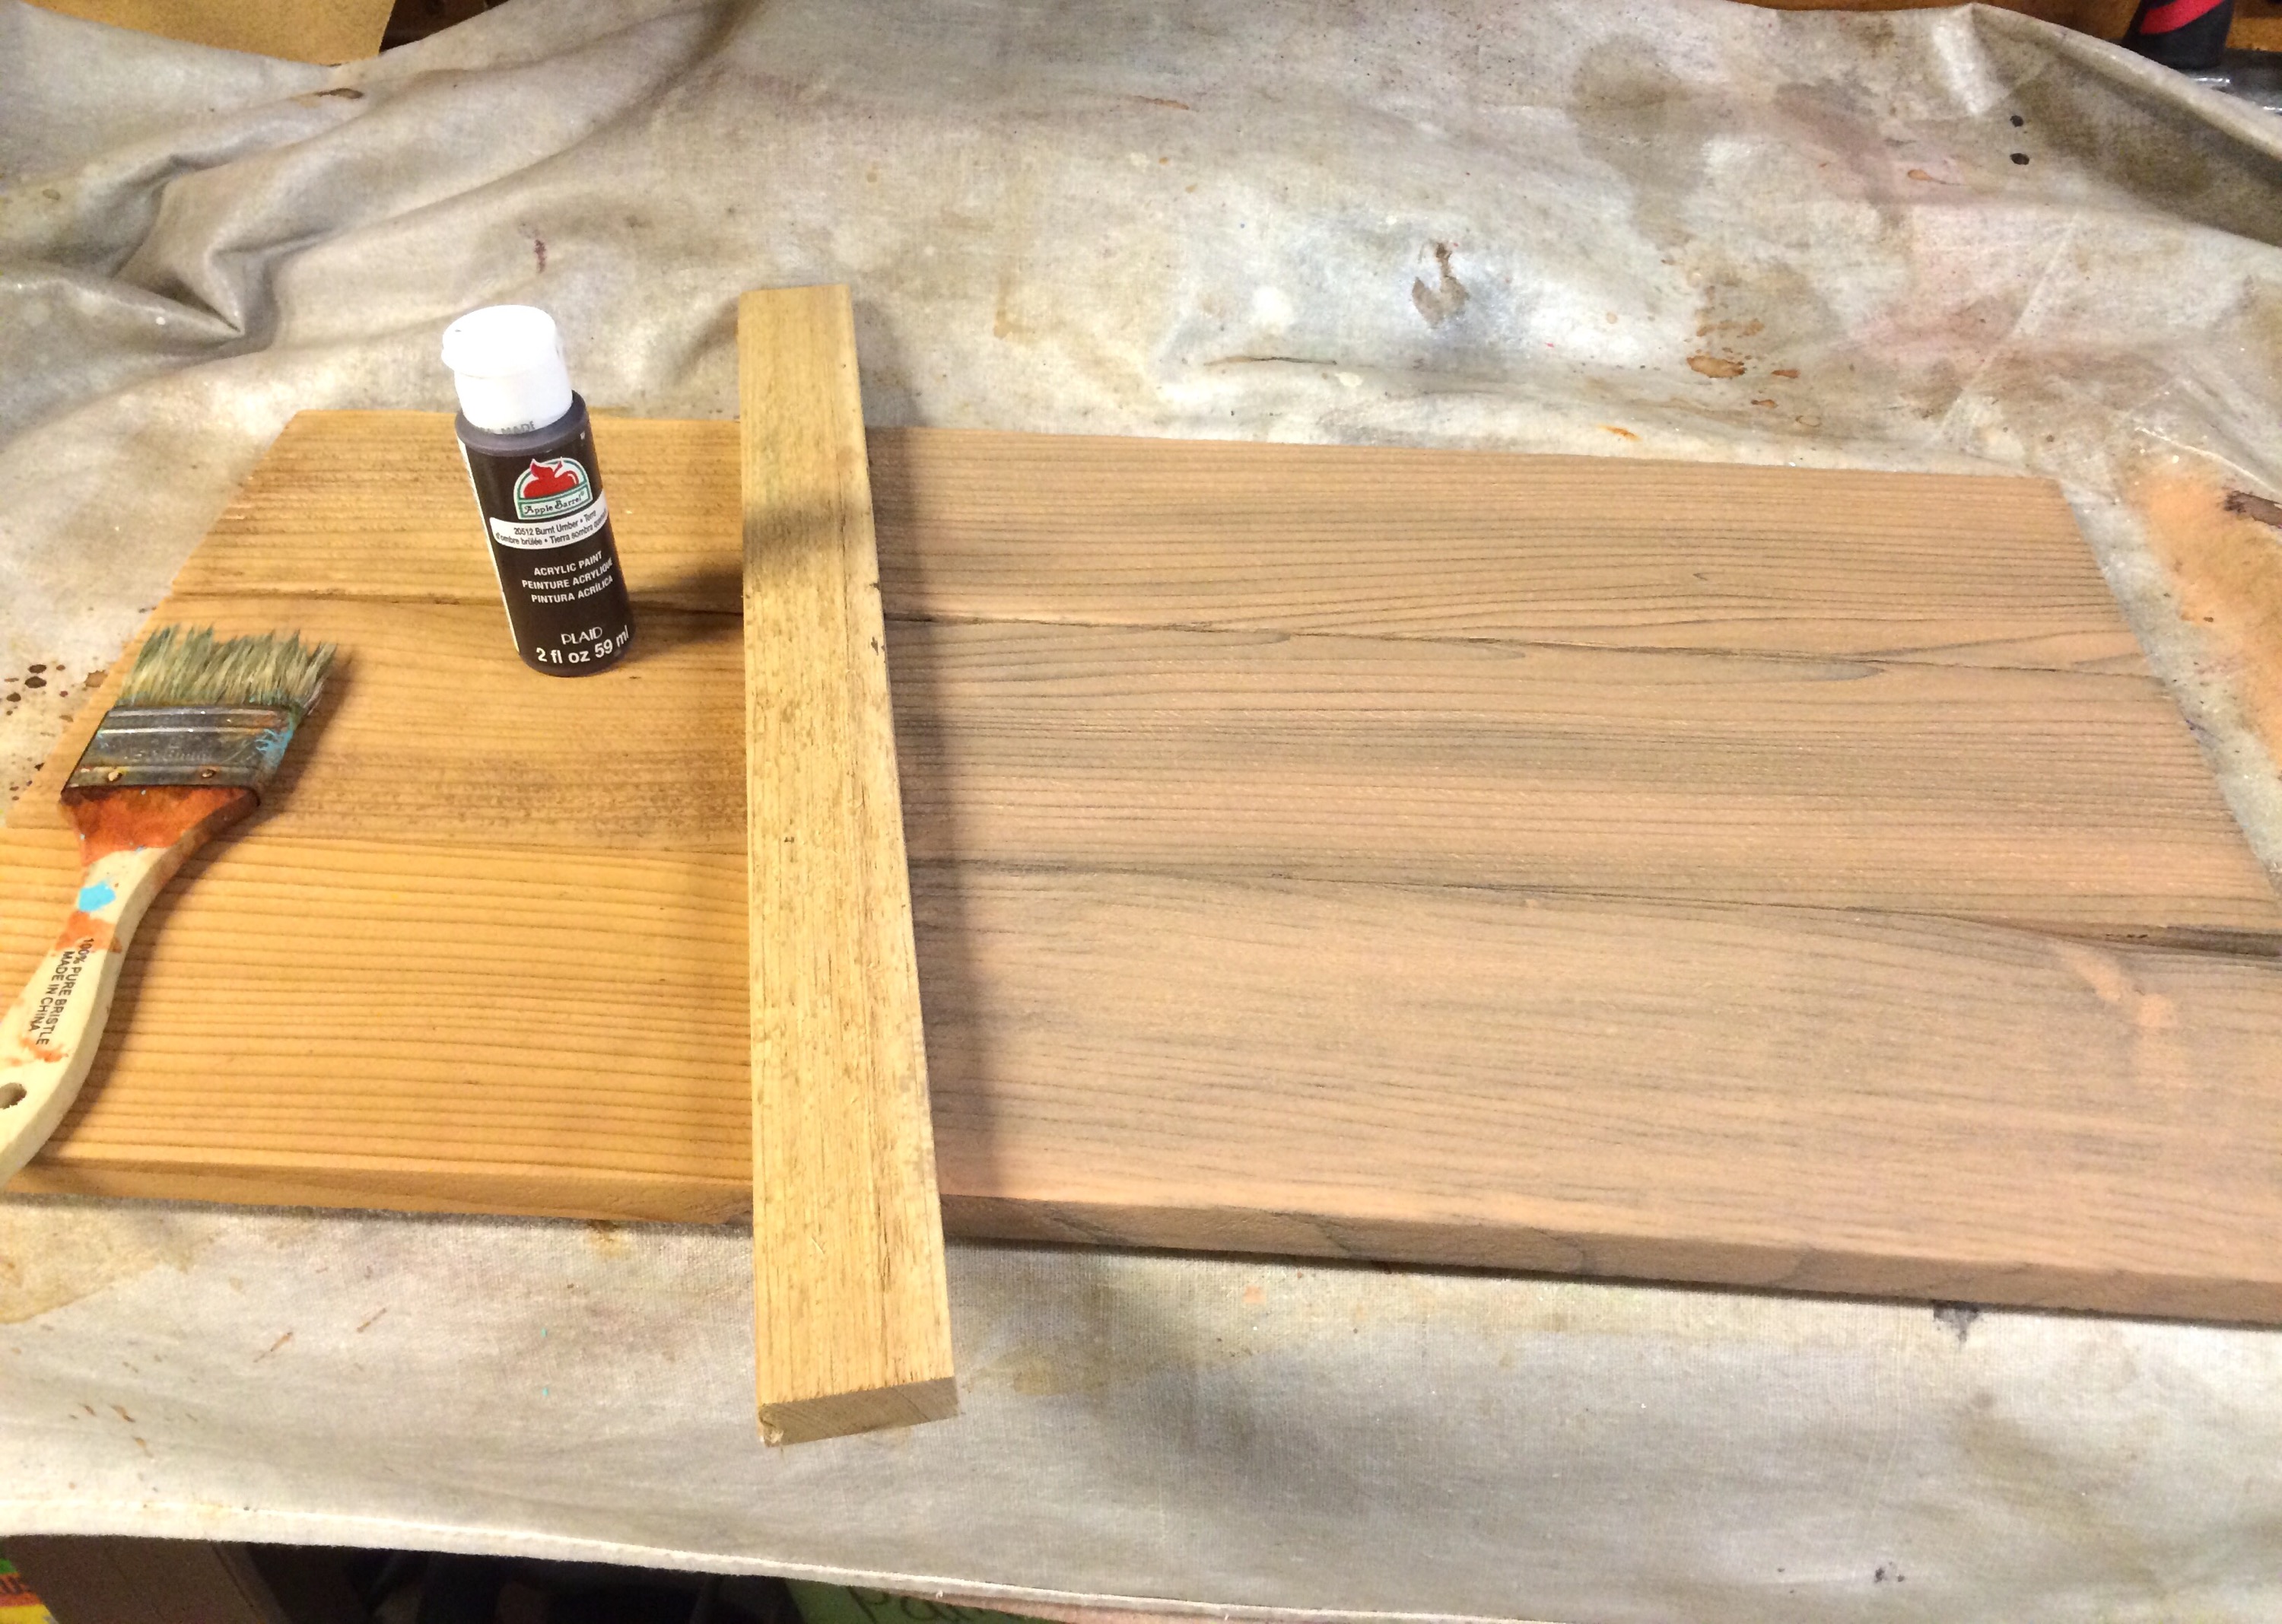
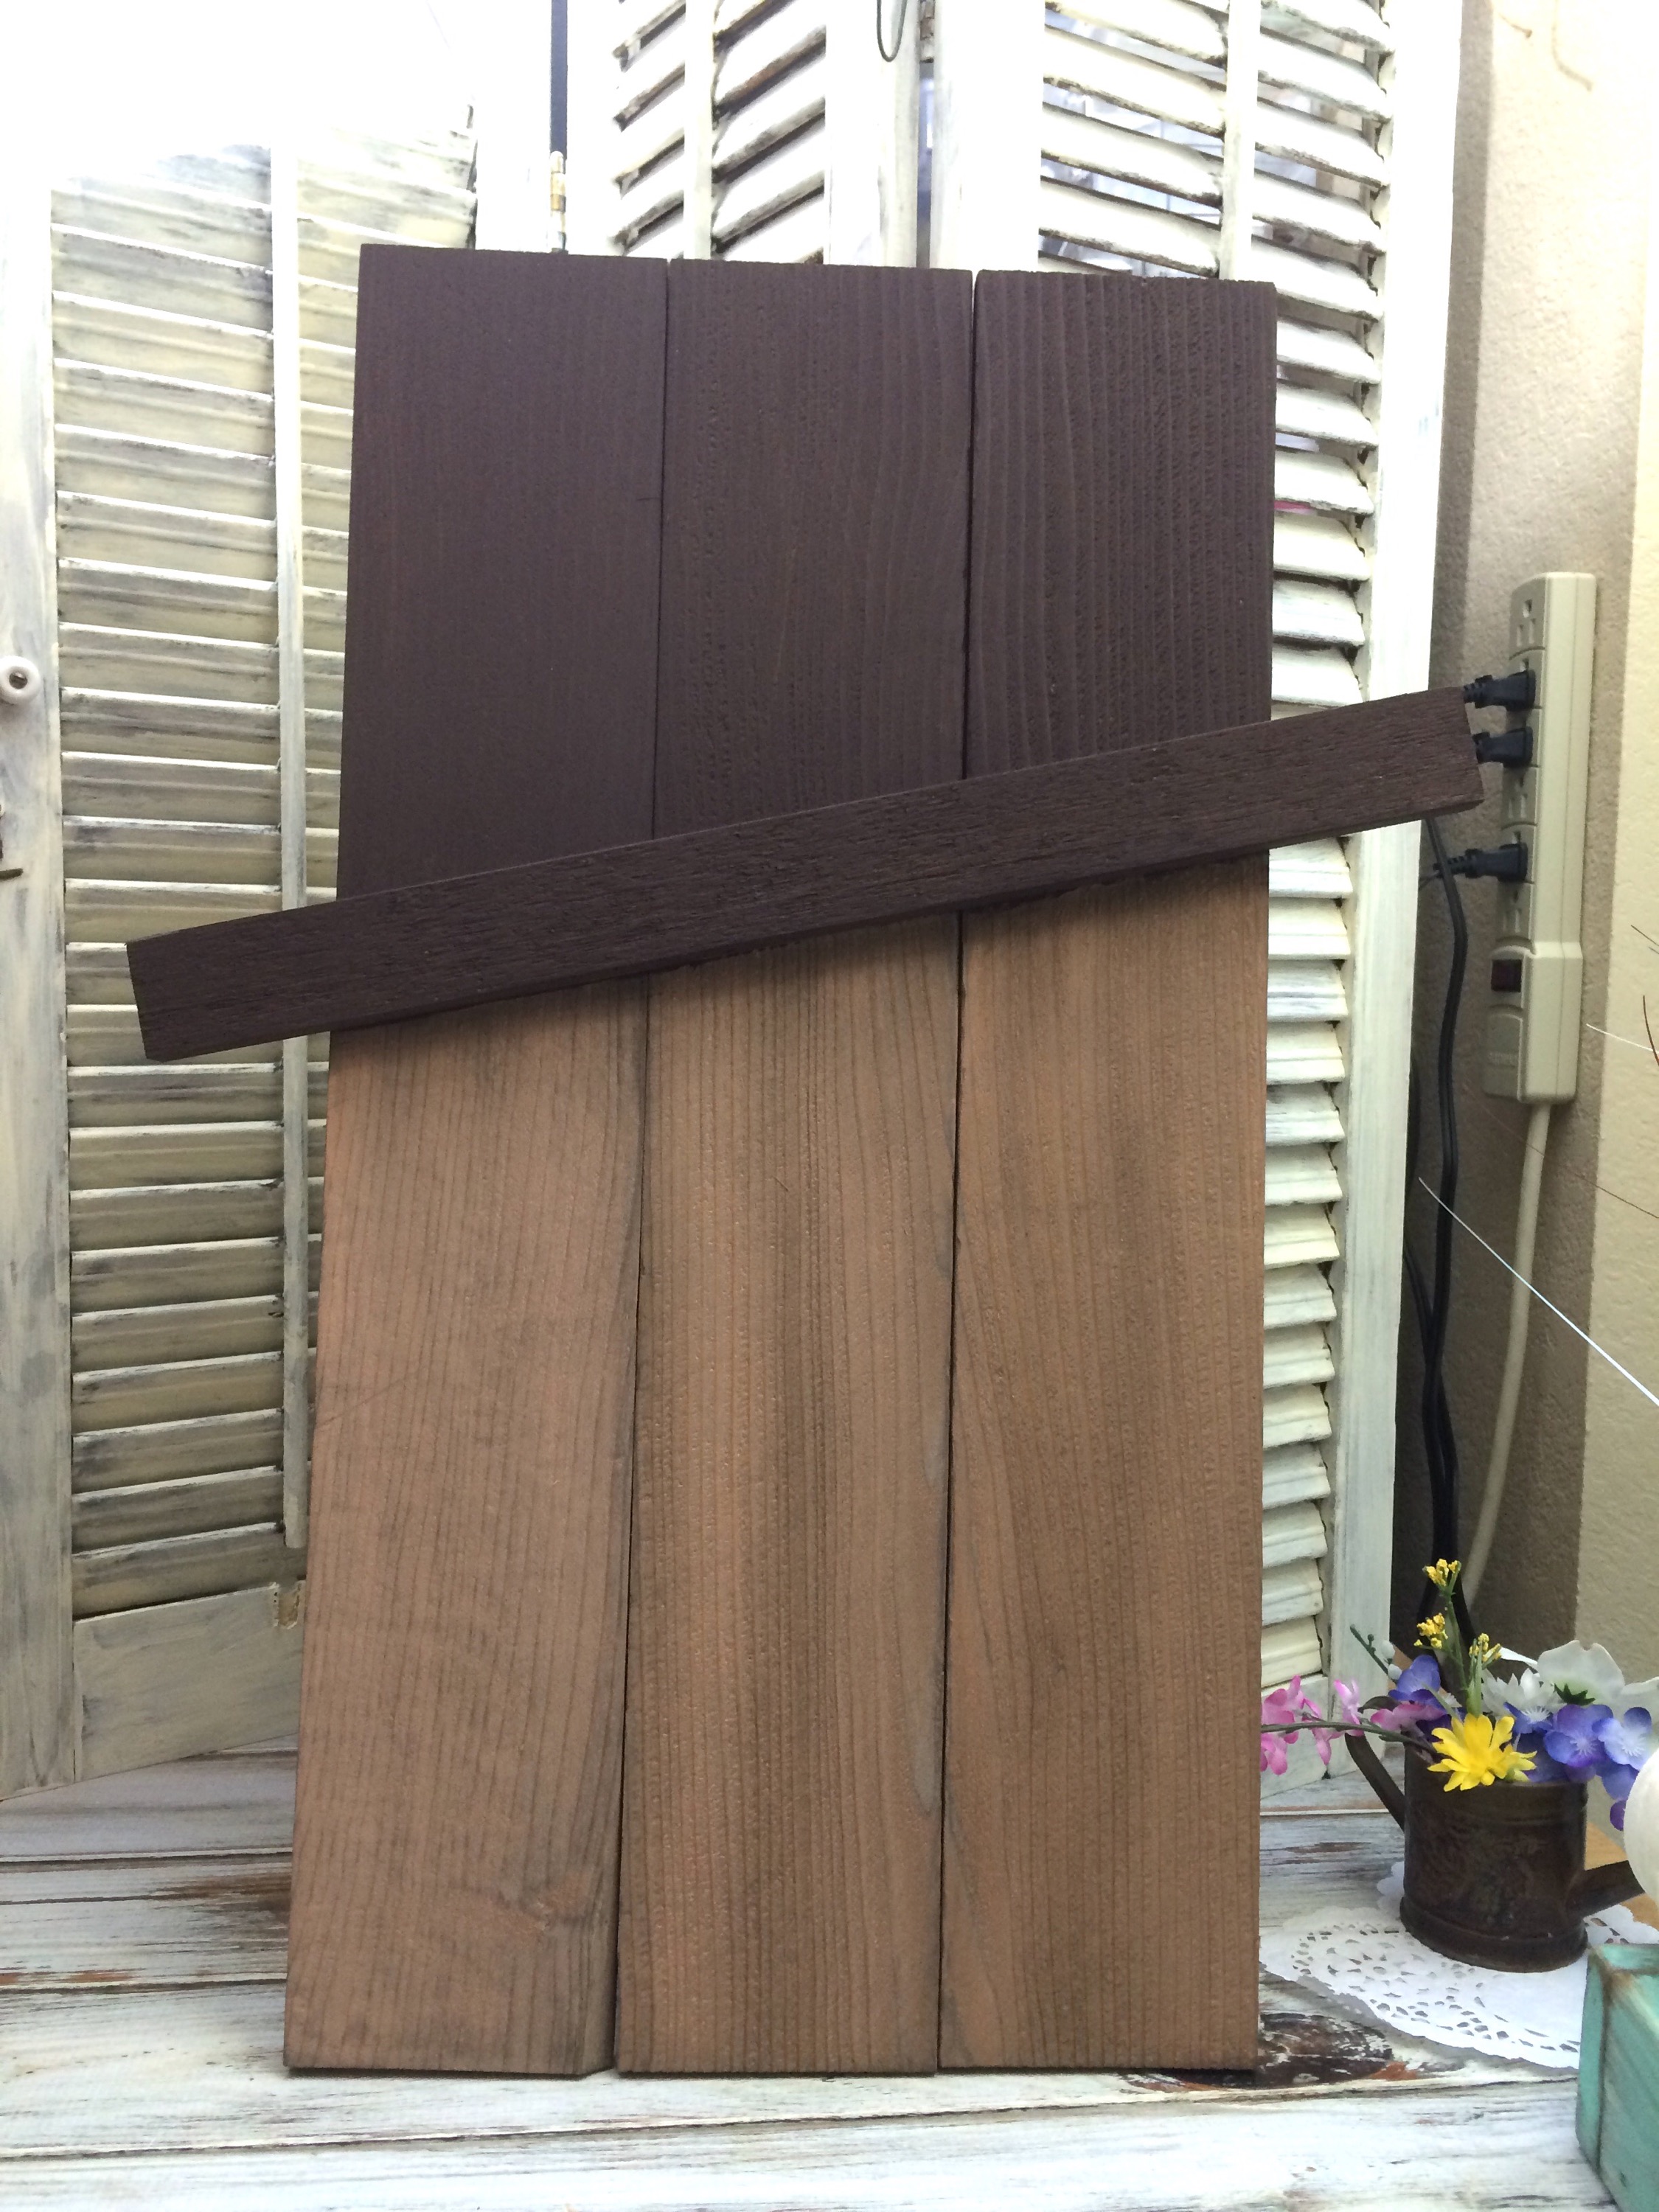
Take the 17″ piece of trim and glue it down at an angle up towards the top of your cedar pickets for the scarecrows hat brim.
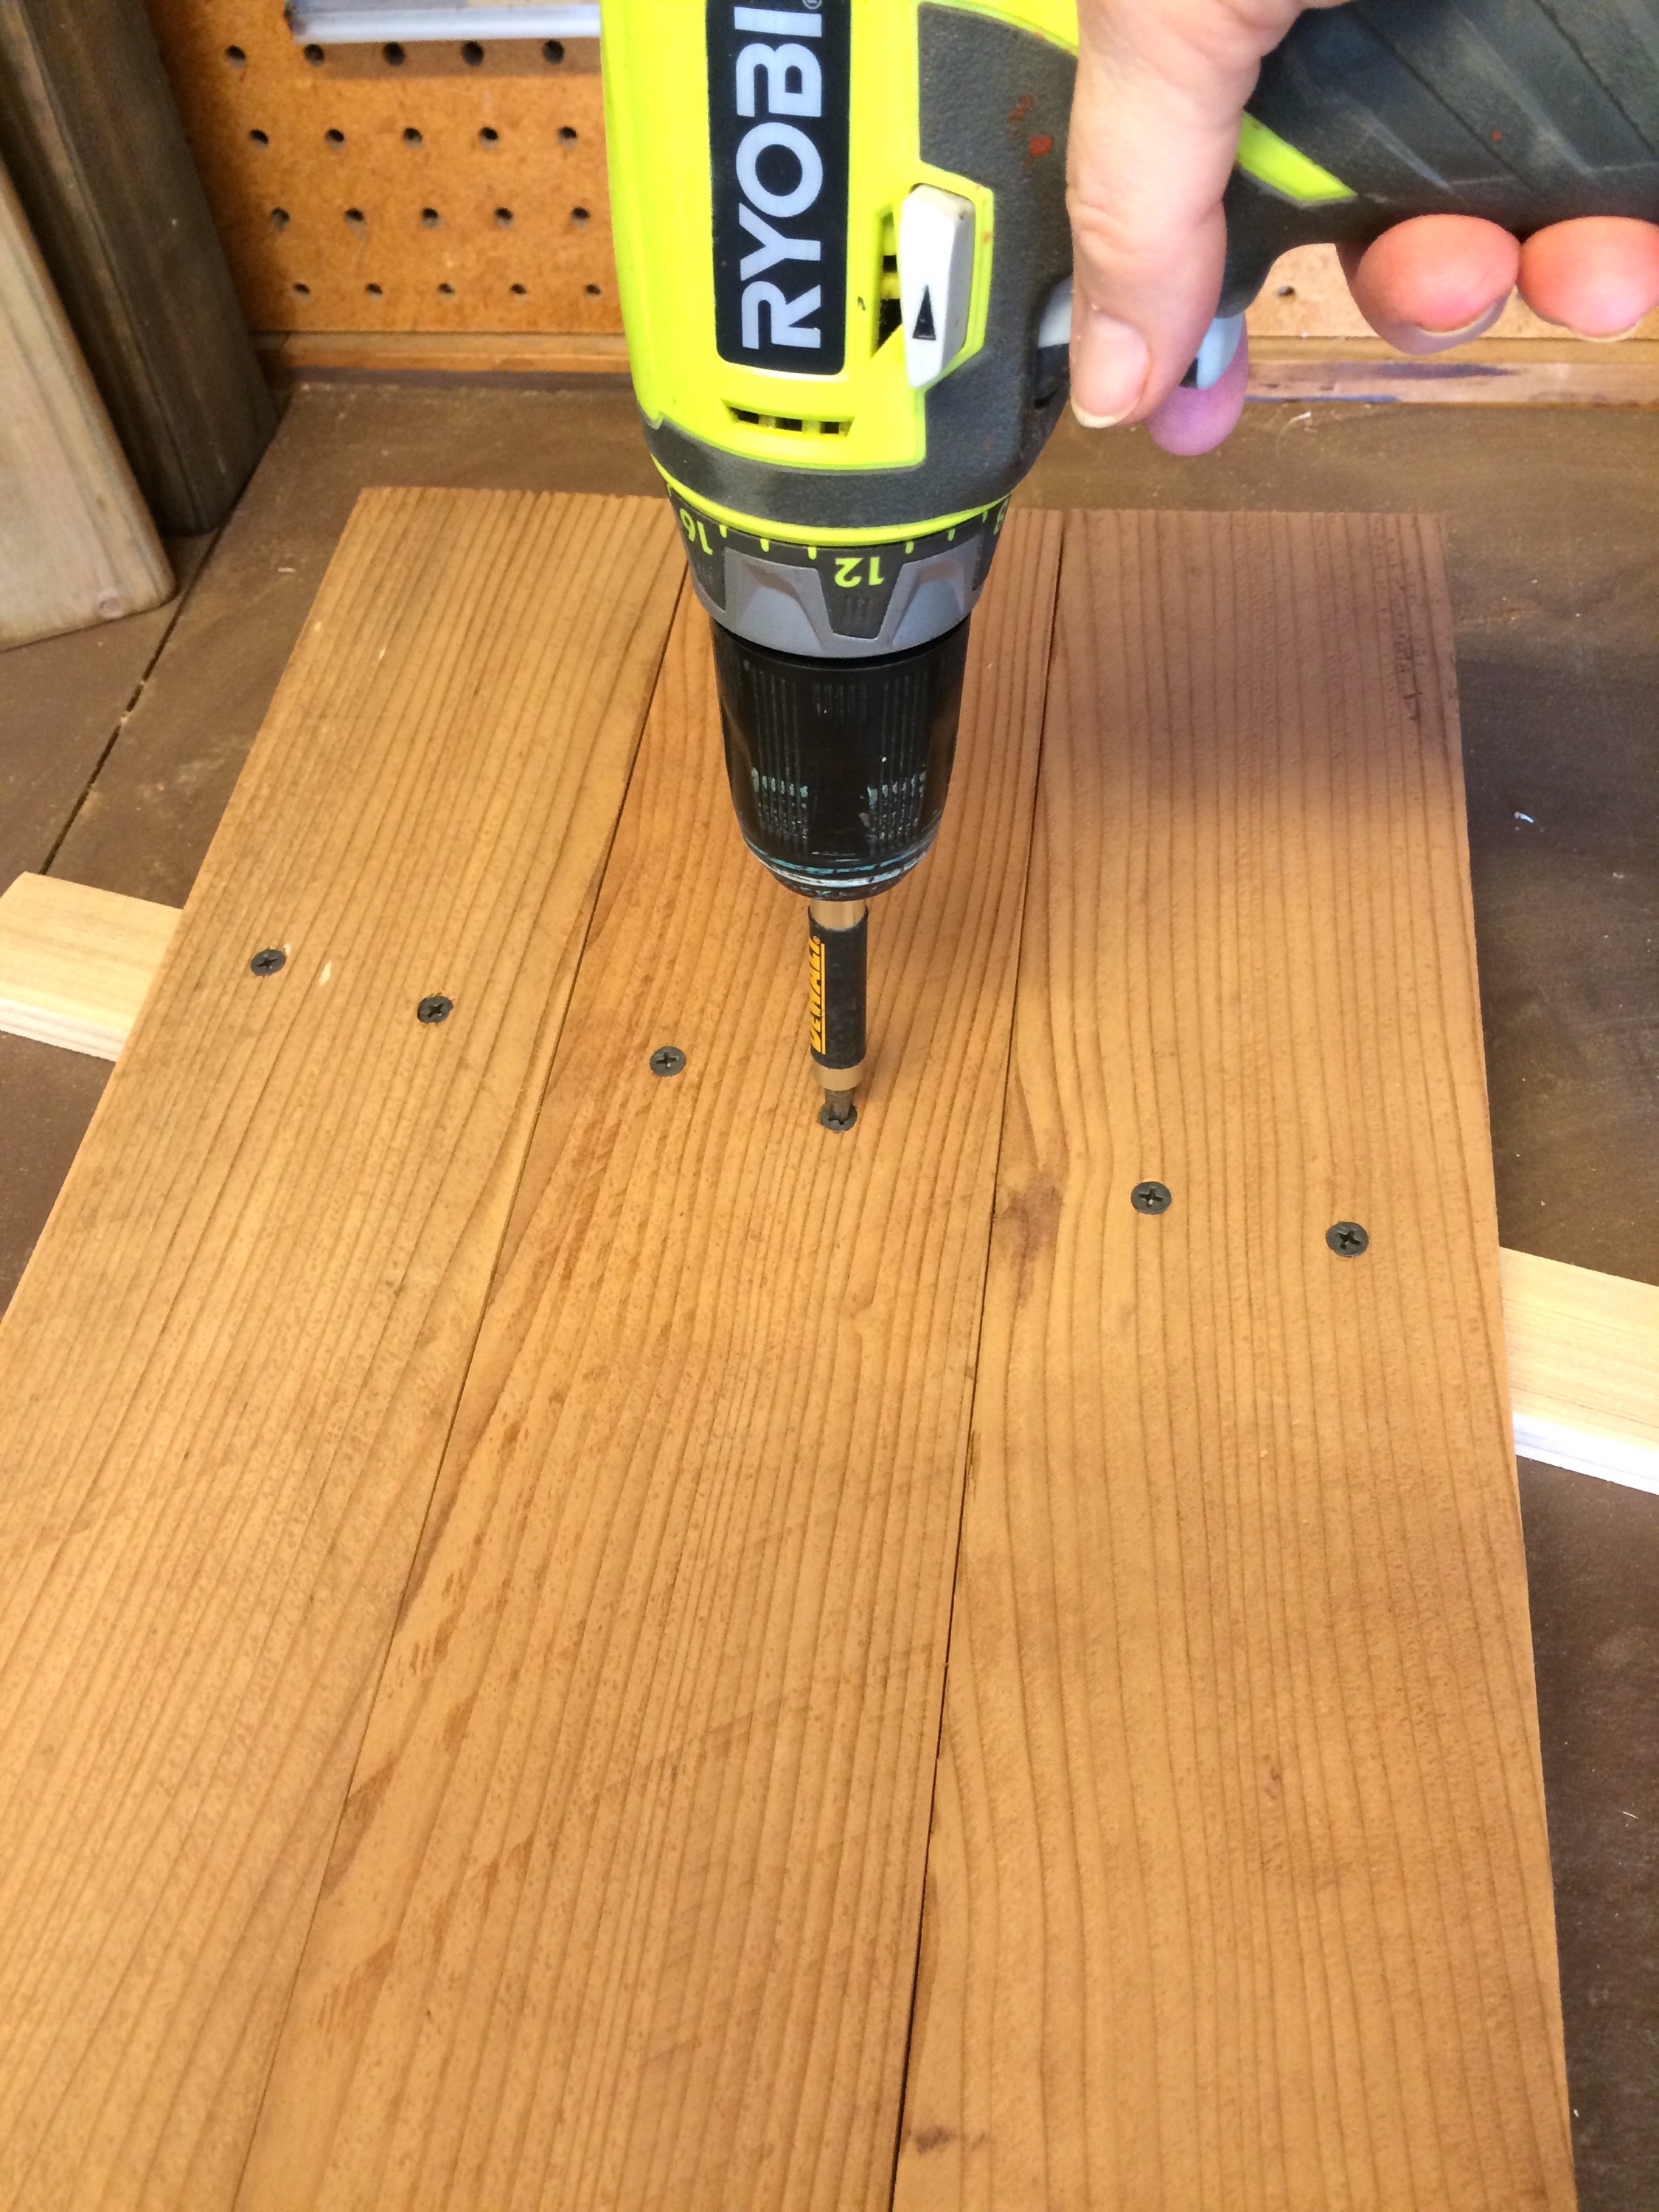
Once the glue on the trim for the brim (-; is dry flip over and screw it down.
Then glue down the 10″ onto the back for added support. Staple or screw down as well.
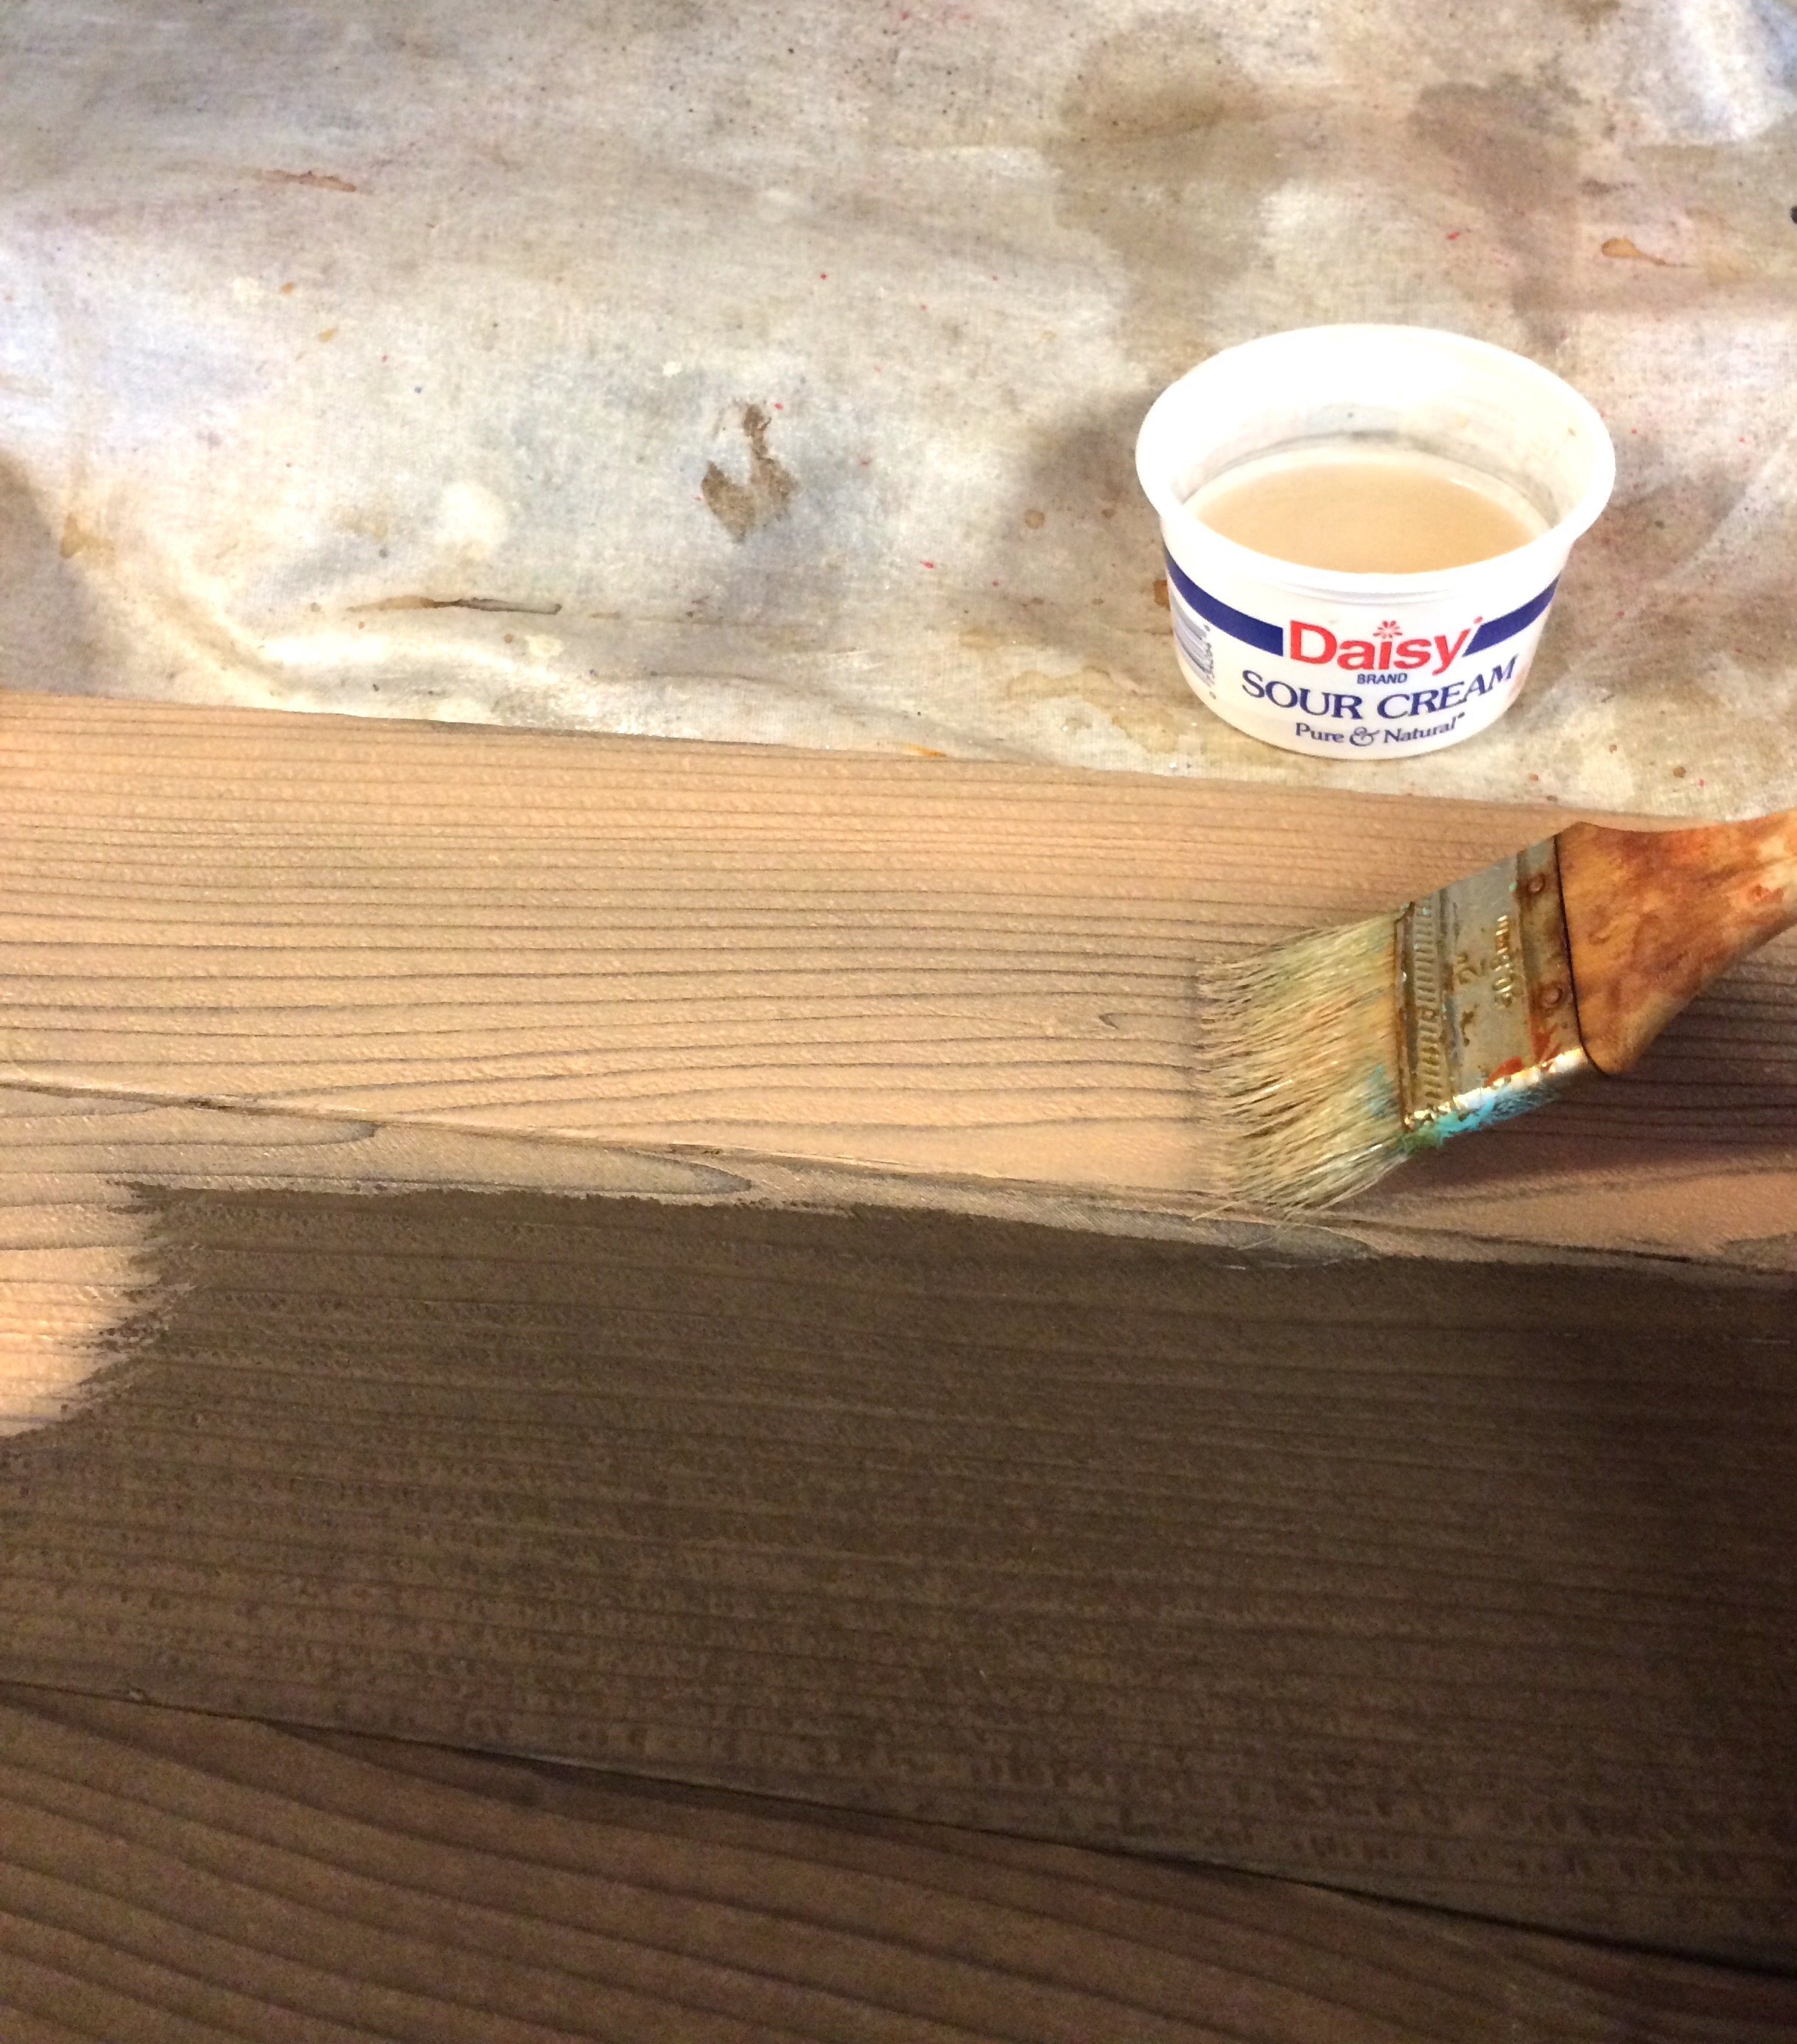
I started out using my magic wood aging solution for the scarecrows face, but it came out way to dark.
So I went back over the face of my diy scarecrow with a light coat of acrylic flesh paint.
Next paint the scarecrows hat dark brown.
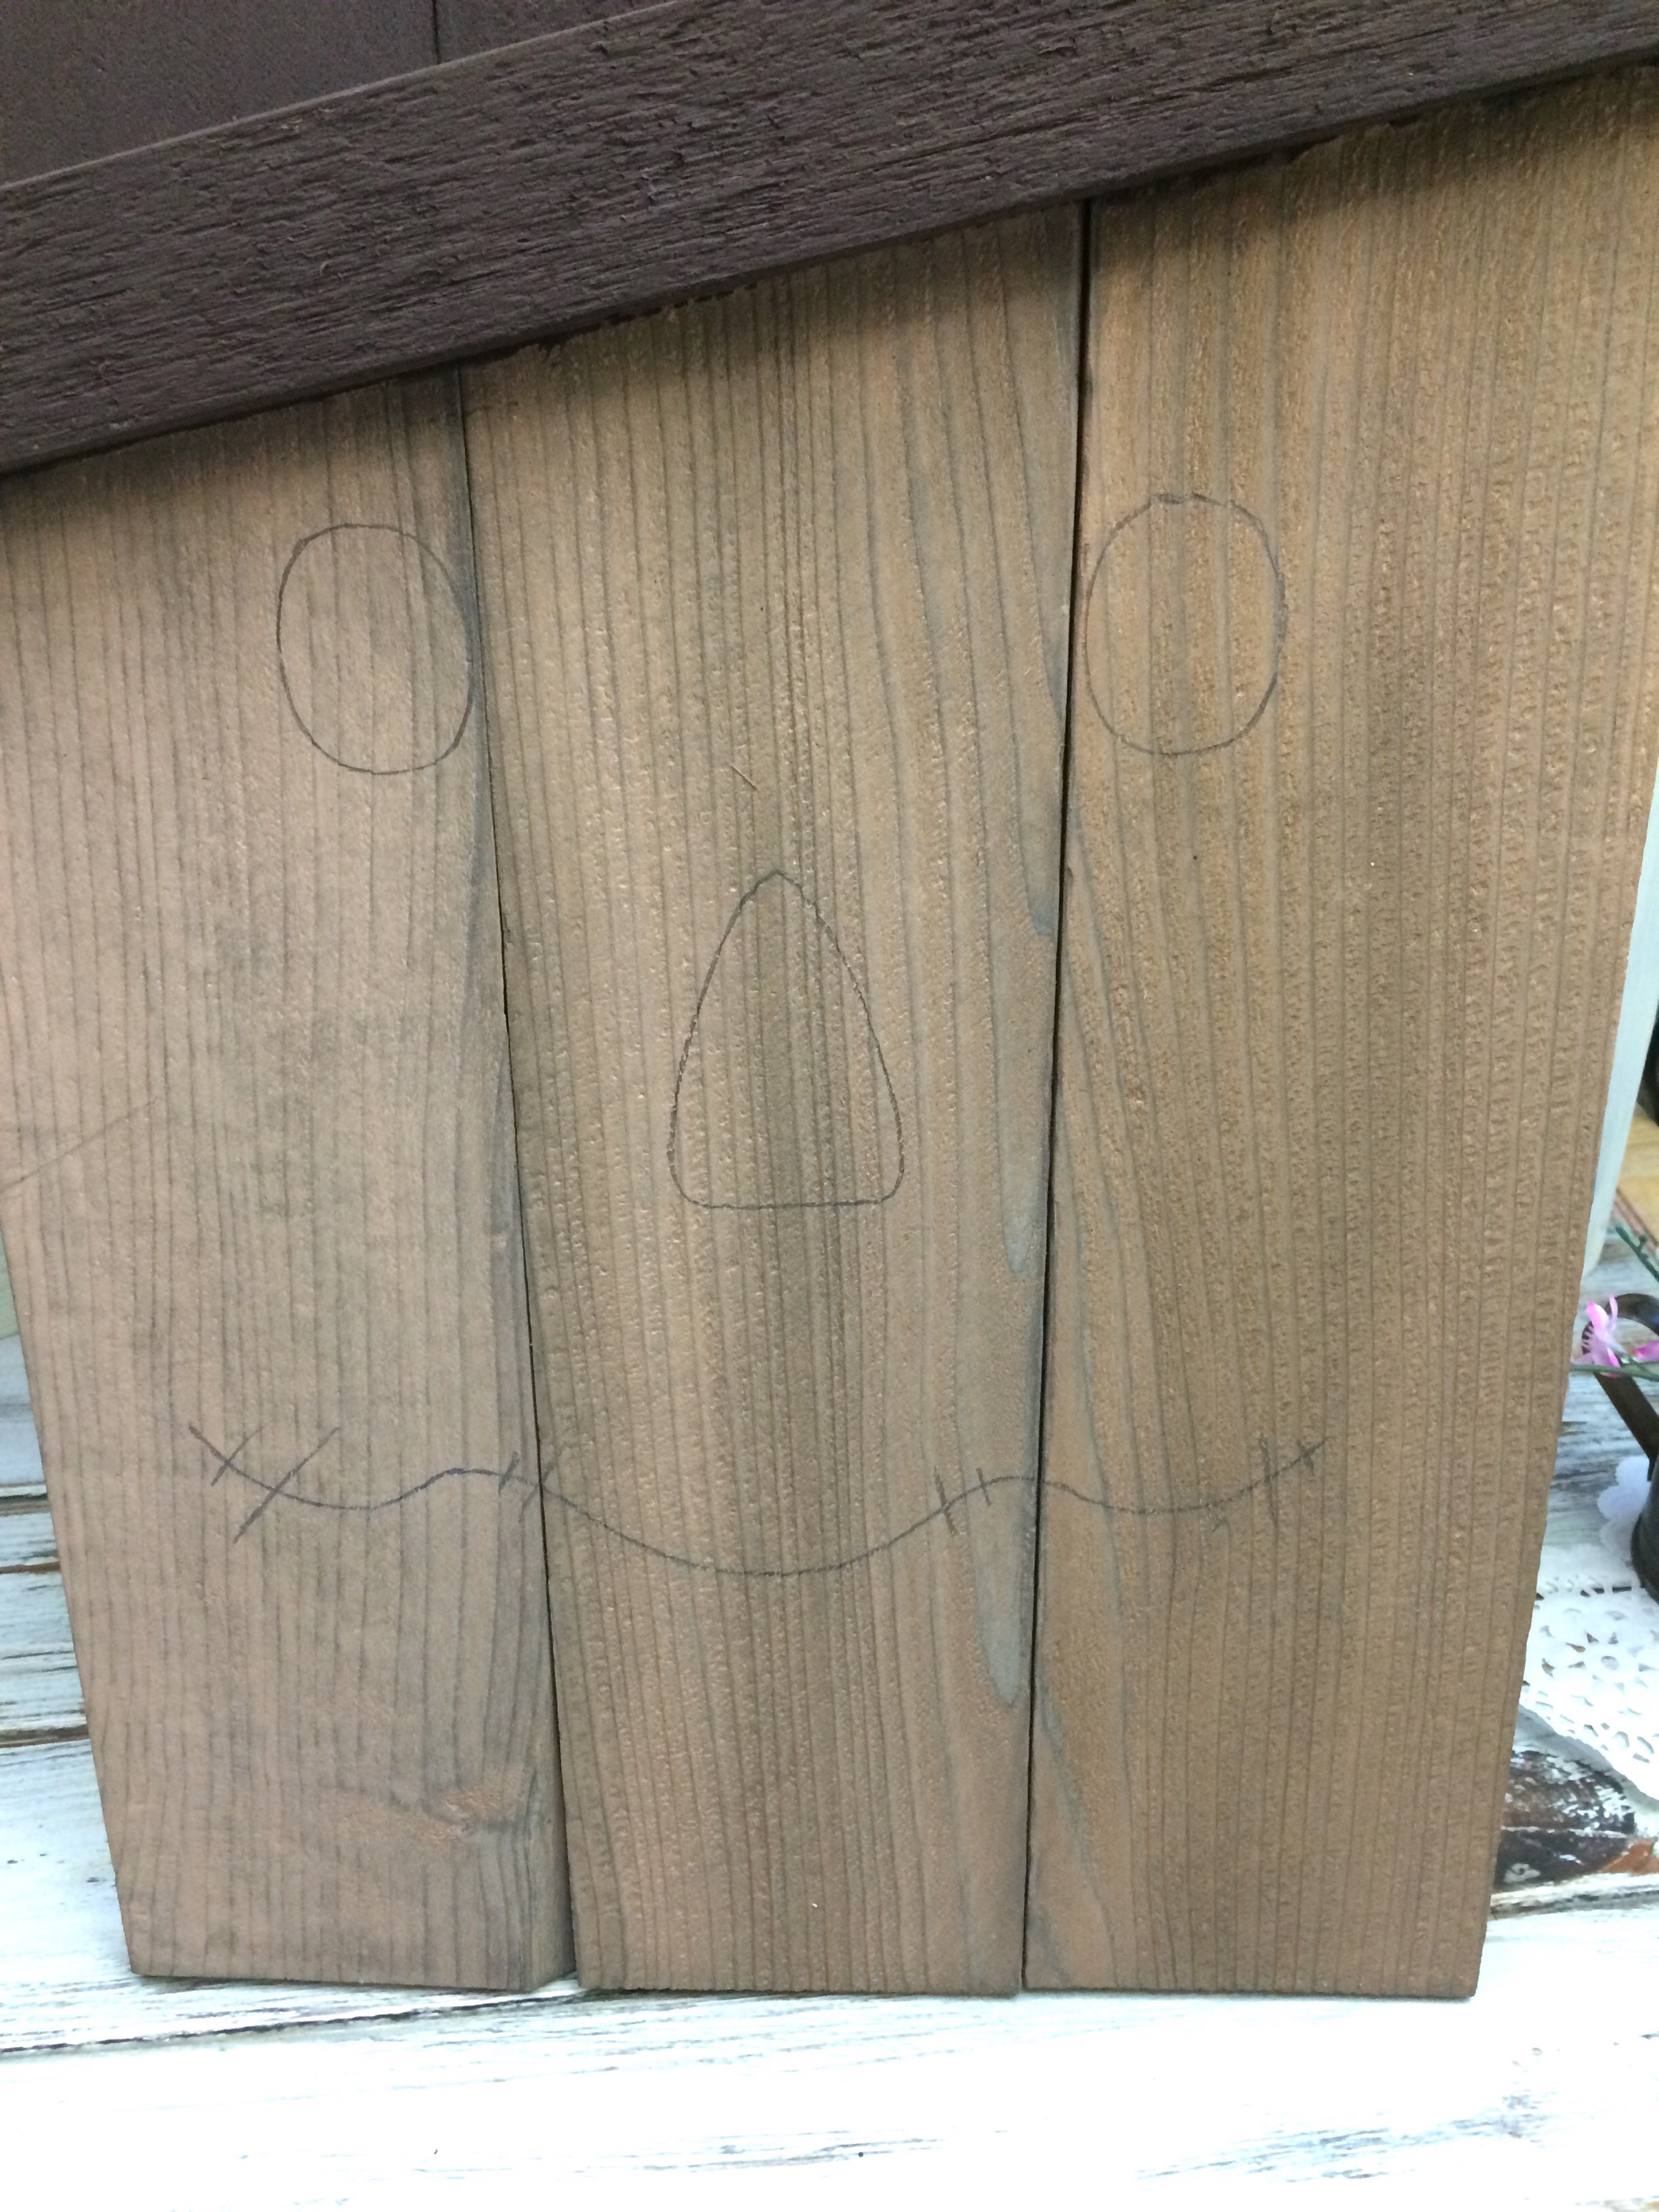
Draw the face on your diy scarecrow.
Then paint the face using your acrylic paints.
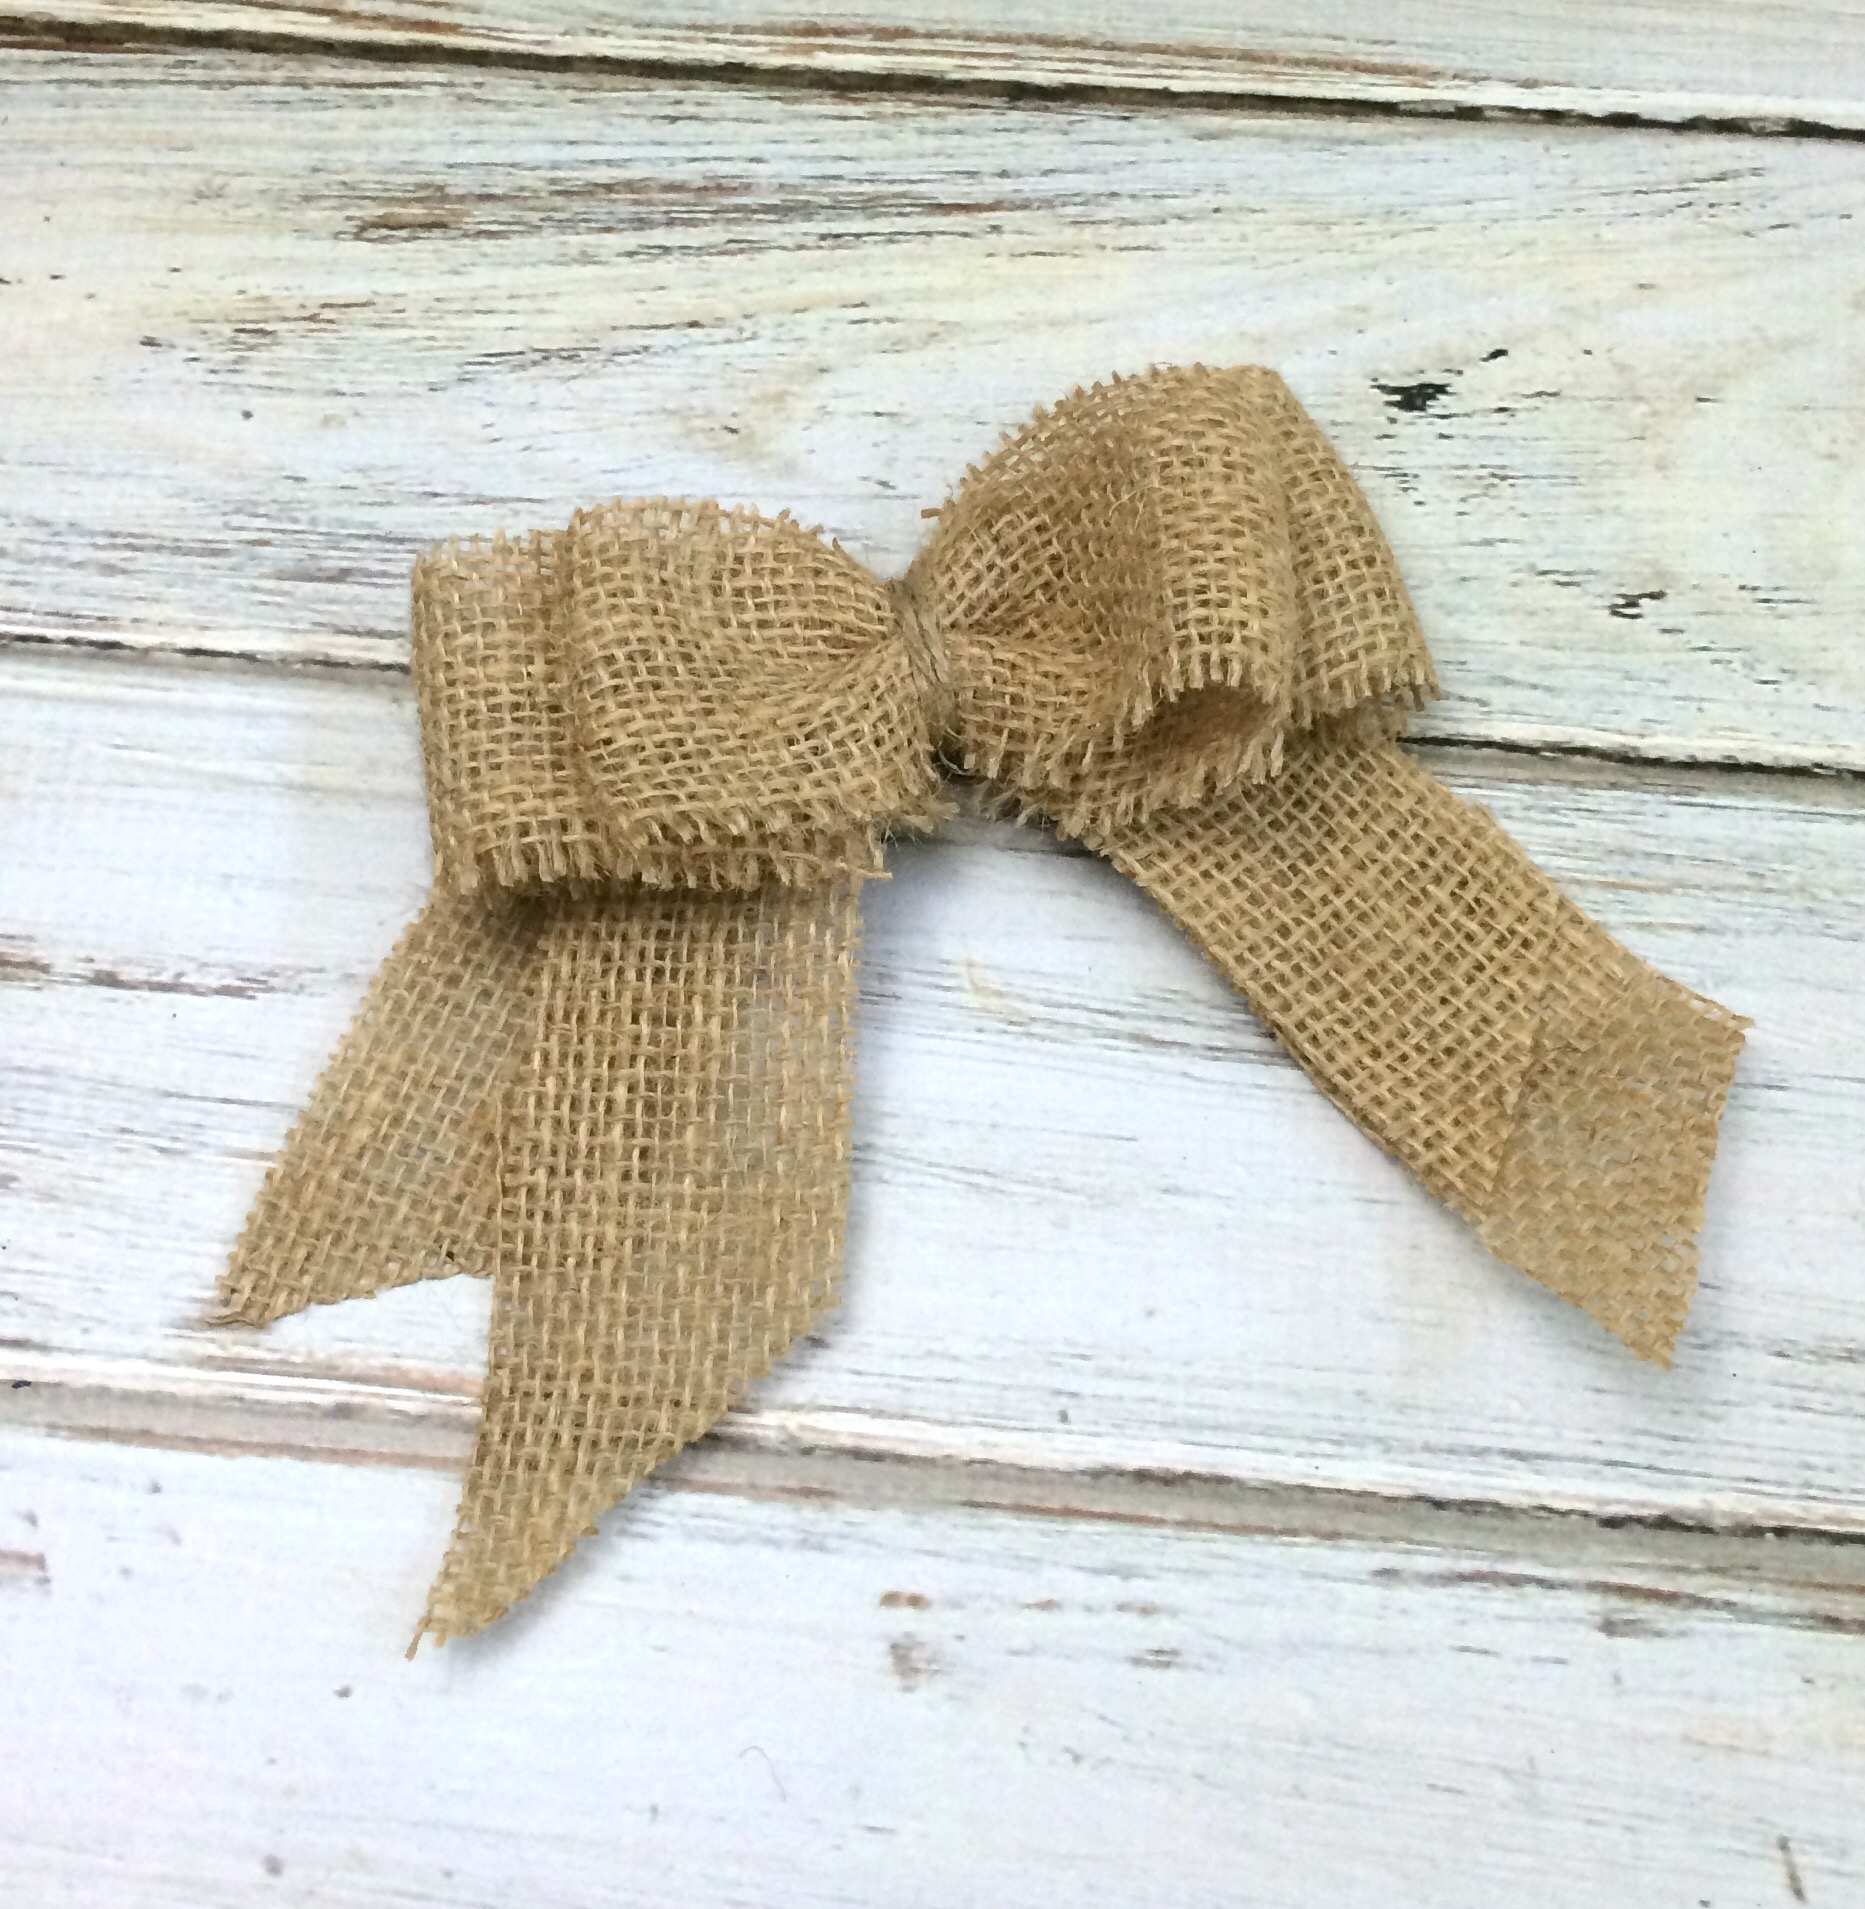
Make a bow out of burlap.
Then staple the bow onto the hat brim of your diy scarecrow. And that’s it.
Isn’t he adorable?
*This post contains affiliate links, if you click on an affiliate link & buy something I may receive a small commission at no extra charge to you. The affiliate money I earn helps pay the expenses to keep this site running. Please read my full advertising disclosure for more info. Thanks so much for your support!*
Materials Needed
- 3 cedar pickets 23″x 4″
- 1 piece of thin trim 10″
- 1 piece of wood 1 1/2″ x 17″
- Wood glue
- Wood screws
- Flesh colored acrylic paint
- Brown, orange, yellow, flesh, white & black acrylic paint
- Burlap
- Drill
- Staple gun
- Paint brushes
Do you have any Halloween or Fall projects that your working on?
More Fun Projects
Halloween Decor made from cedar pickets
Handmade Halloween decor
Diy Fall Pumpkins

This is so cute! I would love to make one to put out on our porch for some fall decor.
LiveLifeWell,
Allison Jones
Thank you Allison! I think it would be really cute on the porch, and it’s a easy project. You should give it a try, I’m sure you could do it. Thanks for stopping by and have a great day!
That is just adorable Linda. I love your wood projects!
Thank you Carol! I love working with wood. Thought I would give it up and just make jewelry, but that didn’t work. I make more out of wood then jewelry, at least since we moved.
What a cute scarecrow! Love it
Thank you Renee! I’m really happy how he turned out.
This is so fun and creative! I love that you know how to paint, create and use power tools! You go girl! You could make reindeer, snowmen, santas. Endless possibilities and adorable as can be!
Thank you Nikki! Yes I can use the big boy tools, I use to make a lot more things out of wood then I do now. I kind of expanded my creativity to a variety of media’s. Thanks for stopping by!
So very cute and such a great tutorial! Love it! Thank you so much for sharing at my craft party on Thursday! Hope to see your newest posts this week, which starts at 7pm EST.
http://www.diy-crush.com/blog/category/link-party/
Thanks Denise! I think he is adorable, and really easy to make. Thanks for stopping by!
Hi Linda,
Thank you again for contributing it to my roundup post that includes lots of great DIY Halloween decorating projects like yours. I’m sure my readers will appreciate your tutorial. I know I did! My scarecrow/snowman turned out so cute! I used left over wide tongue and groove paneling wood to make mine. It looks adorable on our porch and in a month I’ll just flip it around and be ready for the winter season. Much appreciation.
Thank you Ellen! I am happy that you enjoyed them! Your scarecrow/snowman sounds really cool. Fun way to have two holiday decors in one!