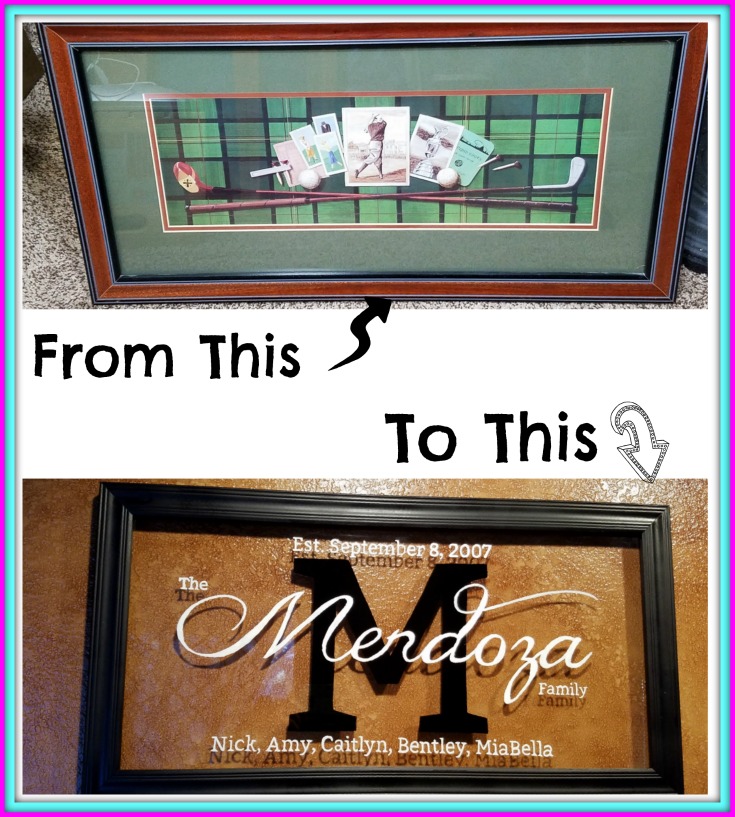
Hi All! Today I am sharing a Personalized Family Name Sign made out of an old frame that I picked up at the thrift store. This personalized name sign is a Christmas gift to my youngest daughter, and her family.
***This post contains affiliate links, if you click on an affiliate link & buy something I may receive a small commission at no extra charge to you. The affiliate money I earn helps pay the expenses to keep this site running. Please read my full advertising disclosure for more info. Thanks so much for your support!***
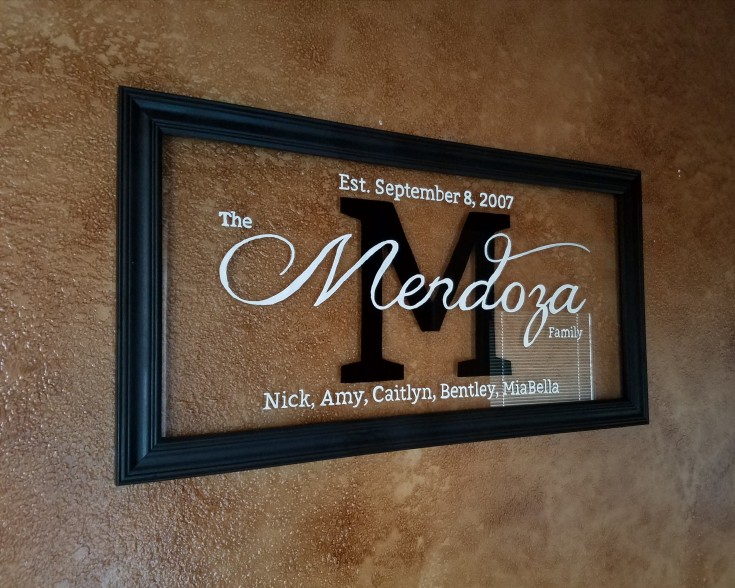
How to Make a Personalized Family Name Sign
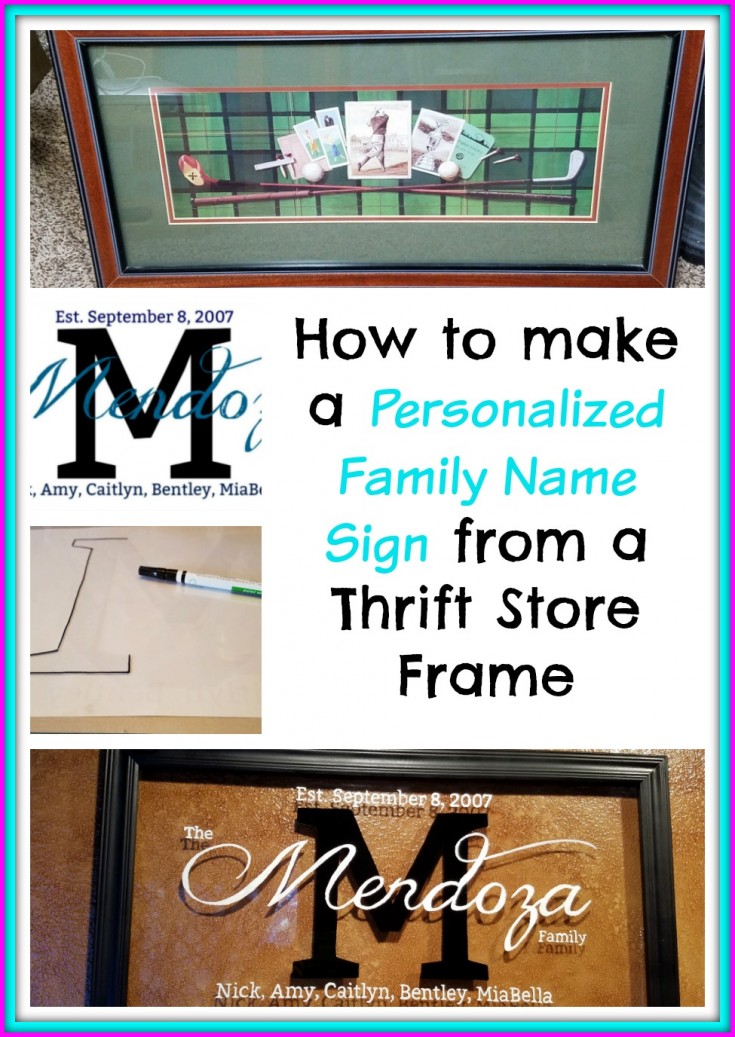
I started out by designing the sign using PicMonkey. Once I got the design how I wanted I then took the smaller version to Office Depot, and had them enlarge it to the sized that I needed.
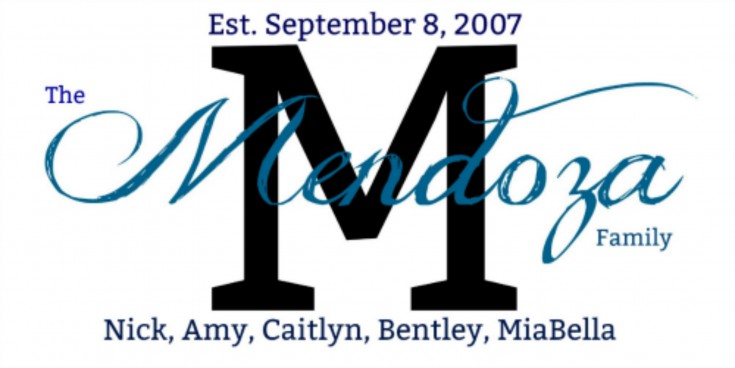
I wasn’t worried about the color of the patter. Because all I needed was a pattern to trace over.
Next, I cleaned the glass front and back. Then I taped my pattern to the front of the glass with the back side of pattern to front side of glass. Then flipped it over to trace the M on the back side of the glass. Using a black paint marker, then filled in the letter.
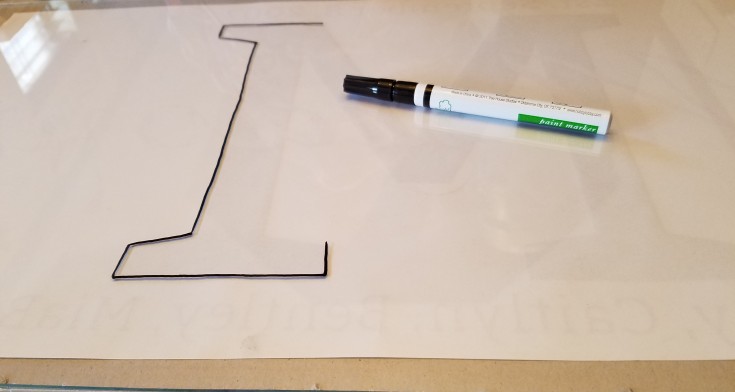
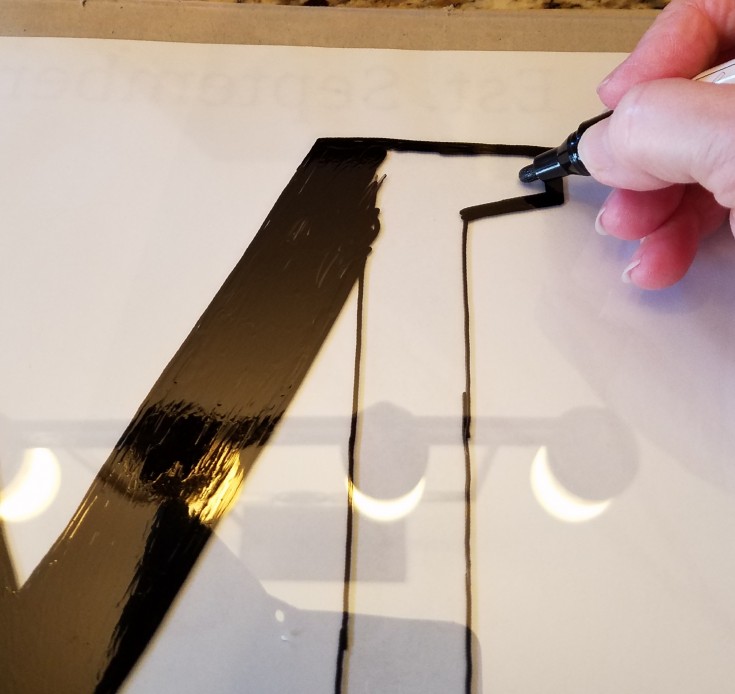
Letting this dry overnight. I tried to go back over it to fill the letter in better. But ended up having to use two coats of black acrylic paint to cover it.
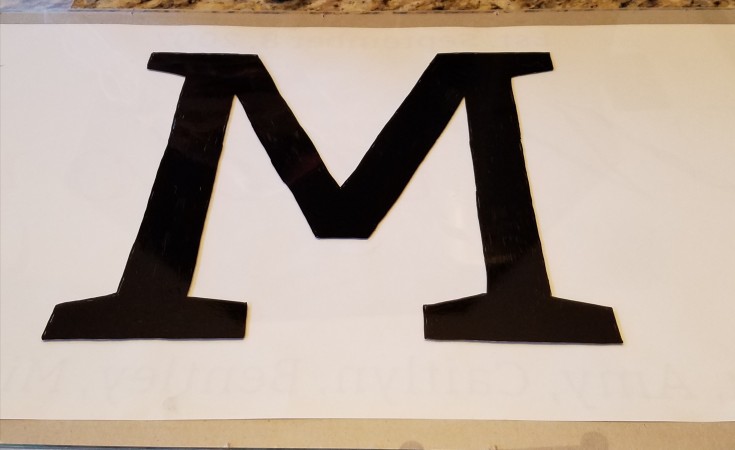
Once the letter M was dry I removed the paper pattern. Then placed it on the back lining it up with the M on the glass. Taping it in down in place.
I used two white paint markers, one fine tip, and one thick tip to trace over the personalized name pattern onto the front of the glass. Letting dry overnight.
[tweetthis display_mode=”box”]How to make a Personalized Name Sign from a thrift store frame[/tweetthis]
Then the next day I went over the white with another coat of white marker which worked fine on the smaller names. But on the larger last name I had to go back over with white acrylic paint just like I did with the black letter M.
The larger areas just didn’t fill in completely with a paint marker, and when I tried to go back over it. The marker would remover some of the paint, so I ended up using acrylic paint for the large areas.
Painting the Frame
For the frame I gave it two coats of black acrylic paint then sealed it with Minwax Helmsman Spar Urethane.
Once the frame was ready, and the glass on the personalized family sign was gently cleaned so not to remove any of the paint I used clear silicone to attach it to the frame. First by laying the glass in the frame then running a bead of clear silicone all around the back edge of the glass touching the wood frame.
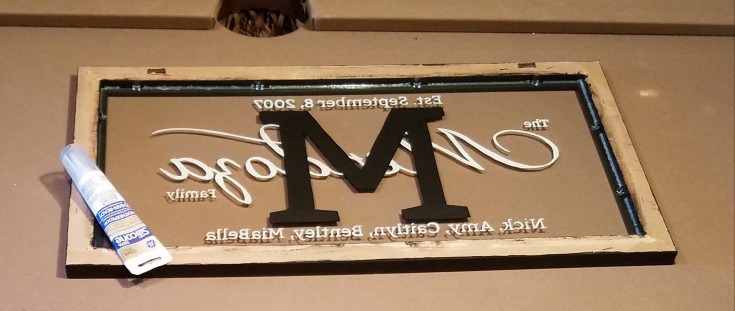
That’s it for this personalized family name sign. Wish that I could say that it was easy, but it wasn’t as easy as I thought that it would be.
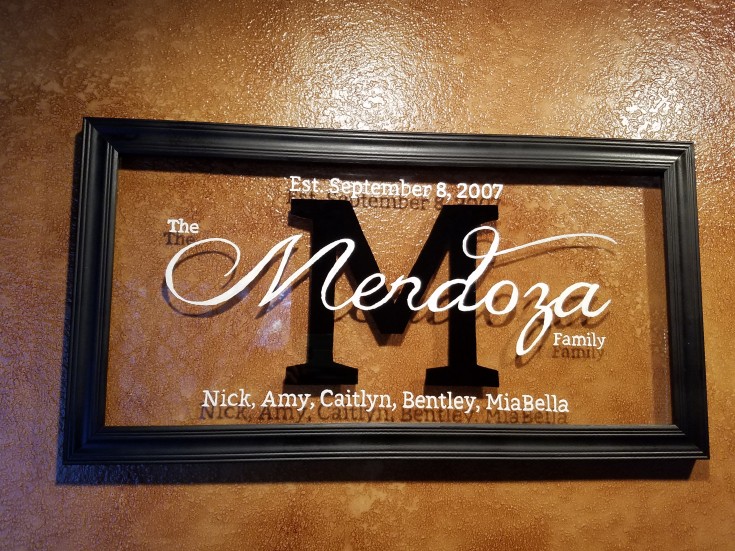
Next time, if there is a next time I will just trace the words then fill in with paint instead of trying to fill it all in using the paint markers.
Does anyone have any tips on using paint markers? If so I would love if you would share in the comments down below.
More Diy Personalized Signs
Large Monogram Letter Sign
Handmade Personalized Family Name Sign
No tips from me I’m afraid Linda. All the markers I’ve tried always seem to rub themselves out and I’m not sure why. But be that as it may you conquered the sign beautifully. The way you’ve positioned the white lettering over the black M gives it so much depth and dimension and I love the way the letters cast shadows on the wall behind the frame. That’s really cool
Thanks Michelle! Next time, if there is a next time I will just outline the letters then fill them in with paint. I forgot to get a finished photo until I gave it to my daughter, so I had to take one after they hung it. It was hard to get a good photo in their hallway because of the sun, and I tried different times of the day, and early morning.
Hi Linda, I don’t have any paint marker tips, I’ve never had good luck with them…but, I do have a money saving tip for you! You can enlarge your prints to any size at Block Posters for free. You can enlarge and print your project on several sheets and then tape them together. I love this project, what a sweet gift! Pinned 🙂
Thank you Wendi! I really was disappointed in the paint markers, I really thought that they would work better then they did. Thanks for pinning and for the tip on enlarging prints, I will have to give Block Posters a try.