Today I want to share this happy shabby yellow garland. But first a little about how this shabby yellow garland came about.
It all started after my granddaughter that graduated last year moved out with a girlfriend of hers earlier this year. She has a job in customer service with an internet provider, and she said that she wanted to decorate her room in bright happy colors so that the fist thing that she sees upon waking is happy cheerful colors.
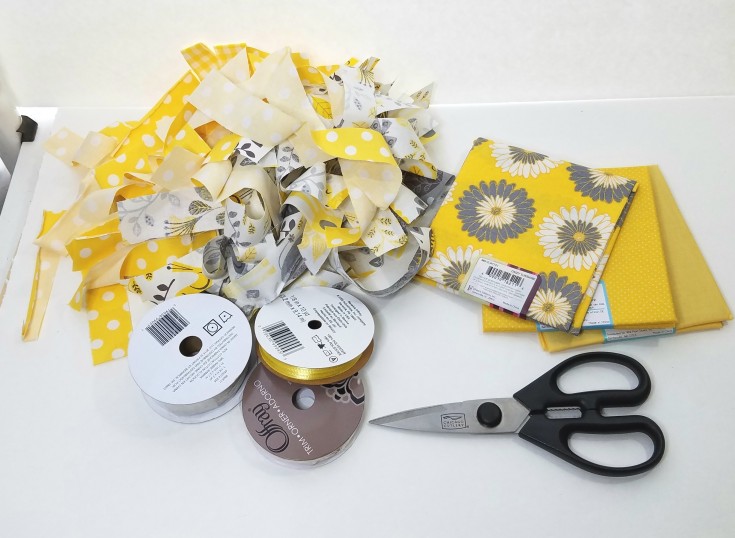
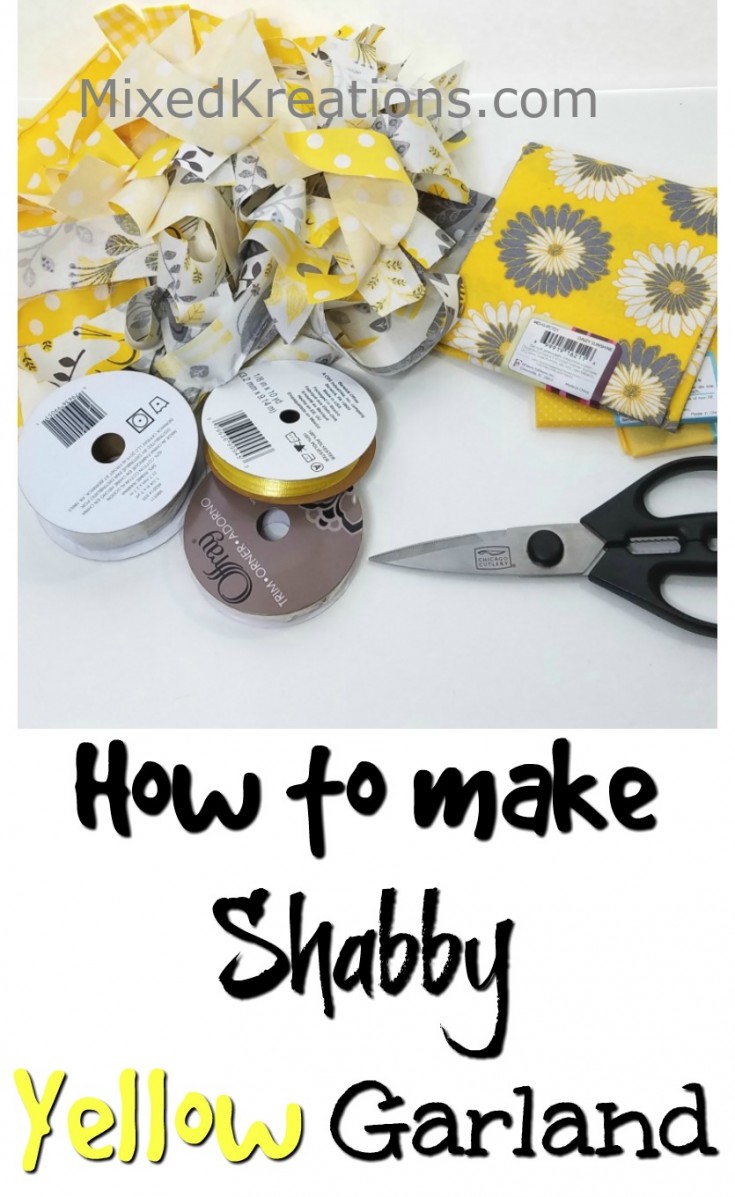
So, I pondered what I could make up quickly to take when we went for a visit. I came up with this yellow shabby garland with different shades of yellow, and with different patterns. (You may like my shabby animal print valiance too) I found all these at Walmart in their 99cent fabric remnants sections, and even purchased some ribbon and lace spools for this project. I’m going to use some tan one-inch trim to string the yellow strips on.
***This post contains affiliate links, if you click on an affiliate link & buy something I may receive a small commission at no extra charge to you. The affiliate money I earn helps pay the expenses to keep this site running. Please read my full advertising disclosure for more info. Thanks so much for your support!***
Material for Shabby Yellow Garland
Yellow fabric
Lace
Yellow ribbon
Tan trim
Scissors
Diy Shabby Yellow Garland
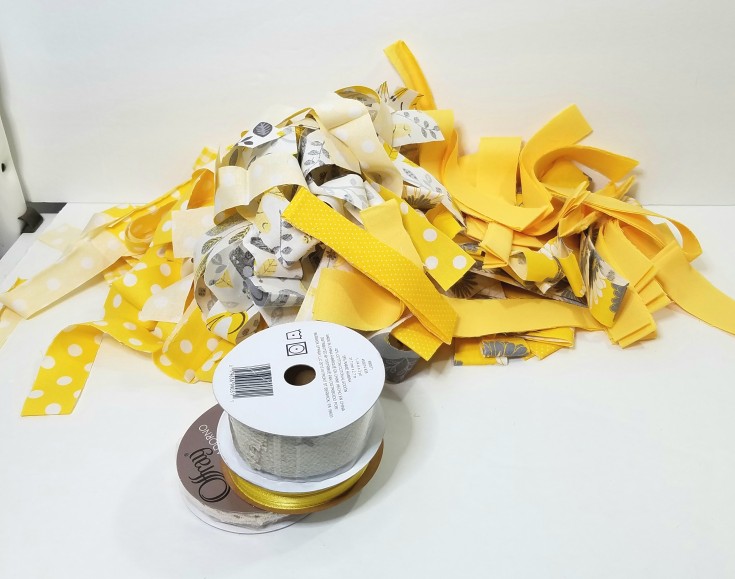
For this bright yellow garland, I started out cutting all the fabric into strips approximately one-inch thick, and I believe they were all 18 inches in length. Once all the fabric was cut into strips I pulled the tan 0ff the spool and made two slip knots on each end. Then I connected each end onto cabinet door knobs to stretch it out enough to work on while adding the fabric strips.
[tweetthis display_mode=”box”]How to make some shabby garland with happy yellow colors. #Shabby #Garland[/tweetthis]
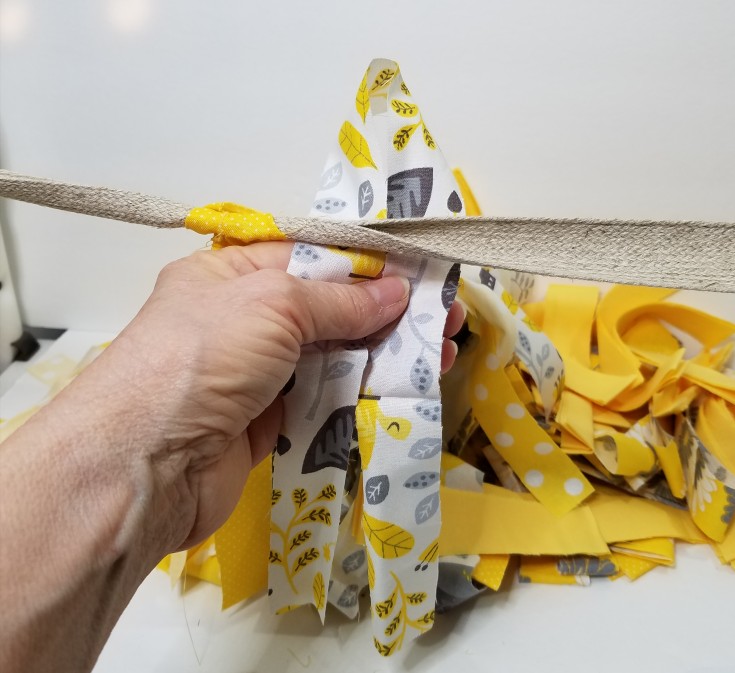
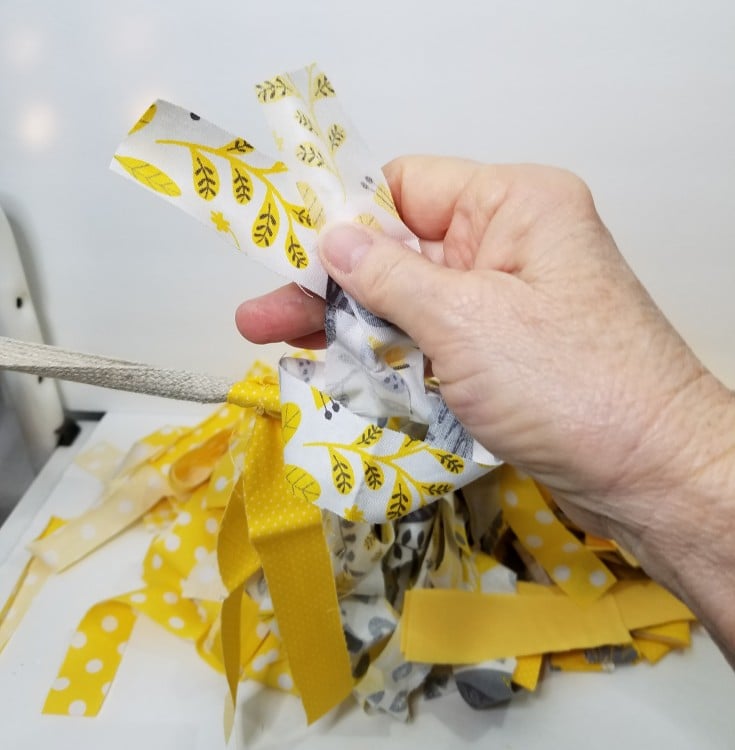
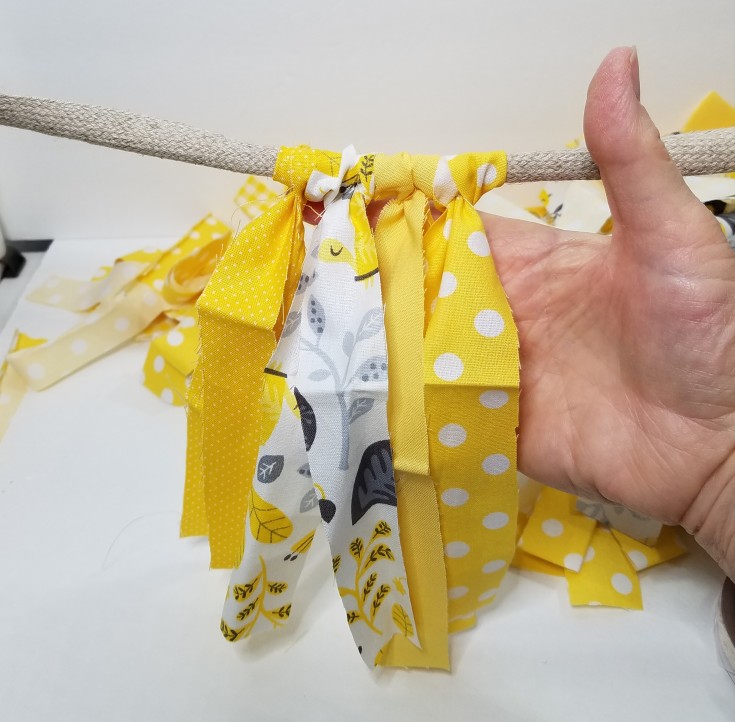
Next, I started adding the strips of fabric to the trim. To add the strips, I started off by folding each strip in half (don’t worry about getting them even it doesn’t have to be perfect because we are going for the shabby look). Then hold it on the back side of the trim and slide the two ends into the loop and pull to tighten. Continue adding each trim this same way. Mixing the different colors, and patterns up as you go.
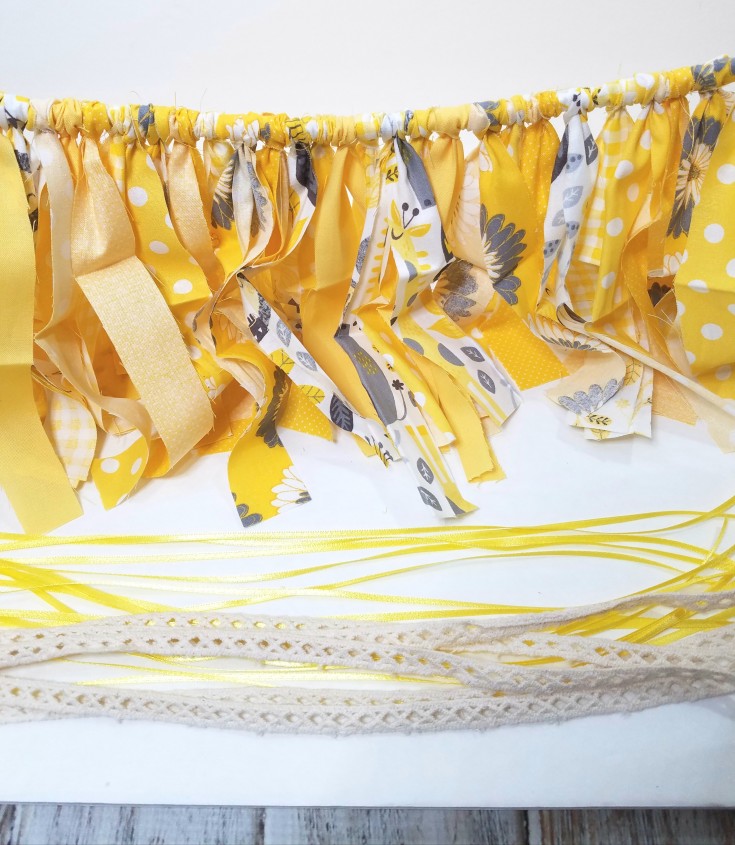
Once I got all the fabric added I went back and added some lace and yellow ribbon here and there through out the shabby yellow garland.
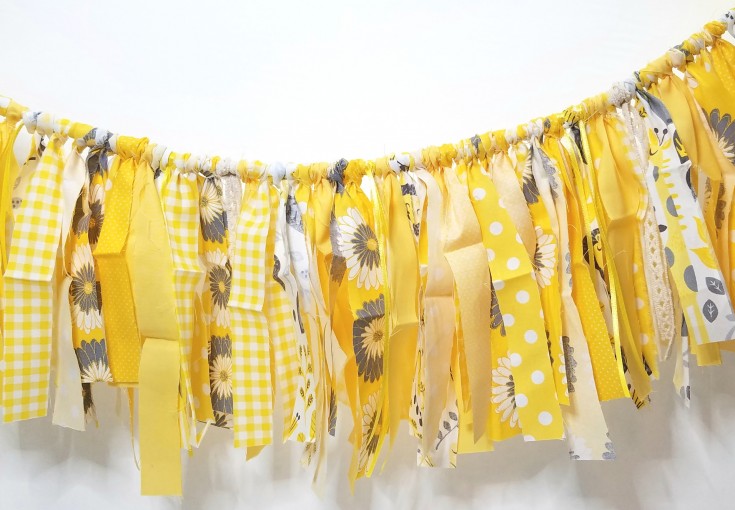
It was just long enough to hang over a window and that is exactly what she decided to do, adding a few of her photos as well. (I’m sorry about the pictures, I wasn’t there when she hung the garland for the finished pictures).
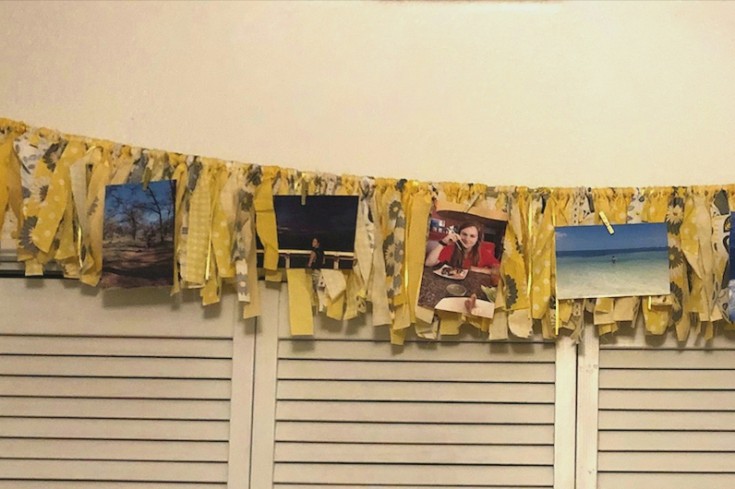
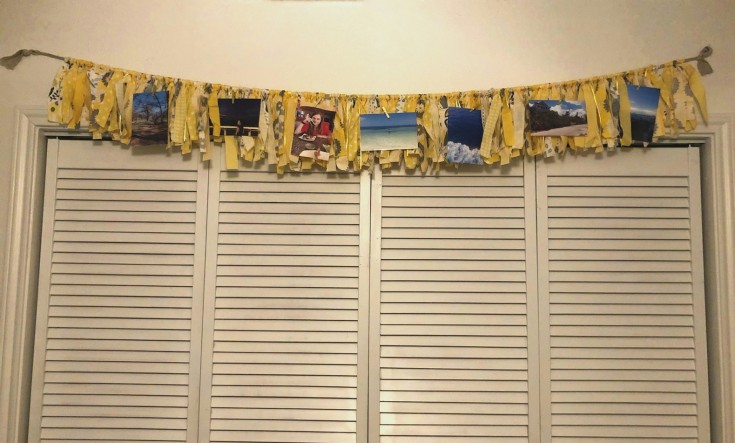
Now when she awakes each morning she sees her bright happy shabby yellow garland with the bright cheerful colors. What a great way to start your day don’t you think?
Linda you are such a great grandma! This is beautiful and full of sunshine. I also made one a few years ago and loved the shabby chic effect it had in the room. It makes the room warm and cozy, just like your granddaughter’s room!
Thanks Mary! I wish that I could do more for her, if only she lived closer. She is a very bright, and sweet young lady.
Thanks Mary! I wish that I could do more for her, if only she lived closer. She is a very bright, and sweet young lady.
Come on!!!! It is really amazing! I really appreciate your work. Thank you very much for sharing with us 🙂
Thank you Maria, I’m glad that you enjoyed the tutorial.