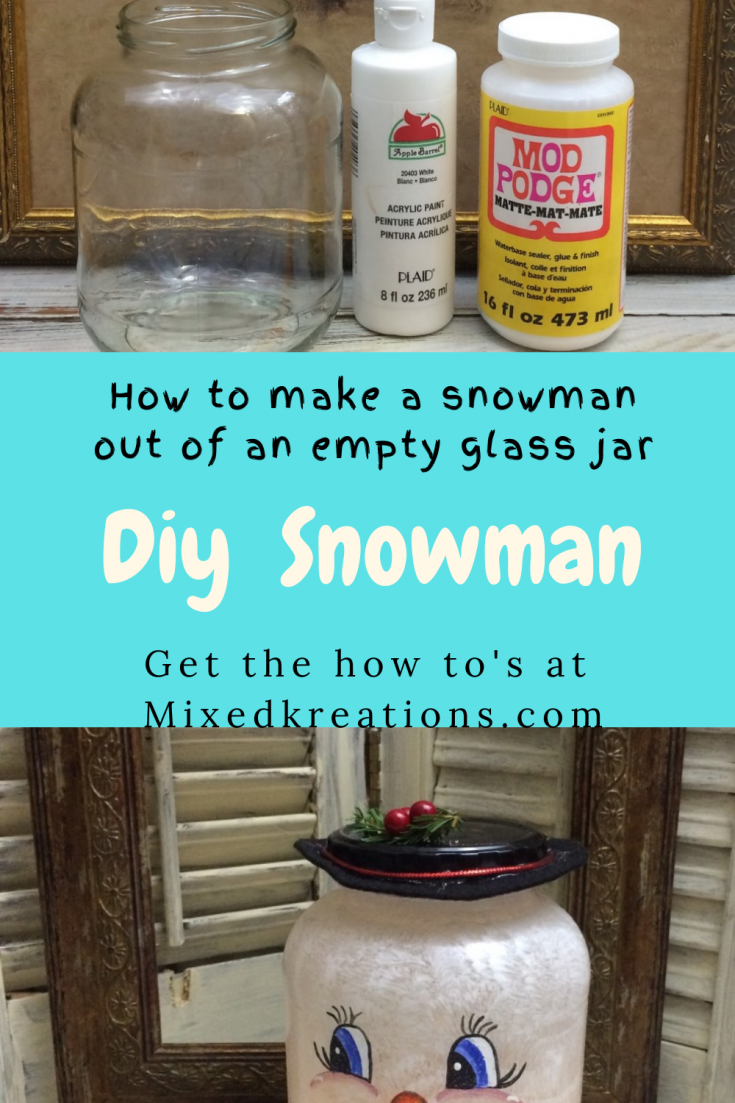
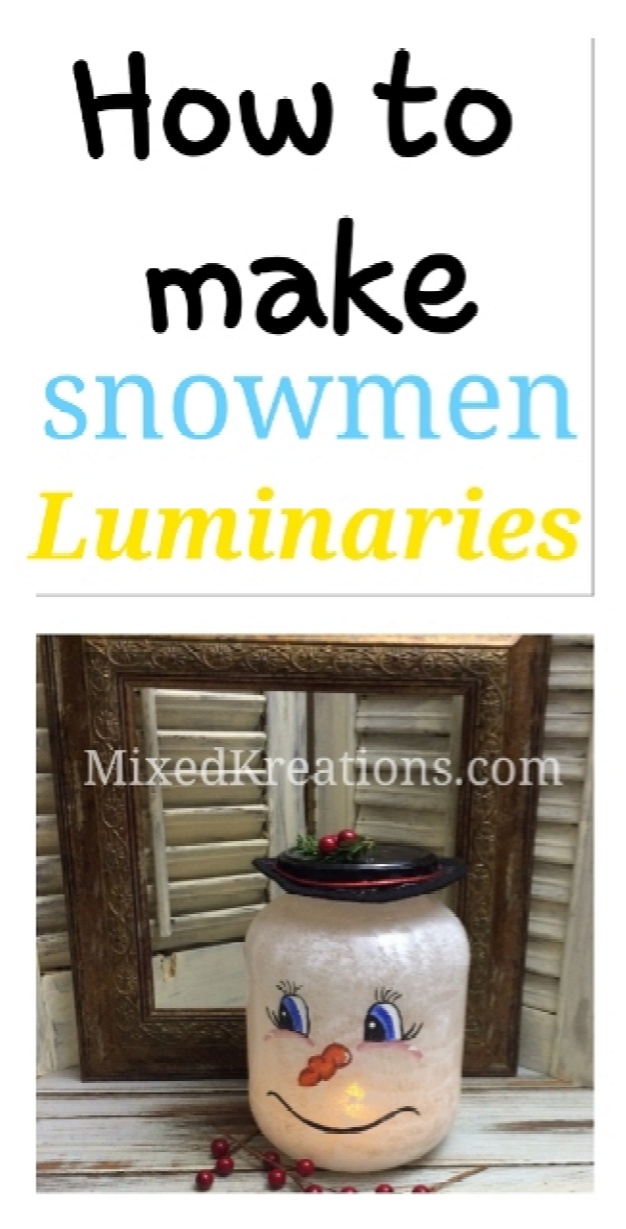
Don’t throw out your jars, repurpose them in to cute holiday decor like this DIY snowman lantern.
Diy Snowman Lantern
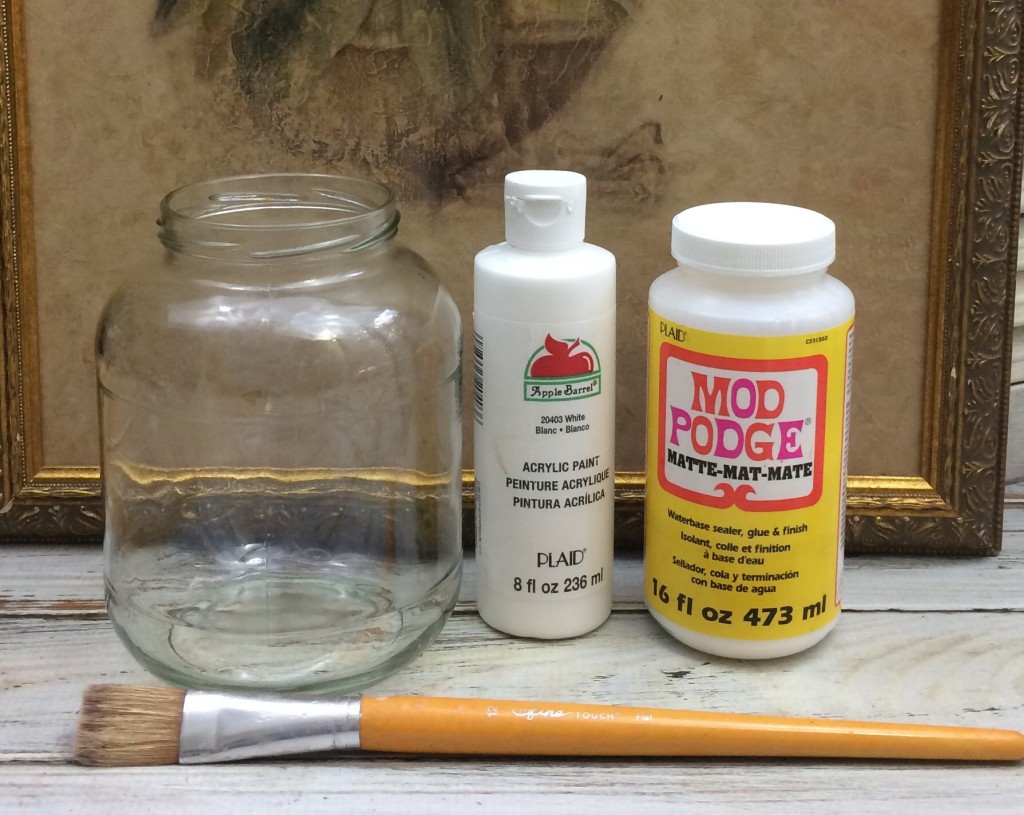
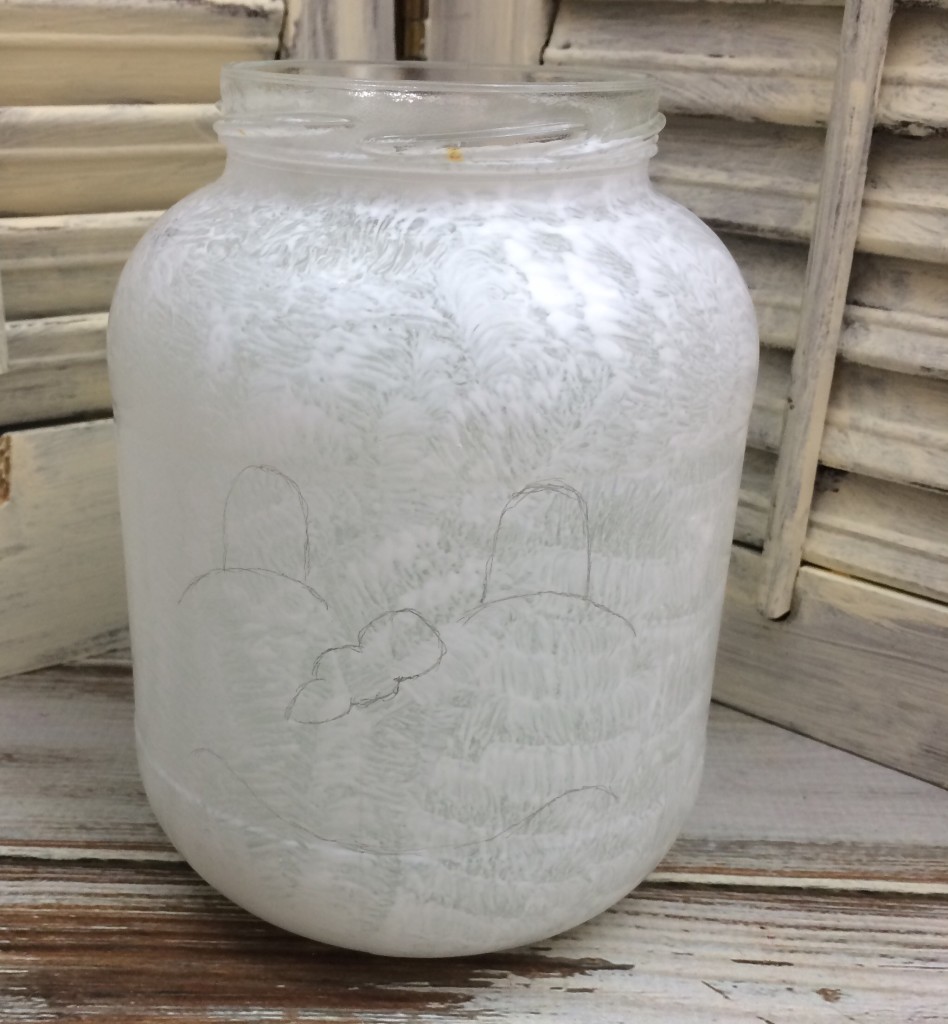
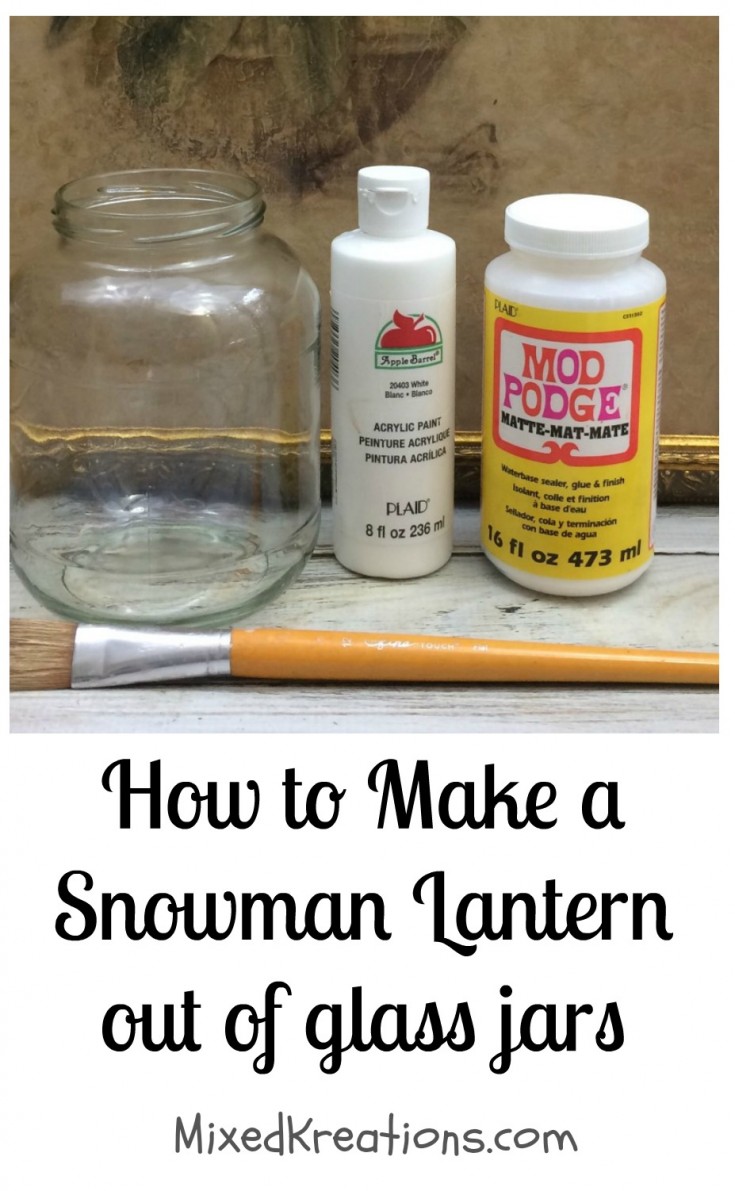
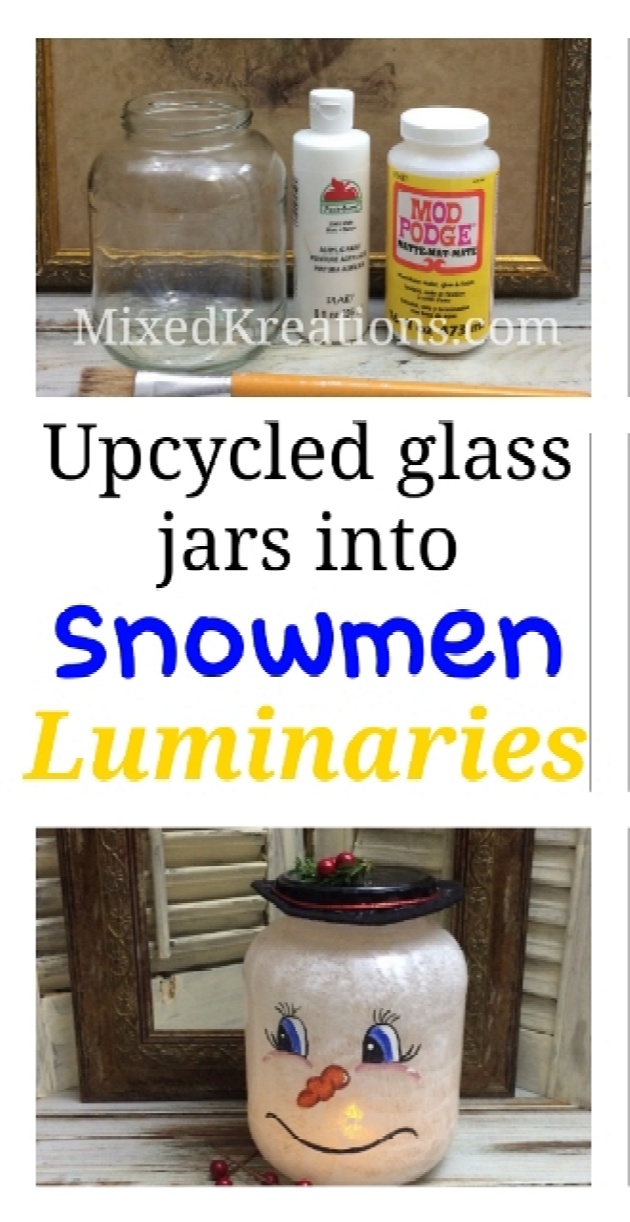
To make this DIY snowman lantern you will need a clean jar, gunk free. Then start off by mixing a little bit of white acrylic paint with some Mod Podge. About two tablespoons of Mod Podge to 1/2 teaspoon of white paint.
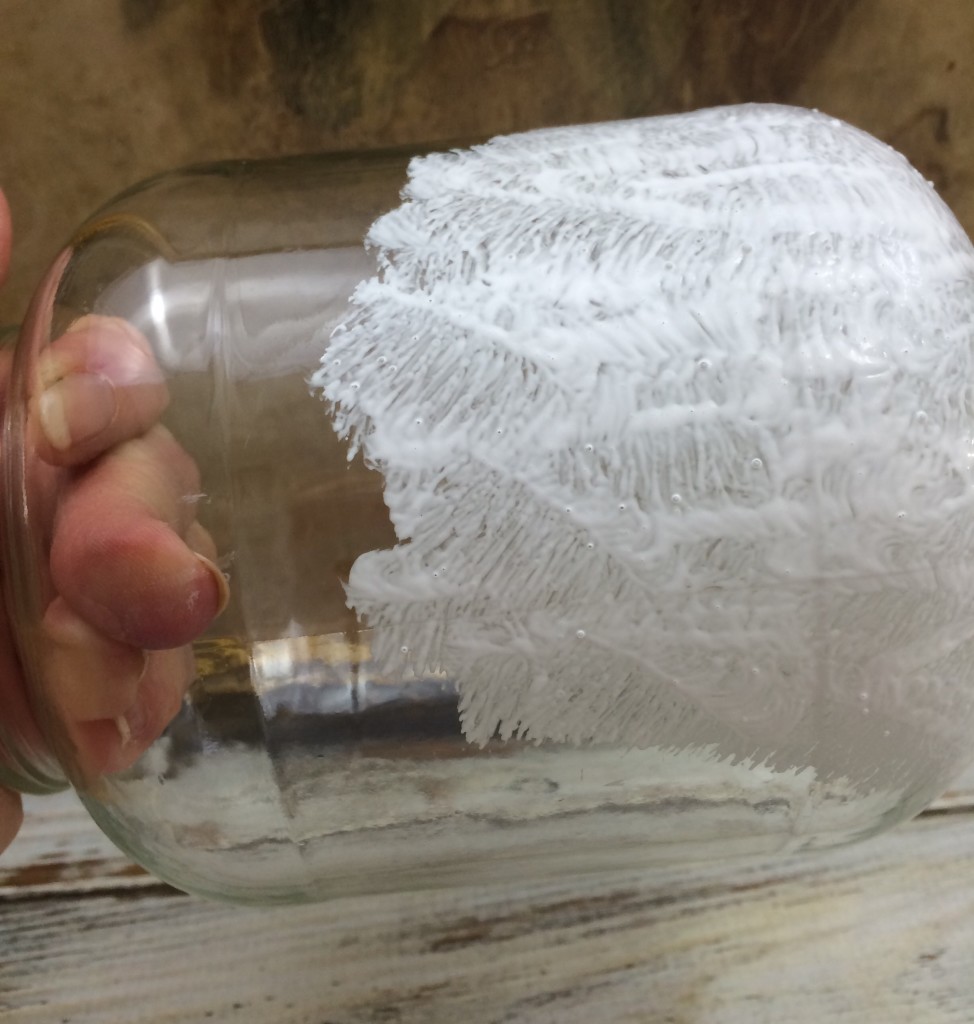
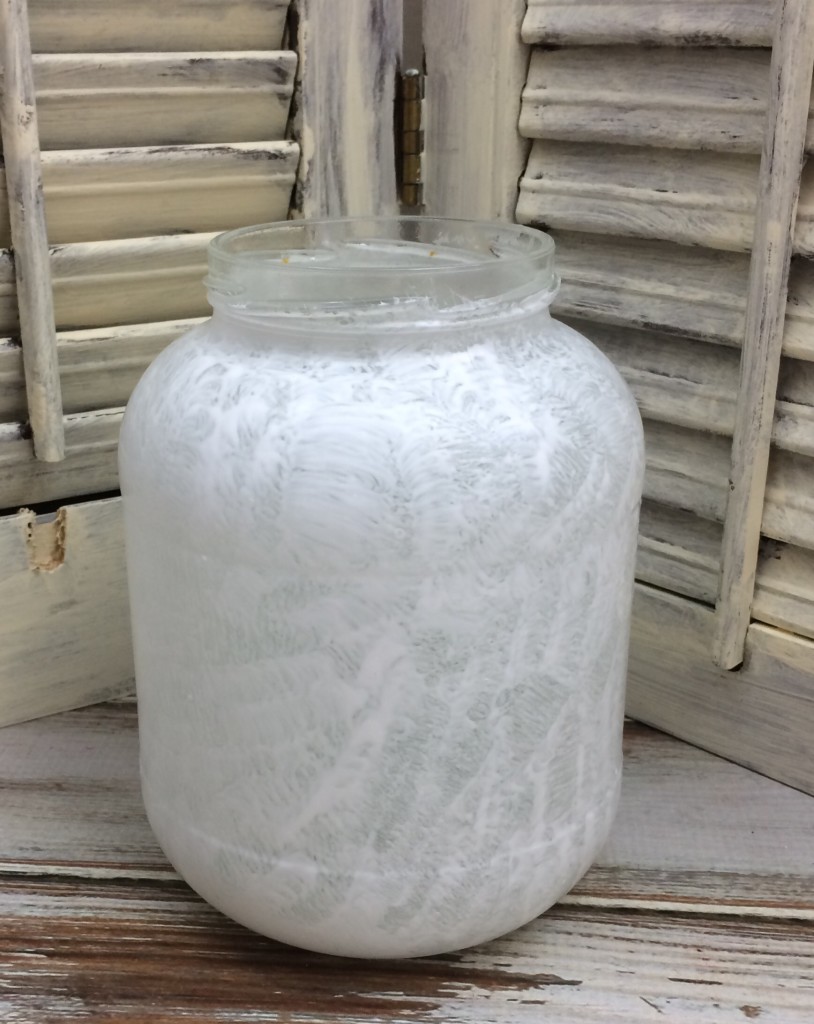
Using a paint brush or a sponge start dapping the paint mixture on the outside of your glass jar. Sit upside down to dry.
[tweetthis display_mode=”box”]How to make a snowman lantern. #Holiday #SnowmanLantern #Christmas[/tweetthis]
No need to paint the top part of the rim because you will be putting the lid back on.
Adding the Snowman Faces
Draw a face on the snowman jars using a pencil, unless your good at painting it freehand. You can find lots of cute snowman faces on Pinterest to get some ideas.
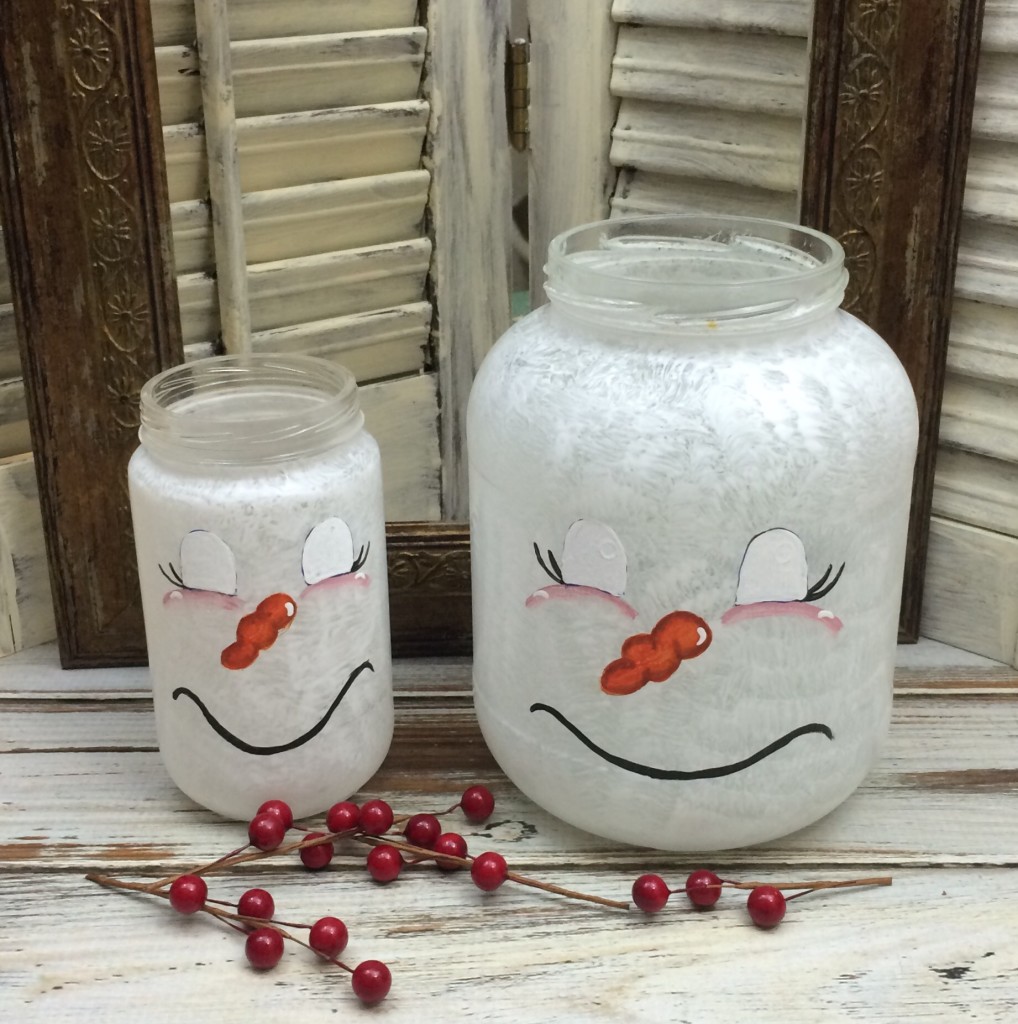
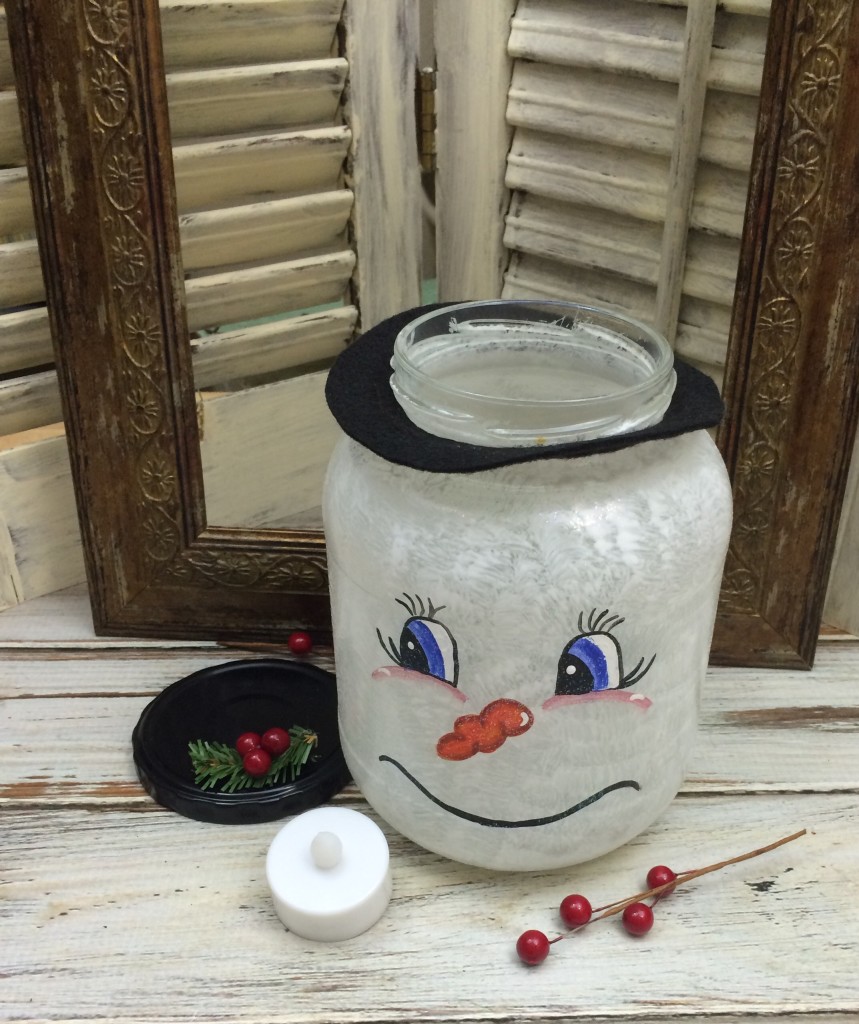
Start painting the face. My snowmans nose resembles a carrot. I floated burnt sienna around the edges of the nose to make it stand out, and look more like a carrot.
I used a light mauve to float the cheeks on under the eyes. Not liking the eyes the first go around so I repainted them completely white.
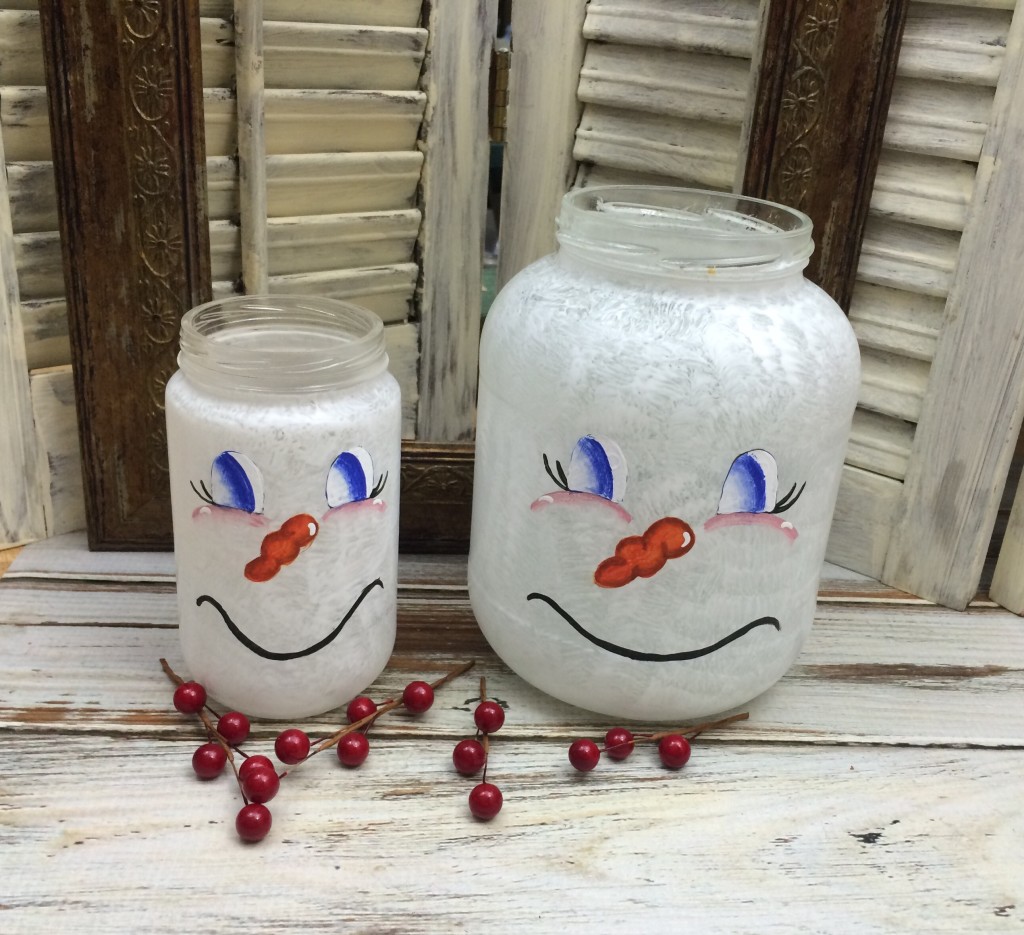
Then using the floating technique again I added the blue of the eyes.
***This post contains affiliate links, if you click on an affiliate link & buy something I may receive a small commission at no extra charge to you. The affiliate money I earn helps pay the expenses to keep this site running. Please read my full advertising disclosure for more info. Thanks so much for your support!***
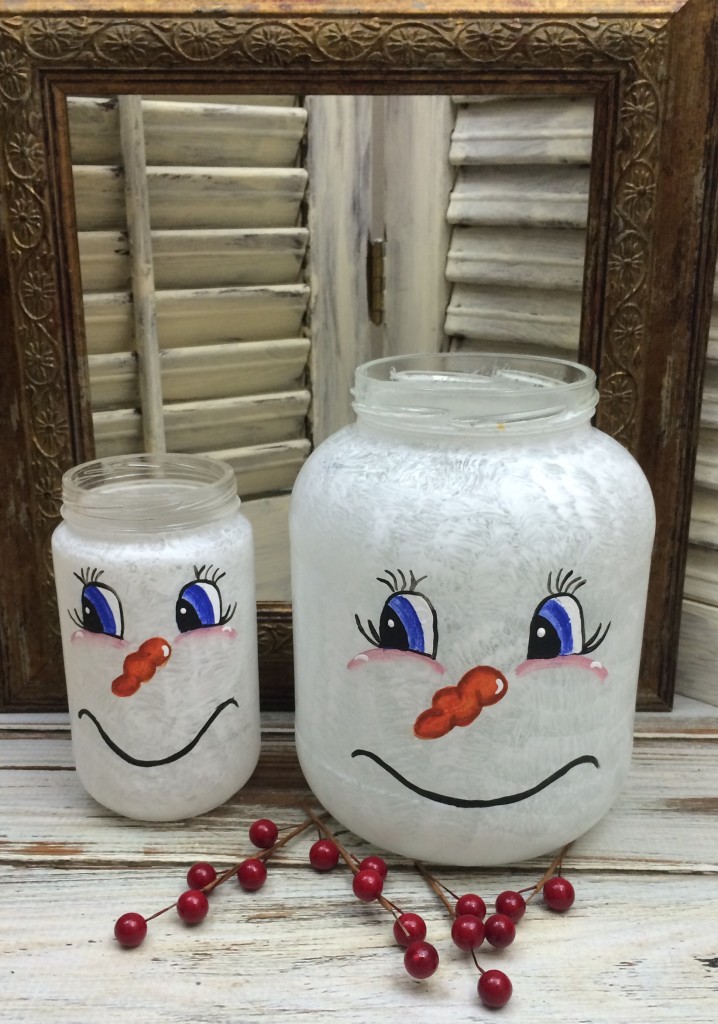
Once that dried I filled in the black of the eyes and added more eyelashes, using a ball stylus add a white dot in the black of the eyes, a little white comma on the carrot nose, and cheeks.
Turning the Lids into Snowman Hats
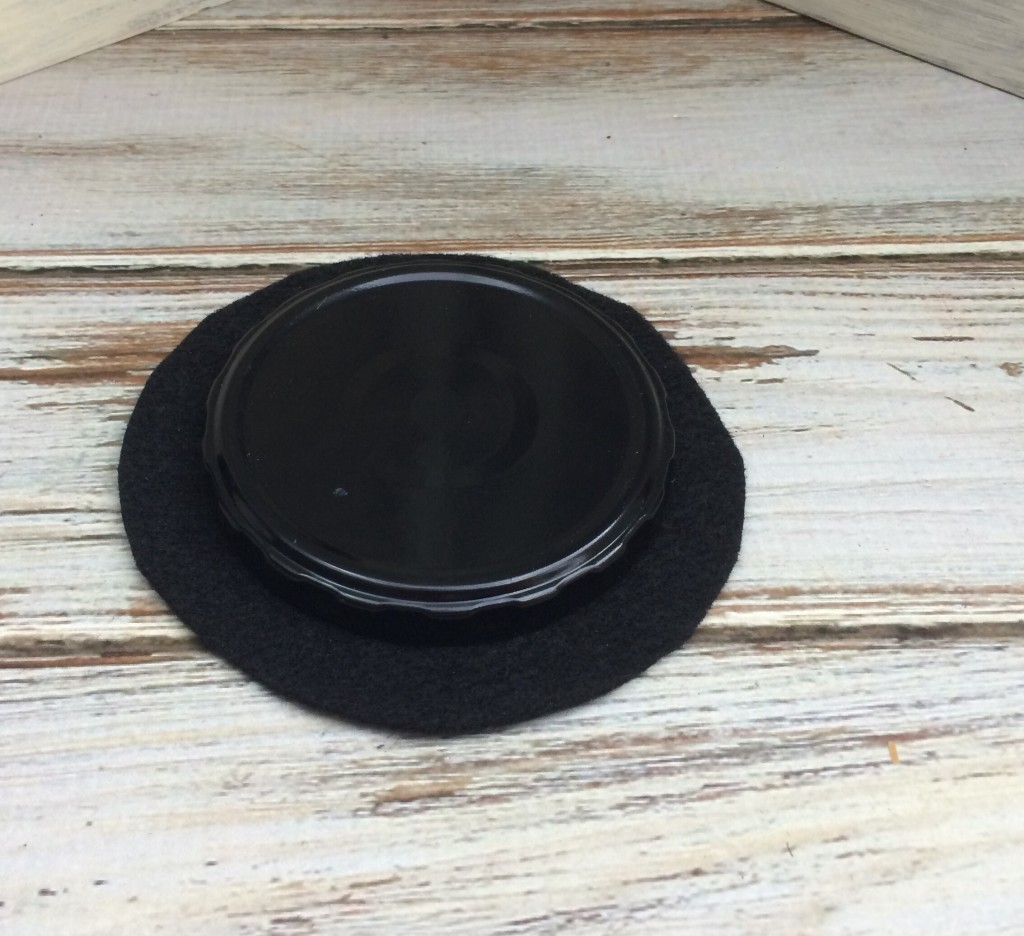
While that’s drying cut a circle of black felt a little larger then the lid, then place your lid in the center and trace around it. (Oh I forgot to tell you earlier to spray paint the lid black).
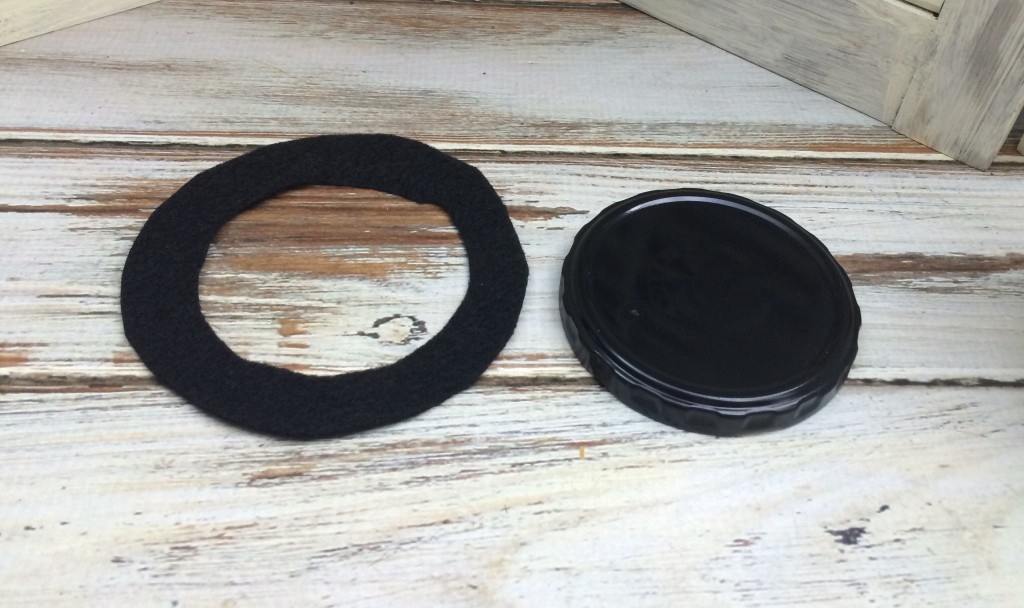
Now cut the center of your felt circle out.
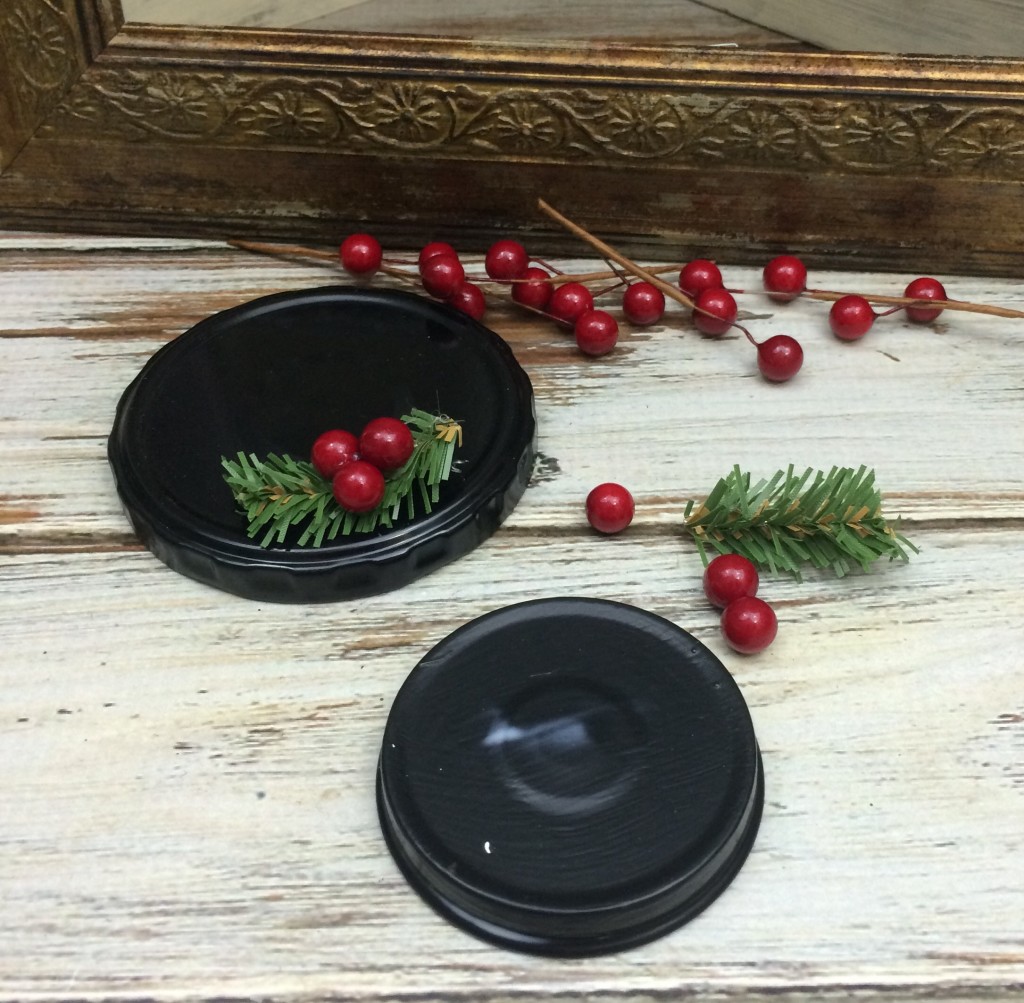
Hot glue some greenery and berries to the top of your lid.
Place the felt around the jar rim, and put on the lid.
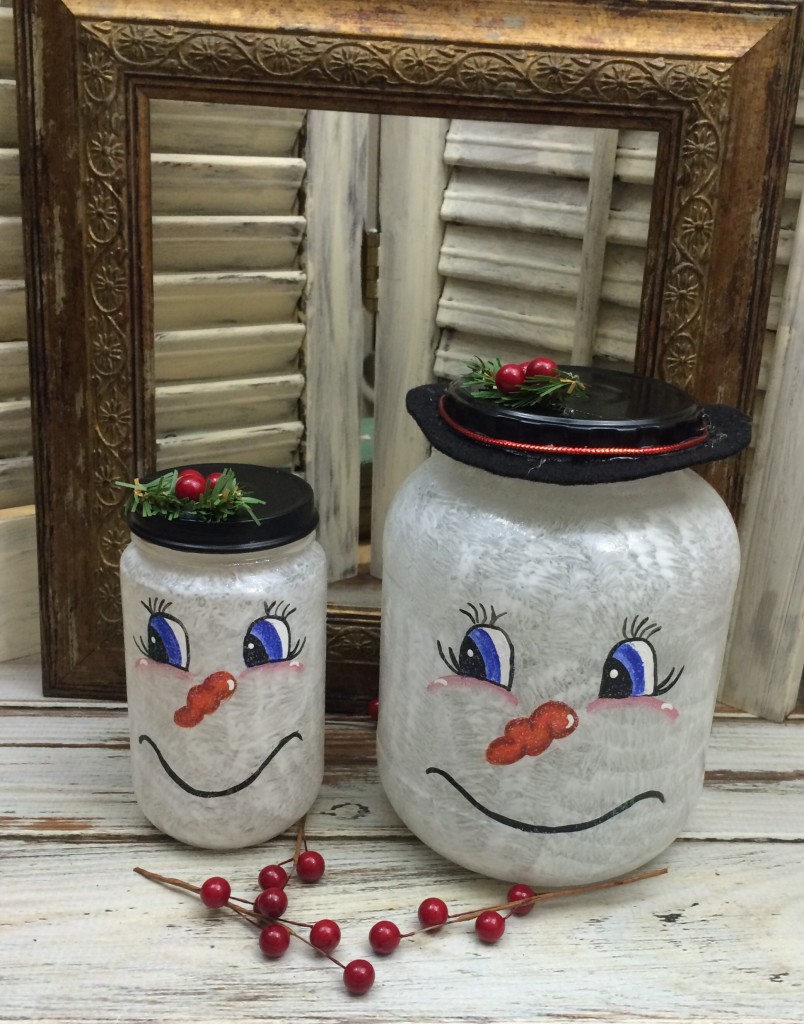
The smaller snowman jar I left with just the black lid, the large one I used my hot glue gun and glued a red cord around the bottom of the lid so that it was sticking to the felt as well.
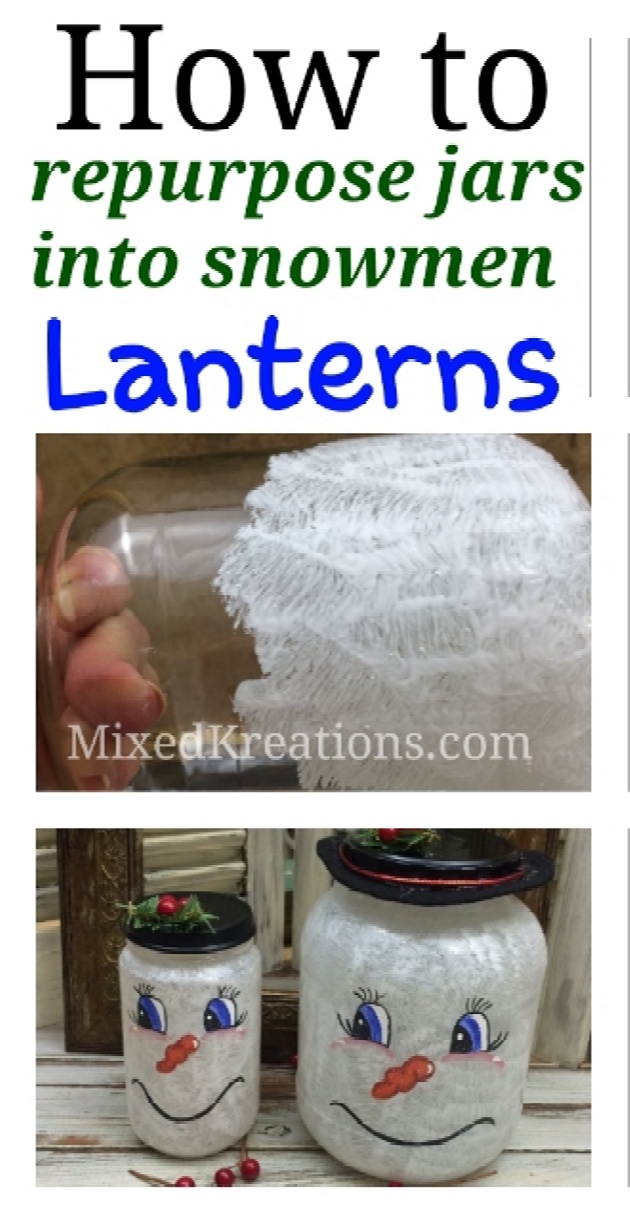
Here’s the small snowman with plain black lid.
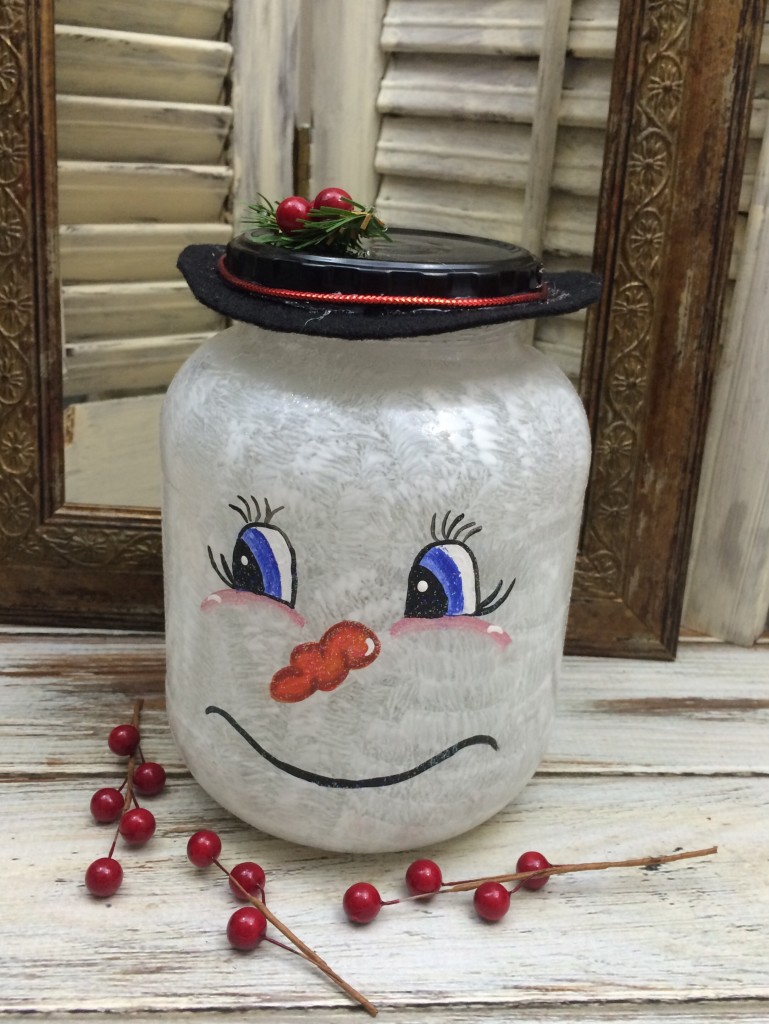
And here’s the larger snowman with the felt and red cord added.
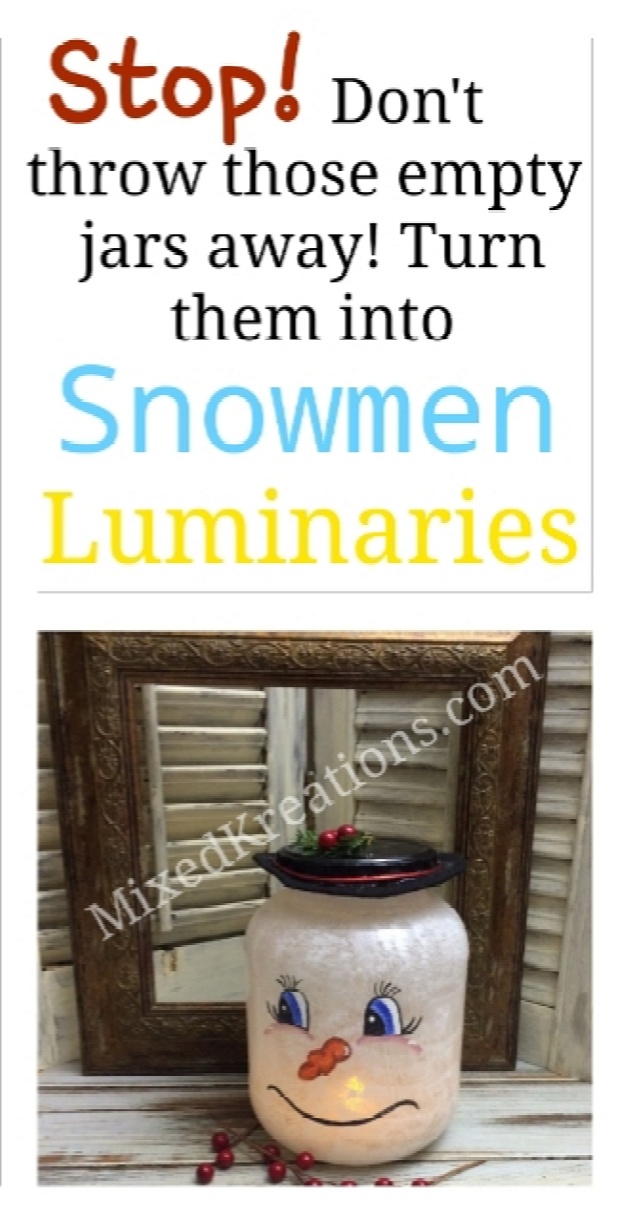
Here’s my DIY snowman lantern. Isn’t he cute?
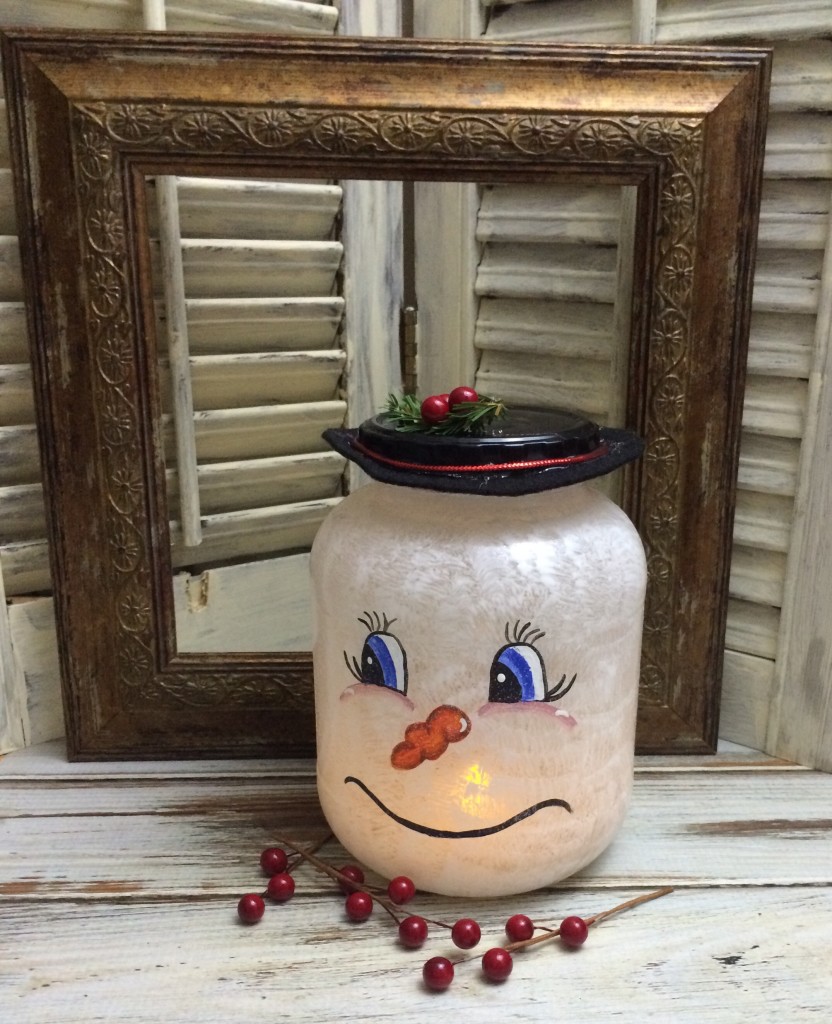
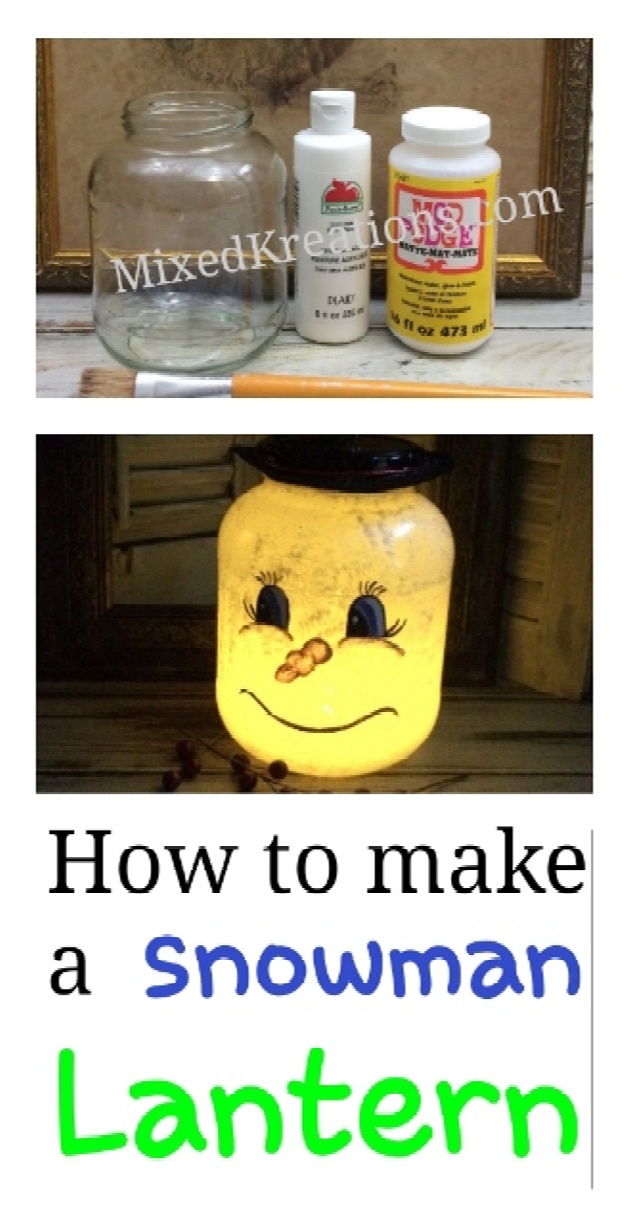
Here he is with the lights out. I couldn’t get the color right on my picture.
Supplies Needed for Diy Snowman Lantern
Glass jar with lid
Felt
Black, Blue, Mauve, Orange, Burnt Umber, White acrylic paint
Paint Brushes
Mod Podge
Red Cord
Holly or other greenery with berries
Hot Glue
Ball Stylus
LED tea light
Other Handmade Christmas Decor You May Like
Wooden Christmas Carolers
Rustic Snowman
Hand Painted Snowman Picket



Linda, how cute are these snowmen jars?!!!!!! I love the snowy effect you gave them using the paint and mod podge mix. You did an awesome job painting the faces on them!! They’re sooooo cute!!!
Thank you Keri! I love my mod podge (-; The eyes gave me a little trouble, but after it was all done I’m happy how they turned out.
It looks Soo easy I’m going to make one .thank you for your time explain is to assy to anderstand …
Thank you Irma! I’m glad that you enjoyed my tutorial. I’m sure yours will turn out super cute!
These lanterns are just too cute. My kids would love them! What a great atmosphere when they are lit up. Love it! Pinning!:)
Thanks Ilka! They are really fun and easy to make, and I love how they turned out. I love giving new life to jars and can.
Linda, these are so adorable, I love the way they look with the candle shining and without, love them. And I really love that they are so cost effective, almost everything I already have, and felt is so cheap! What a great project for parents and kids to do together, or give as holiday gifts! Pinned and Stumbled, I want to come back to this again and again! Thanks!
Thank you Nikki! I love these kind of projects, easy, inexpensive, and cute. The kids would have a blast I’m sure. I made some mummy lanterns for Halloween they turned out pretty cute as well. I gave them to the grandkids and they loved them. If they had of been here they could of helped me, but they live out of town )-:
I love, love their cheeks and shy smiles Linda. Too adorable and when you put the light inside it looks so lovely, like something straight out of Disney.
Thanks Michelle! It’s amazing what a few simple paint technique’s can make. I could of stippled them on but I think with these eyes it wouldn’t have been as cute. Probably would look like it was missing something.
wow i love it!! Great creativity!!
Thank you Monika!
Very good job. They are cute as can be.
Thank you so much Linda!
Do you paint the white on the inside or outside?
Hi Nancy! The paint goes on the outside of the jar.
Do you use ModPodge in the paint for the face as well?
Hi Kathy! No I did not use mod podge for the face. You could if you wanted but I just used acrylic paints.
What a great idea. These are the first things I’ve ever seen. Too bad it’s so close to Christmas, I would love to try making one for a lady I know who absolutely loves snowmen.
Thank you Sheri! I’m glad you enjoyed my snowman lanterns! There is always next year, you can make them than gift them as an early present to your friend.
Do you think this would work with plastic jars? I work with special needs kids and glass jars are a danger to them in case they drop them, but they would love to make these.
Hi Mareth! Yes, these could be made out of plastic jars, and would be just as cute!
I could get nose to look good like yours so threw it in trash
Hi April! I’m sorry to hear that! Maybe practice some on a piece of paper or scrap wood first next time.
What a wonderful way help save the environment by this clever way to reuse glass jars. Love the idea and you give such clear instructions how to make them.
Thank you for sharing your talent.
Deirdre.
Thank you Deirdre! Glad you enjoyed the post.