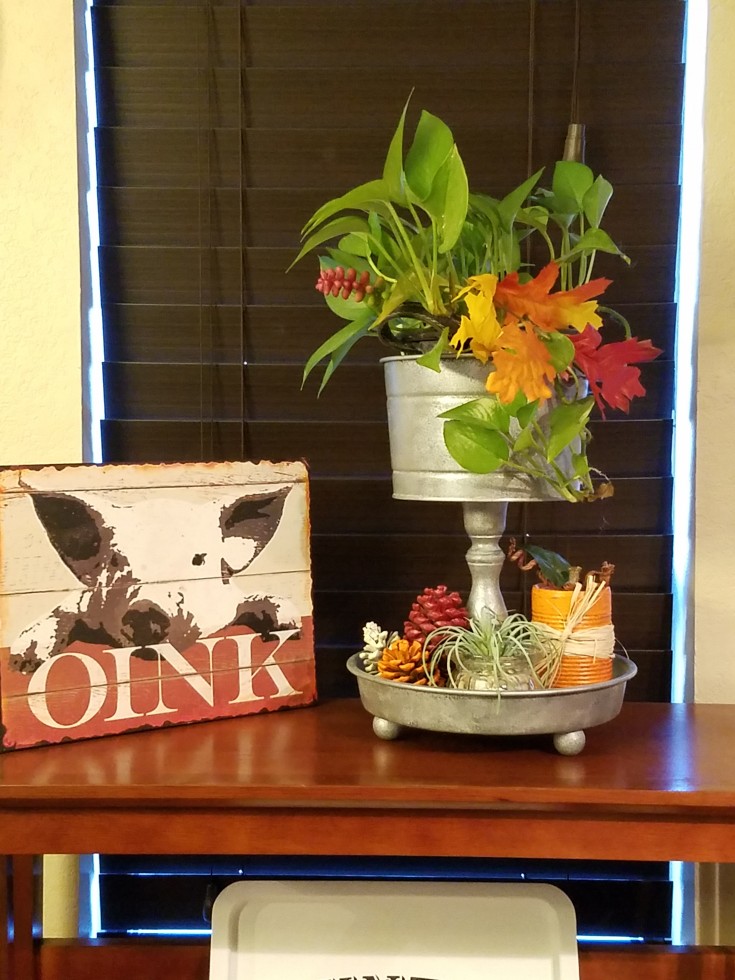
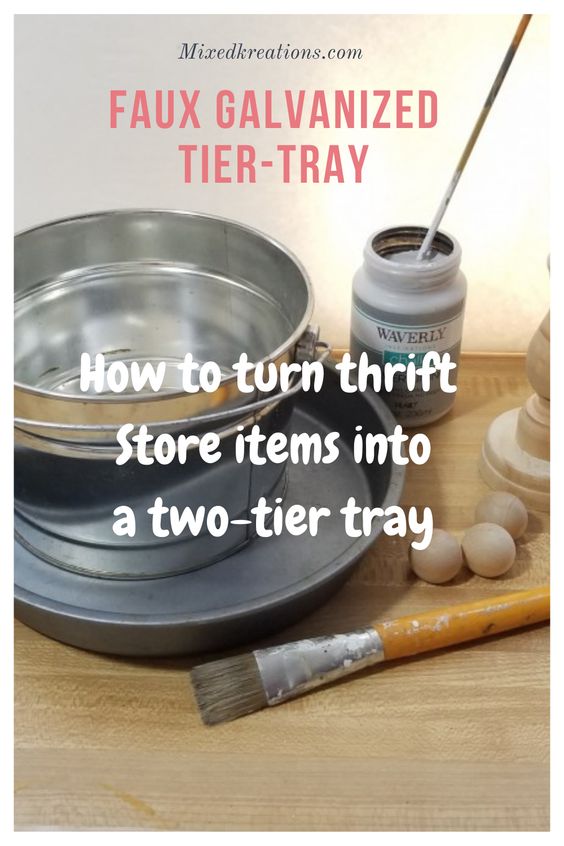
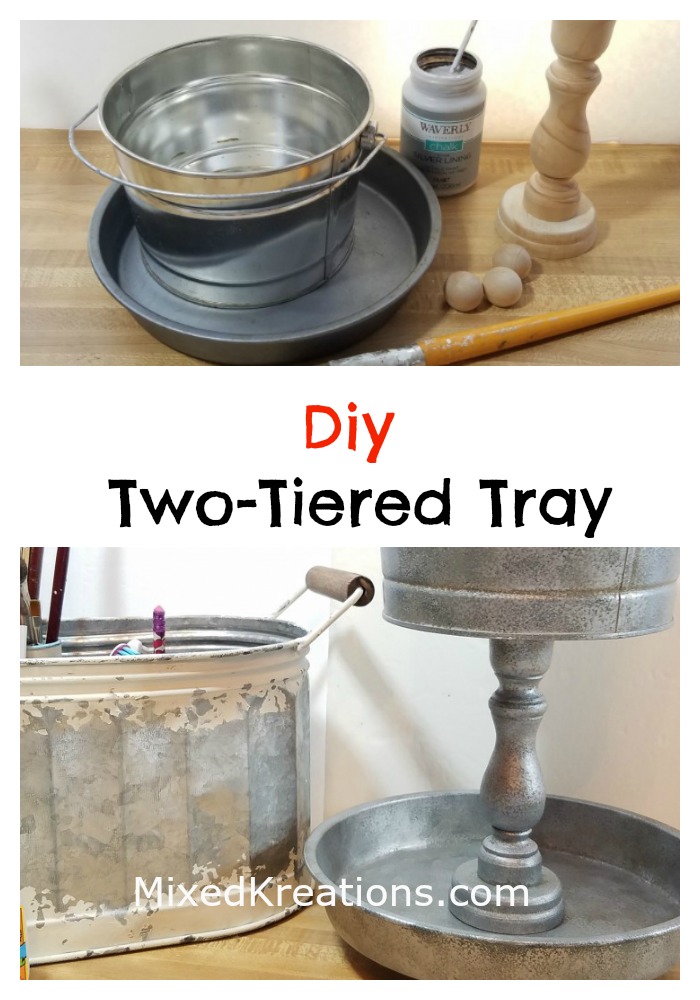
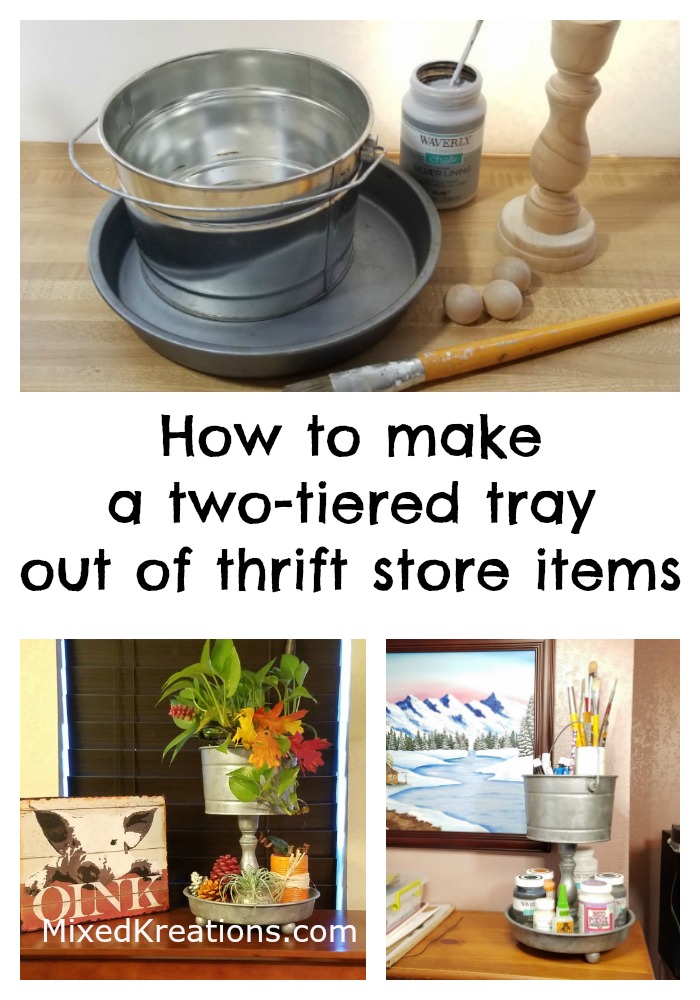
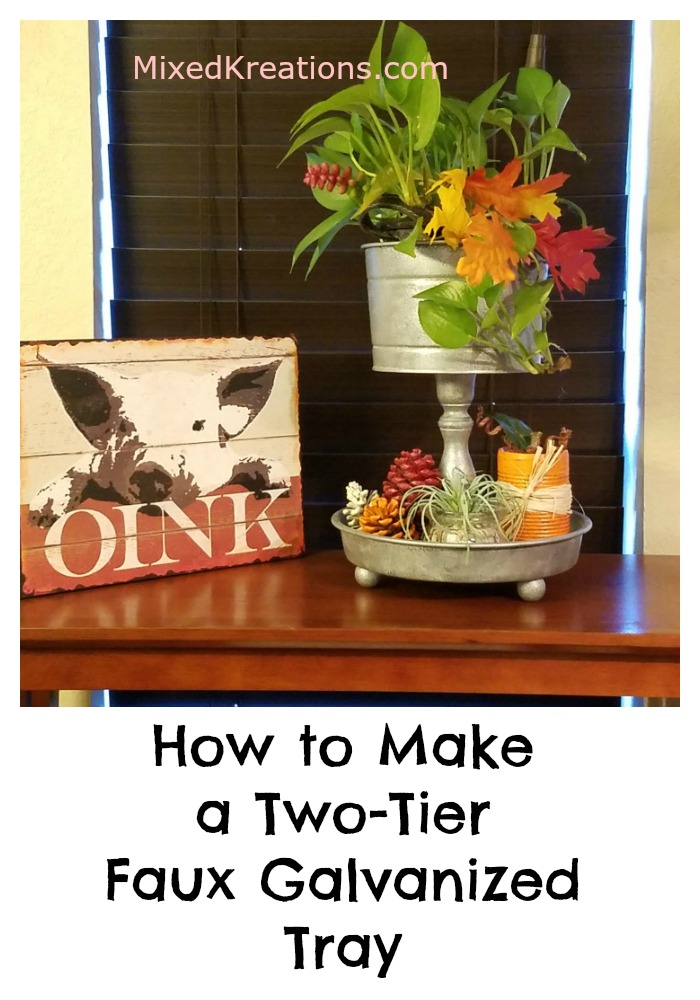
I’ve been looking through my thrifty stash again trying to clear out more things, and I came up with this two-tier faux galvanized tray. Made out of a metal bucket, baking pan, candlestick, and wooden ball knobs. Wanting it to all look like galvanized I decided to try a faux galvanized metal technique again. Like on one of my Dollar store container makeover and my Faux galvanized metal letters. I wasn’t sure how it would all turn out but I’m happy to say it all went well!
***This post contains affiliate links, if you click on an affiliate link & buy something I may receive a small commission at no extra charge to you. The affiliate money I earn helps pay the expenses to keep this site running. Please read my full advertising disclosure for more info. Thanks so much for your support!***
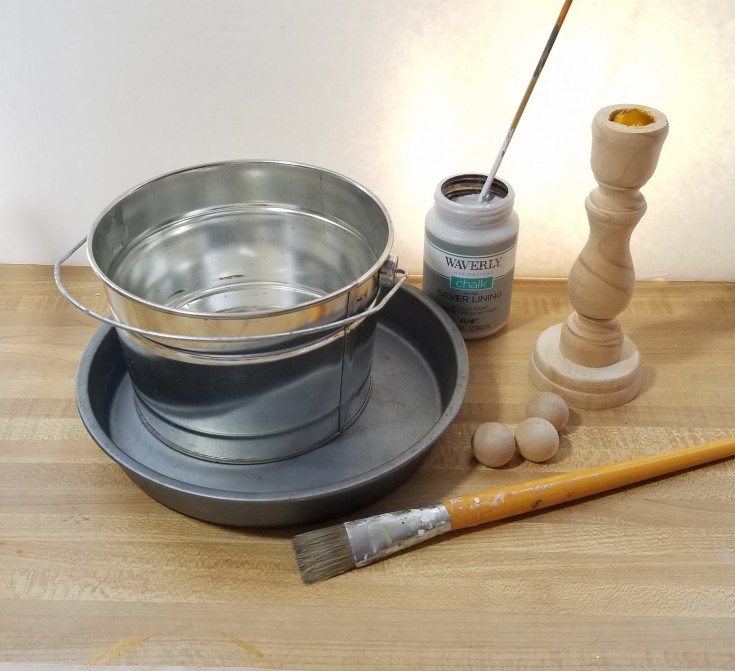
Two-tier Faux Galvanized Tray Supplies
Metal bucket
Baking pan
Wood unfinished candlestick
3 Wooden ball knobs
Grey chalk paint
Rainy day grey acrylic
Black acrylic paint
Silver metallic acylic paint
Paintbrush
Two wood screws
Gorilla super glue gel
[tweetthis display_mode=”box”]How to Make a Two-Tier Tray look like galvanized metal[/tweetthis]
Two-Tier Faux Galvanized Tray
To make my two-tier tray I started out painting everything with Waverly grey chalk paint. I used chalk paint because it adheres to metal without having to sand the items.
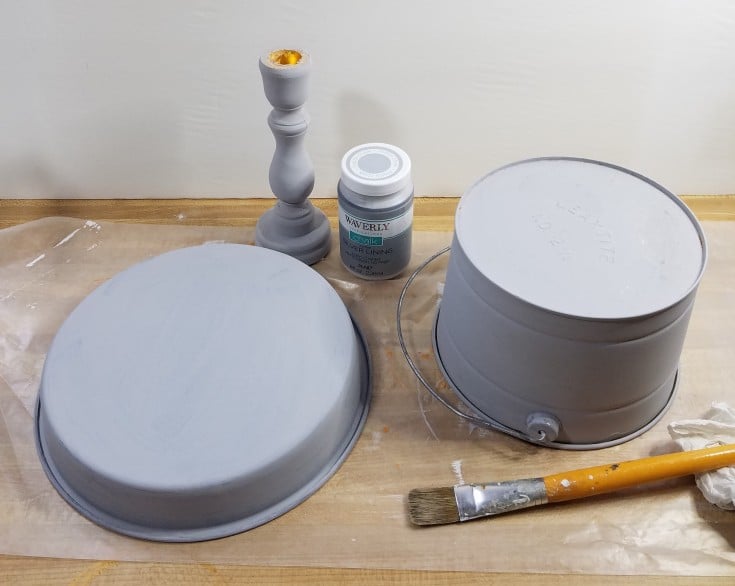
I only added one coat since I would be layering it with different colors of paint.
Next, I used black acrylic paint and a sponge to dab the black on over the grey leaving black spots here and there.
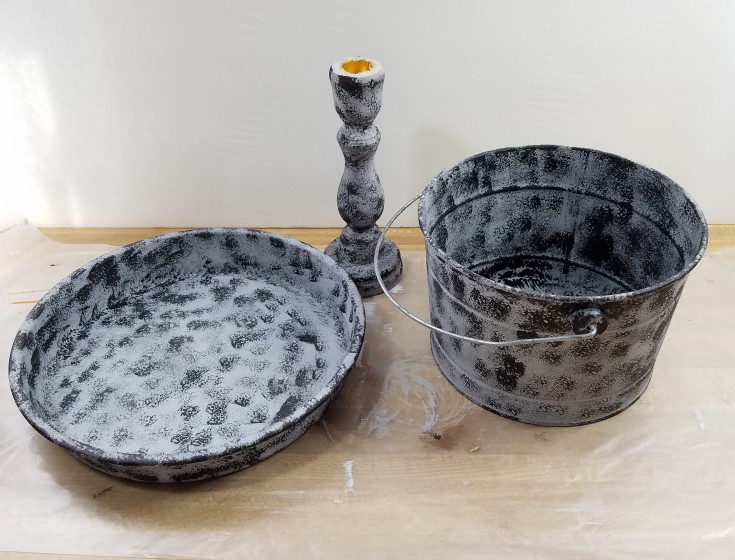
Then I went back over the tiered tray using rainy day grey to tone down the black and add a variety of grey’s.
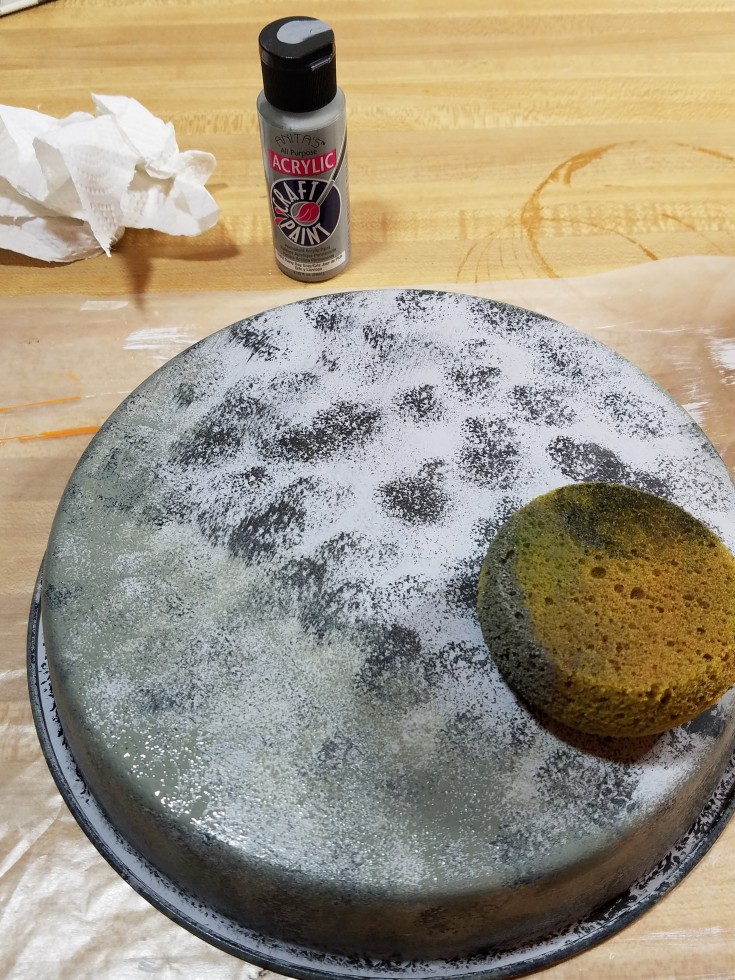
Once all this is dry I went back over everything with metallic using the sponge again and a paintbrush where the sponge couldn’t reach.
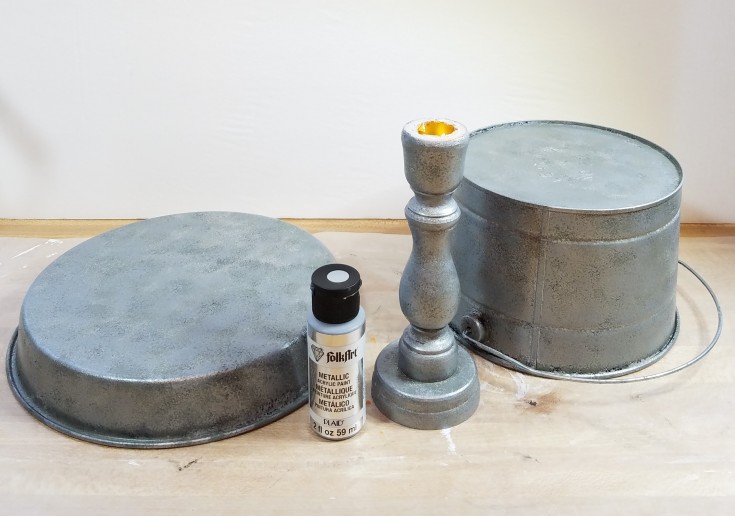
I continue sponging the metallic on the two-tier faux galvanized tray until I got the desired effect I was looking for.
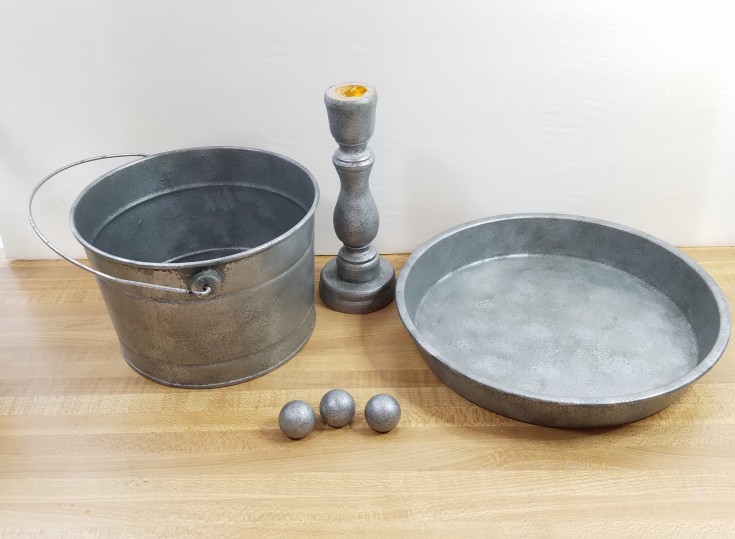
Putting The Two-tiered Tray Together
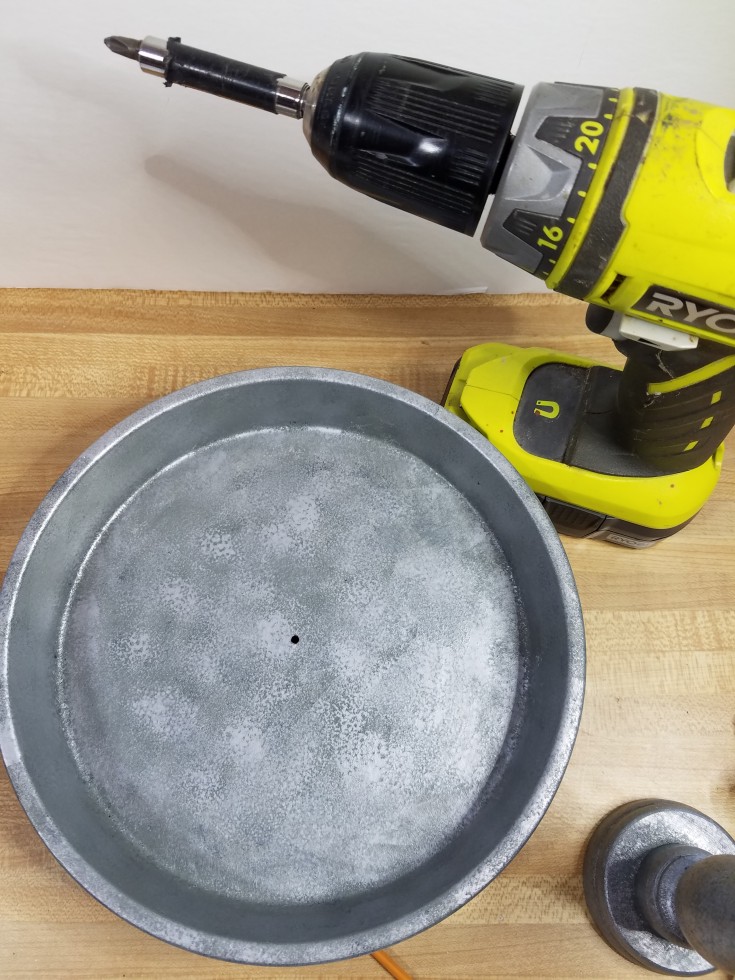
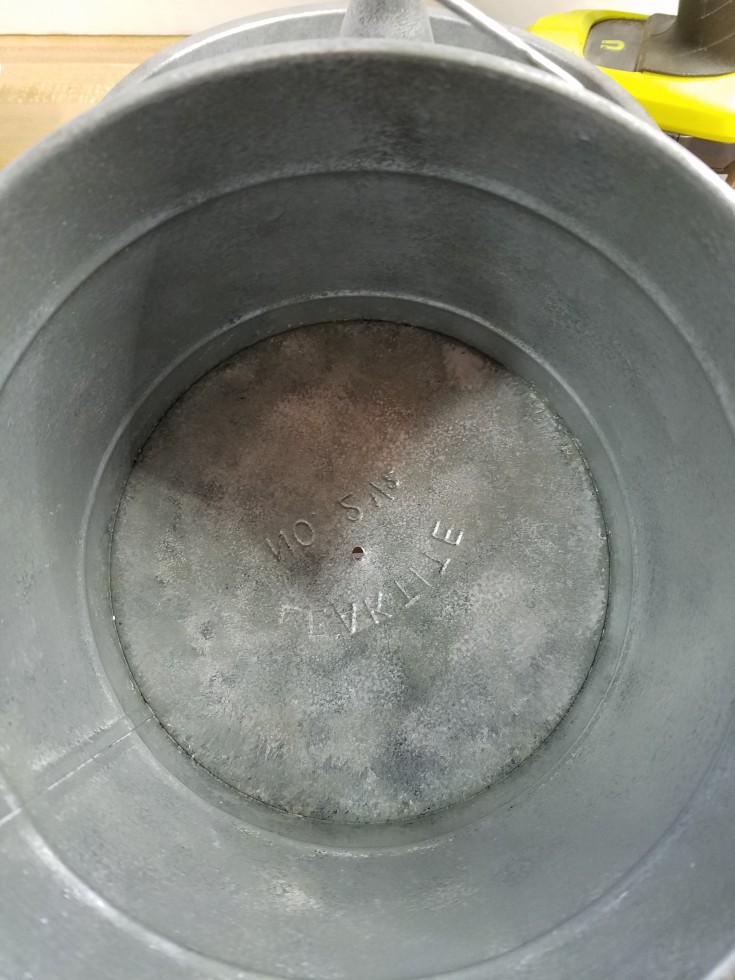
Next, I drilled a hole in the center of the pan and bucket to help secure them to the candlestick.
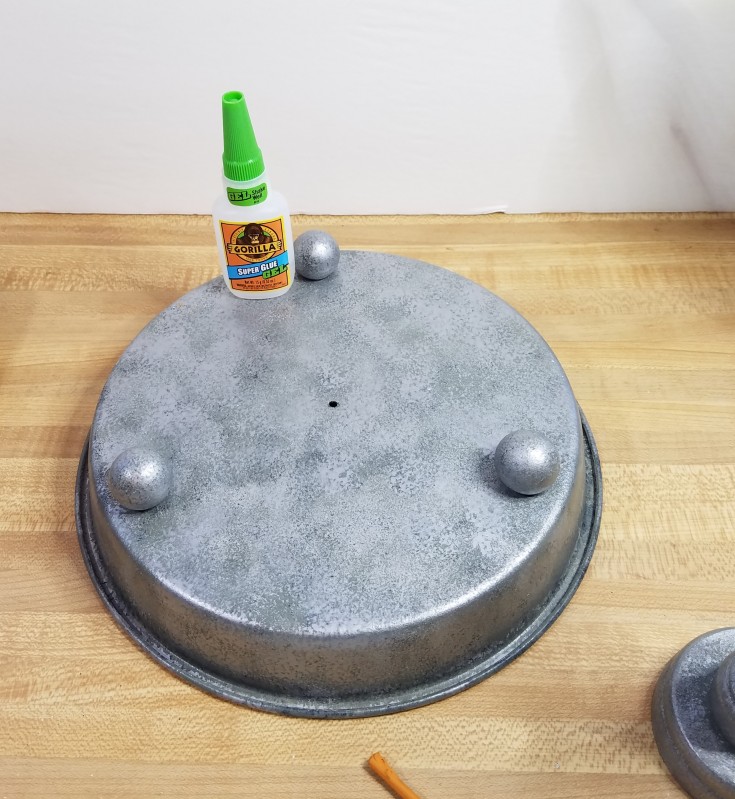
Then I used Gorilla super glue gel to connect the ball knobs to the bottom of the pan letting set for a few hours to dry.
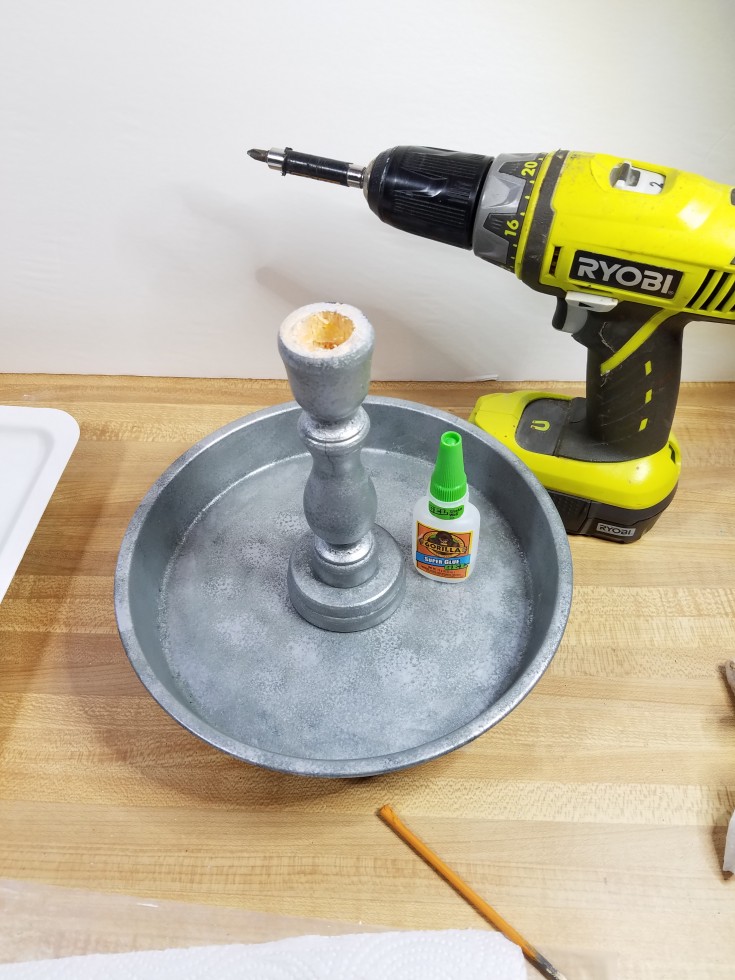
To put it all together I added some glue to the Candlestick and put it in place then screwed the pan and bucket down.
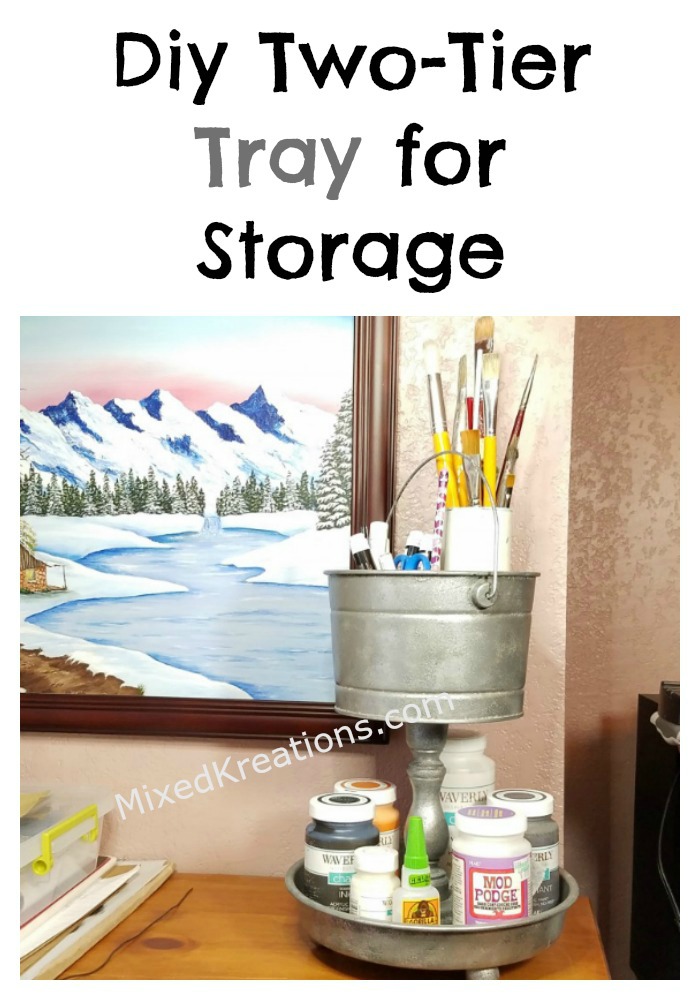
That was a pretty easy project I was able to use up a few more items from my stash and now have a two-tier faux galvanized tray. I’m thrilled how it turned out! Hmm now where to use it, craft room, bathroom…..
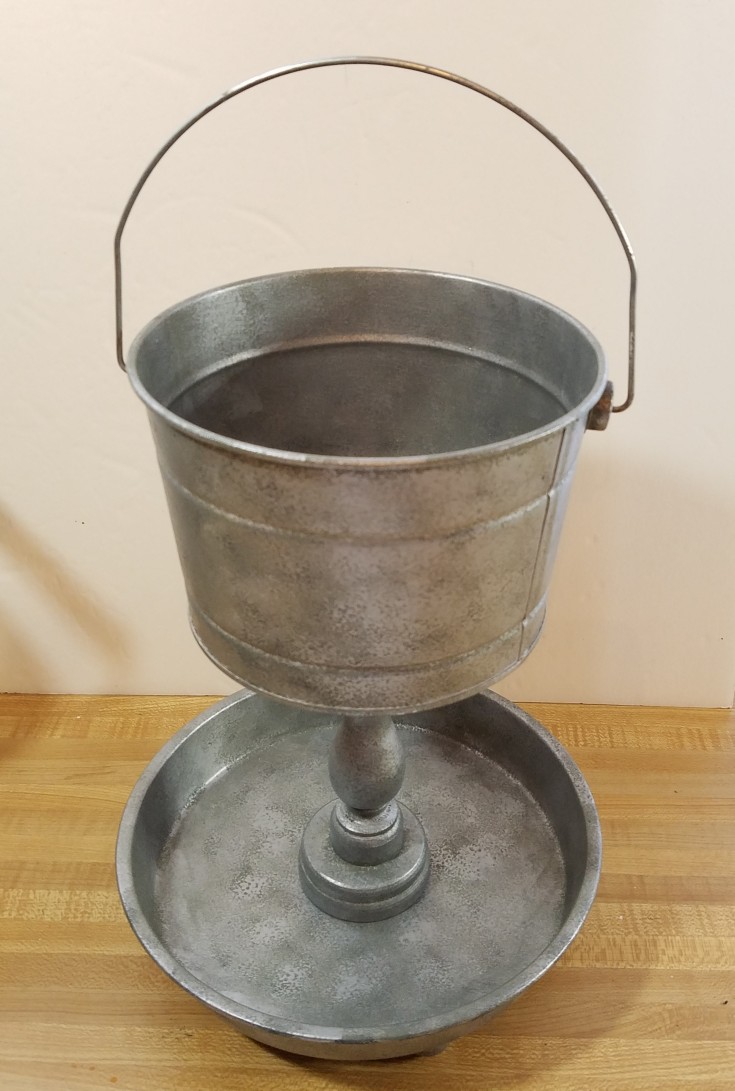
Here’s my two-tiered tray beside a galvanized tub.
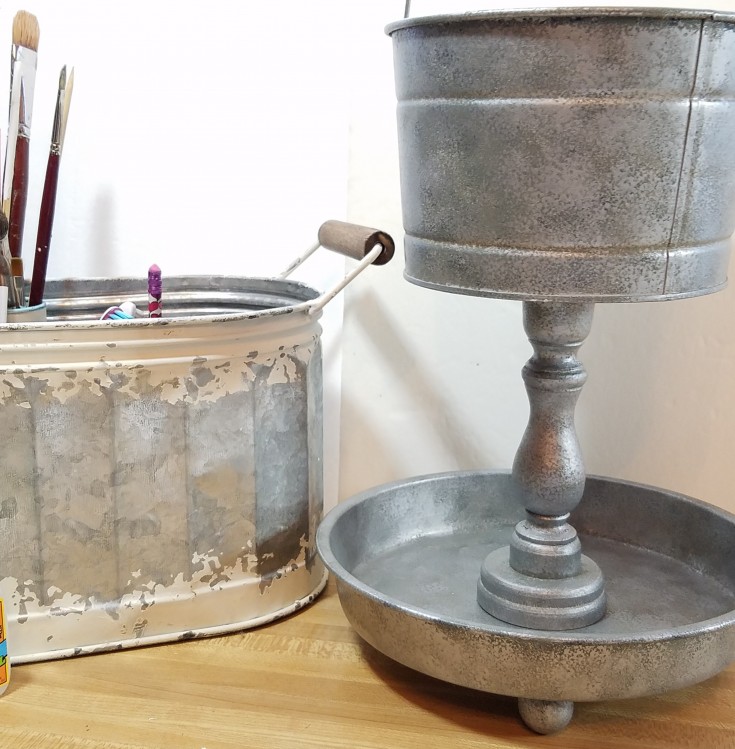
How do you like my two-tiered galvanized tray, and do you think it resembles galvanized metal?
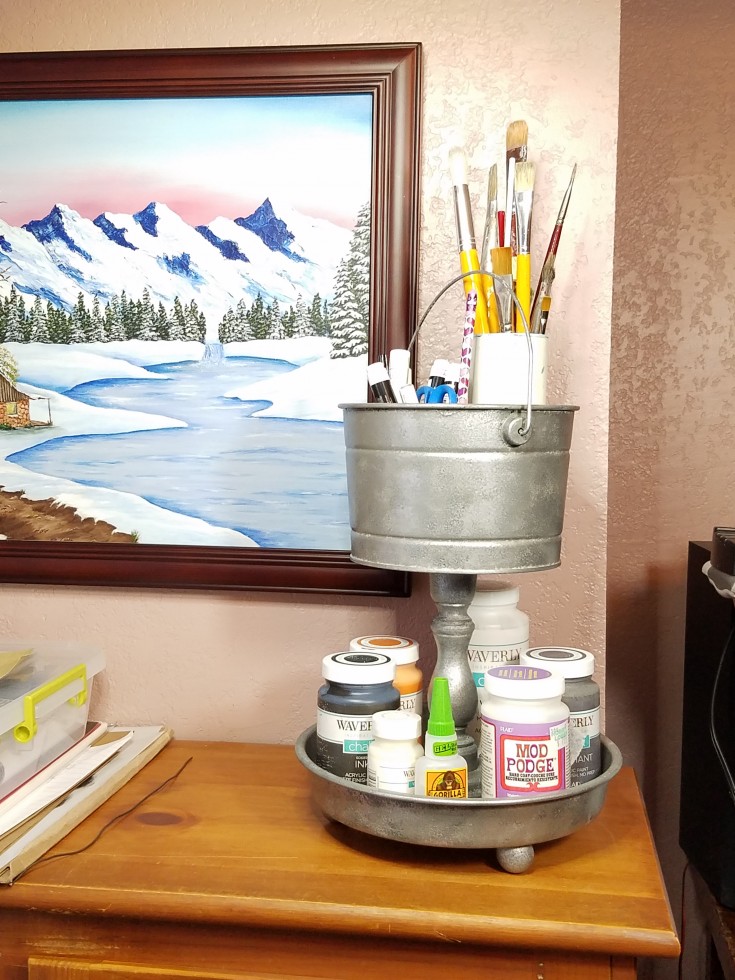
More Diy Trays You May Enjoy!
Upcycled country kitchen tray
Decorative coffee station tray
How to give two thrifty finds a farmhouse makeover
It does look like galvanized metal! I like how it all looks so uniform now, & the ball feet are also a good addition. I need one of these!
Thank you Florence! I’m glad that I chose the ball knobs over the blocks. I could use a couple more of these. Guess I need to go thrifting some more.
I love you faux galvanizing technique LInda. If you don’t see the whole process from start to finish you would never guess that the can and tray were different metals. Super creative to use the tin can on top. That will hold so much more stuff
Thank you Michelle! It even tricked a metal worker He thought that it was galvanized metal just looking at it. I’m sure he would of known if he had picked it up. Now I need to make a couple more.
I have been searching online for ideas for diy tiered trays and have found some pretty good but I have to say that your tray is hands down the best I have seen! You did an awesome job! I can’t wait to start mine now after seeing yours and getting inspiration!!
Thank you Tiffany! I am glad you enjoyed my tutorial.