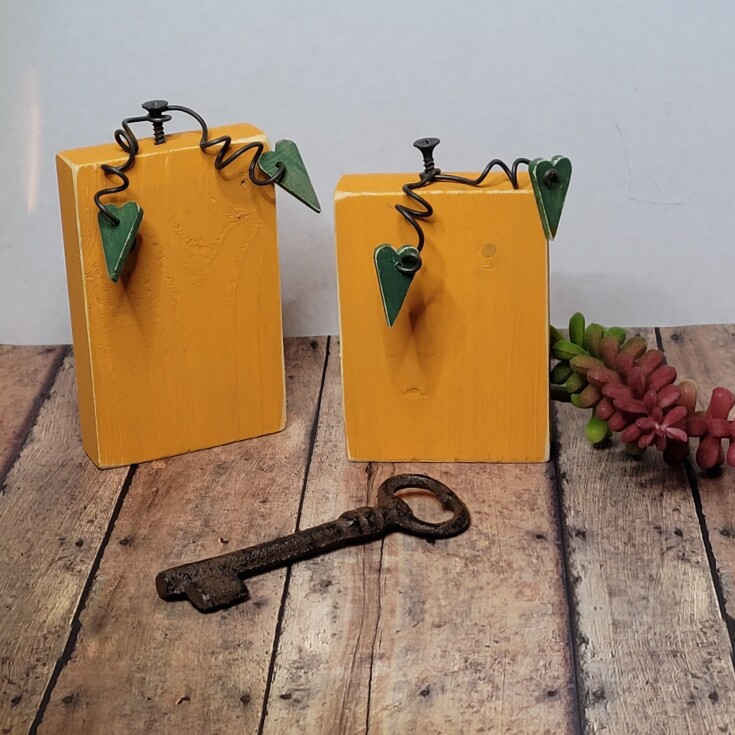
Hi All! Today I want to share how to make Diy wood block pumpkins for fall. These cute wooden pumpkins are super easy and can be use through fall for Thanksgiving and Halloween décor. They would be cute on a mantel, or mixed in with a table centerpiece. They are small enough to add to a holiday tier tray along with other holiday décor.
***This post contains affiliate links… We are a participant in the Amazon Services LLC Associates Program, and affiliate advertising program designed to provide a means for us to earn fees by linking to Amazon.com and affiliated sites at no extra charge to you. Please read my full advertising disclosure for more info. Thanks so much for your support!***
Normally I am running behind on my holiday décor projects. But this year I am hoping to get a few projects done earlier for Thanksgiving and Halloween. I am thinking of opening an Etsy Shop since I no longer have a Zibbet shop. They were bought out by someone else, but I still haven’t received anything on that yet. So, I am getting started with this project that is quick and simple to make, and a great way to use up some scrap wood pieces. These adorable wood pumpkins will be one of my first listings on Etsy for those of you that aren’t into diy projects.
Diy Wood Block Pumpkins
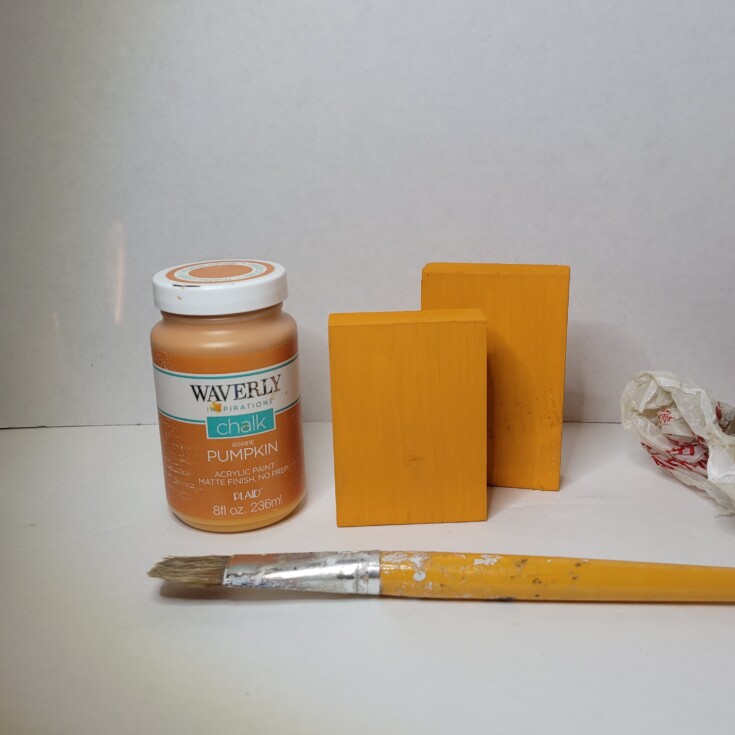
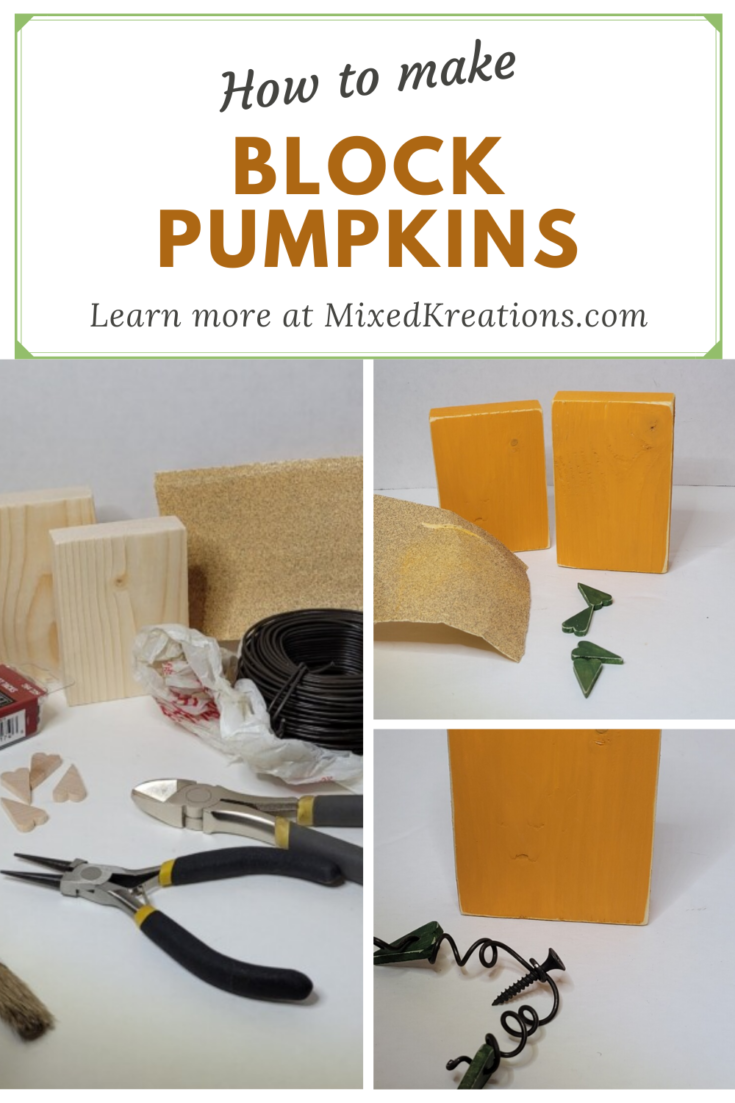
Start off with a scrap piece of wood or two. Sand off the rough edges then paint orange or the color of your choice.
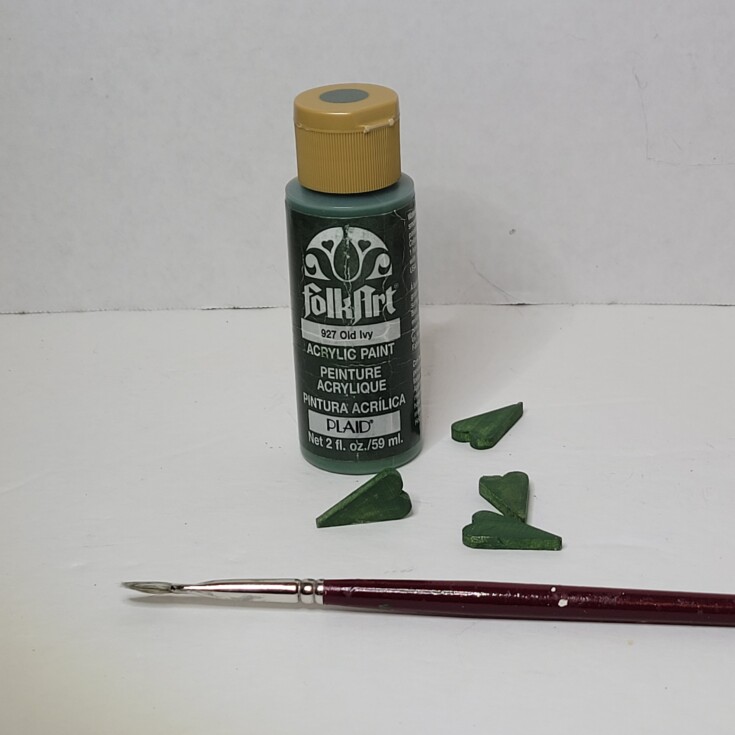
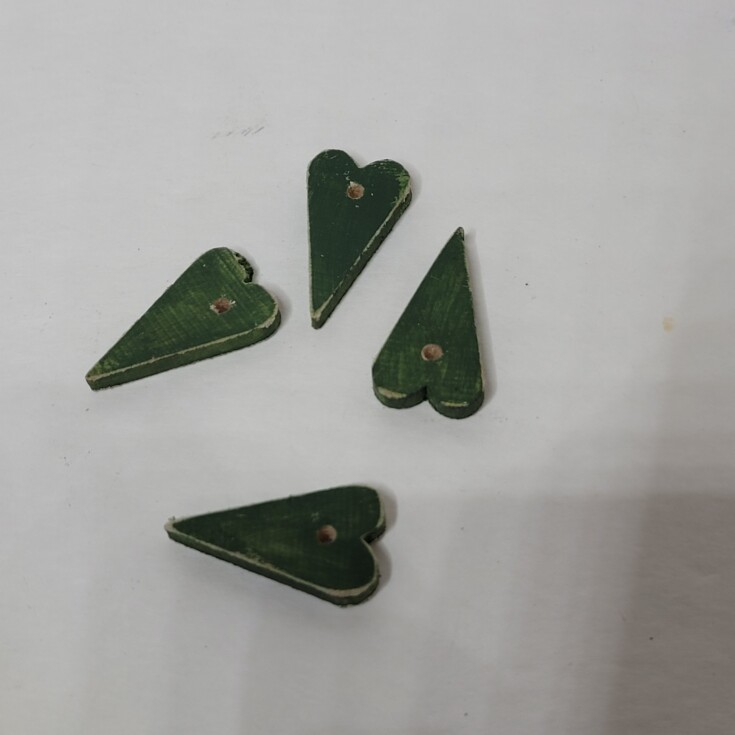
For the leaves I will be using small wood hearts that I have in my wood parts stash. These I painted green.
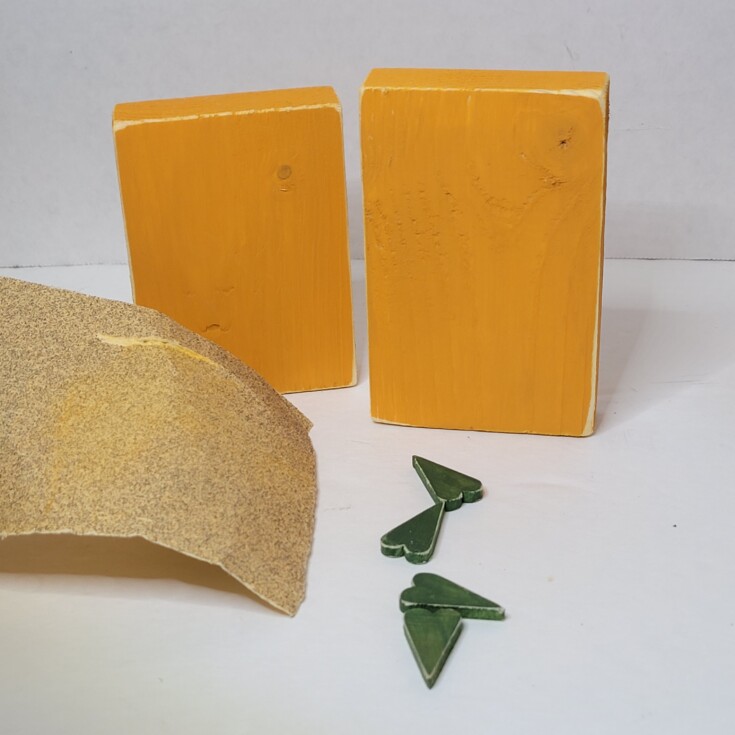
Can’t forget to sand the edges of the diy wood block pumpkins, and hearts for that distressed look I love.
Drill a small hole in the hearts just large enough for a piece of wire.
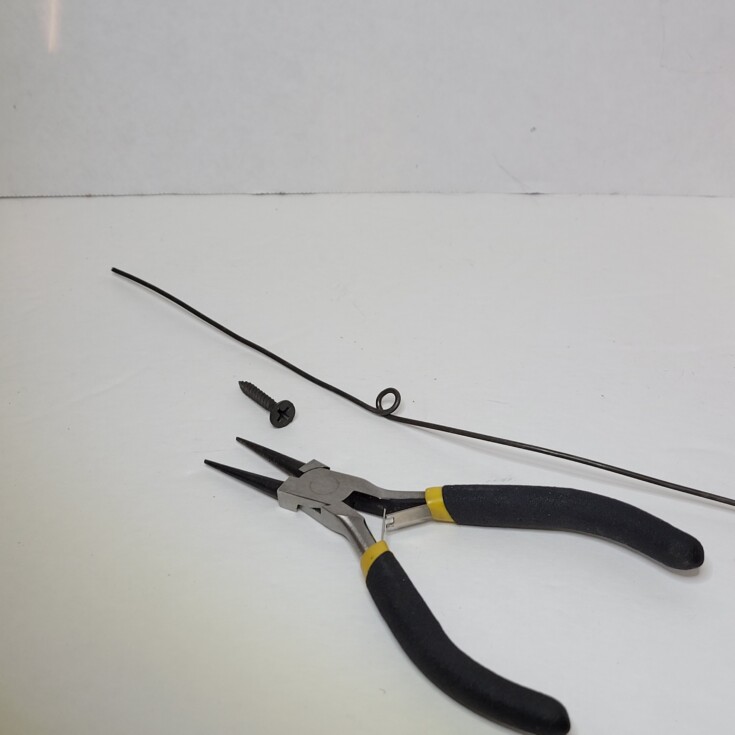
For the wire tendril cut two pieces of anneal wire approximately eight inches in length. Make a small loop in the center using needle nose pliers. The loop needs to be just large enough for a screw to go through. I was going to use upholstery tacks but they were a little to small so I used wood screws instead.
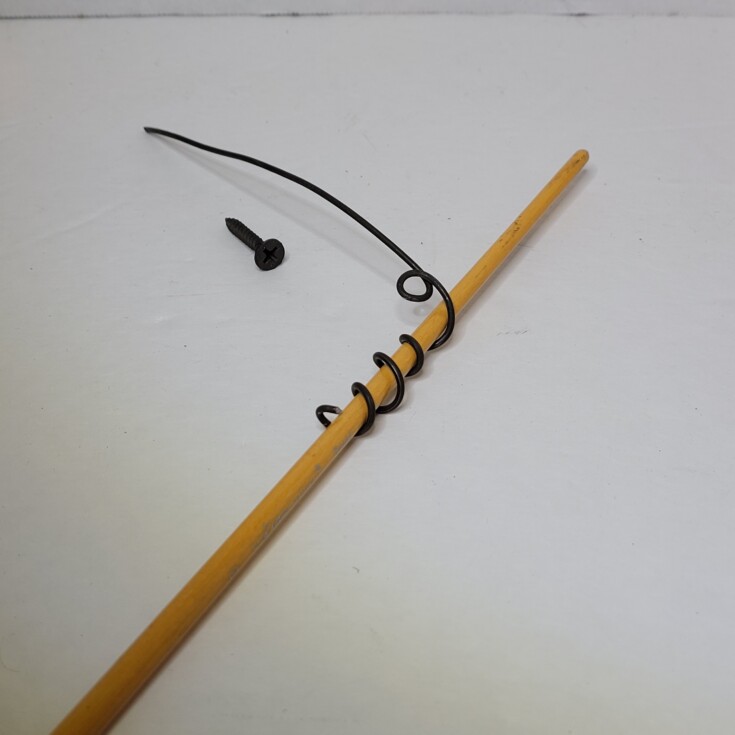
Wrap the ends of wire around a paintbrush leaving about ¾” of each end straight to thread through the leaf/heart. (Don’t forget like I did).
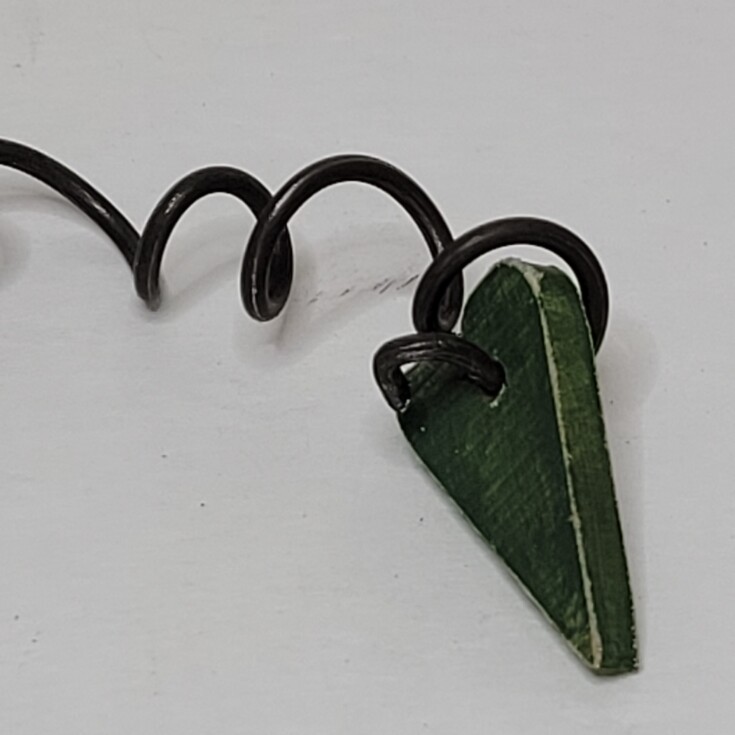
Now thread the wood hearts onto the wire then use pliers to form a small loop or bend to hold the hearts in place.
Now run a screw through the wire loop and screw in halfway in the top center portion of the diy wood block pumpkins.
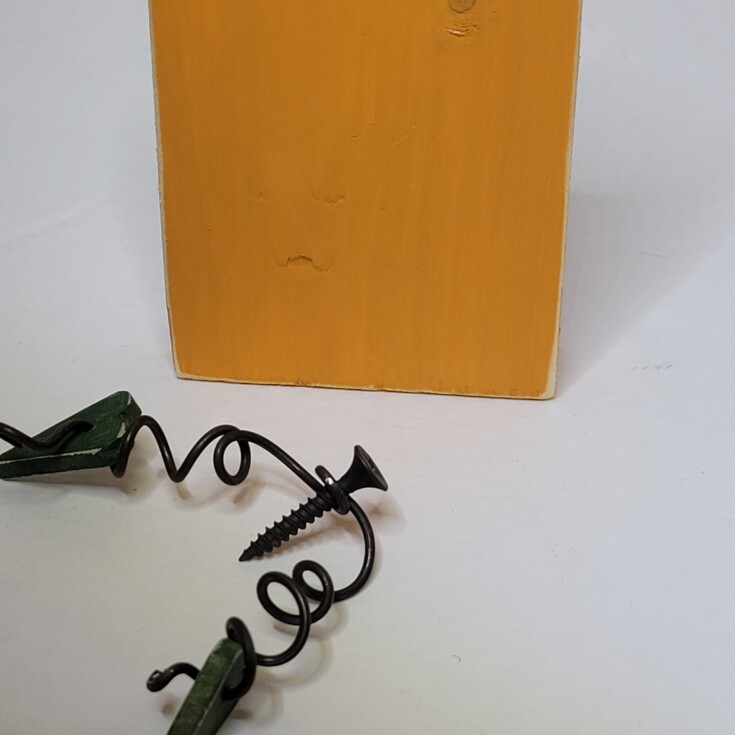
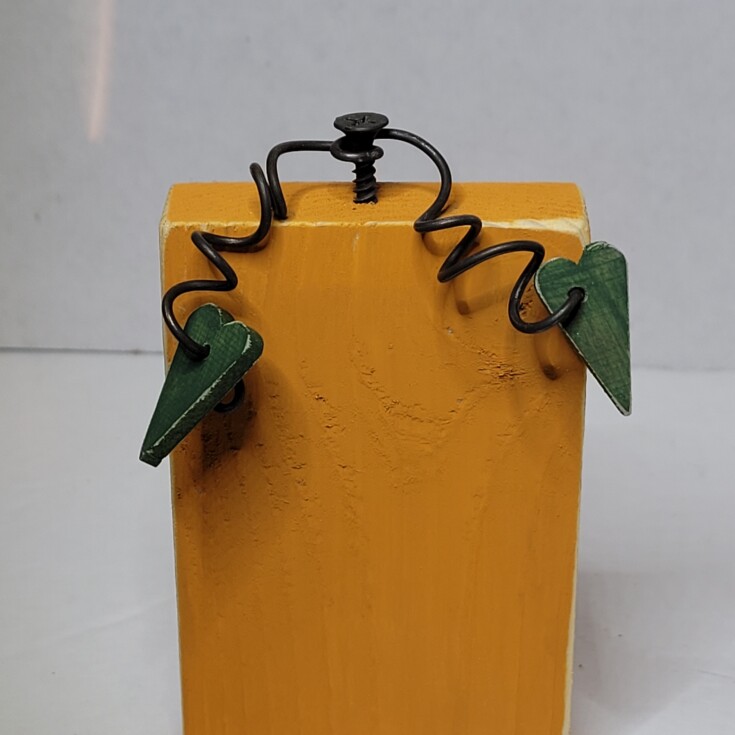
Bend the wire tendrils of the pumpkins in position. There you have it two super easy diy wood block pumpkins. Are you a diy’er? What is your favorite diy projects for Fall? I do like making pumpkins from wood or tin cans.
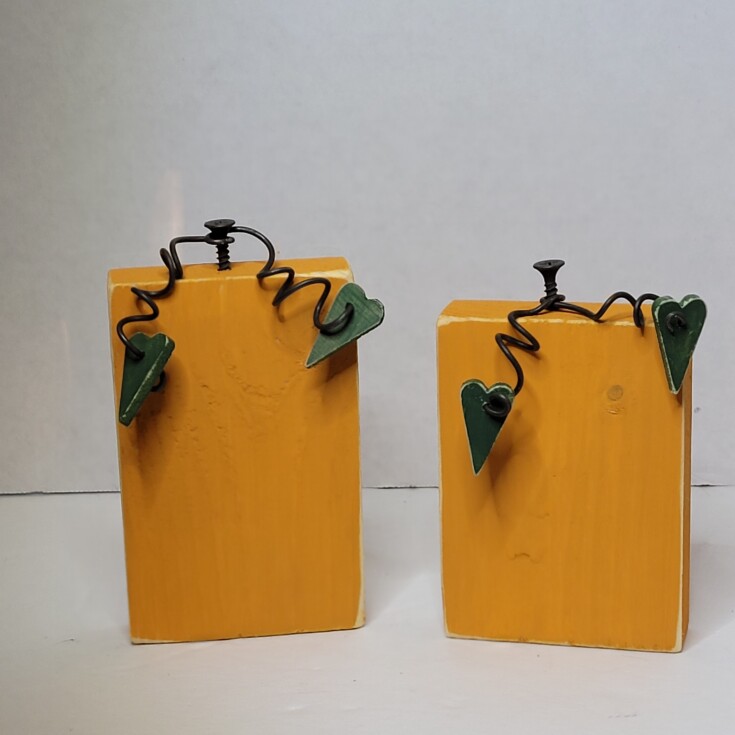
Supplies for Diy Wood Block Pumpkins
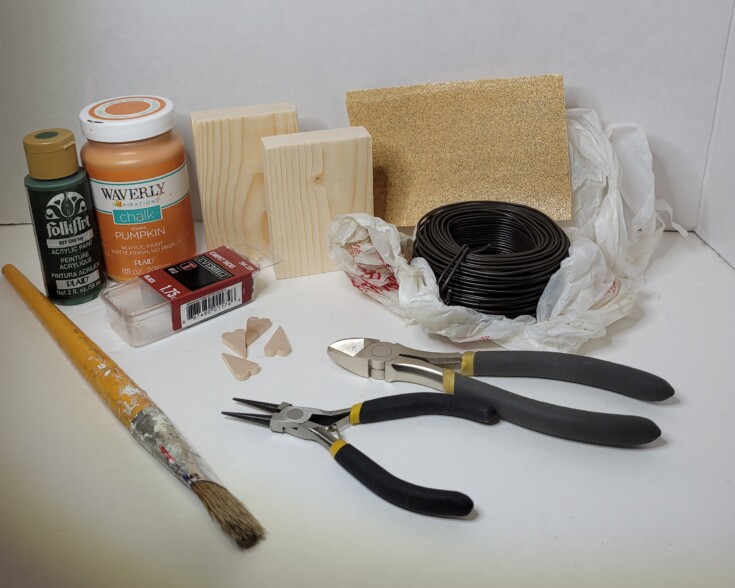
Scrap wood (I used one 4? X 2 1/2” and one 3 ½” x 2 ½”)
Orange paint
Green paint
2 wood screws
4 small wood hearts
Needle nose pliers
Wire cutters
Anneal wire
Paintbrushes
Sandpaper
Drill and small bit
Screwdriver
More Fun Fall Projects
Metal tart mold pumpkin
Easy diy tin can pumpkins
Chalkboard pumpkin from a cutting board
How to make a fall pickle jar pumpkin
Diy wood pumpkins
I love all your pumpkin crafts, but I think these might be my favorite. Those heart leaves and wire tendrils are so perfect and unique too.
Thank you Michelle! I am pretty happy with how they turned out. I love the wire tendrils.
I like your work. this is so amazing and unqiue DIY wood ideas. Thank you for sharing this article.
I’m glad you enjoyed the post! Thanks so much for stopping by!
What incredible endeavours! Decisiveness is a nigh-impossible task. I’m only getting started, but I’m already addicted. I’d want to have these designs. Excellent for individuals who have been stranded for days or weeks due to inclement weather.
Thanks I’m glad you enjoyed the post!