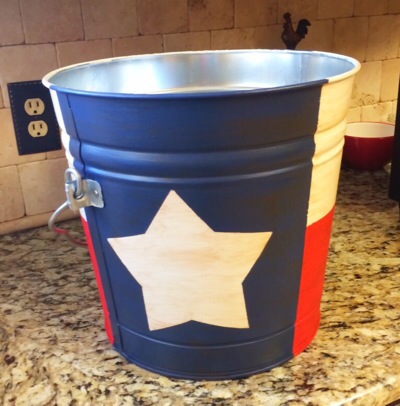
DIY Hand-Painted Texas Flag Bucket
I got the idea for this hand-painted Texas Flag Bucket when remodeling our den, which we call our Texas room. We needed a small trash can for that room, and I seen some buckets painted similar with the Texas flag at one of the little dinner we go to for breakfast. I thought this would be perfect for our Texas room.
Follow the steps below to make your own Hand-painted Texas Flag bucket to use as trash can, storage bucket, flower pot, etc.
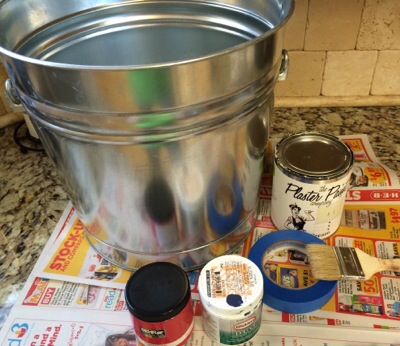
Metal bucket
Red, white, and blue paint
Antiquing gel
Clear sealant
Paint brush
Soft rag
Painters tape
Pencil
Scissors

First paint your bucket white, 2-3 coats. Let dry thoroughly between coats.
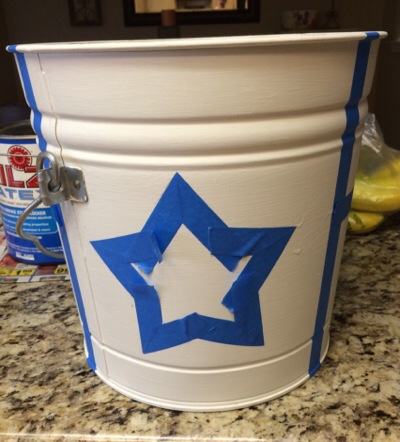
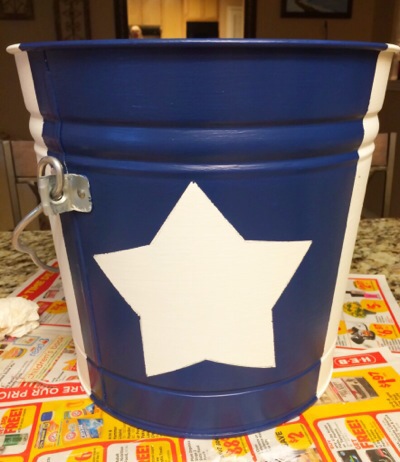
Using your pencil, draw a five point star. Now take your painters tape and tape off the inside part of your star. Then run a piece of tape from top to bottom on both sides of your star marking off the blue box area.
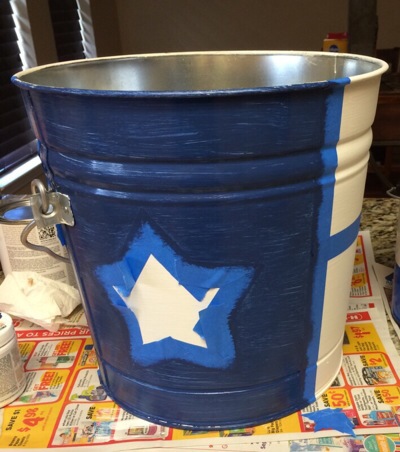
Paint in the blue area, be careful around the taped areas so not to bleed under onto your white areas. Again 2-3 coats drying thoroughly between each coat.
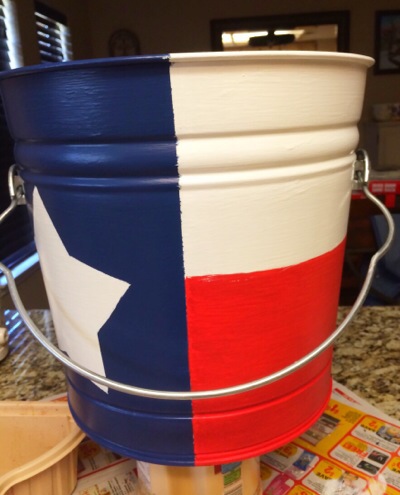
Now paint the bottom half of the white area red. You can tape off a straight line if needed. 2-3 coats drying thoroughly between each coat.
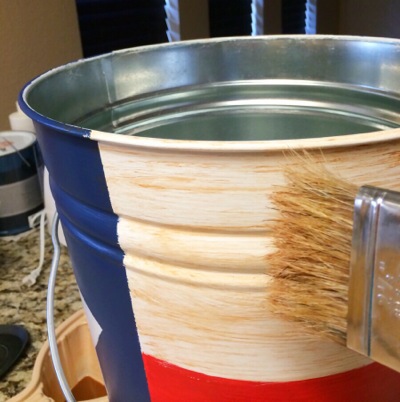
Now it's time to apply the antiquing gel. Divide bucket in 3-4 sections, then apply antiquing gel in one area at a time and use soft rag to wipe off a little or a lot. Depending on the look you desire.
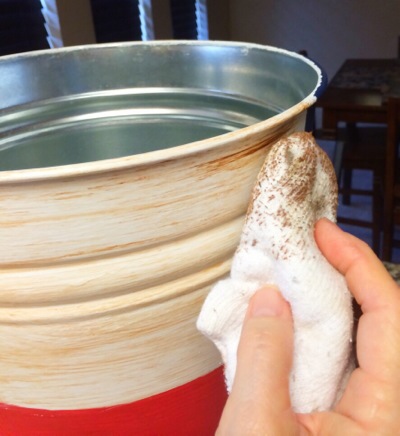
Once dry apply a clear sealer for protection. I applied 3 coats of sealer for added protection.
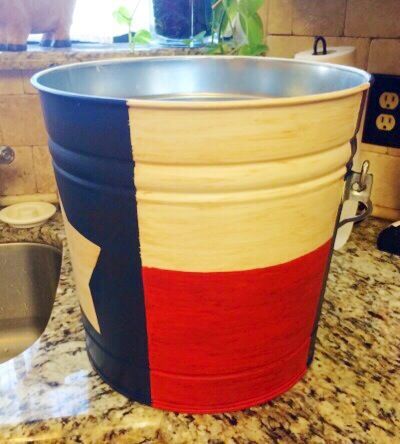
Like I said above I made this Texas flag bucket to use as a trash can, but I think it would be really cute as a planter, or storage container for yarn, magazines, even in the bathroom to hold toilet paper rolls ;-D
Follow me on Facebook, Twitter, or Bloglovin.
Please Share!!!
What color blue did you use for the Texas Bucket?
Hi Mary! It was Rich Navy a sample can that I picked up at Home Depot. Thanks for stopping by!