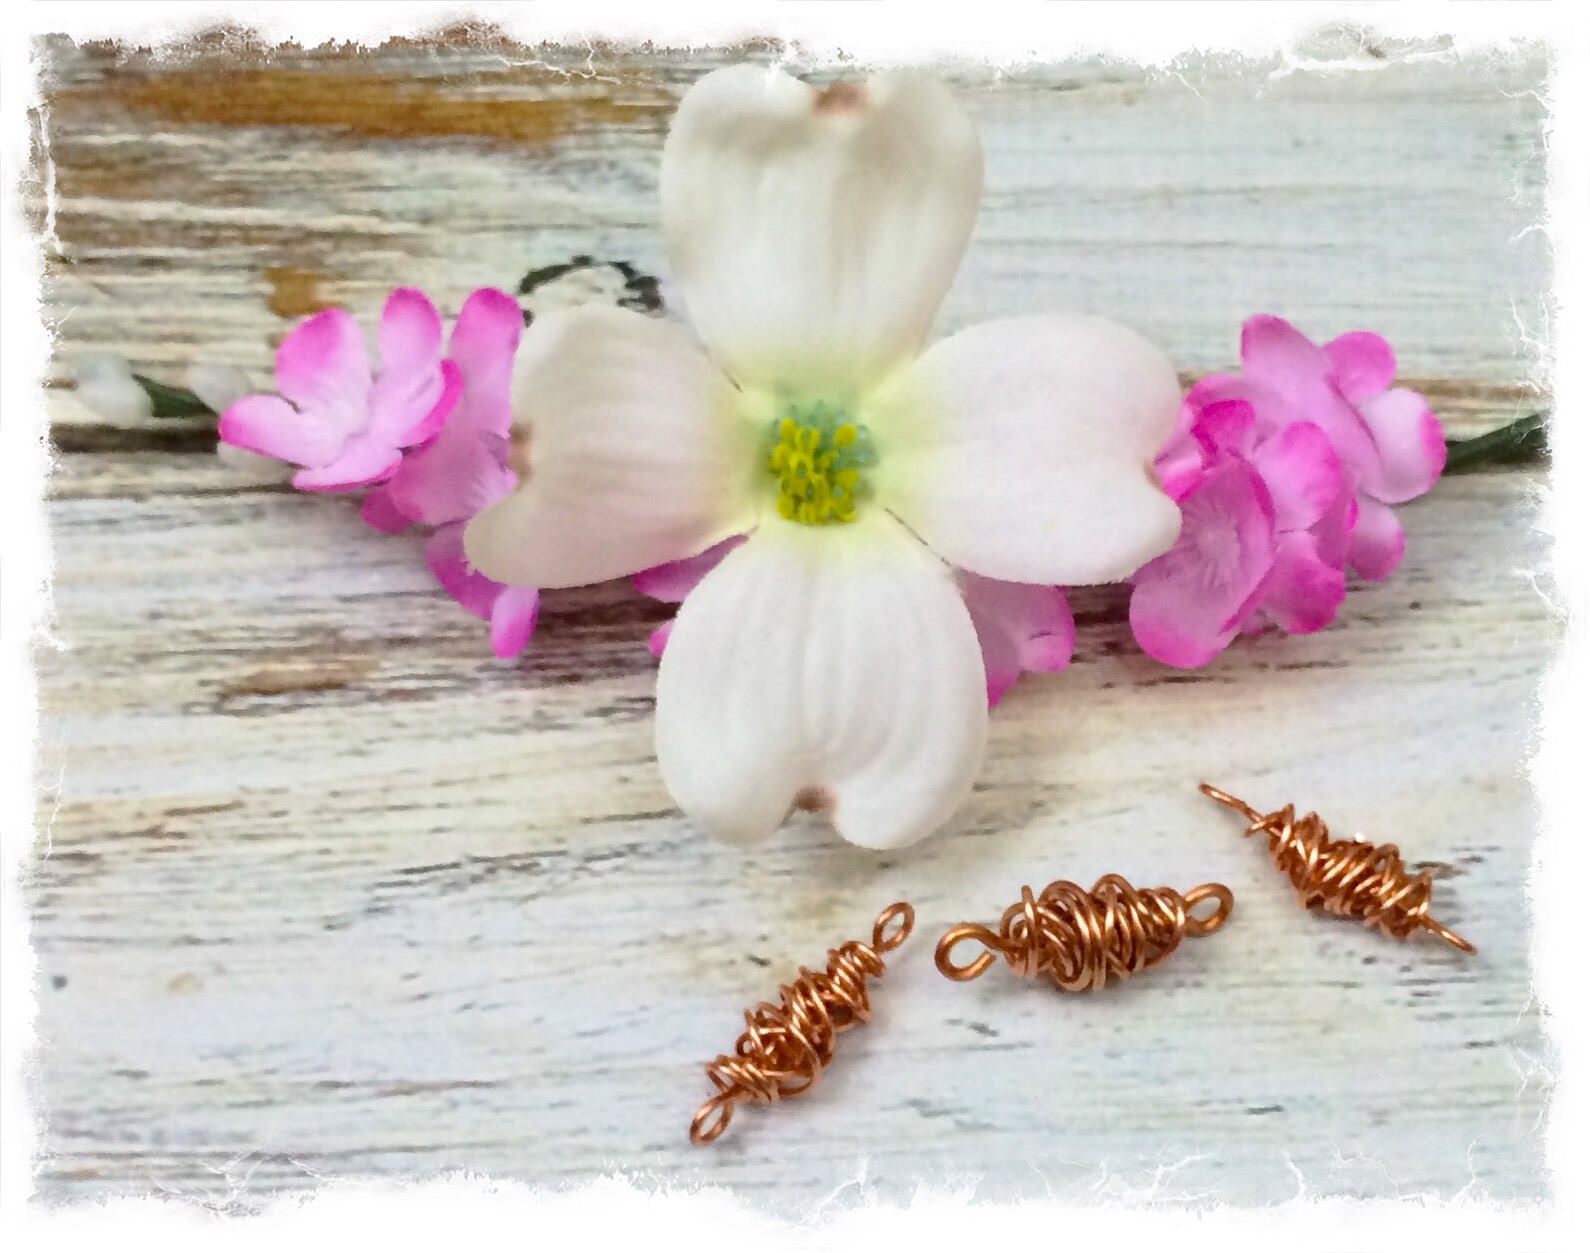
This tutorial is a remake of an old post on How to make wire wrapped copper beads. Let’s face it when I first started my blog and making tutorials I pretty much sucked, especially my photo’s. Even though my old tutorial only had the steps on how to make wire wrapped copper beads without pictures to go with each step it still received a lot of traffic.
After joining the Learn to Blog VIP Forum and watching the video’s at the Learn to Blog Hangouts, I am making improvements to my blog and one of the improvement is going back and remaking some of my old post and trying to improve on my photo’s. By the way if you haven’t heard of the Learn to Blog Handouts or the VIP Forum you should really check it out. You will find tons of great information to help the newbie blogger as well as the advanced.
[tweetthis display_mode=”box”]How To Make Wire Wrapped Copper Beads #HandmadeBeads #JewelyMaking #MixedKreations[/tweetthis]
Ok Back to the how to make a wire wrapped copper beads tutorial.
***This post contains affiliate links, if you click on an affiliate link & buy something I may receive a small commission at no extra charge to you. The affiliate money I earn helps pay the expenses to keep this site running. Please read my full advertising disclosure for more info. Thanks so much for your support!***
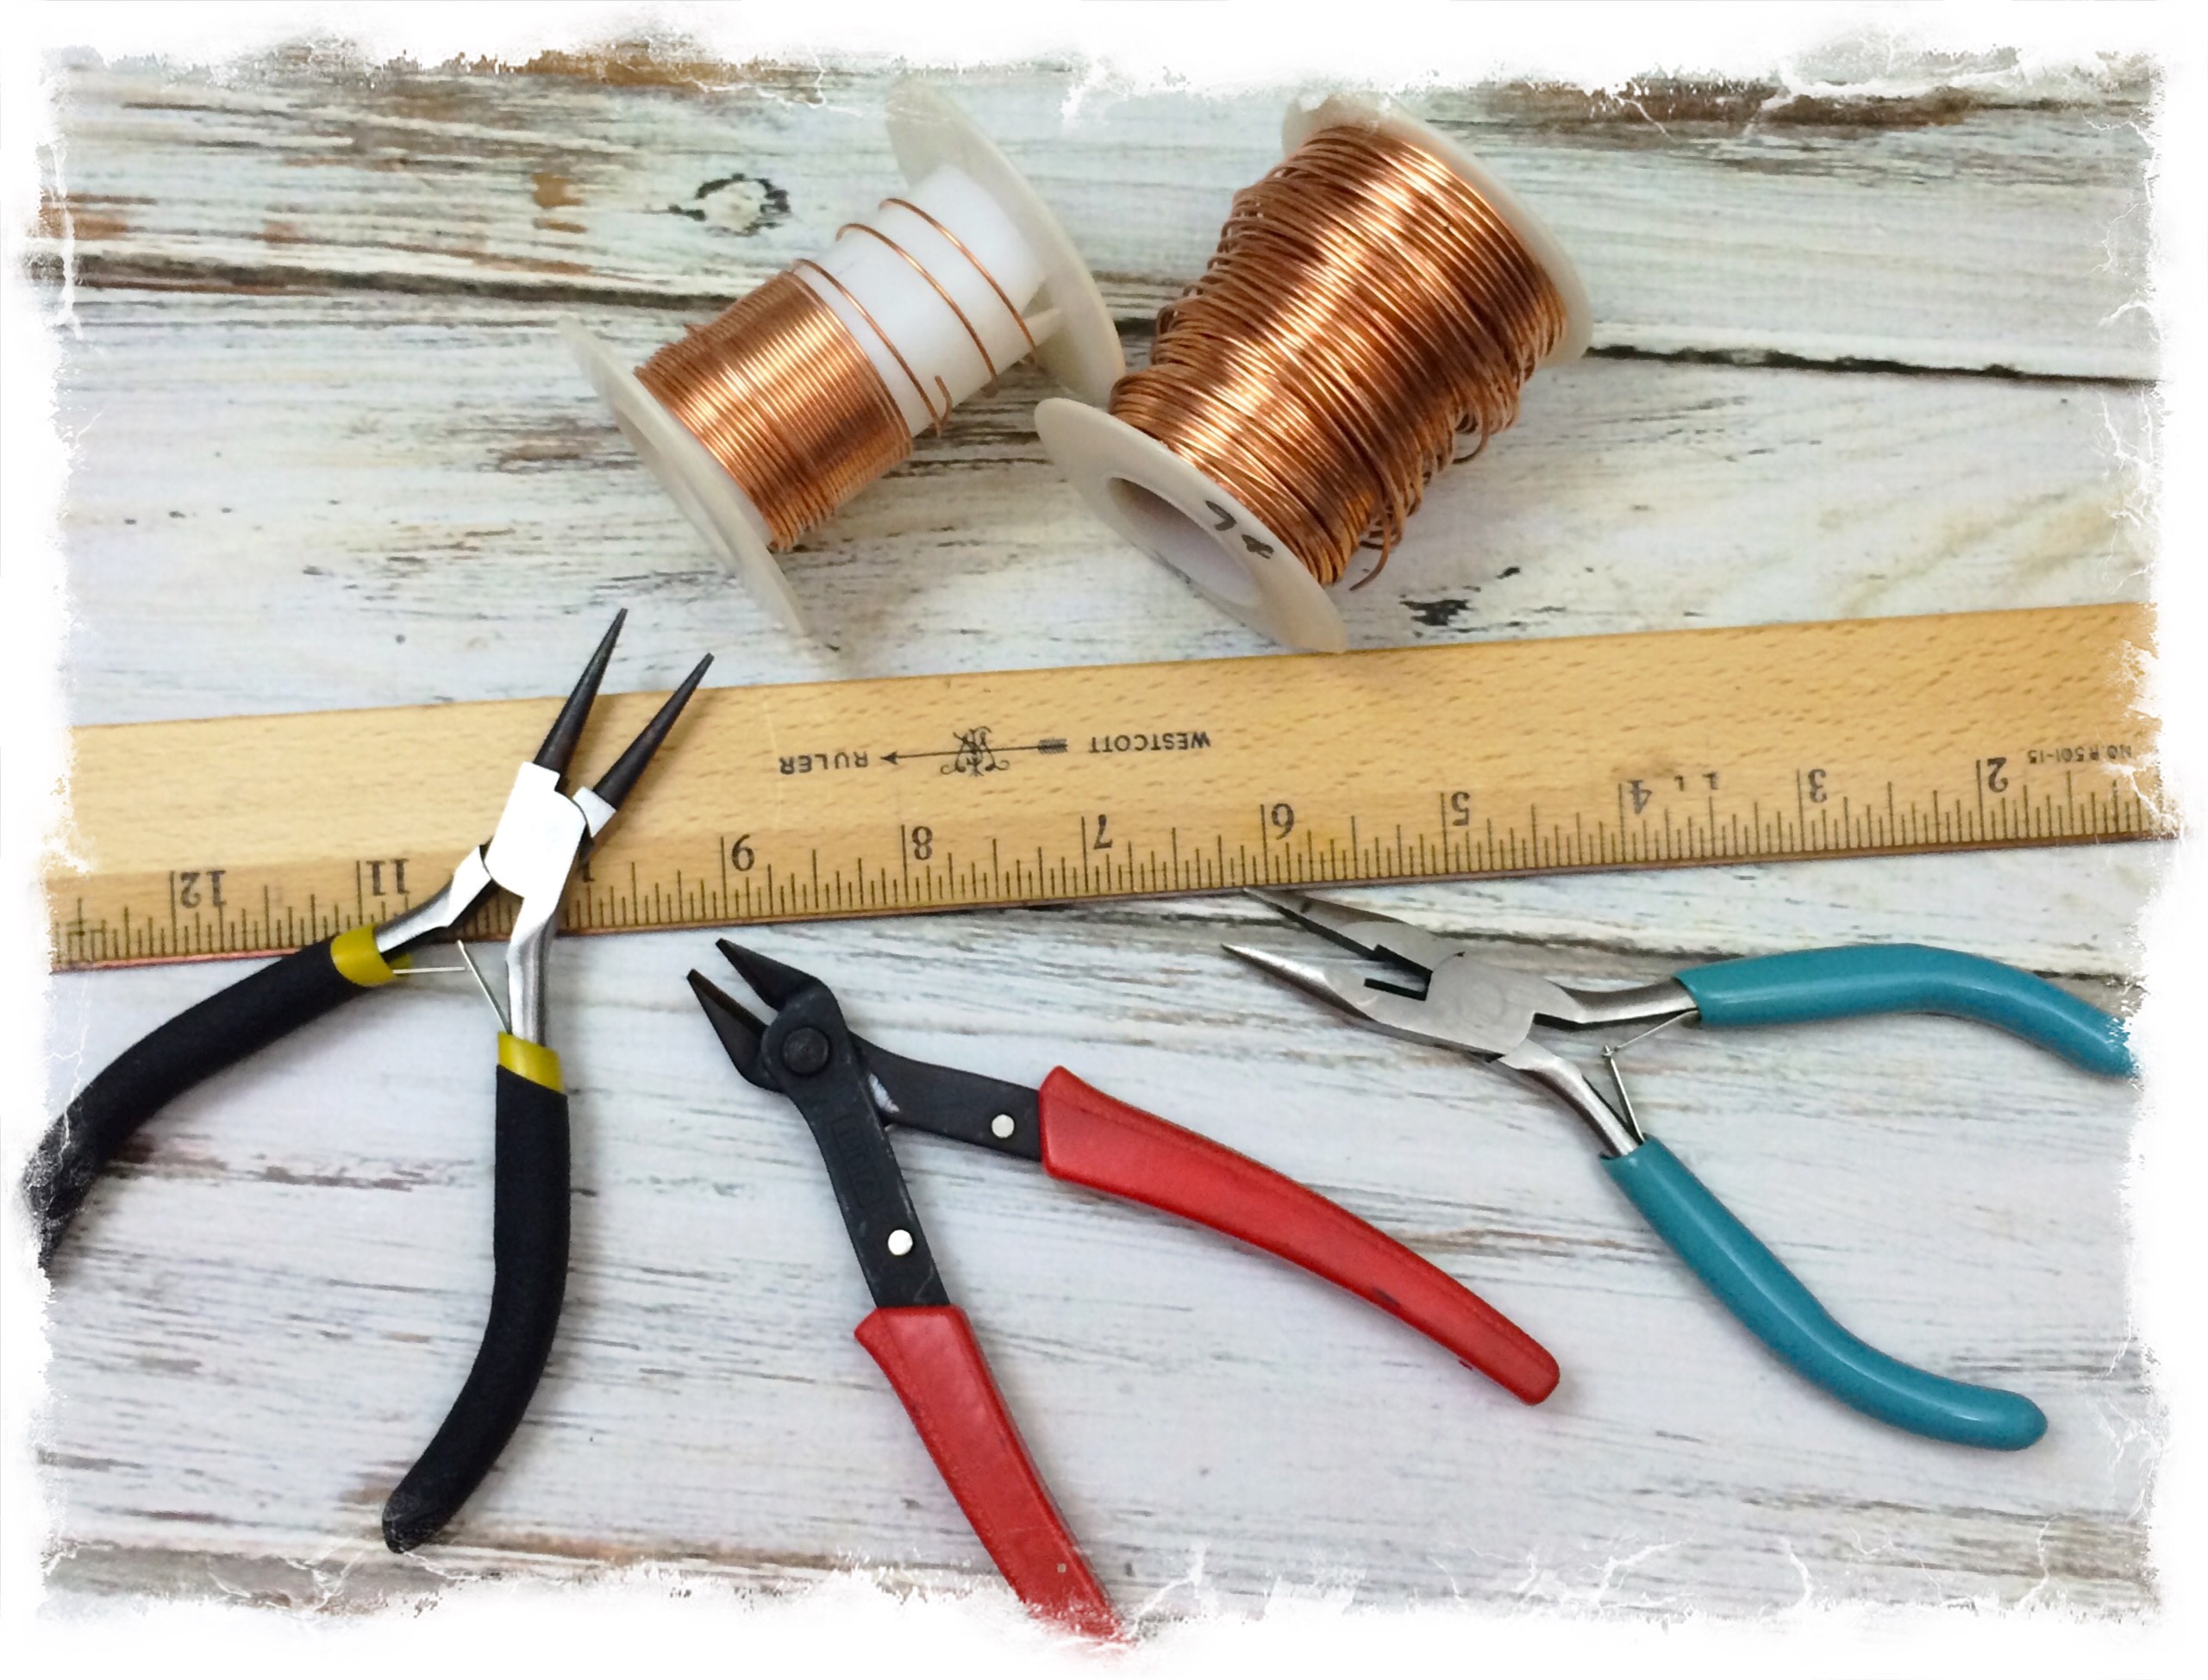
Materials Needed For Making Wire Wrapped Copper Beads
Materials Needed
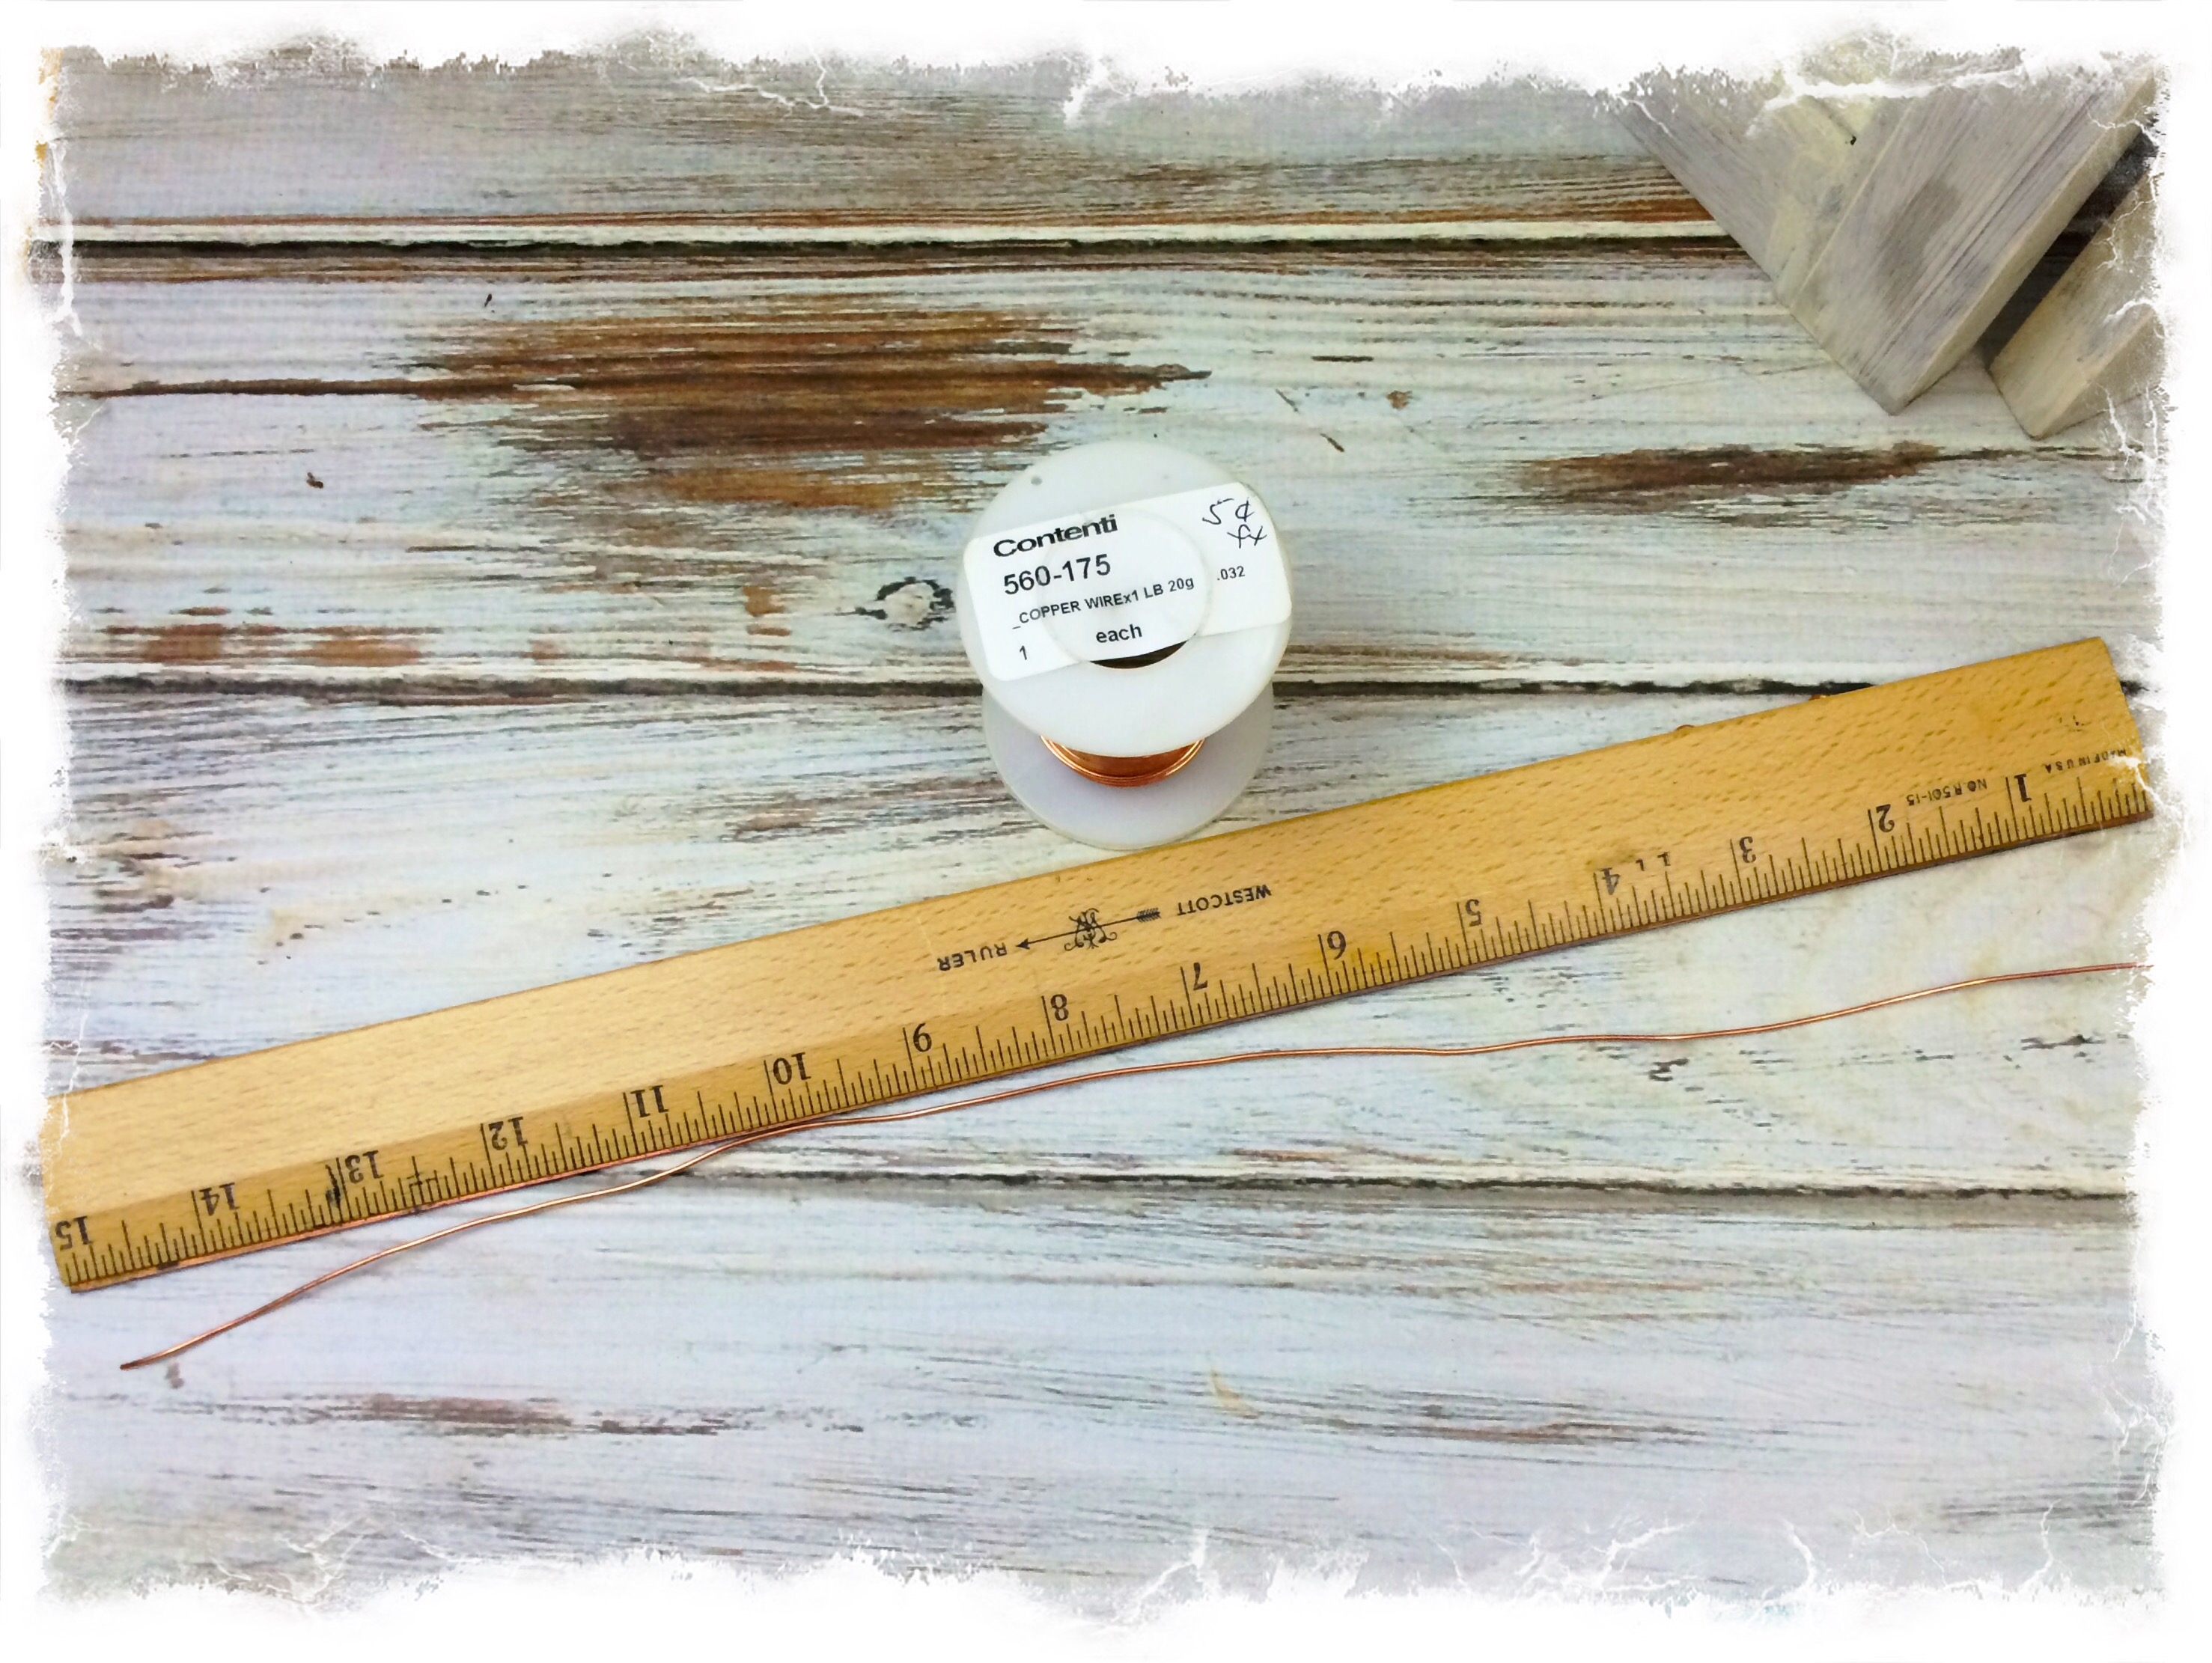
18 gauge copper wire
20 gauge copper wire
round nose pliers
long nose pliers
flush cutters
Ruler
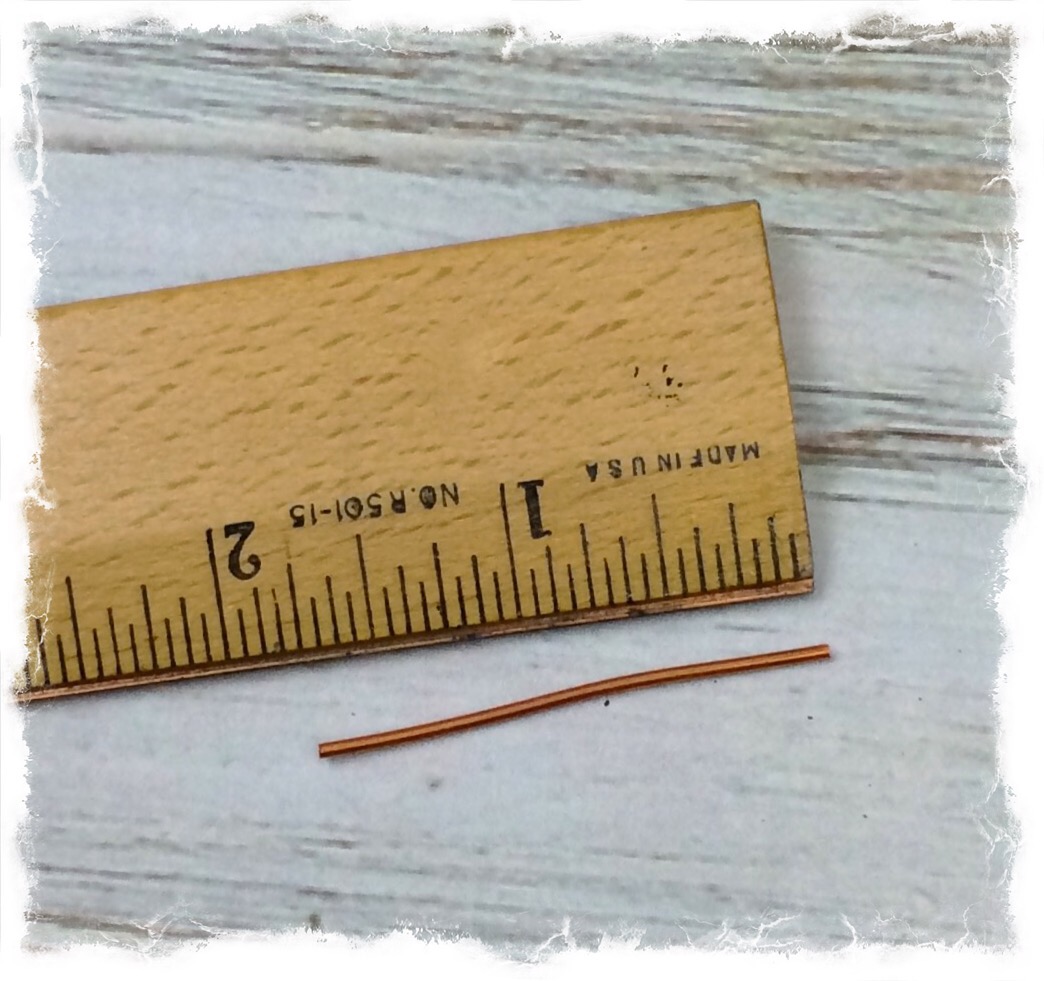
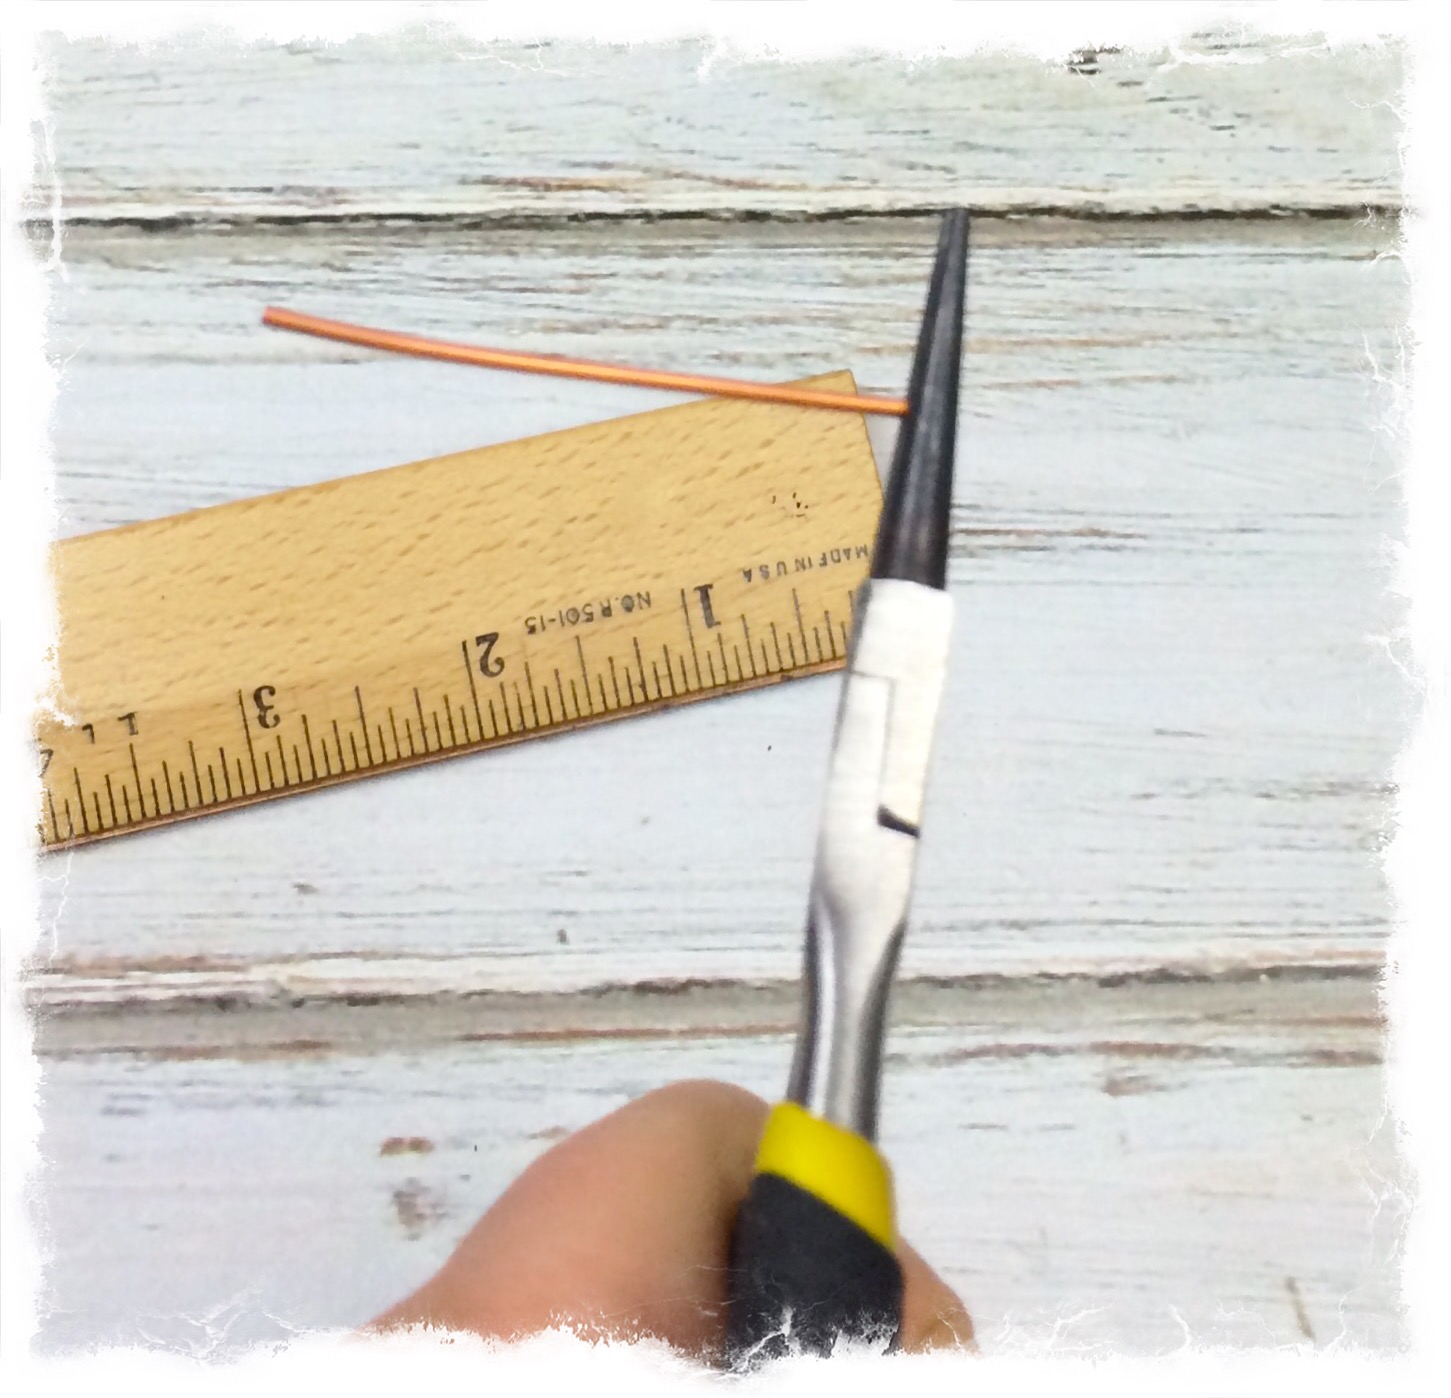
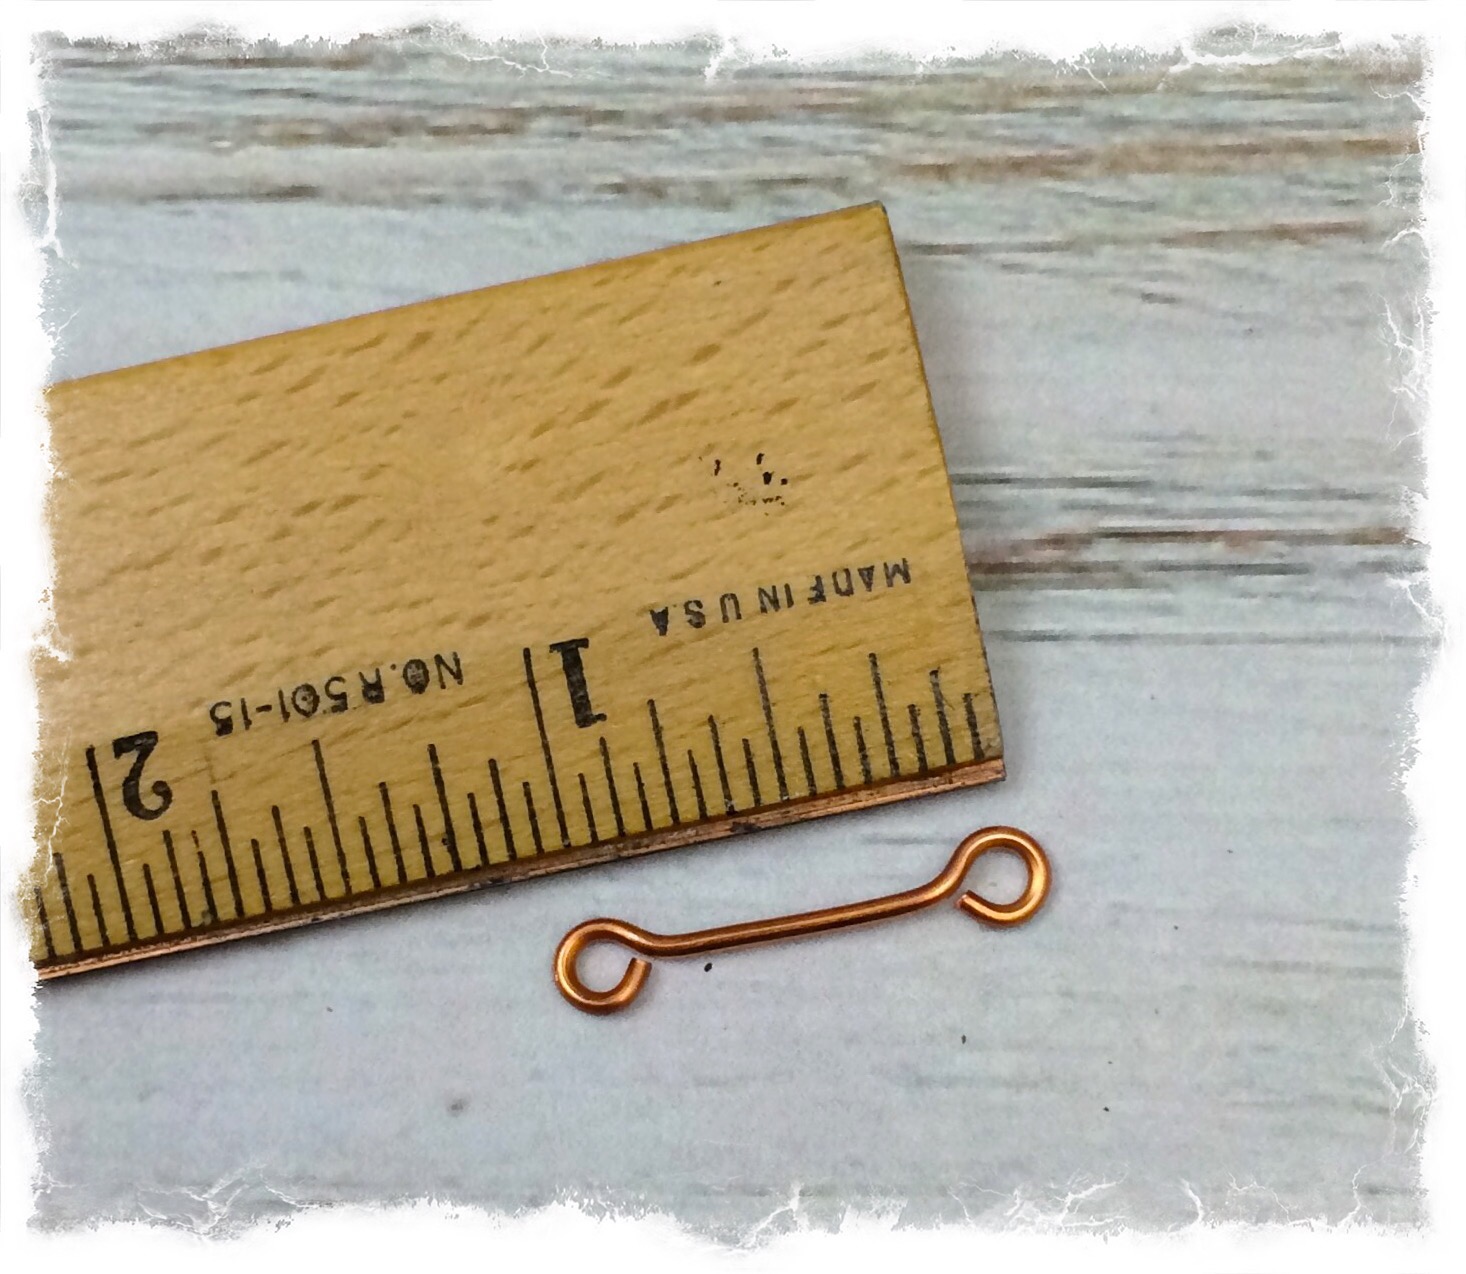
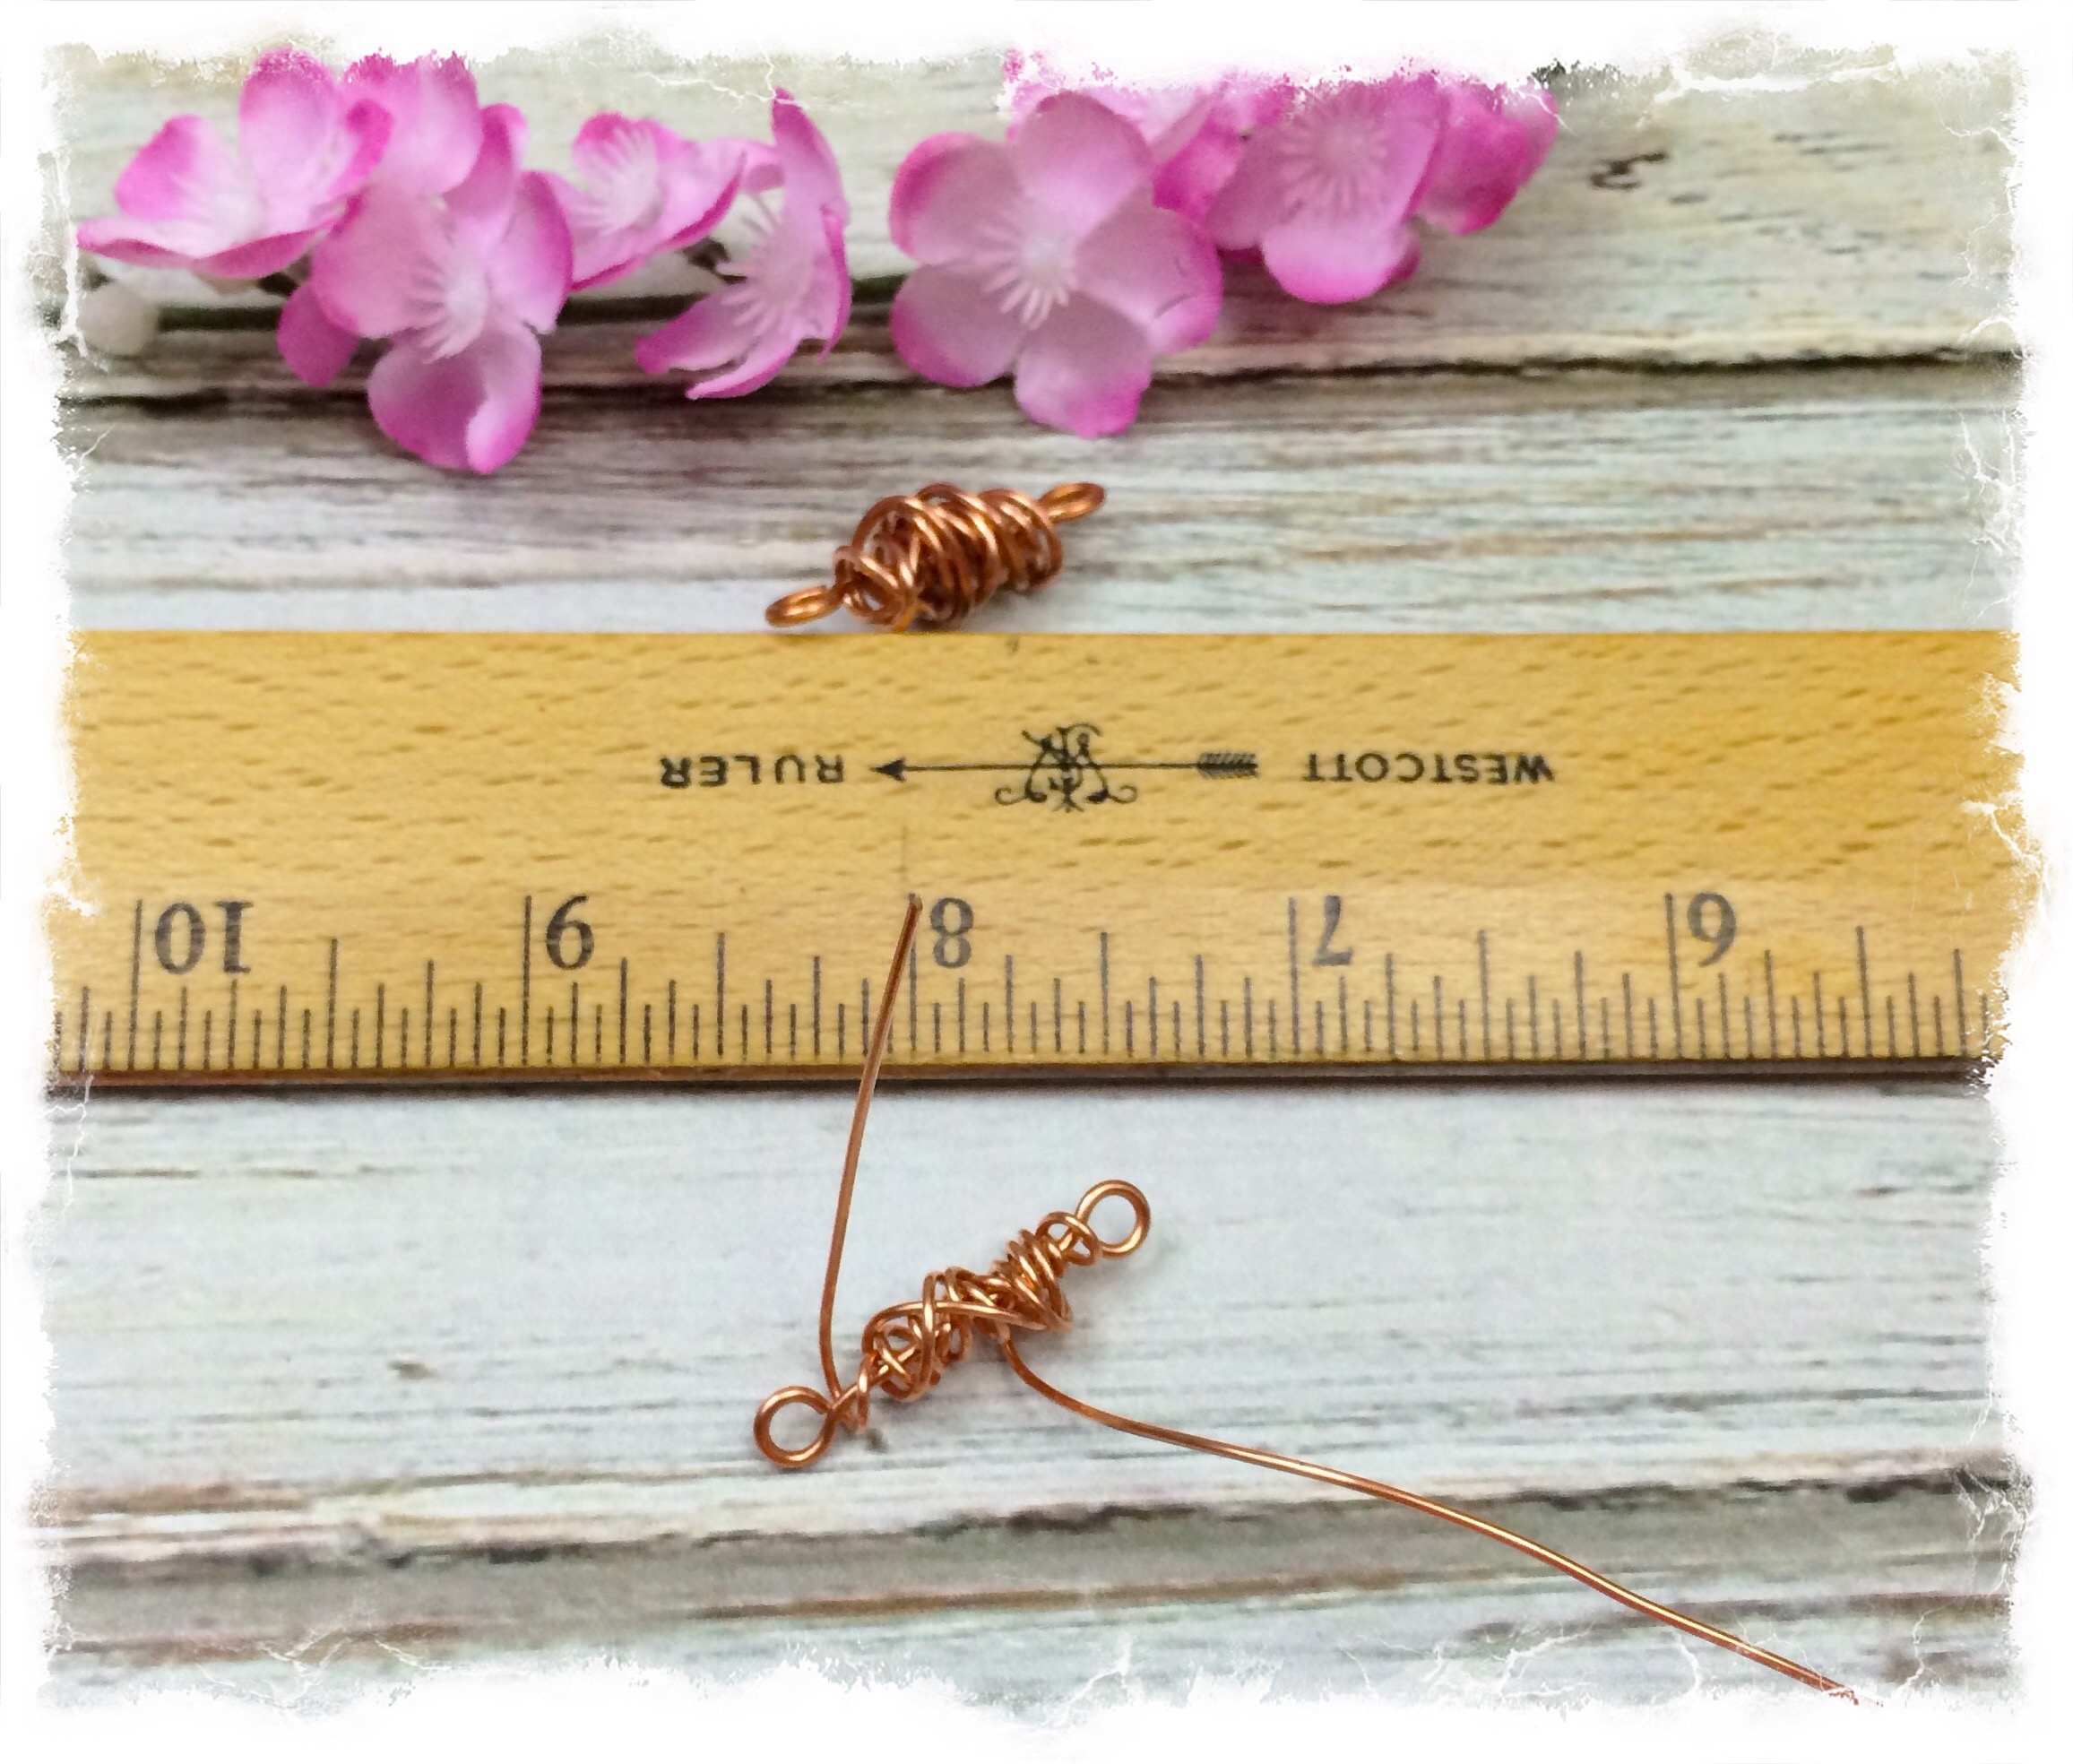
1. Cut you a piece of copper wire approximately 1 3/4″ in lenght, this will make about a 1″ bead. You can vary this lenght depending on how big you want your bead to be.
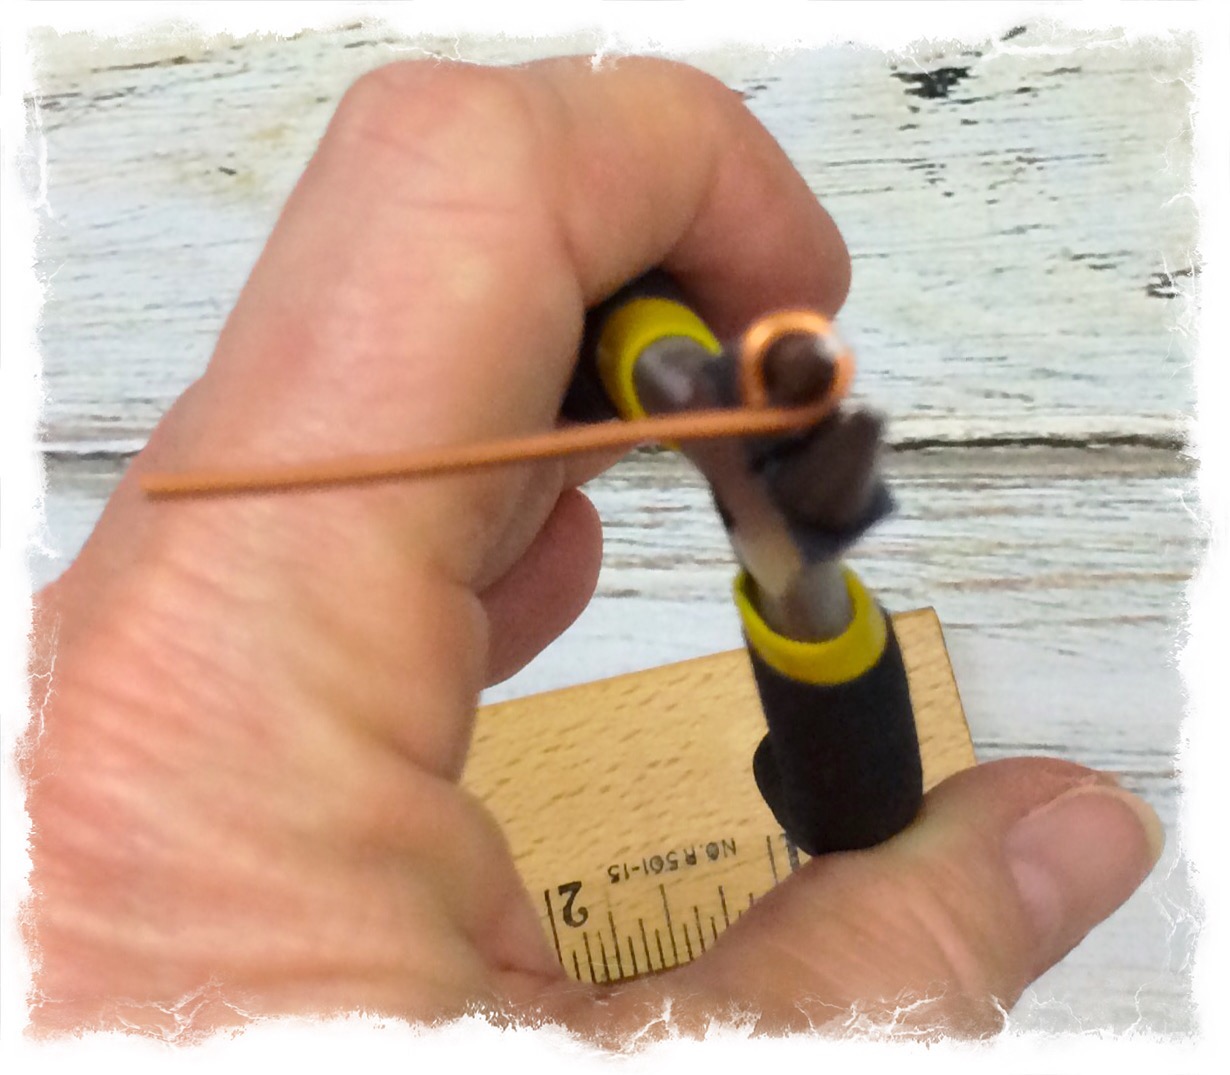
2. Take your round nose pliers and grip the end of the wire using the middle part of your pliers and roll to form your loop.
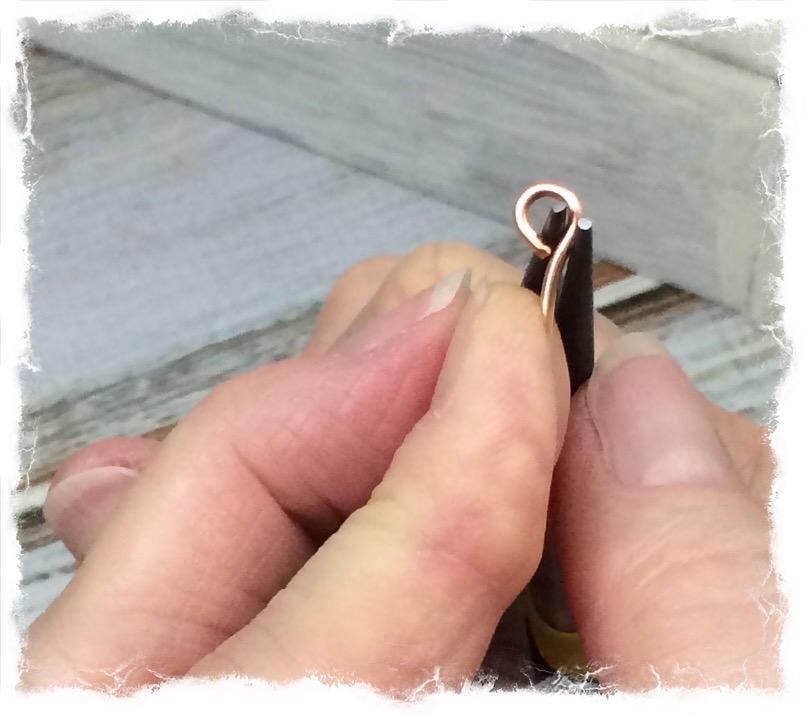
3. Now straighten/center the loop.
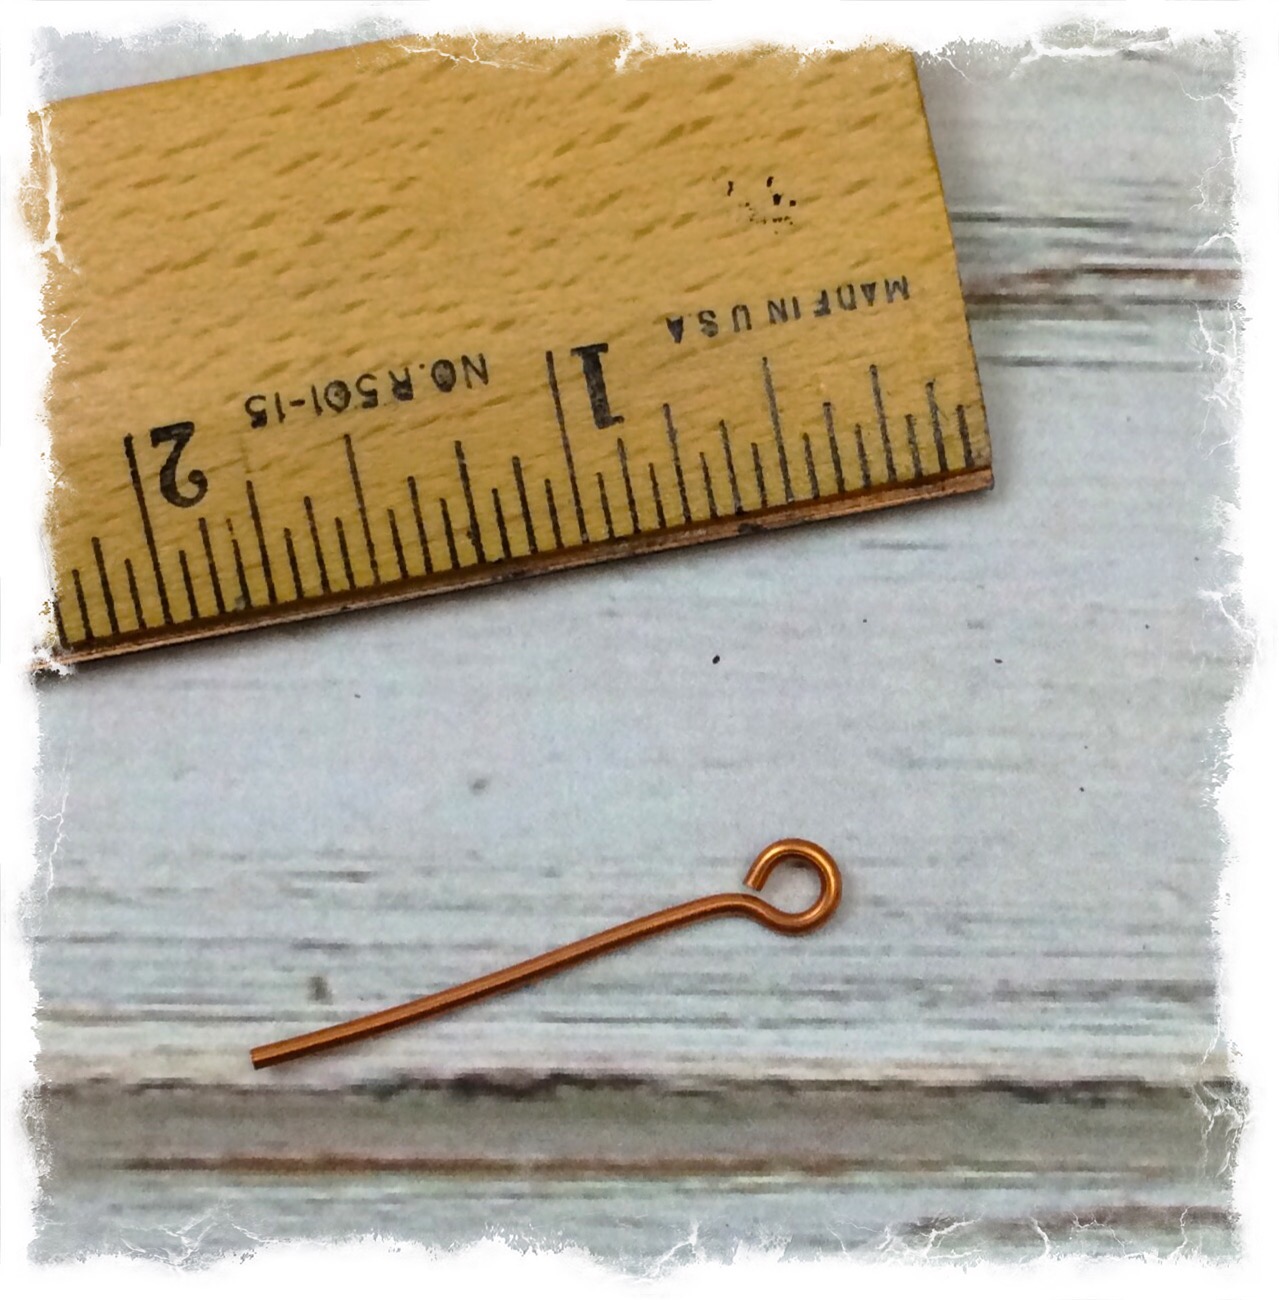
4. Repeat steps 2 & 3 to form the other end of your simple loop link.
5. Next you will cut a piece of your 20 gauge copper wire for wrapping. The longer the wire the fuller the wire wrapped beads will be. For this tutorial I made two sizes of wire wrapped copper beads using a 12″ piece of copper wire and a 15″ piece.
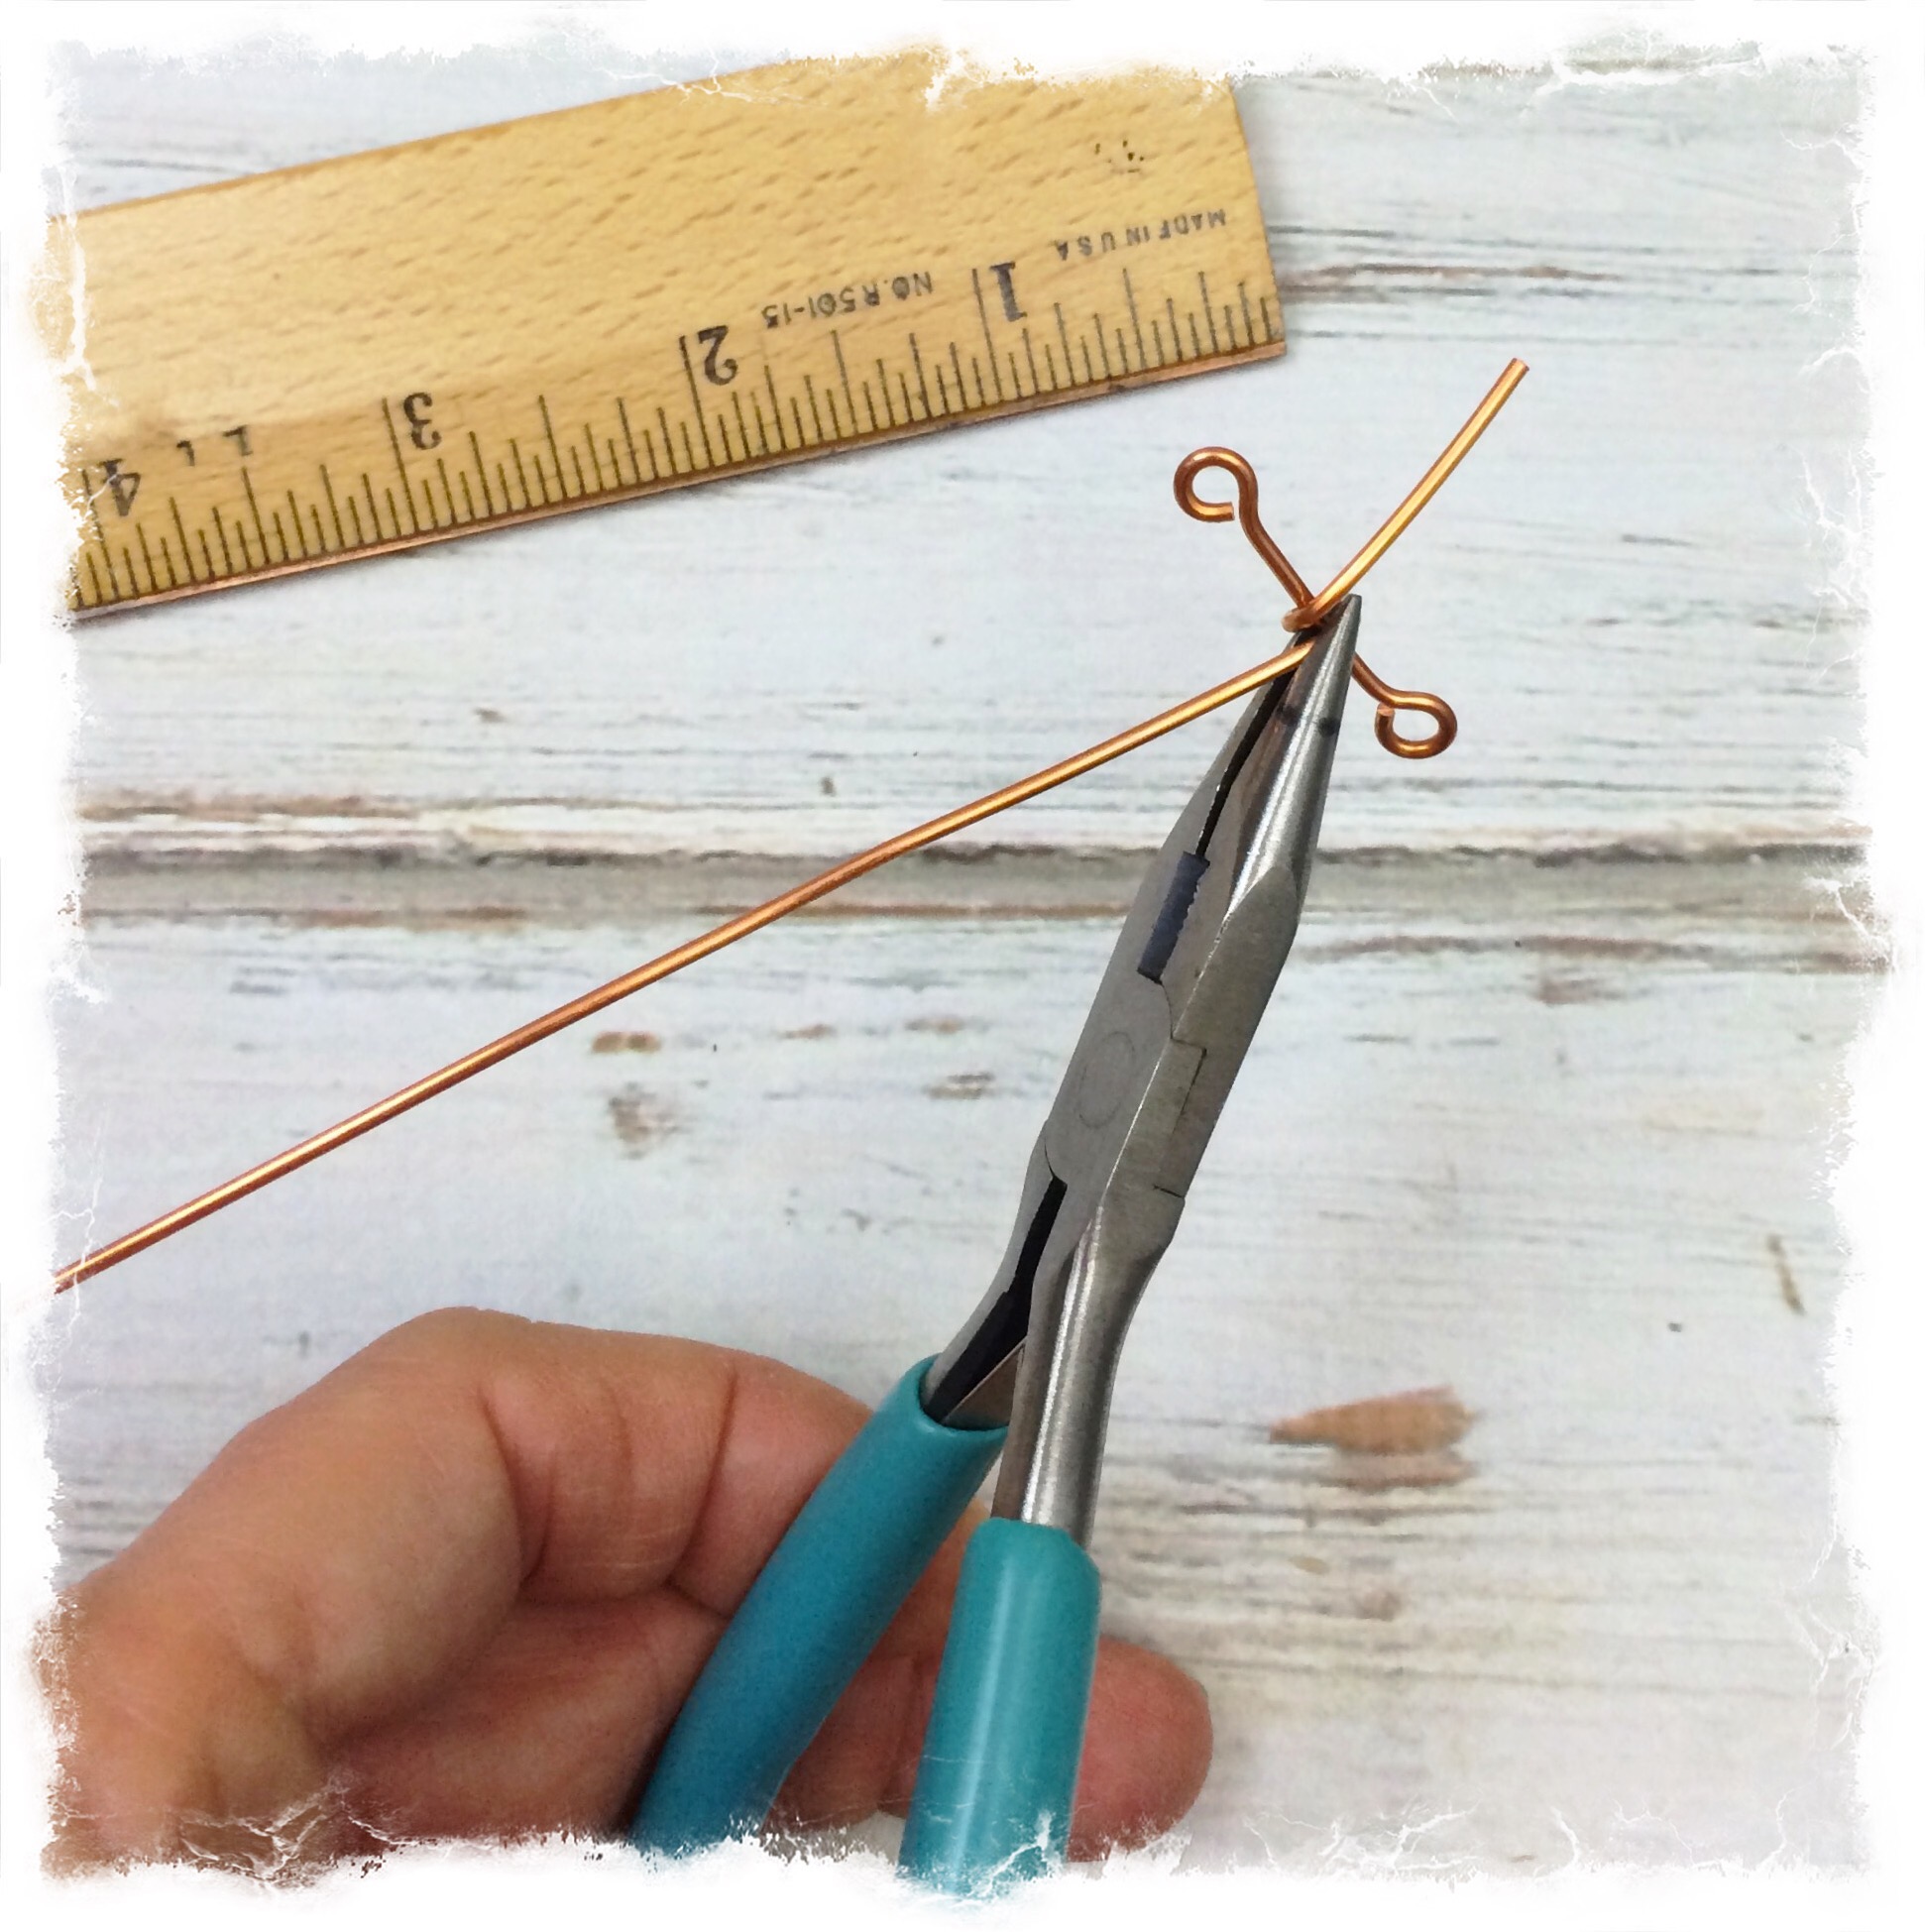
6. Now take your simple loop link and grip it with your flat nose pliers and start wrapping your copper wire around the link haphazardly. It’s a little tricky at first but it will get easier.
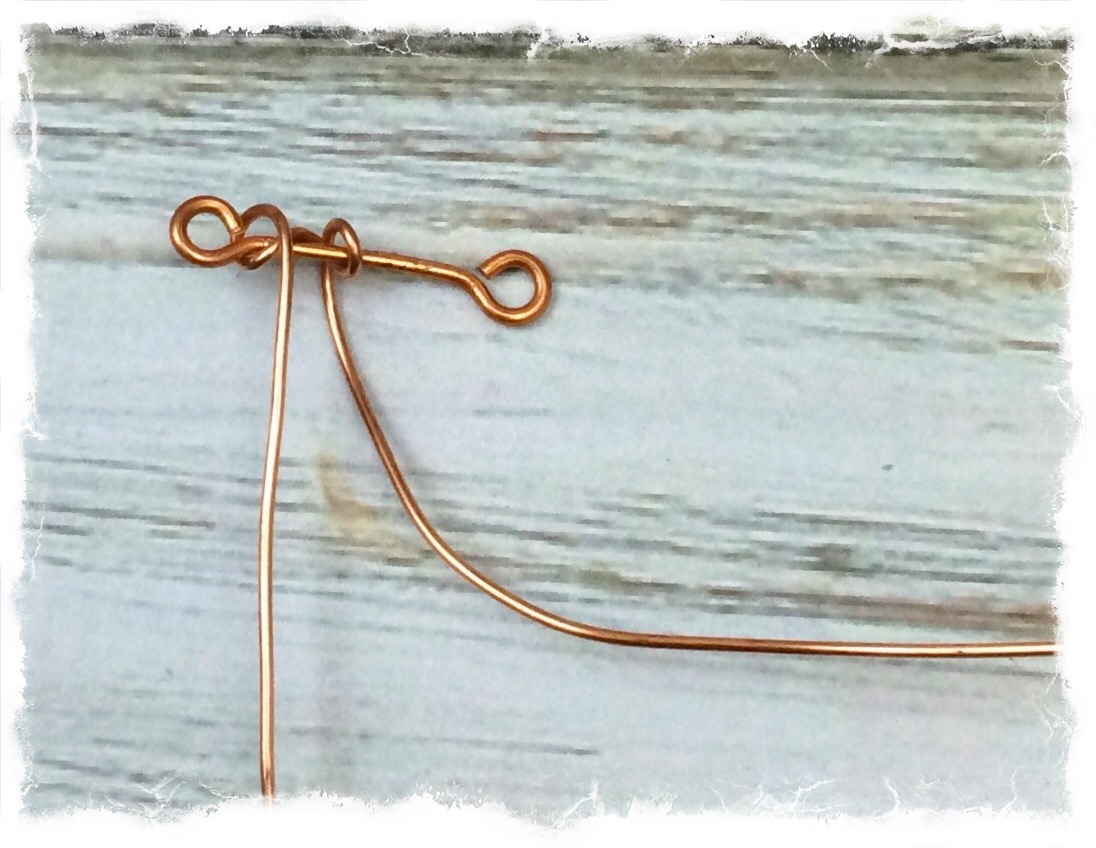
7. I find it easier to start by wrapping about 4-5″ from one end of your wire, then once you get it going one can finish wrapping the shorter end first and tuck the tail in.
8. Then continue on wrapping with the other end and using your flat nose pliers tuck the end of the wire into the wire wrapped bead.
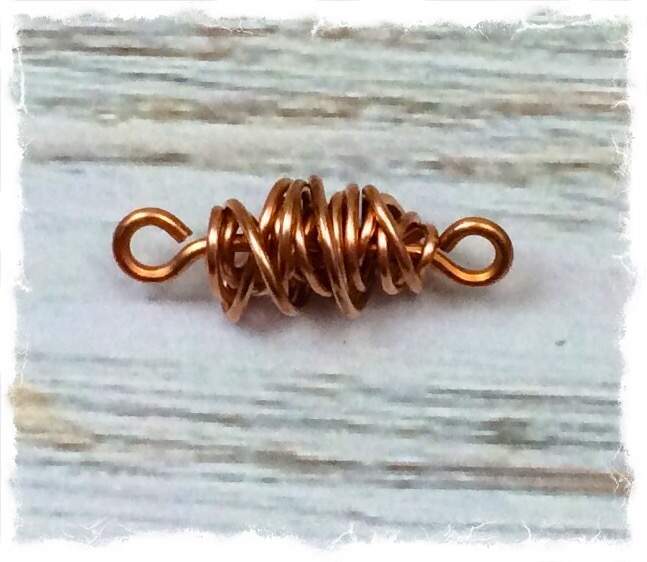
Voila that’s it! These beads are easy to make an great for creating unique one of a kind pieces of jewelry. You can leave them natural, but I prefer to give it a patina with liver of sulfur to give them a vintage look, or a bluish green patina.
If you like making your own unique beads you may want to checkout my copper wire wrapped paper beads, or my other copper wire beads.
This is a very interesting creation. I’m always looking for unique ideas and I think I found it! Your step by step pictures are great and make me feel confident that I will know exactly what I need to do. Thanks for the great idea!
Thank you Jennifer! These really are easy beads to make. Thanks for stopping by!
Great project and Great Photos! I’m in the process of re-doing some posts myself. Oh, where to find the time???
Thanks Annette! I know what you mean. There is so much I need to do, but it is hard to find the time so it has been slow going. Thanks for stopping by!