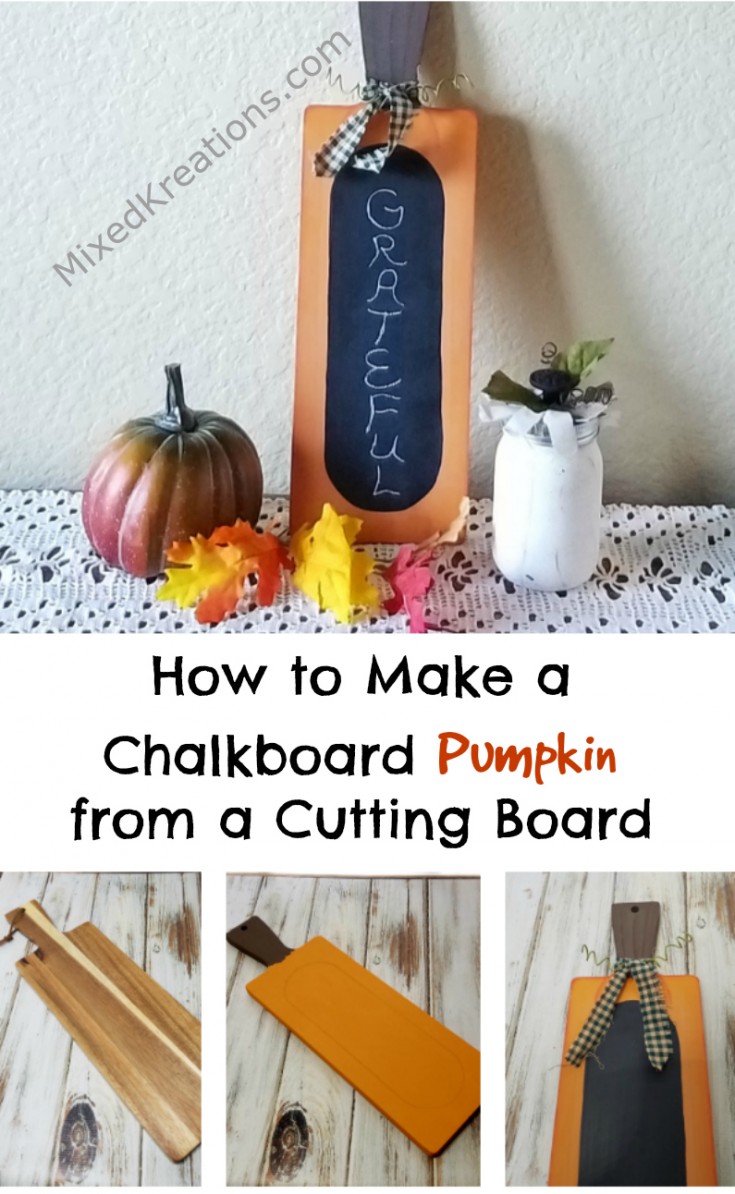
Hi All! Today’s fun project is how to make a chalkboard pumpkin from a cutting board. Simple project and, will be the last of my fall projects for the year. It’s past time to get started on some Christmas projects. I seem to be always running behind.
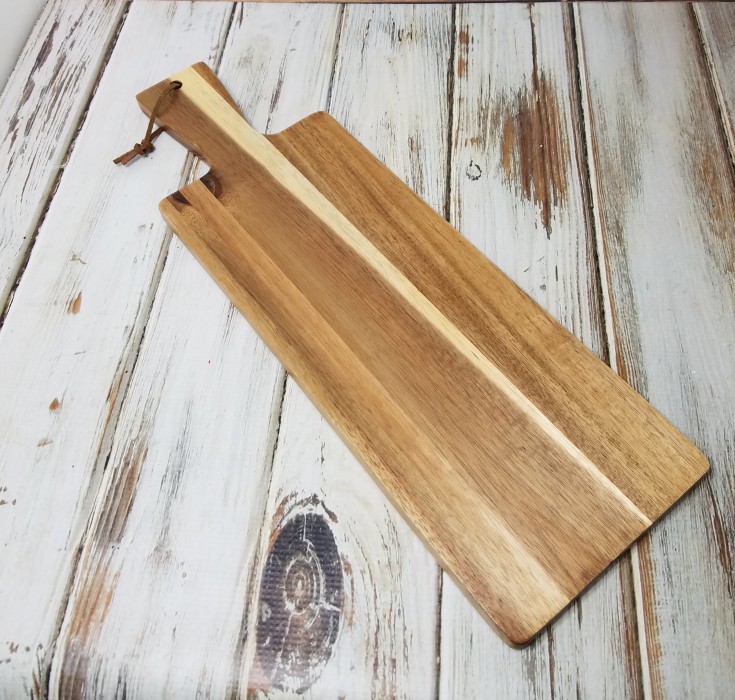
This cutting board has been sitting in my thrifty finds stash for a while now. Like the metal tray in one of my previous post. I’m trying to get my closet full of thrifty finds cleared out, and this little cutting board was perfect for a pumpkin project.
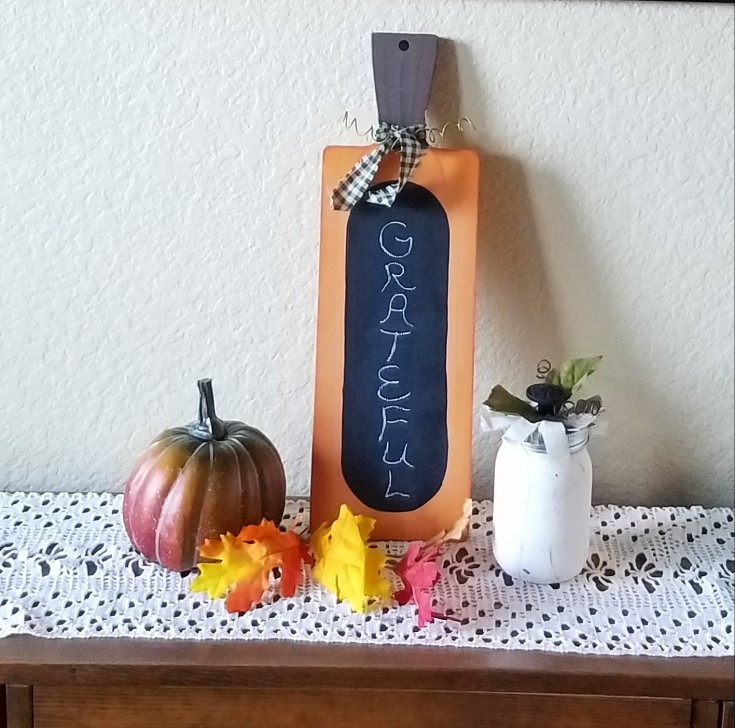
I wanted to do something a little different from all the other pumpkin cutting board, or cutting board chalkboards. So, I combined them both into a chalkboard pumpkin.
[tweetthis display_mode=”box”]How to Make a Chalkboard Pumpkin out of a thrift store cutting board #holidaycrafts[/tweetthis]
***This post contains affiliate links, if you click on an affiliate link & buy something I may receive a small commission at no extra charge to you. The affiliate money I earn helps pay the expenses to keep this site running. Please read my full advertising disclosure for more info. Thanks so much for your support!***
Supply List for Pumpkin Chalkboard
Cutting board
Pumpkin chalk paint
Truffle chalk paint
Cadmium Orange acrylic paint
Burnt Umber acrylic paint
Chalkboard paint
Annealed wire
Wire cutters
Paint brushes
Scrap fabric
Chalk
Moss metal patina
Diy Chalkboard Pumpkin from a Cutting Board
To start I cleaned the cutting board, then gave it two coats of pumpkin chalk paint. I love chalk paint because it sticks to pretty much anything without any prep work. I found this pumpkin color at Walmart.
Next, I paint the stem with two coats of truffle chalk paint.
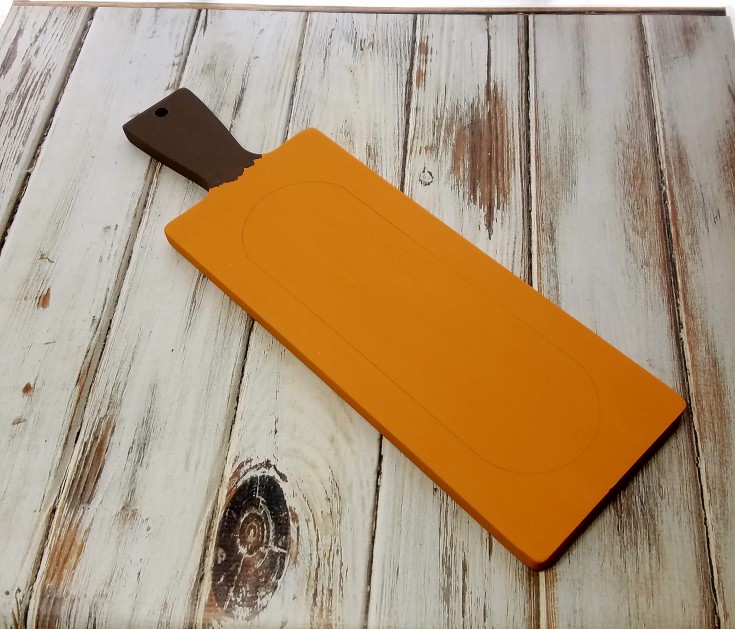
To make this cutting board pumpkin into a chalkboard as well. I drew an oblong circle in the center of the cutting board.
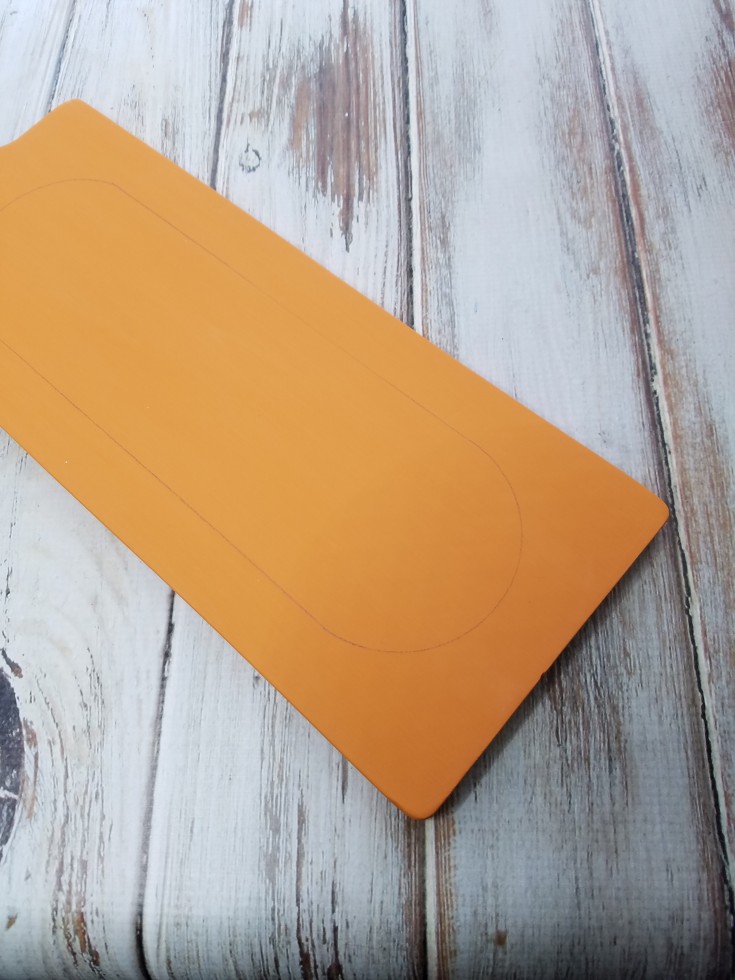
Then filled that area in with three coats of chalkboard paint. Letting each coat dry thoroughly.
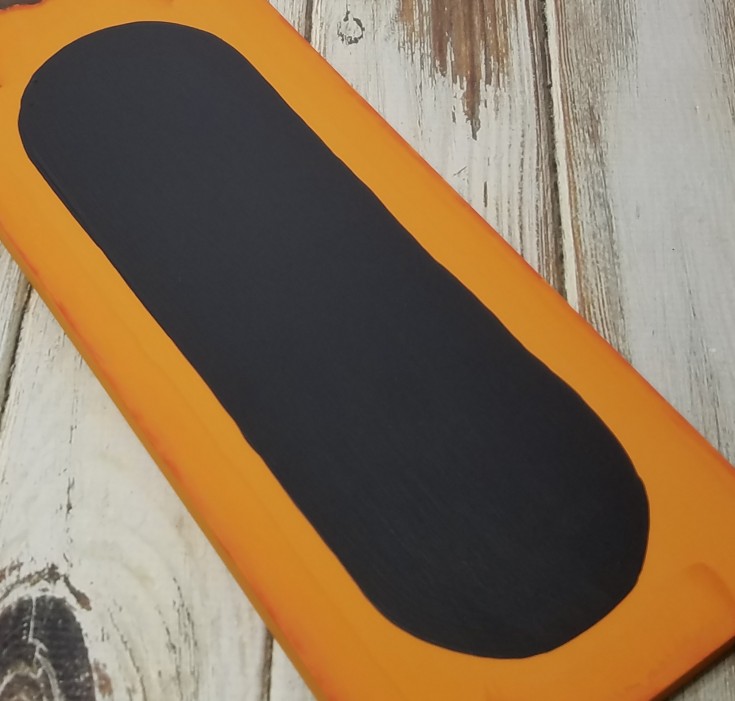
Using cadmium orange acrylic paint I floated around the edges of the pumpkin.
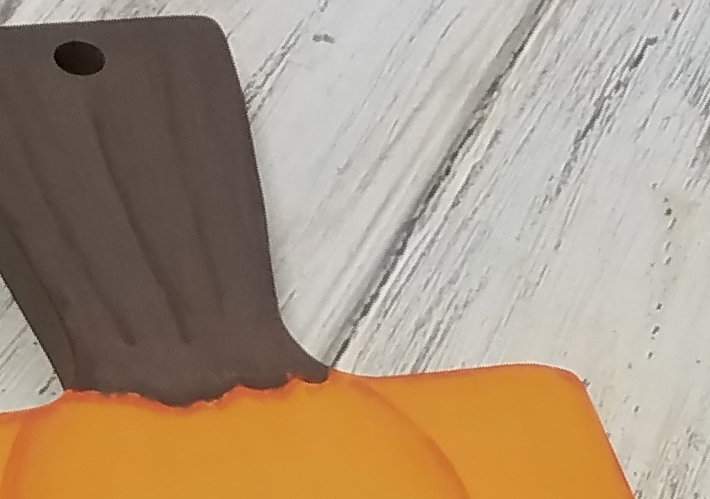
For the stem I used burnt umber to float around the edges, and added a few lines down the stem.
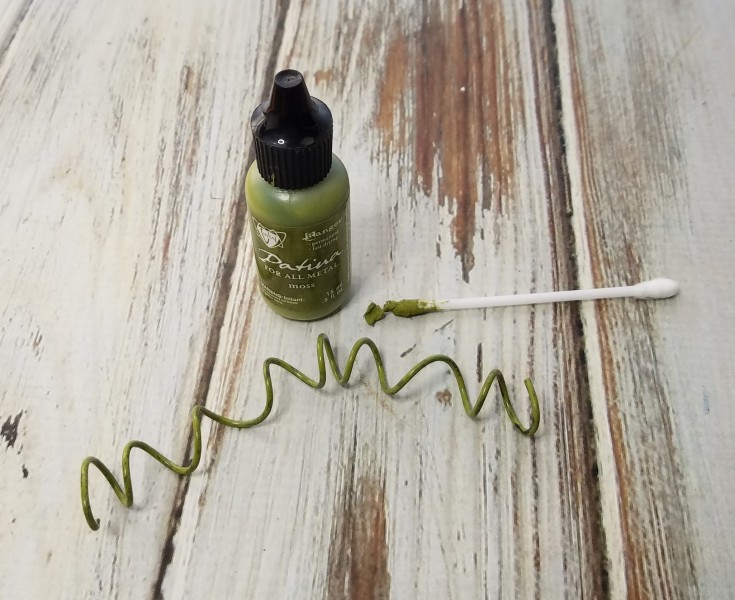
Annealed wire was used to make a tendril by wrapping it around the end of a paint brush to form a coil. I used a Q-tip to add some Moss metal patina giving the tendril a green color.
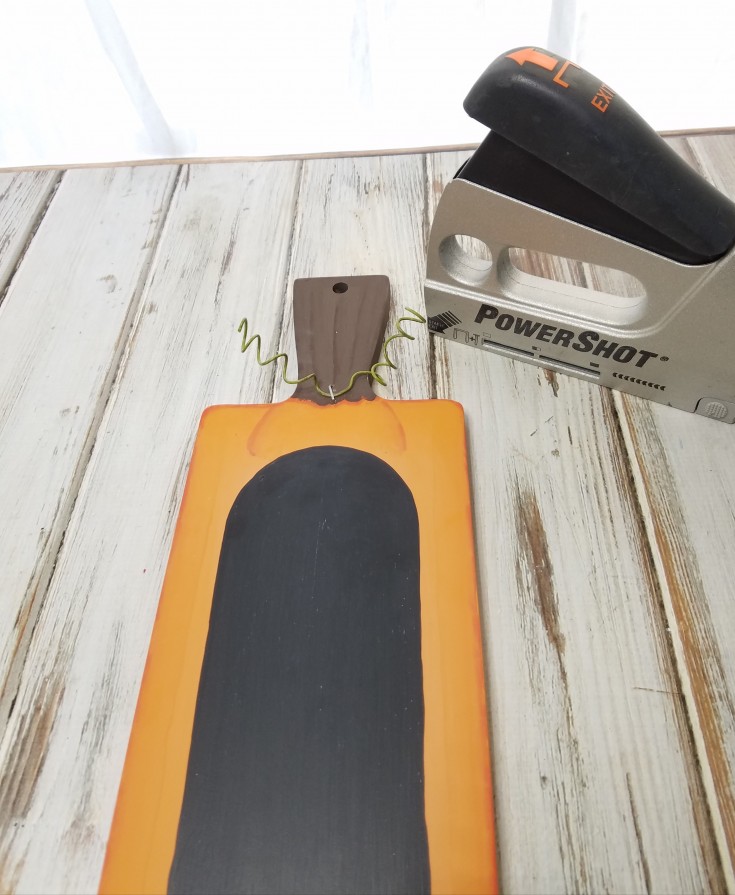
The tendril was attached to the chalkboard pumpkin with my heavy duty stapler.
The chalkboard area was seasoned by laying a piece of chalk on it’s side and coloring in that area with the chalk.
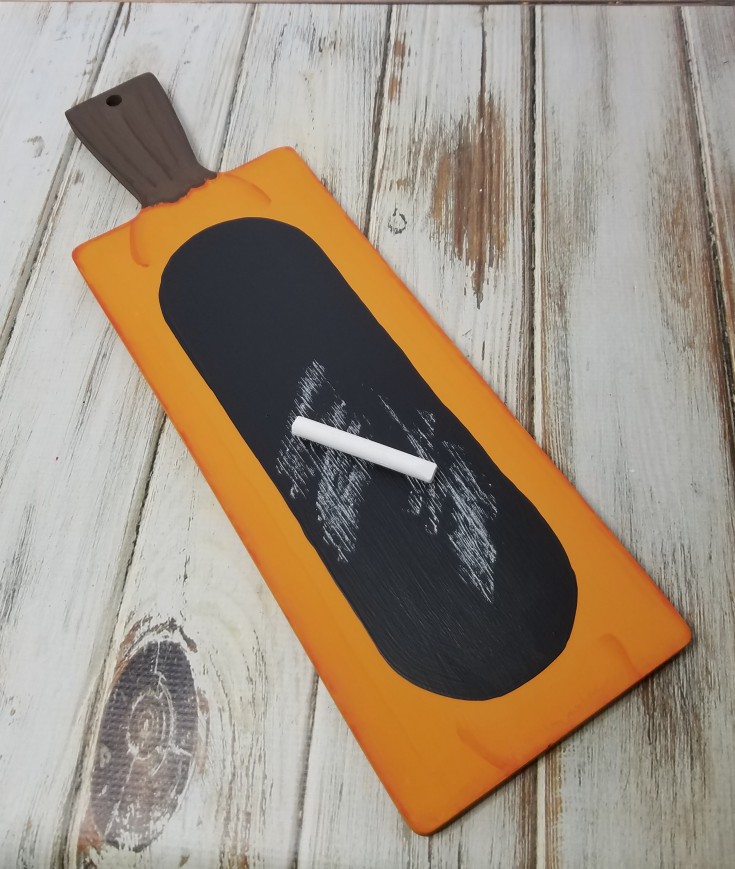
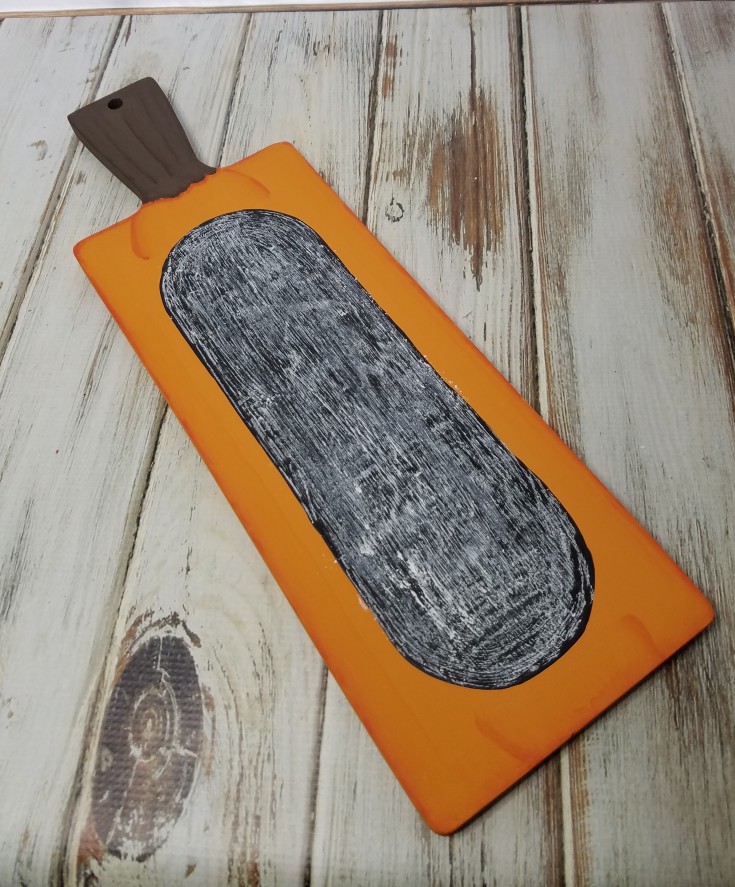
Then wiping it off.
To finished it off I tied a stripe of fabric around the stem over the tendril.
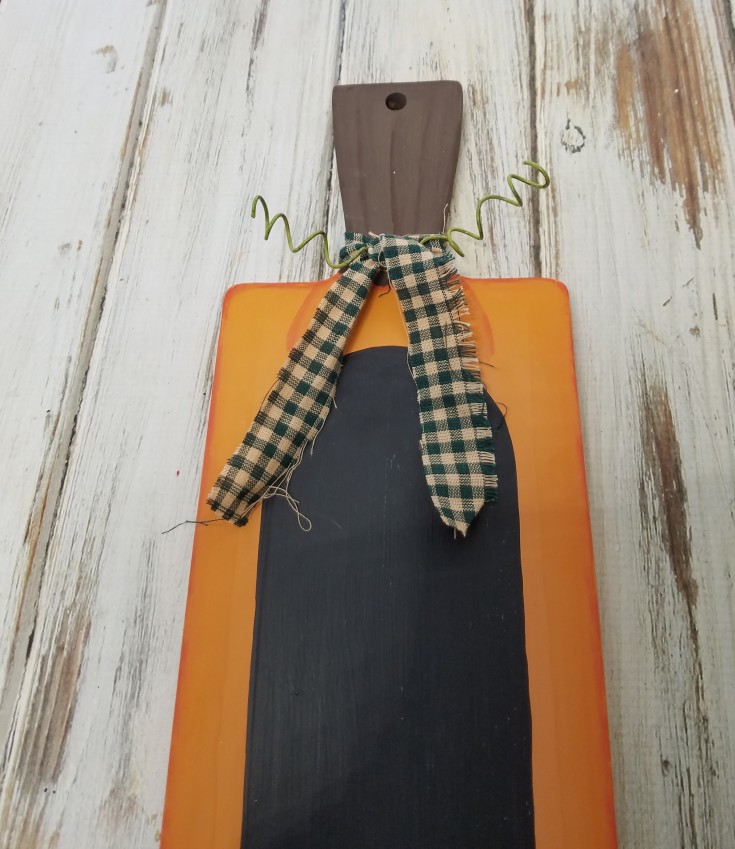
That is how to make a chalkboard pumpkin from a cutting board. Easy peasy!
Cutting boards are something that you can find at thrift stores pretty regularly. So, I hope that my chalk board pumpkin has inspired you to grab a cutting board and give it a new lease in life. And please share below your ideas, for repurposing old cutting boards.
Thanks for stopping by, and have an awesome day!
More Fun Chalkboard Projects
Chalkboard made from an old frame
Fish and chicken chalkboard
Wooden chalkboard crate makeover
Cute as can be Linda. I liked how you added so much detail to it! I’ve never tried a cutting board repurpose yet, but this inspires me to try one.
Thank you Florence! This was a really easy project, you should pick up one and try it for yourself. Would love to see your twist on one.
Linda I swear you can make a pumpkin out of anything. Literally anything! Love this one and I especially like the use of the chalkboard paint.
Thanks Mary! I’ve been seeing lots of pumpkins made from thrifty finds, and I wanted to try my hand at it. I just wanted it a little different than I’ve seen so I added the chalkboard. Just wish I had prettier handwriting skills.
I love your creativity, Linda. You can turn the most ordinary object into something adorable. Love this idea!
Thank you Amy! I just added a little twist to the cutting board pumpkins that I have been seeing lately. 🙂
Linda, this cutting board was perfect for this project. I love the irregular shape of the handle and the board itself! And you know I’m a sucker for chalk board paint, I love that you added it to the center of the pumpkin, you can add different greetings or even use it as a shopping list!
Thank you Nikki! It is a little different shaped than most that’s one reason why I grabbed it when I seen it. Glad that I did now, because I haven’t ran across anymore since.
This is so cute! I’ve picked up a wood cutting board at a thrift store before…that are pretty easy to find. I’m going to keep this in mind for the next one!
Thank you Karen! Cutting boards are a great item to get a thrift store, there are so many things you can do with them. Can’t wait to see what you come up with for yours.
Love how it turned out so creative and perfect for the holidays
Thank you Maria! He is kind of cute isn’t he! 😉