Hi All! Today I want to share some easy diy Christmas Carolers that are made out of a wood post, and thrift store items. These little carolers are adorable and would look so cute greeting visitors on the porch, or even by the fireplace.
How To Make Diy Christmas Carolers

[tweetthis display_mode=”box”]How to make Christmas Carolers. #ChristmasCarolers #diy[/tweetthis]
Cutting Your Post
First cut your wood post to the desired length by measuring the sweater to it to get an idea how long to make it. Leave room for scarf, face, cap, and enough to cover base.
I cut one of mine 28″ and the other 26″ tall.

Making The Base
You will need some kind of a base so your Diy Christmas Carolers do not tip over. I used some left over plywood pieces I had and just cut them into 5 1/2″ Strips. You will need four pieces for each Caroler. Now line your first strip up with the edge and bottom of your post and screw it in. Turn post over and do the same with the next until you get all four strips screwed onto the bottom of the post.

Adding The Arms
First drill the holes into the sides of the post where you want to place the arms. Drill the holes the size of your wire that you are using for the arms. I use to use heavy cable wire when making these years ago, but since I didn’t have any on hand, so I used some heavy copper wire that I had for my jewelry making. Hold your wire up to the post to see what length you will need to cut for the appropriate size for the arms to be. Then add on about three to four inches extra. Take one end of each wire and curl it under so it won’t poke a hole into the sweater with the sharp ends. Now glue the other end of each wire into the post.
Shape it up some so as to have shoulders for the sweater. Now prop up the arms to the position of holding a piece of sheet music and let dry.
Sheet Music
While your arms are drying you can get your sheet music ready. I painted both sides with Mod Podge so it would have a water proof coating. I painted each side twice, letting dry throughly between each coat.

***This post contains affiliate links, if you click on an affiliate link & buy something I may receive a small commission at no extra charge to you. The affiliate money I earn helps pay the expenses to keep this site running. Please read my full advertising disclosure for more info. Thanks so much for your support!***
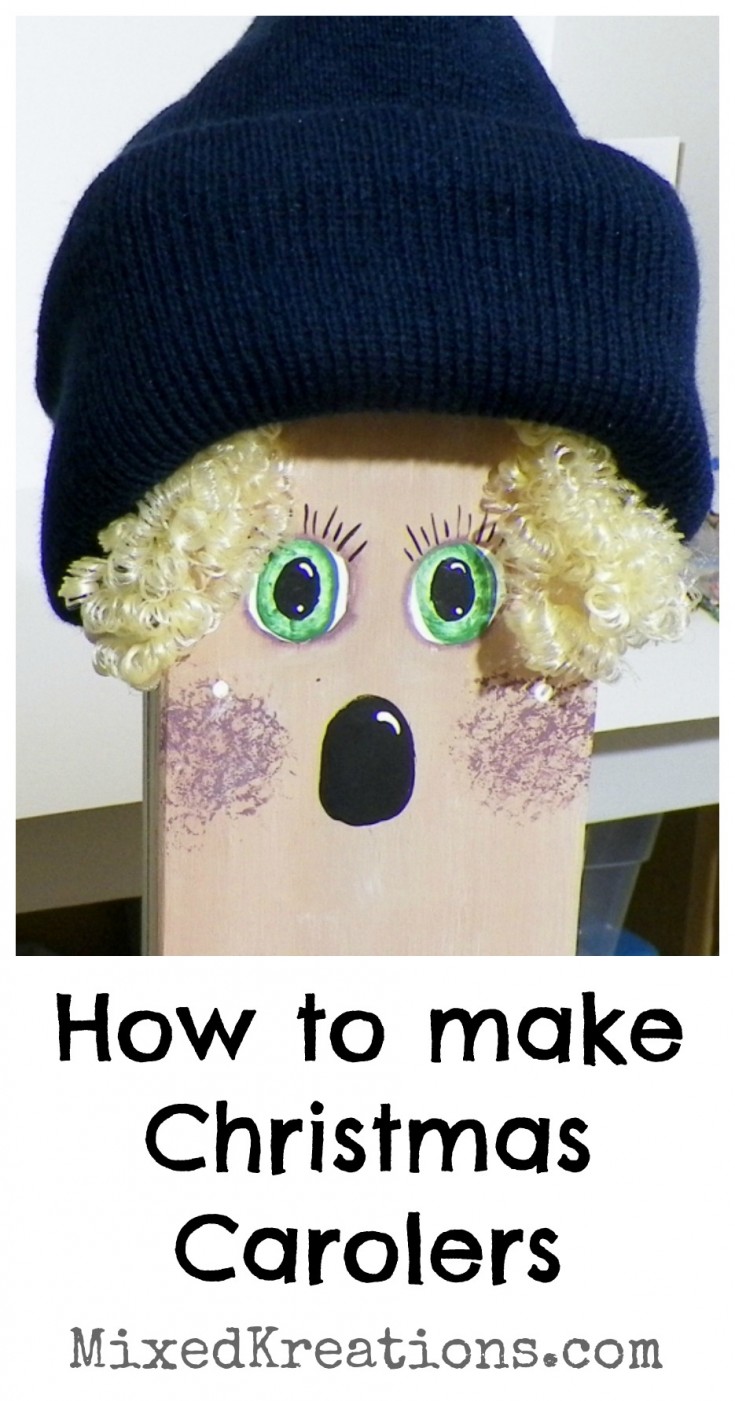
Painting The Face
Ok, now lets paint the face of your Caroler. I didn’t have any flesh colored paint on hand so I just mixed up my own. I added two coats so the wood didn’t show through. I painted one Caroler with green eyes and the other with blue. I used mauve to sponge on the cheeks. The mouth I just painted oval because they are suppose to be singing anyway.
Once the face is good and dry. I used Mod Podge to seal it to. (I love Mod Podge, you can use it for so many things).

Adding Doll Hair
Now add you doll hair by using your staple gun to staple it in place. You could hot glue it, but I have found that if something sits in the sun for long the hot glue comes loose.

Adding The Sock Cap
Now put your Carolers sock cap on, pull it down over the sides, so not to see the sides of the wood, and around the hair then staple it in place.

Putting It All Together
Put the sweater on, and pull it up and around the face meeting the sides of the sock cap. Shape your arms, and tie the scarf around the neck. Place your sheet music into the hands of the sweater and staple.
There you have fairly simple Christmas Carolers. Aren’t they cute?
Supplies For Diy Christmas Carolers
4×4 wood or landscape timber
Small scrapes of wood for base (plywood or trim will work)
Paint- skin color,blue or green, black, white, mauve
Paint brushes
Sealer
Children’s turtleneck sweater
Scarf
Sock cap
Sheet music
Mod Podge
Strong wire that will hold it’s shape
Staple gun
Drill
Wood screws
Doll hairGorilla glue or any strong glue will work
Some kind of saw to cut the post and base strips, I used my miter saw
More Fun Christmas Projects
Diy Yard Stick Christmas Tree
Easy Rag Star Ornaments
Diy Rustic Wood Snowman
Oh my goodness. How talented you are!
Thank you Carol!
Linda, Your Christmas Carolers are so adorable! Looks way easier than I thought too! Thanks you for sharing on Snickerdoodle Sunday! Pinned and tweeted!
Have a wonderful week!
~Laurie
Thank you Laurie! It is really a pretty easy project. Thanks for sharing!
I love your carolers! Thanks for the great tutorial on how to make them. We’re happy to have you sharing at Snickerdoodle Sunday. Pinned and Tweeted.
Thank you Beverly. I enjoy the fun party, lot of fun links to look through for more inspirations. Thanks for stopping by!
These are just too adorable !!!
Thank you Suzan!
Linda, I love these little carolers for so many reasons! You’ve repurposed the old sweaters into something adorable. I love that these are easy to make too! Your step-by-step tutorial is easy to follow and lastly, who wouldn’t want to have these near the front door? I’m sure guests love them!!! Pinning!
Thank you Nikki! They do get a lot of compliments. Thanks for pinning and stopping by!
Cute! Extra fun because they were created by you. Thanks for sharing them with Share Your Cup.
hugs,
Jann
Thank you Jann!
So cute and made me smile
Thank you Maria!
Too adorable Linda. What a great way to repurpose old sweaters too.
Thank you Michelle! This was a fun project where you can make all sizes depending on the sweater size. 🙂
These are so dear.
Thank you for all the instructions!