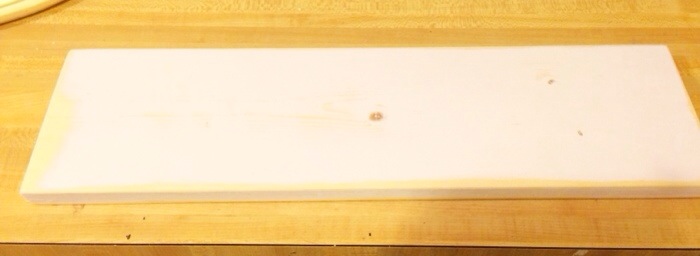
You will need a 1″x6″ piece of pine cut 20″ long. Using a fine grade of sandpaper give your piece of wood a good sanding.
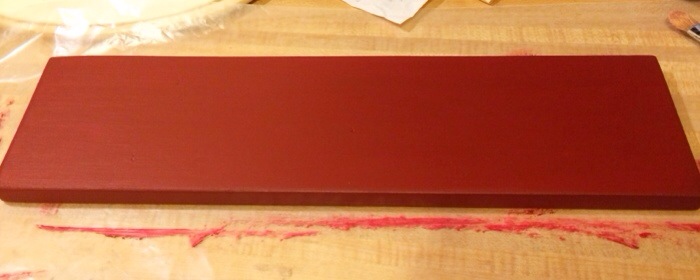
Then pick the color of paint you would like for your sign. I chose true burgundy acrylic paint. Give your sign two coats of paint.
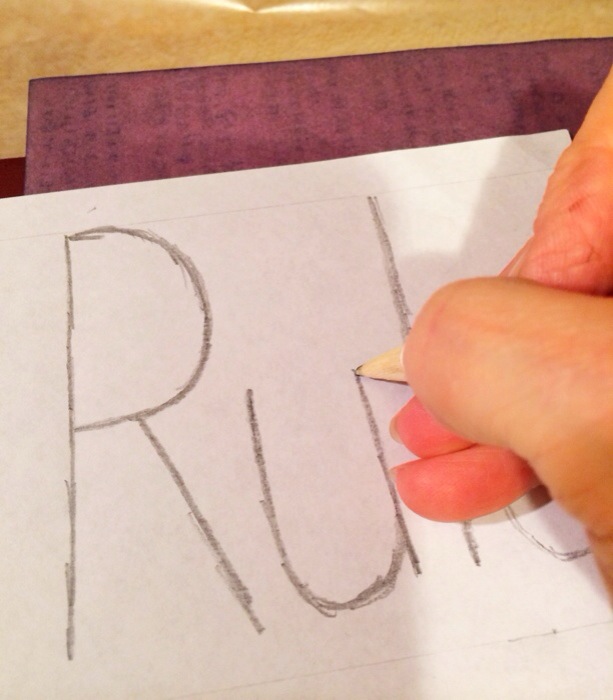
Use a blank piece of paper the length of your board, and make a stencil to use with your graphite paper, by writing out the lettering of your sign, spacing where needed.
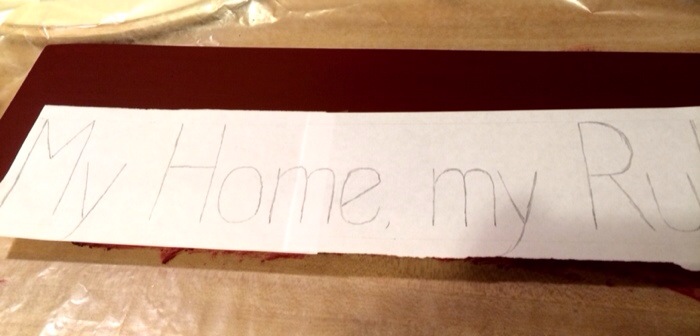
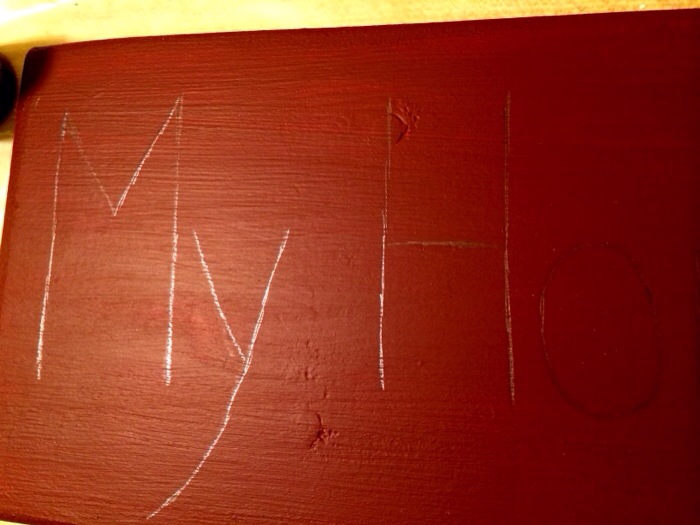
Now lay your graphite paper onto your painted wood, then place your stencil in position. Now trace over the lettering, transferring the words to your wood.
Here you can see the lettering transferred onto your piece of wood using graphite paper.
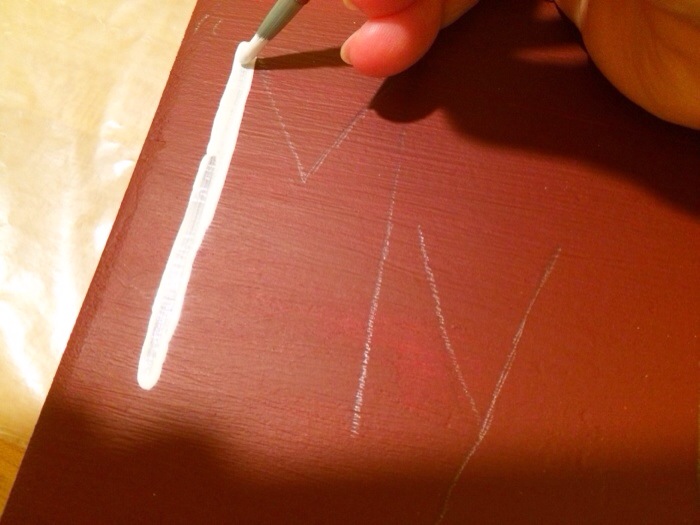
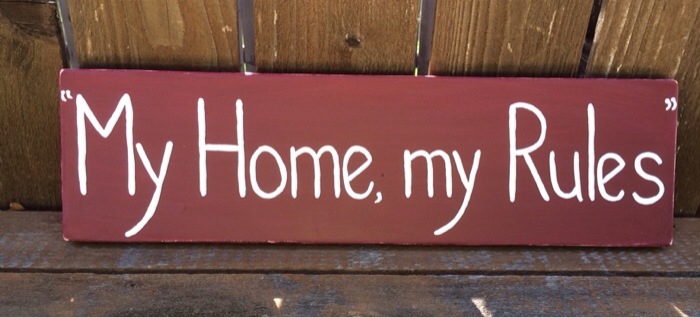
Now it’s time to start painting the lettering of your sign. Using white acrylic paint follow the graphite letters with your paint. Once dry, go over your lettering again giving it two coats of paint.
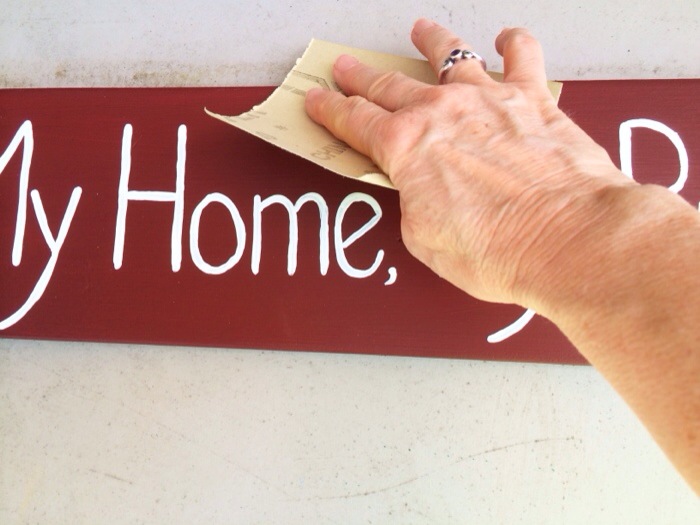
Once dry go over the edges of your sign with sandpaper, scuffing up the edges to give your sign a rustic look.
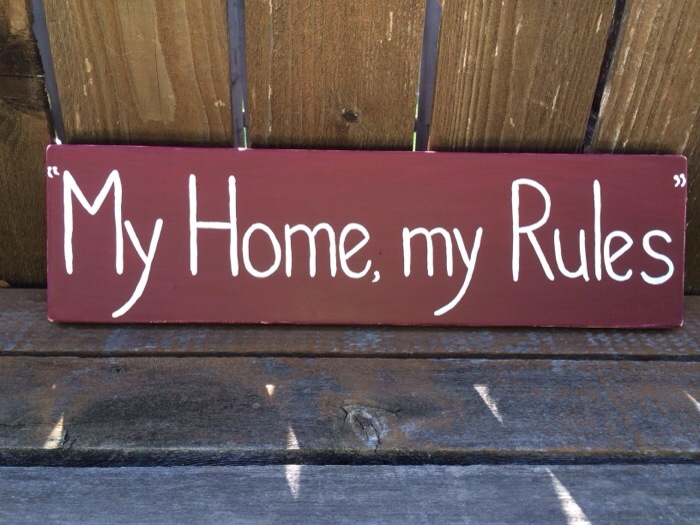
Add a wire or sawtooth hooks for hanging and your sign is done, and ready to hang.
Follow me on Facebook, Twitter, or Bloglovin.
Please Share!!!
Leave a Reply