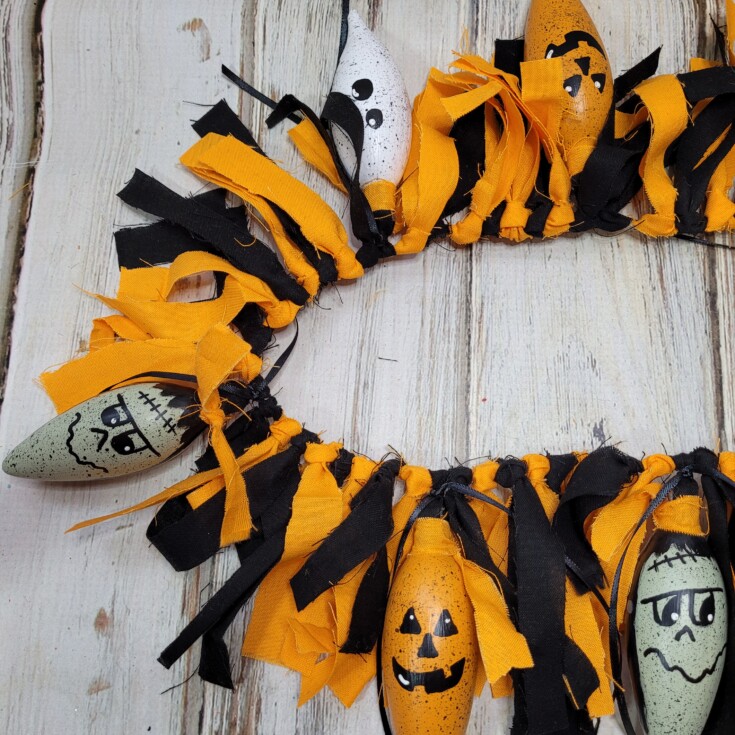
Hi all! Today I would like to share some fun Halloween garland from repurposed light bulbs. I’ve been saving these small light bulbs every time one goes out on our ceiling fan, and they seem to go out quite often. So, I have more for a later project as well. But Shhh don’t tell the hubby he thought he threw them away.
Ok let’s get started repurposing some light bulbs into some fun spooky Halloween garland.
***This post contains affiliate links… We are a participant in the Amazon Services LLC Associates Program, and affiliate advertising program designed to provide a means for us to earn fees by linking to Amazon.com and affiliated sites at no extra charge to you. Please read my full advertising disclosure for more info. Thanks so much for your support!***
Diy Halloween Garland
For this project I started off by painting three light bulbs orange, two white, and two green. I used chalk paint because it adheres well to glass. If using acrylic paint spray the bulbs with a light coast of hair spray first and let dry. This will help the acrylics to adhere easier to the glass bulbs.
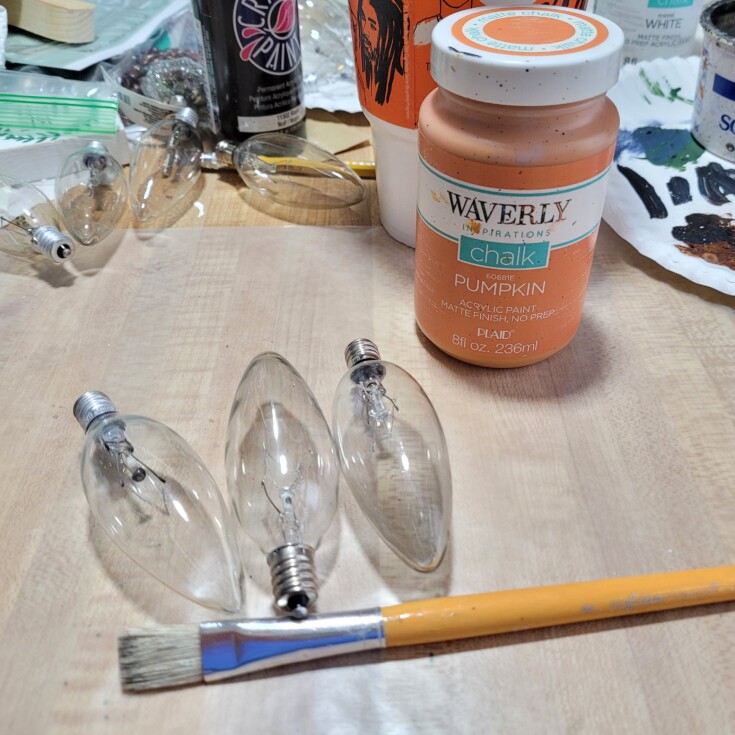
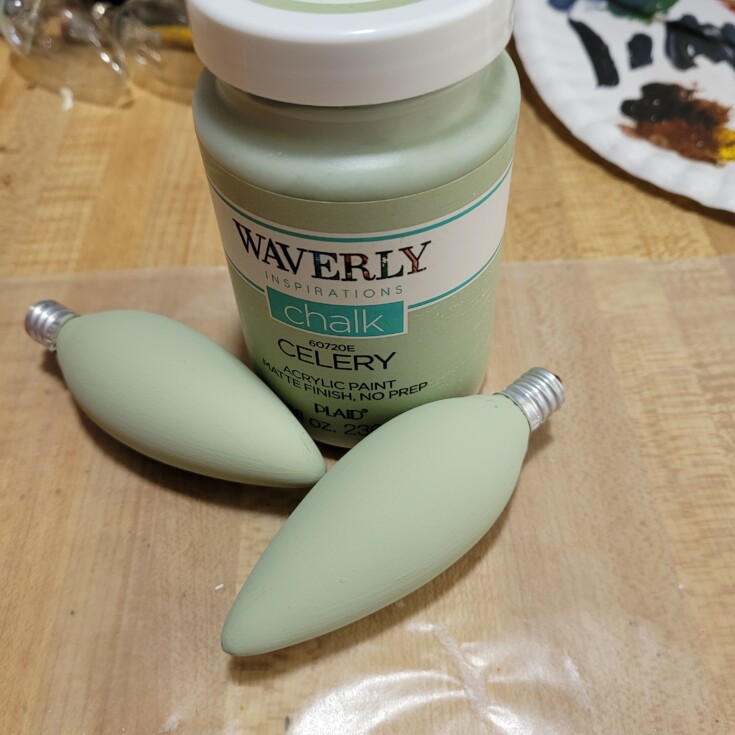
Once all the bulbs are painted I drew the faces on using a pencil.
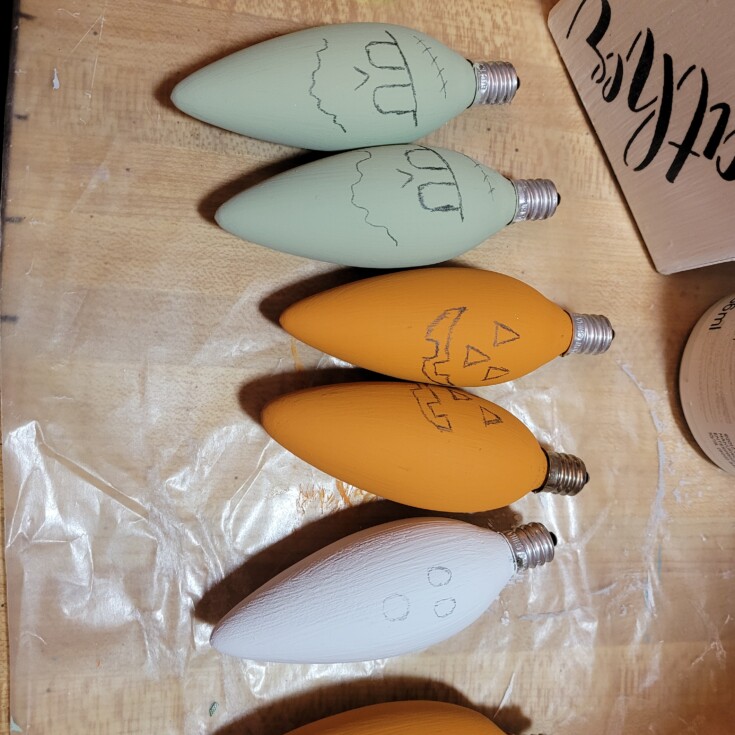
Then I went back over it using black paint and fill in the eyes, noses, mouths, and add Frankenstein’s hair.
When these dry I added some white dots in the eyes, and silver dots on each side of Frankenstein’s head as faux screws.
Once the bulbs are completely dry, I used a toothbrush and black acrylic paint to splatter these easy spooky bulb that will be used in my diy Halloween garland.
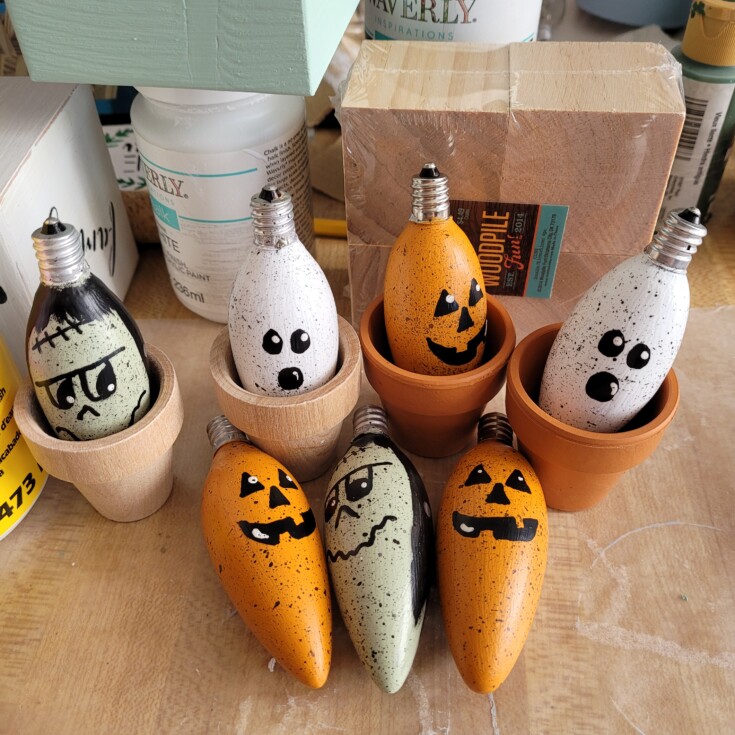
Each bulb was then sealed with two coats of Mod Podge to help strengthen them somewhat so they aren’t quit as fragile, and easier to clean.
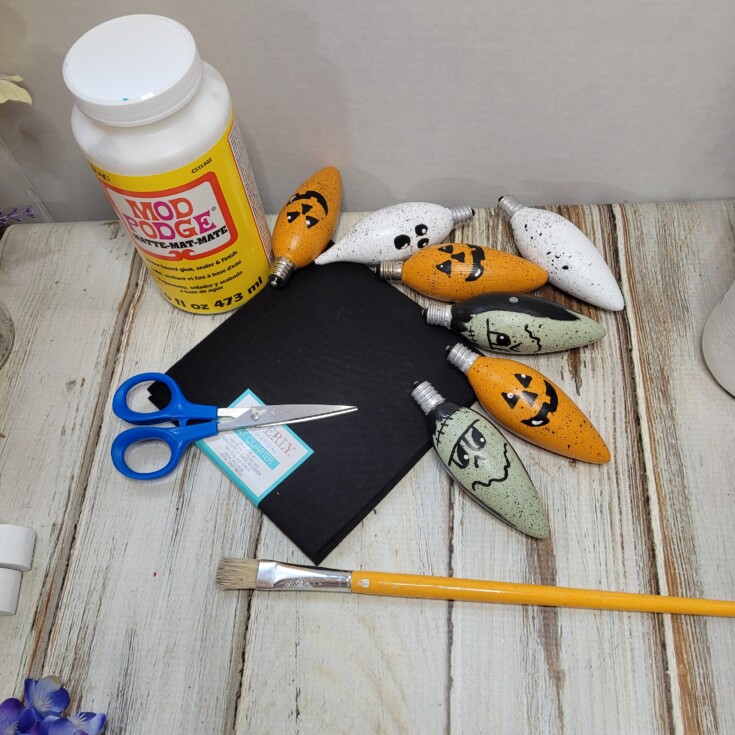
Next, I cut small strips to make a way to hang the spooky bulbs. This was done by gluing the fabric strip on to the top of the bulbs forming a loop. Be sure to glue the strips front to back so that they will hang correctly on the diy Halloween garland.
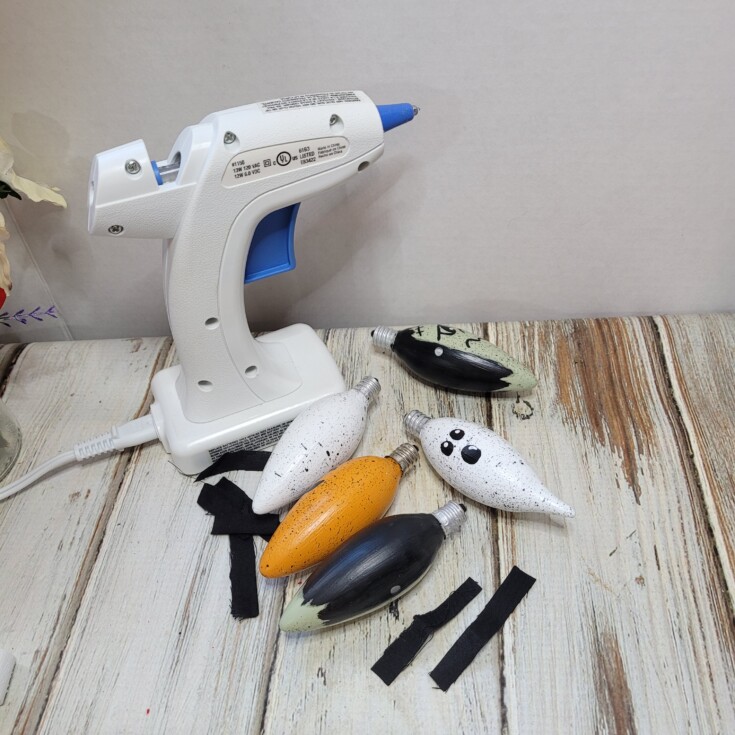
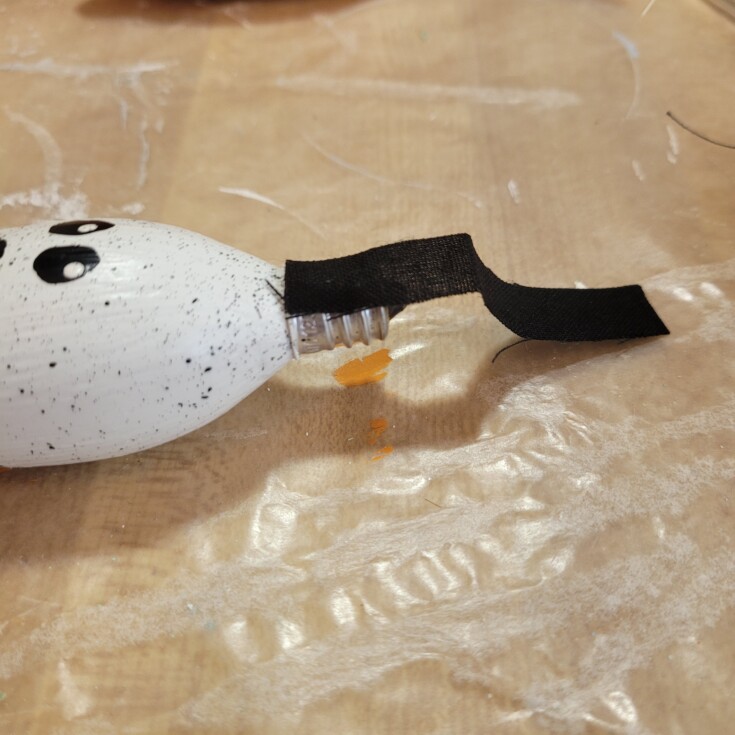
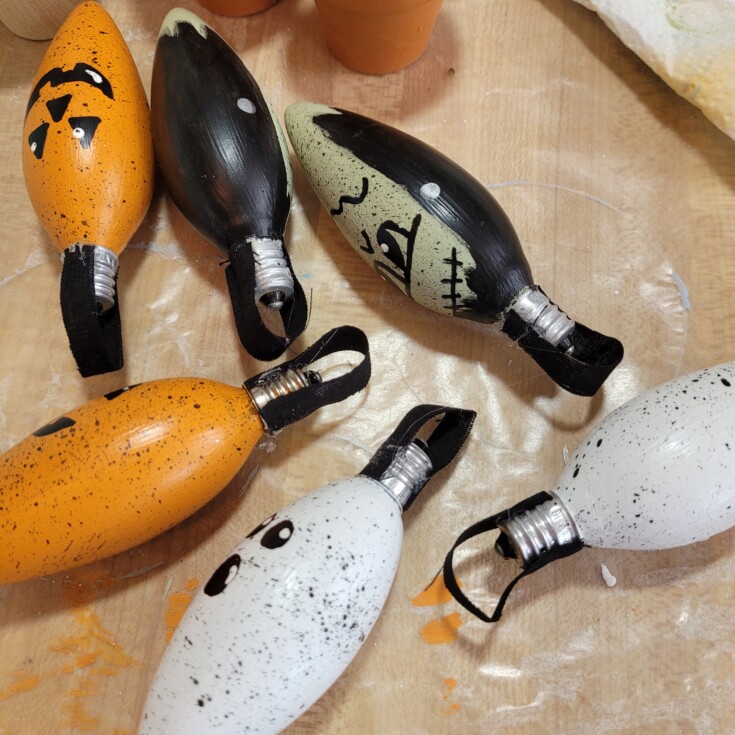
A strip of orange fabric was tied around the top to help secure the loops in place.
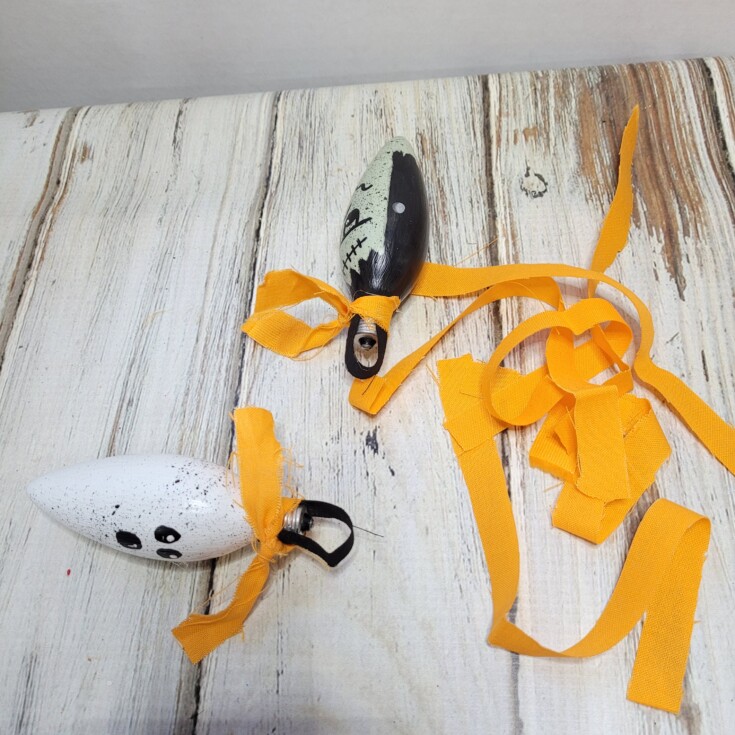
Now it’s time to cut strips of black and orange fabric approximately ½” wide and 8-9” long for the garland.
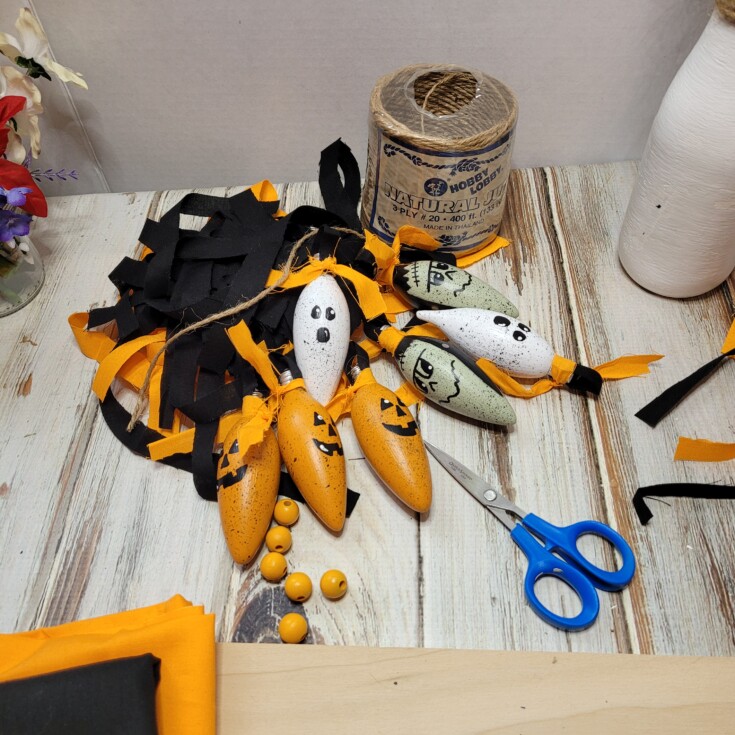
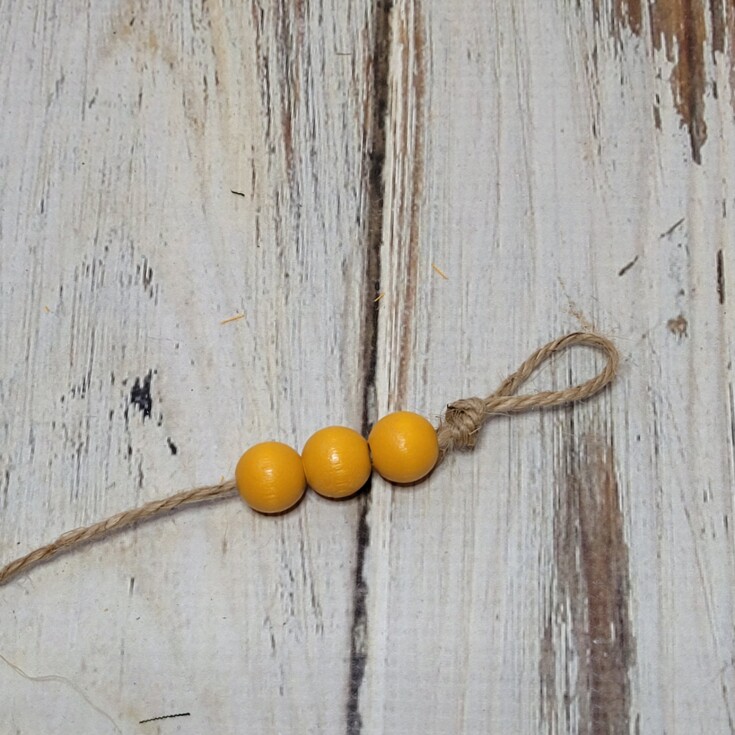
Cut a piece of jute about 3 feet long and tie a loop on one end for hanging, and add three orange beads.
Then start adding the fabric strips for the Diy Halloween garland. Add eight strips then the pumpkin bulb. Eight more then the ghost, eight more than add Frankenstein, and repeat until done. If you would like a longer garland then cut your jute longer and add more fabric strips to your liking.
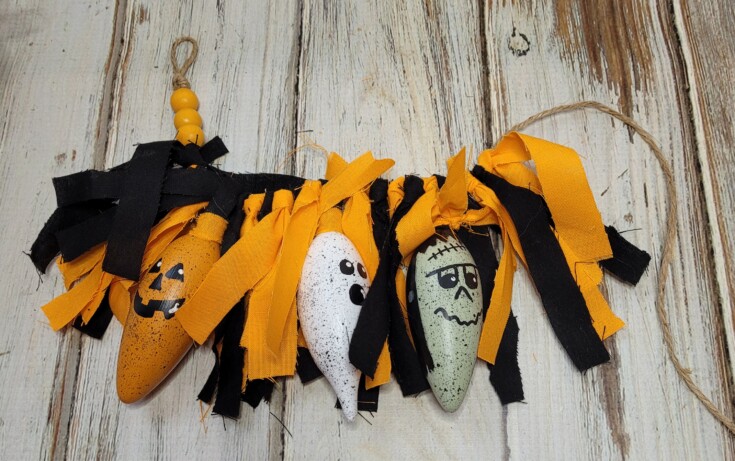
Add three more orange wood beads then tie a loop in this end. Go back and tie a piece of orange or black ribbon around the top loop on each bulb. This will help keep them from sliding around.
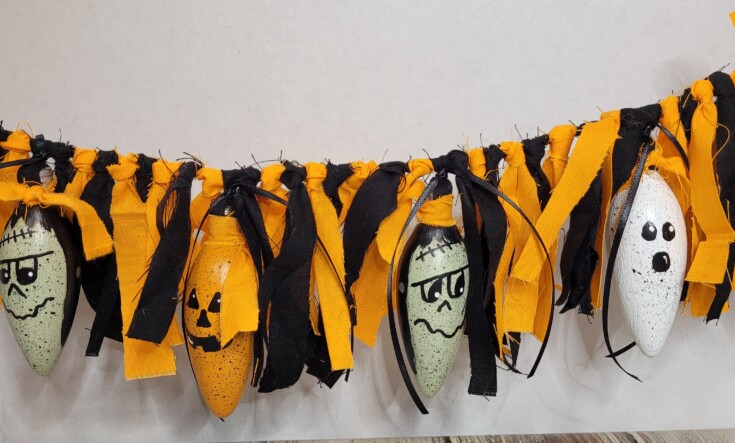
That’s it for this cute spooky Diy Halloween garland from repurposed light bulbs. Would you leave the fabric strips this length or do you think the garland would look better if it was cut a little shorter?
Supplies for a Diy Halloween Garland
Green chalk paint
White chalk paint
Orange chalk paint
White acrylic paint
Black acrylic paint
Paintbrush
Craft Styles tool
Tooth brush for splattering paint
Jute
6 orange wood beads
7 light bulbs to repurpose
Black ribbon
1 orange fabric remnant I found my remnant’s at Walmart
1 black fabric remnant
Hot Glue
More Fun Repurposed Halloween Projects!
Jack-o-lantern lamps
Mason jar Mummy lantern
Vintage strainer jack-o-lantern
Hi there, I love this project! I wanted to let you know though that there is a LARGE add that covers the whole left side of the screen so I can only see half of the text and pictures and there’s no way to close it 🙁 Thought you might like to know.
I so sorry about that and thanks for letting me know.
Love this!!!! And I’m going to try your hair spray trick next time I want to paint on glass.
Thanks Michelle! That was one of the tricks that I learned years ago when taking a tole painting class.
I love the speckles of paint! So cute.
Thank you Alexandra! 🙂