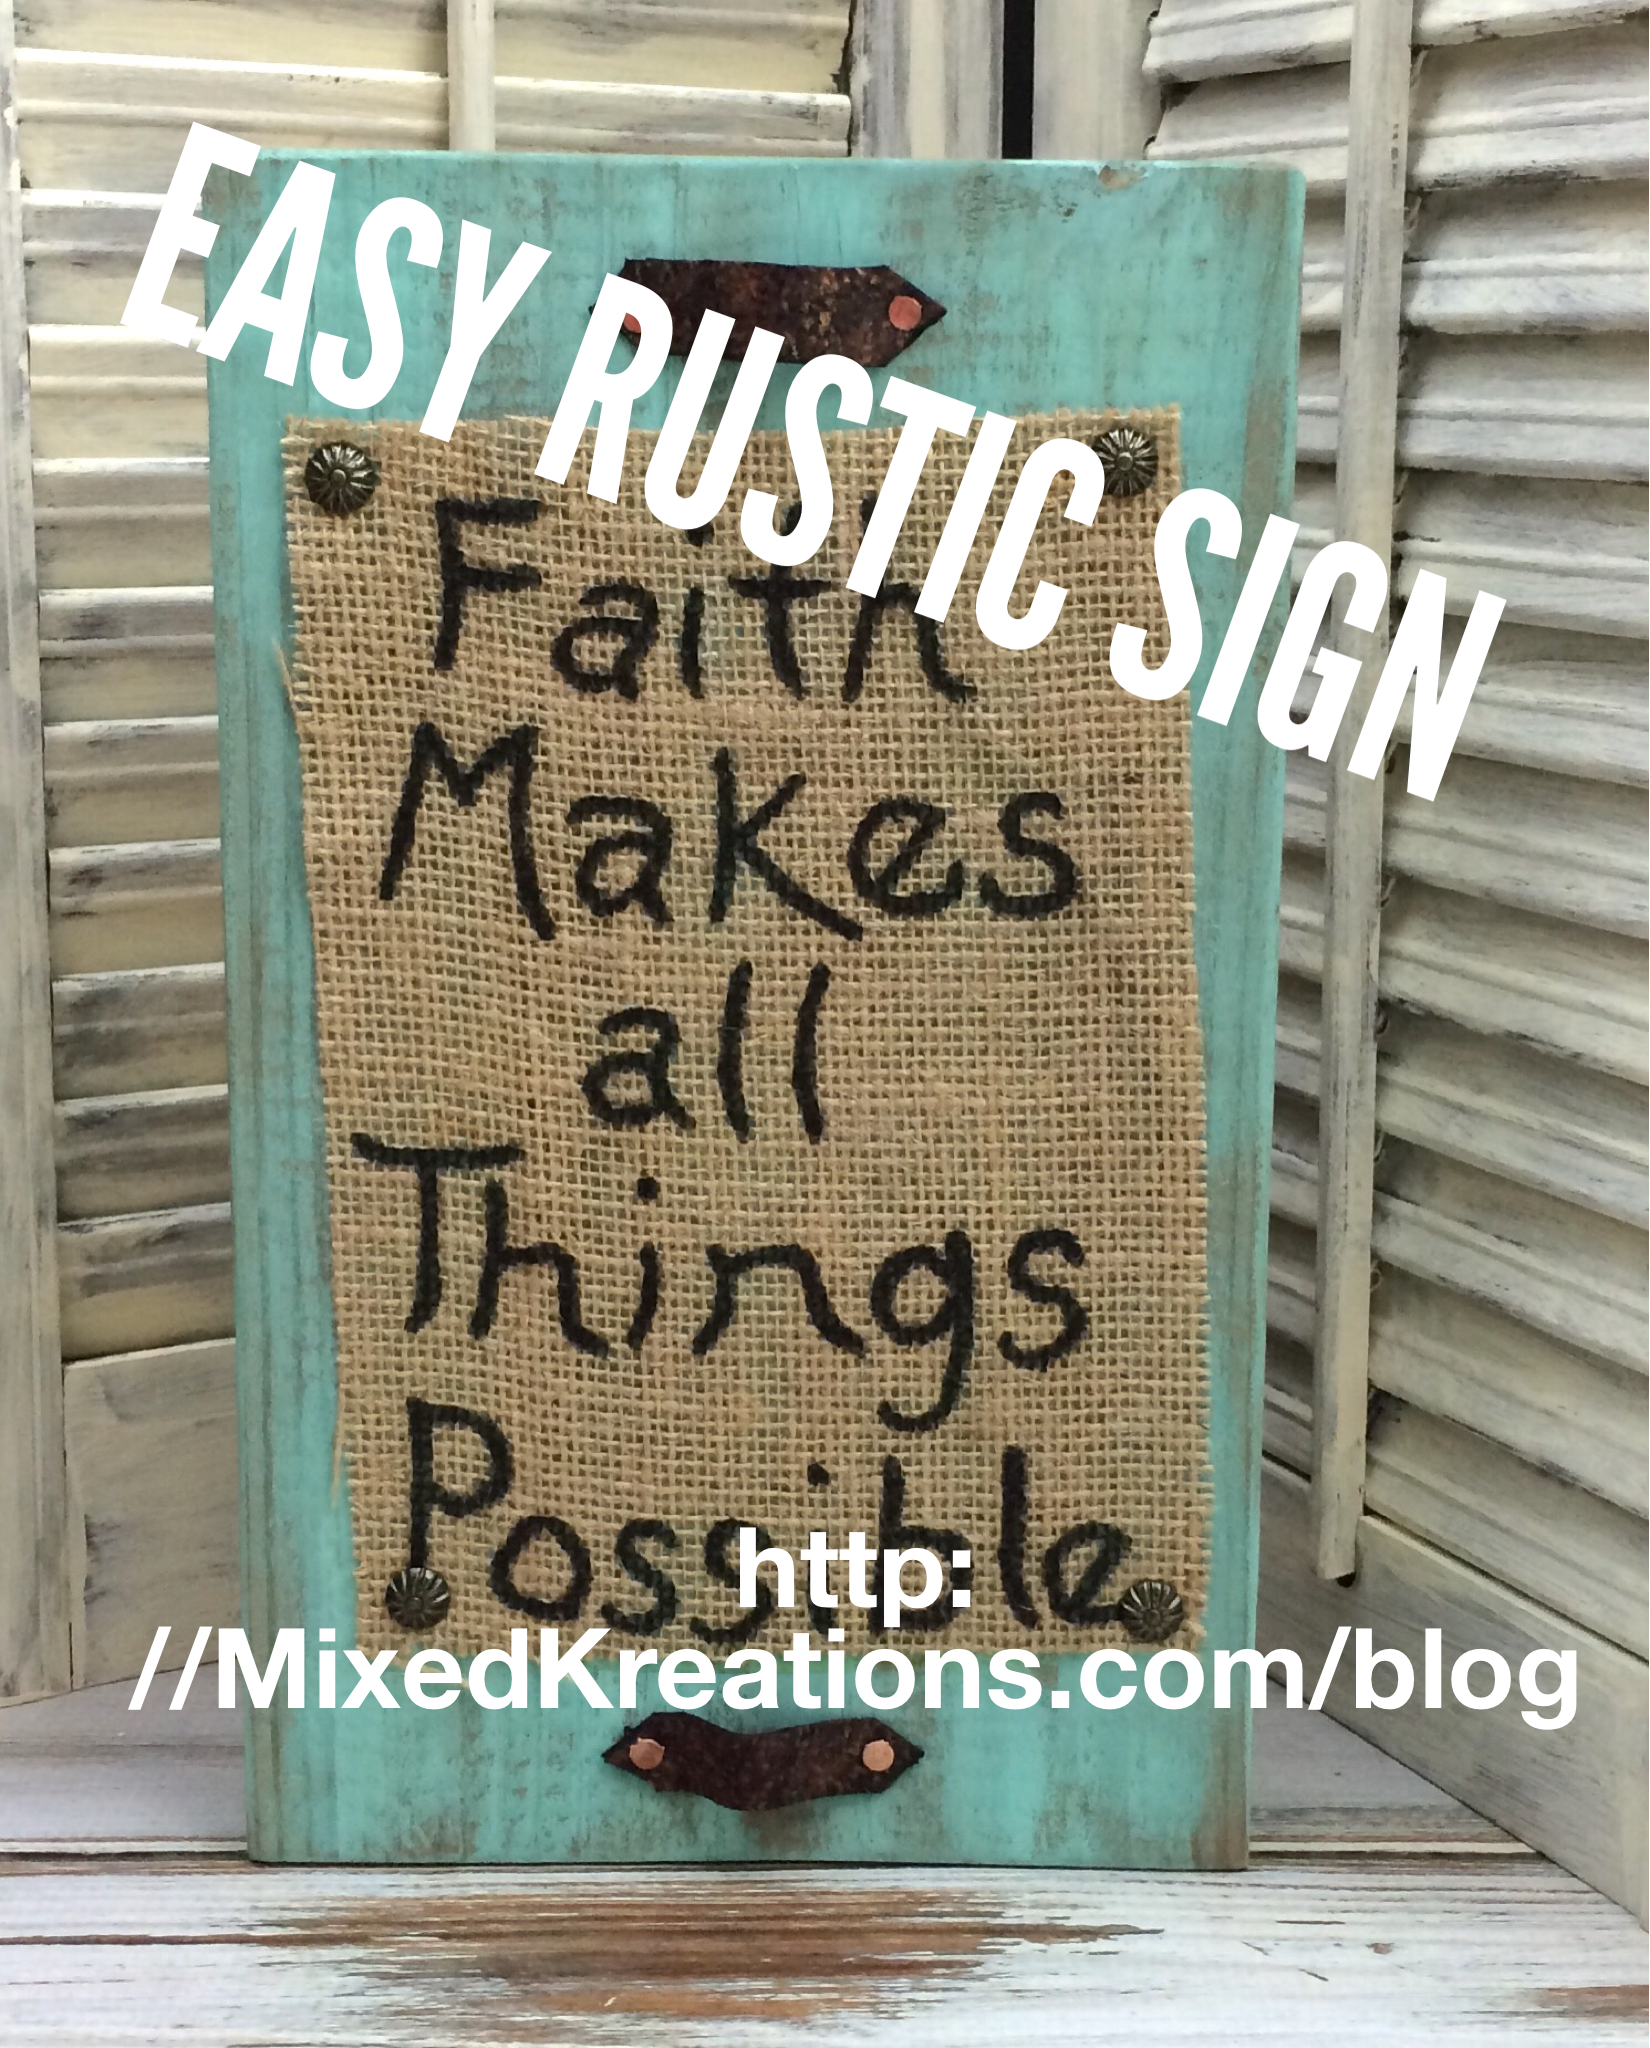
I love easy project, don’t you? If your answer is yes, then here’s a super easy rustic sign project for you.
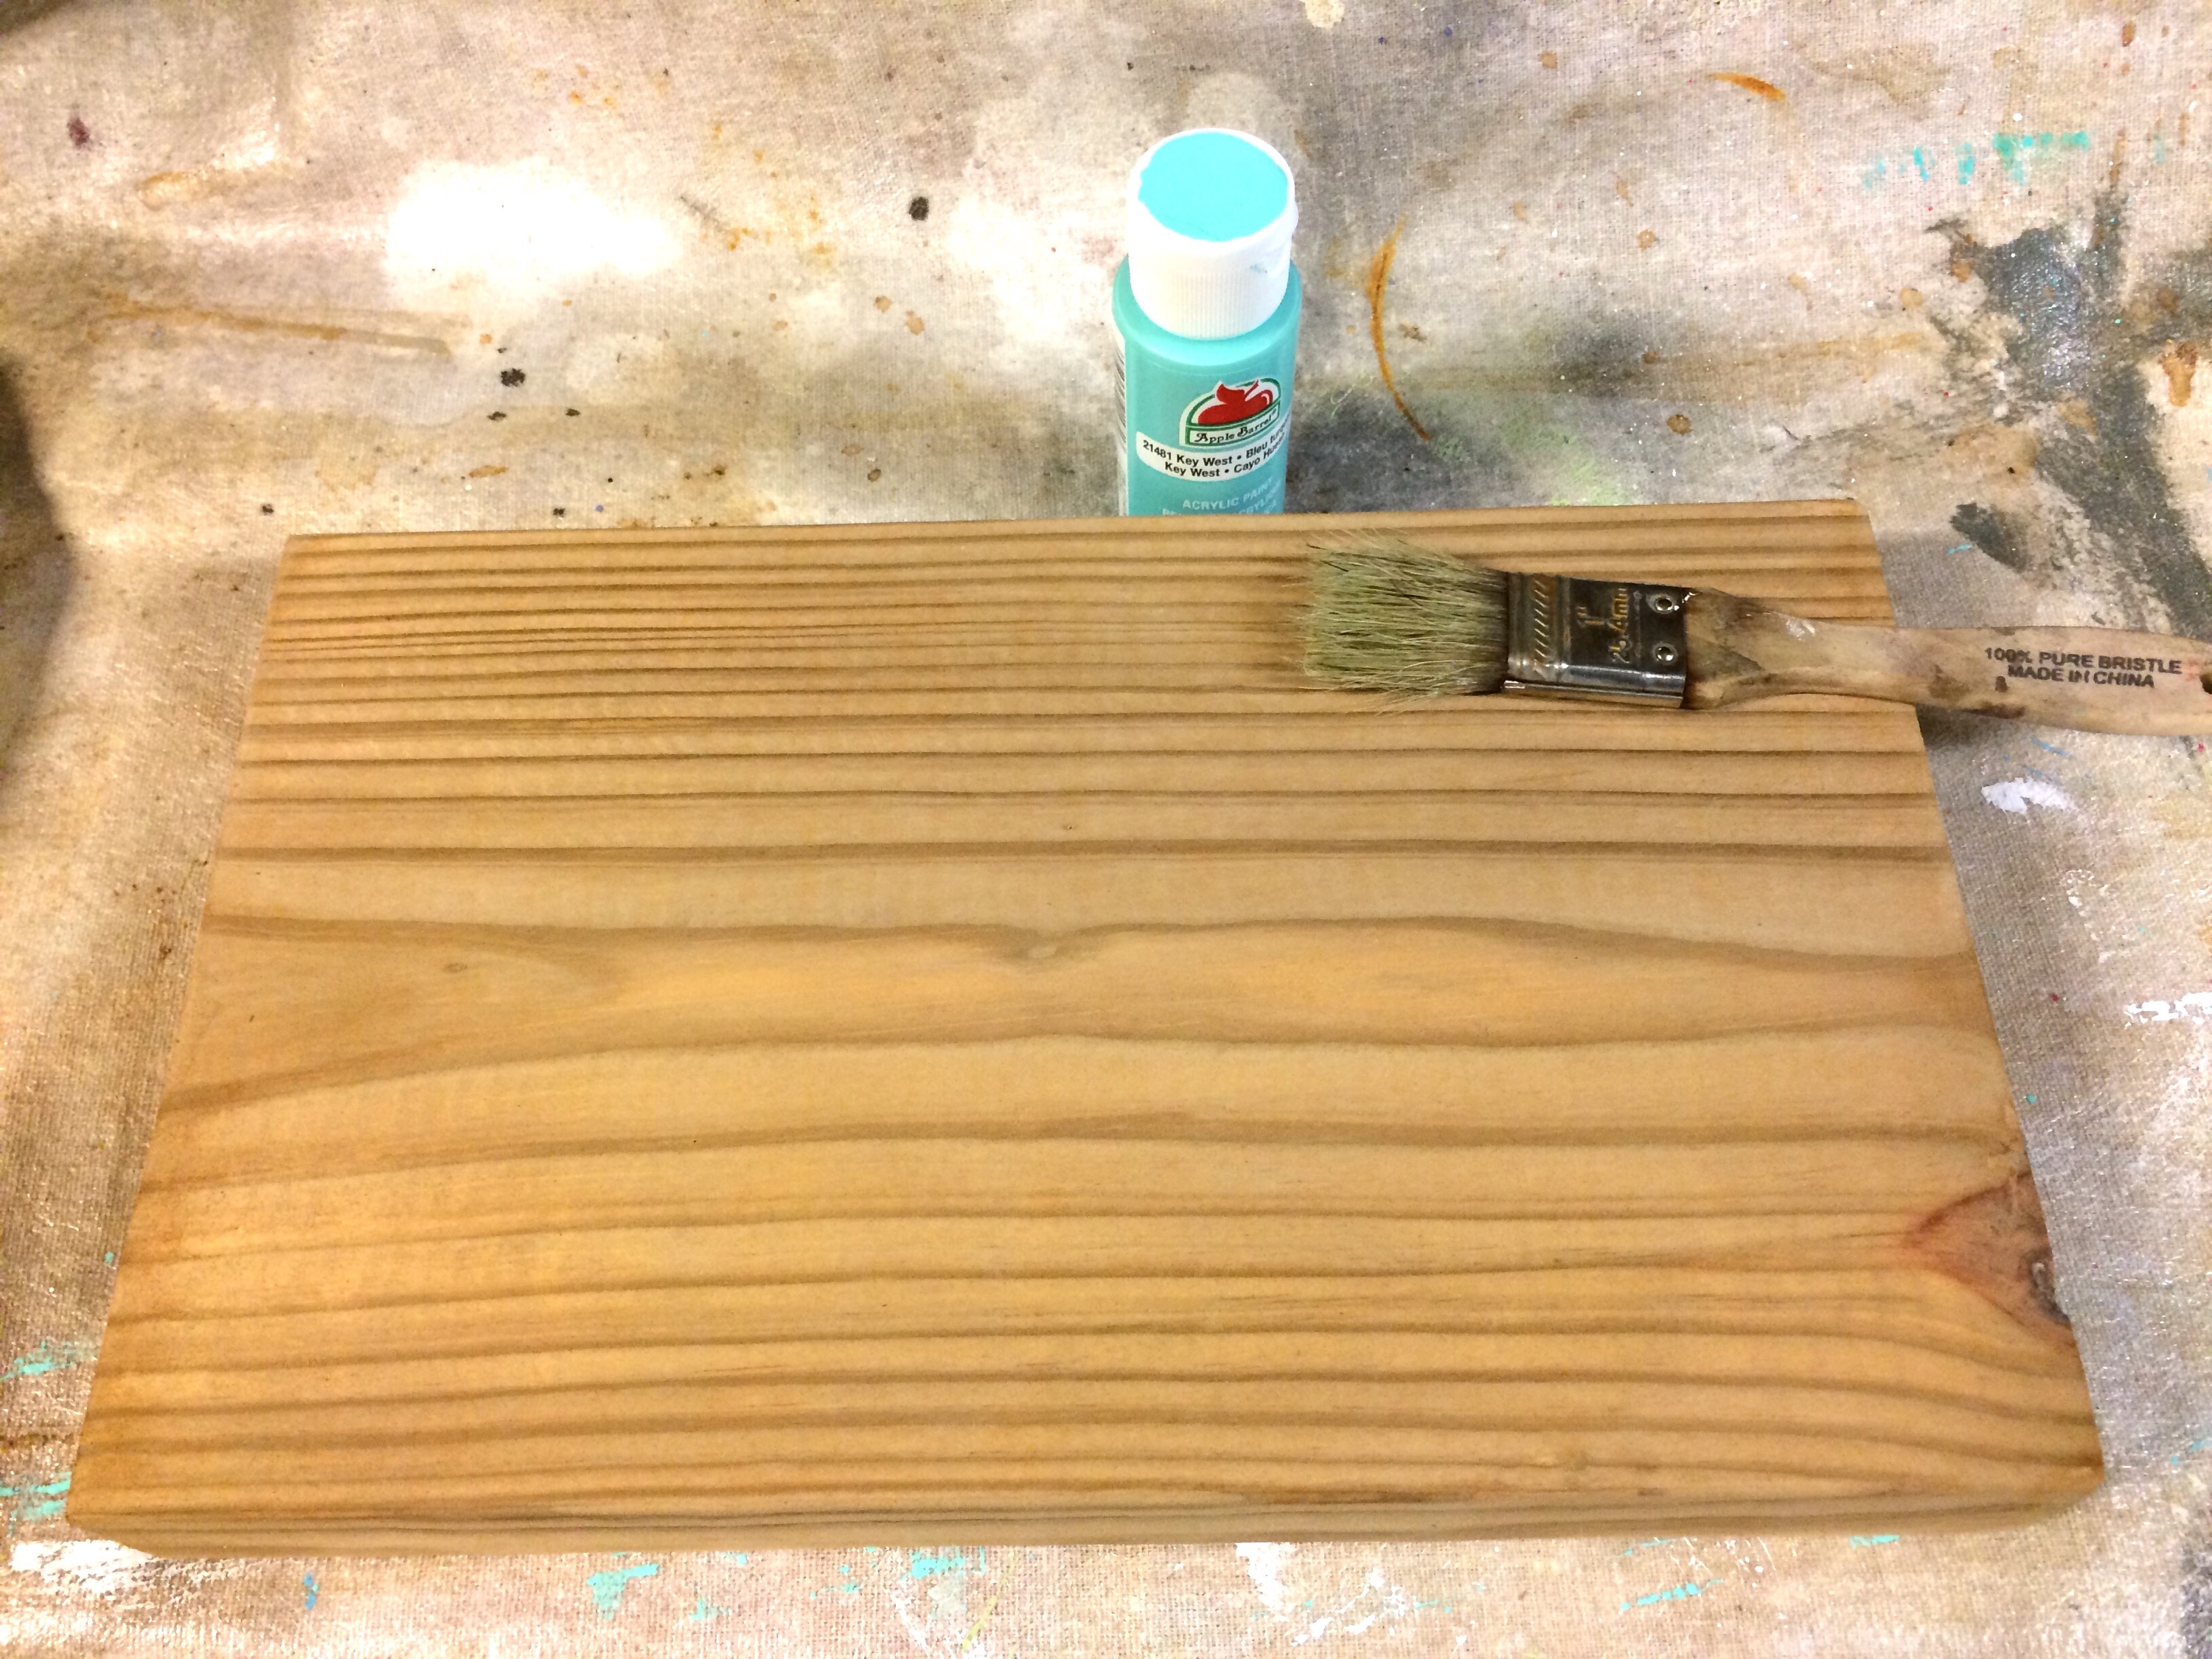
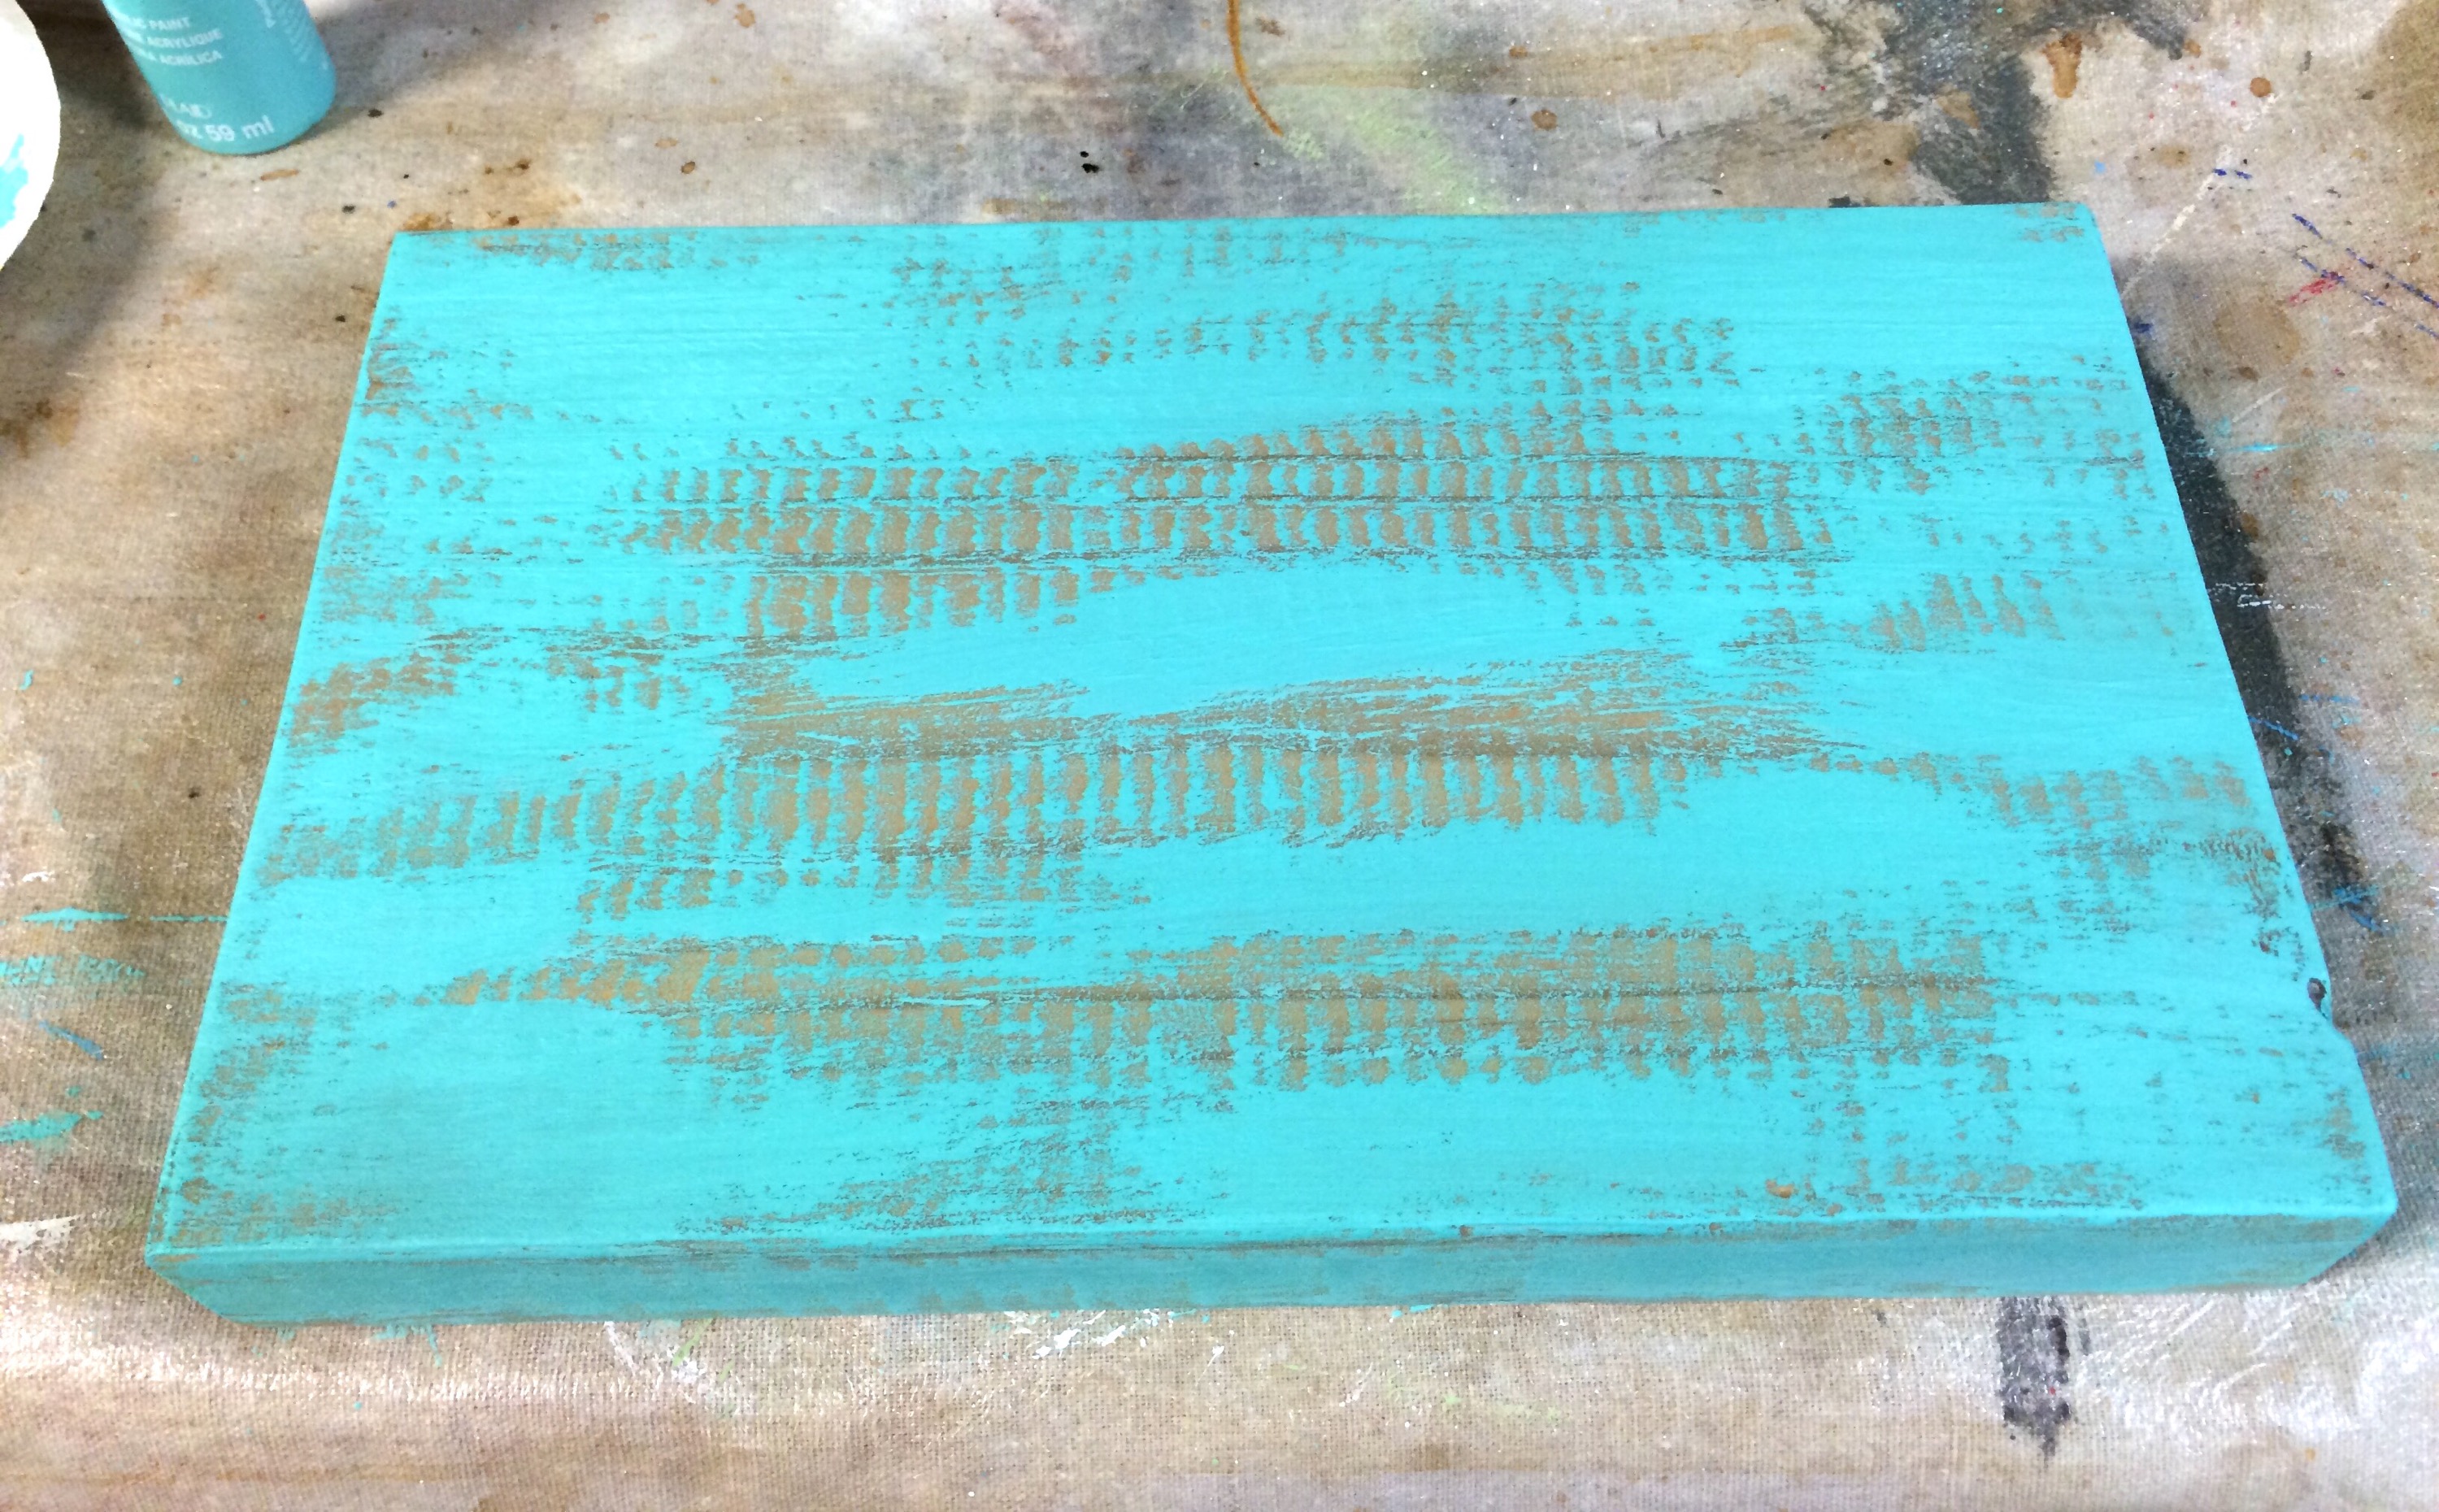
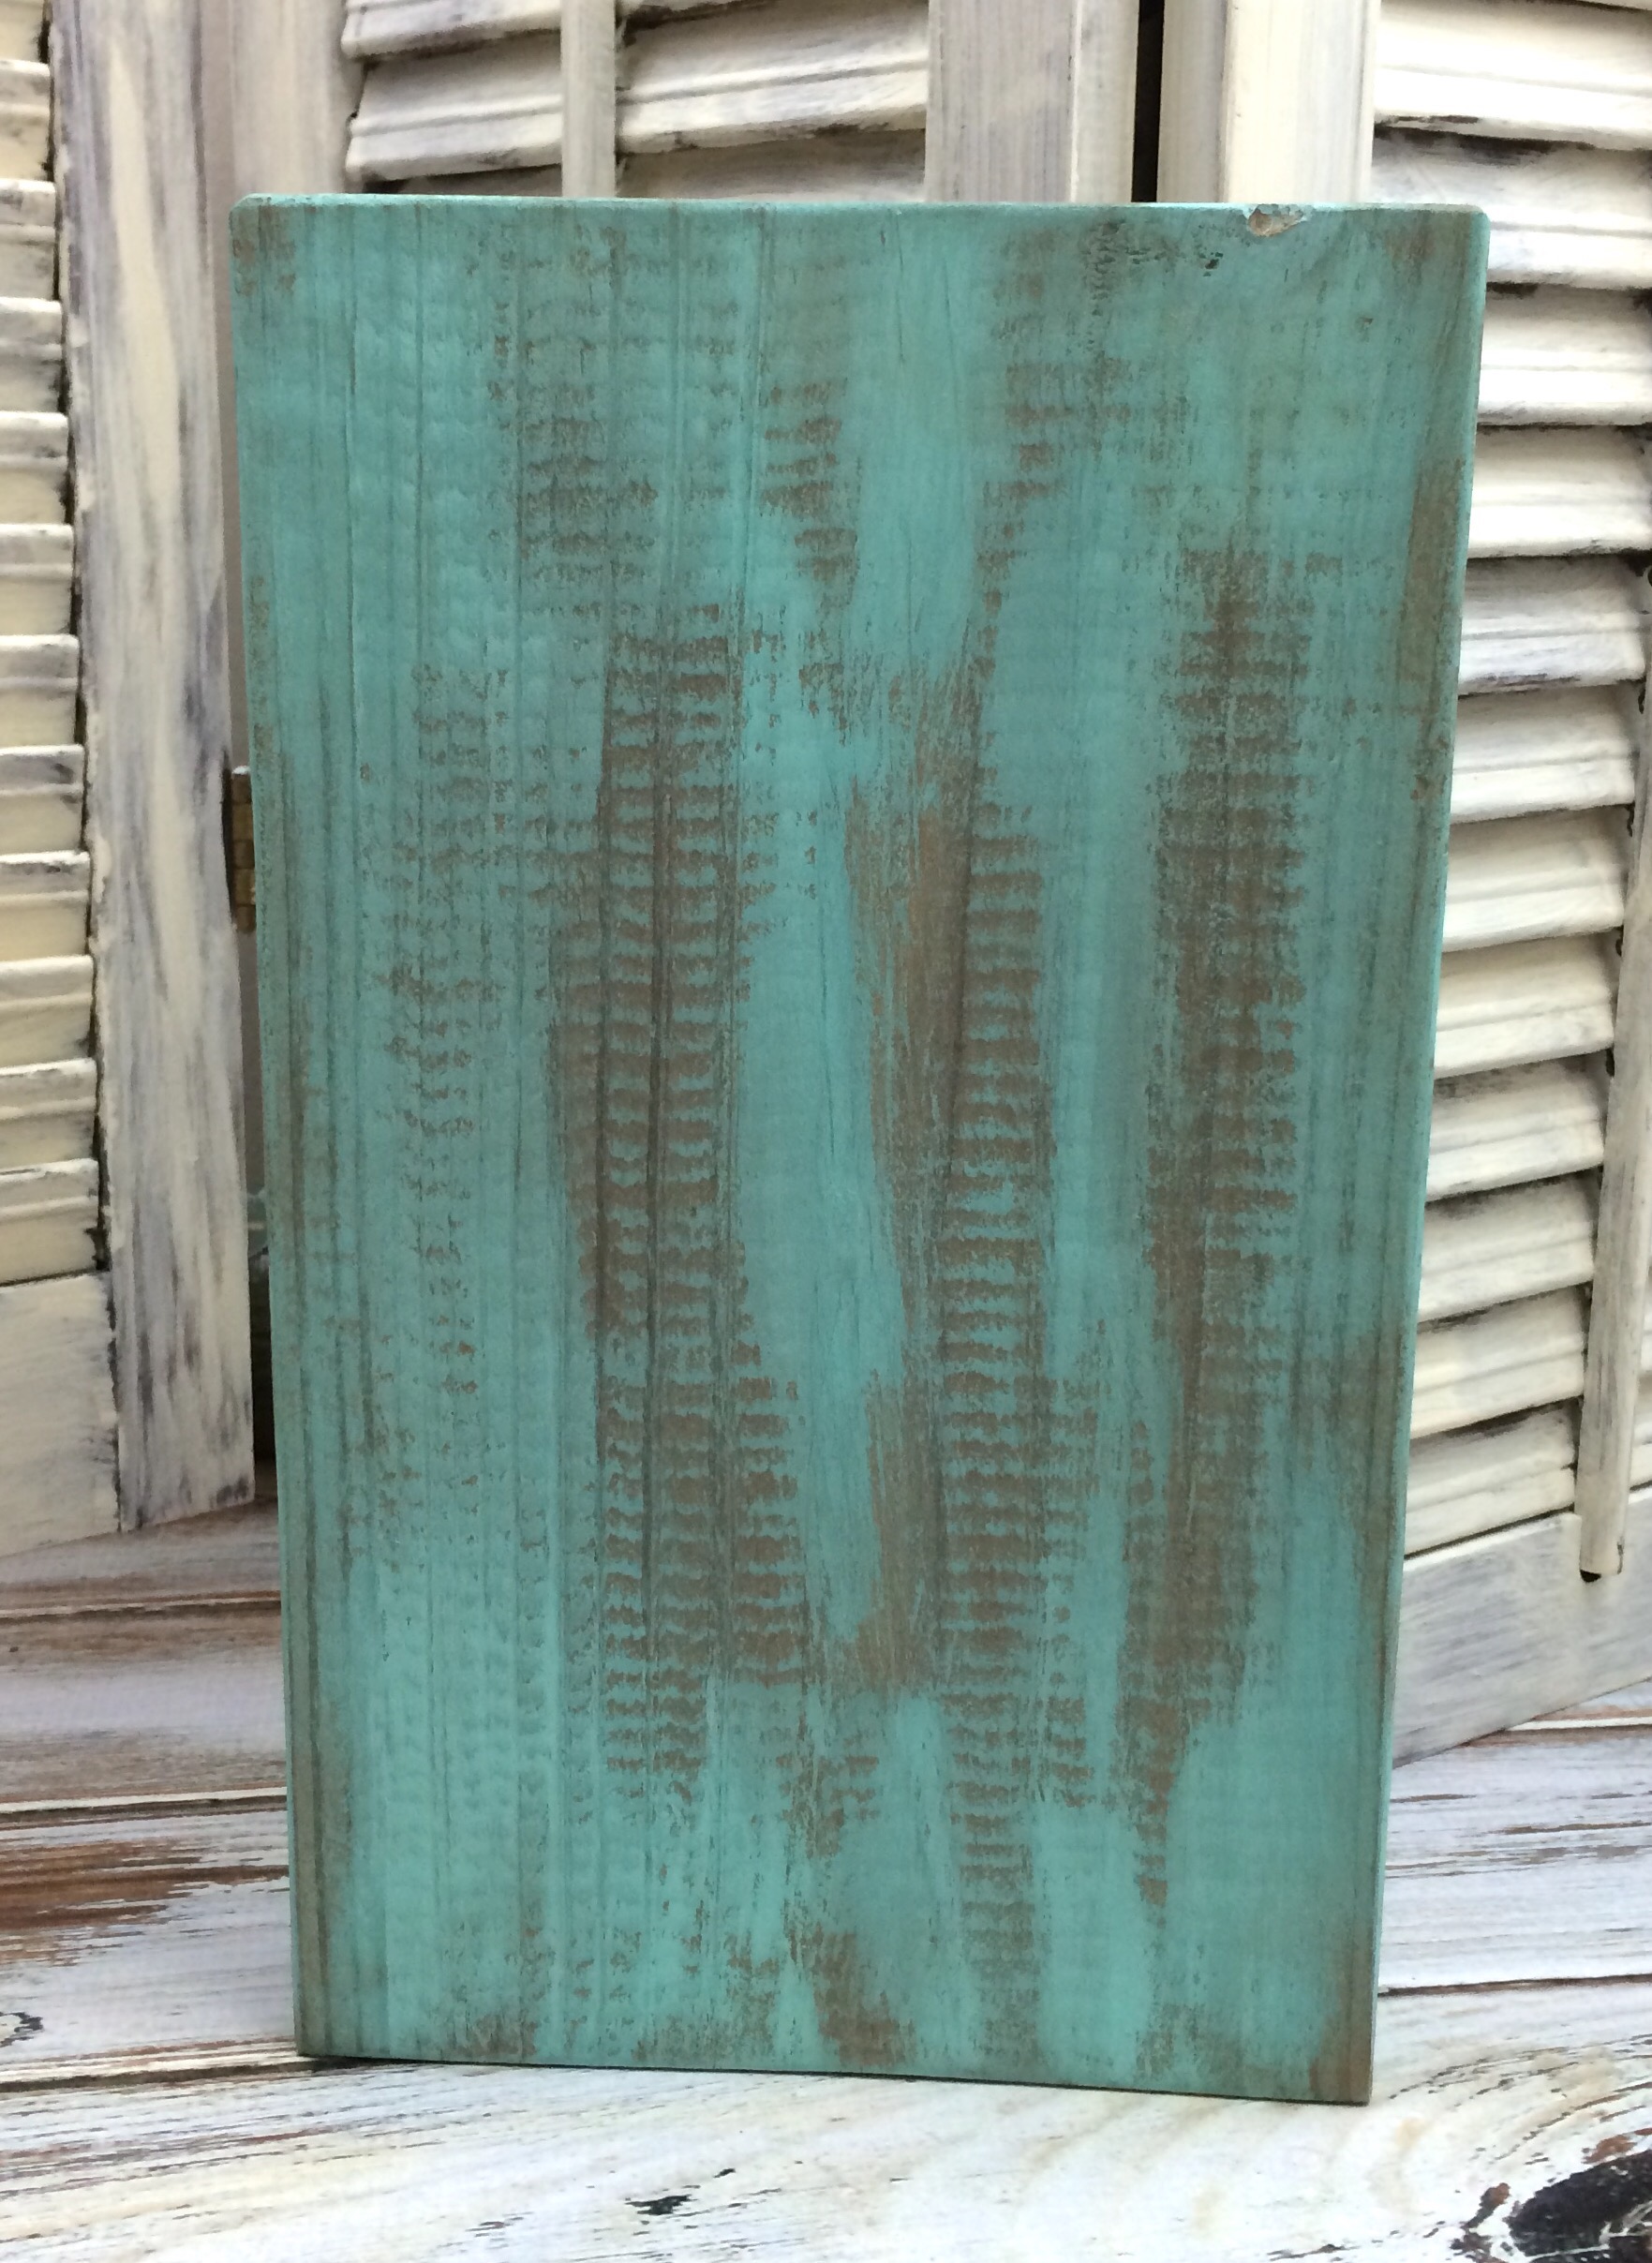
To make this easy rustic sign start off dry brushing your acrylic paint onto your block of wood leaving areas where the wood shows through.
Let dry throughly.
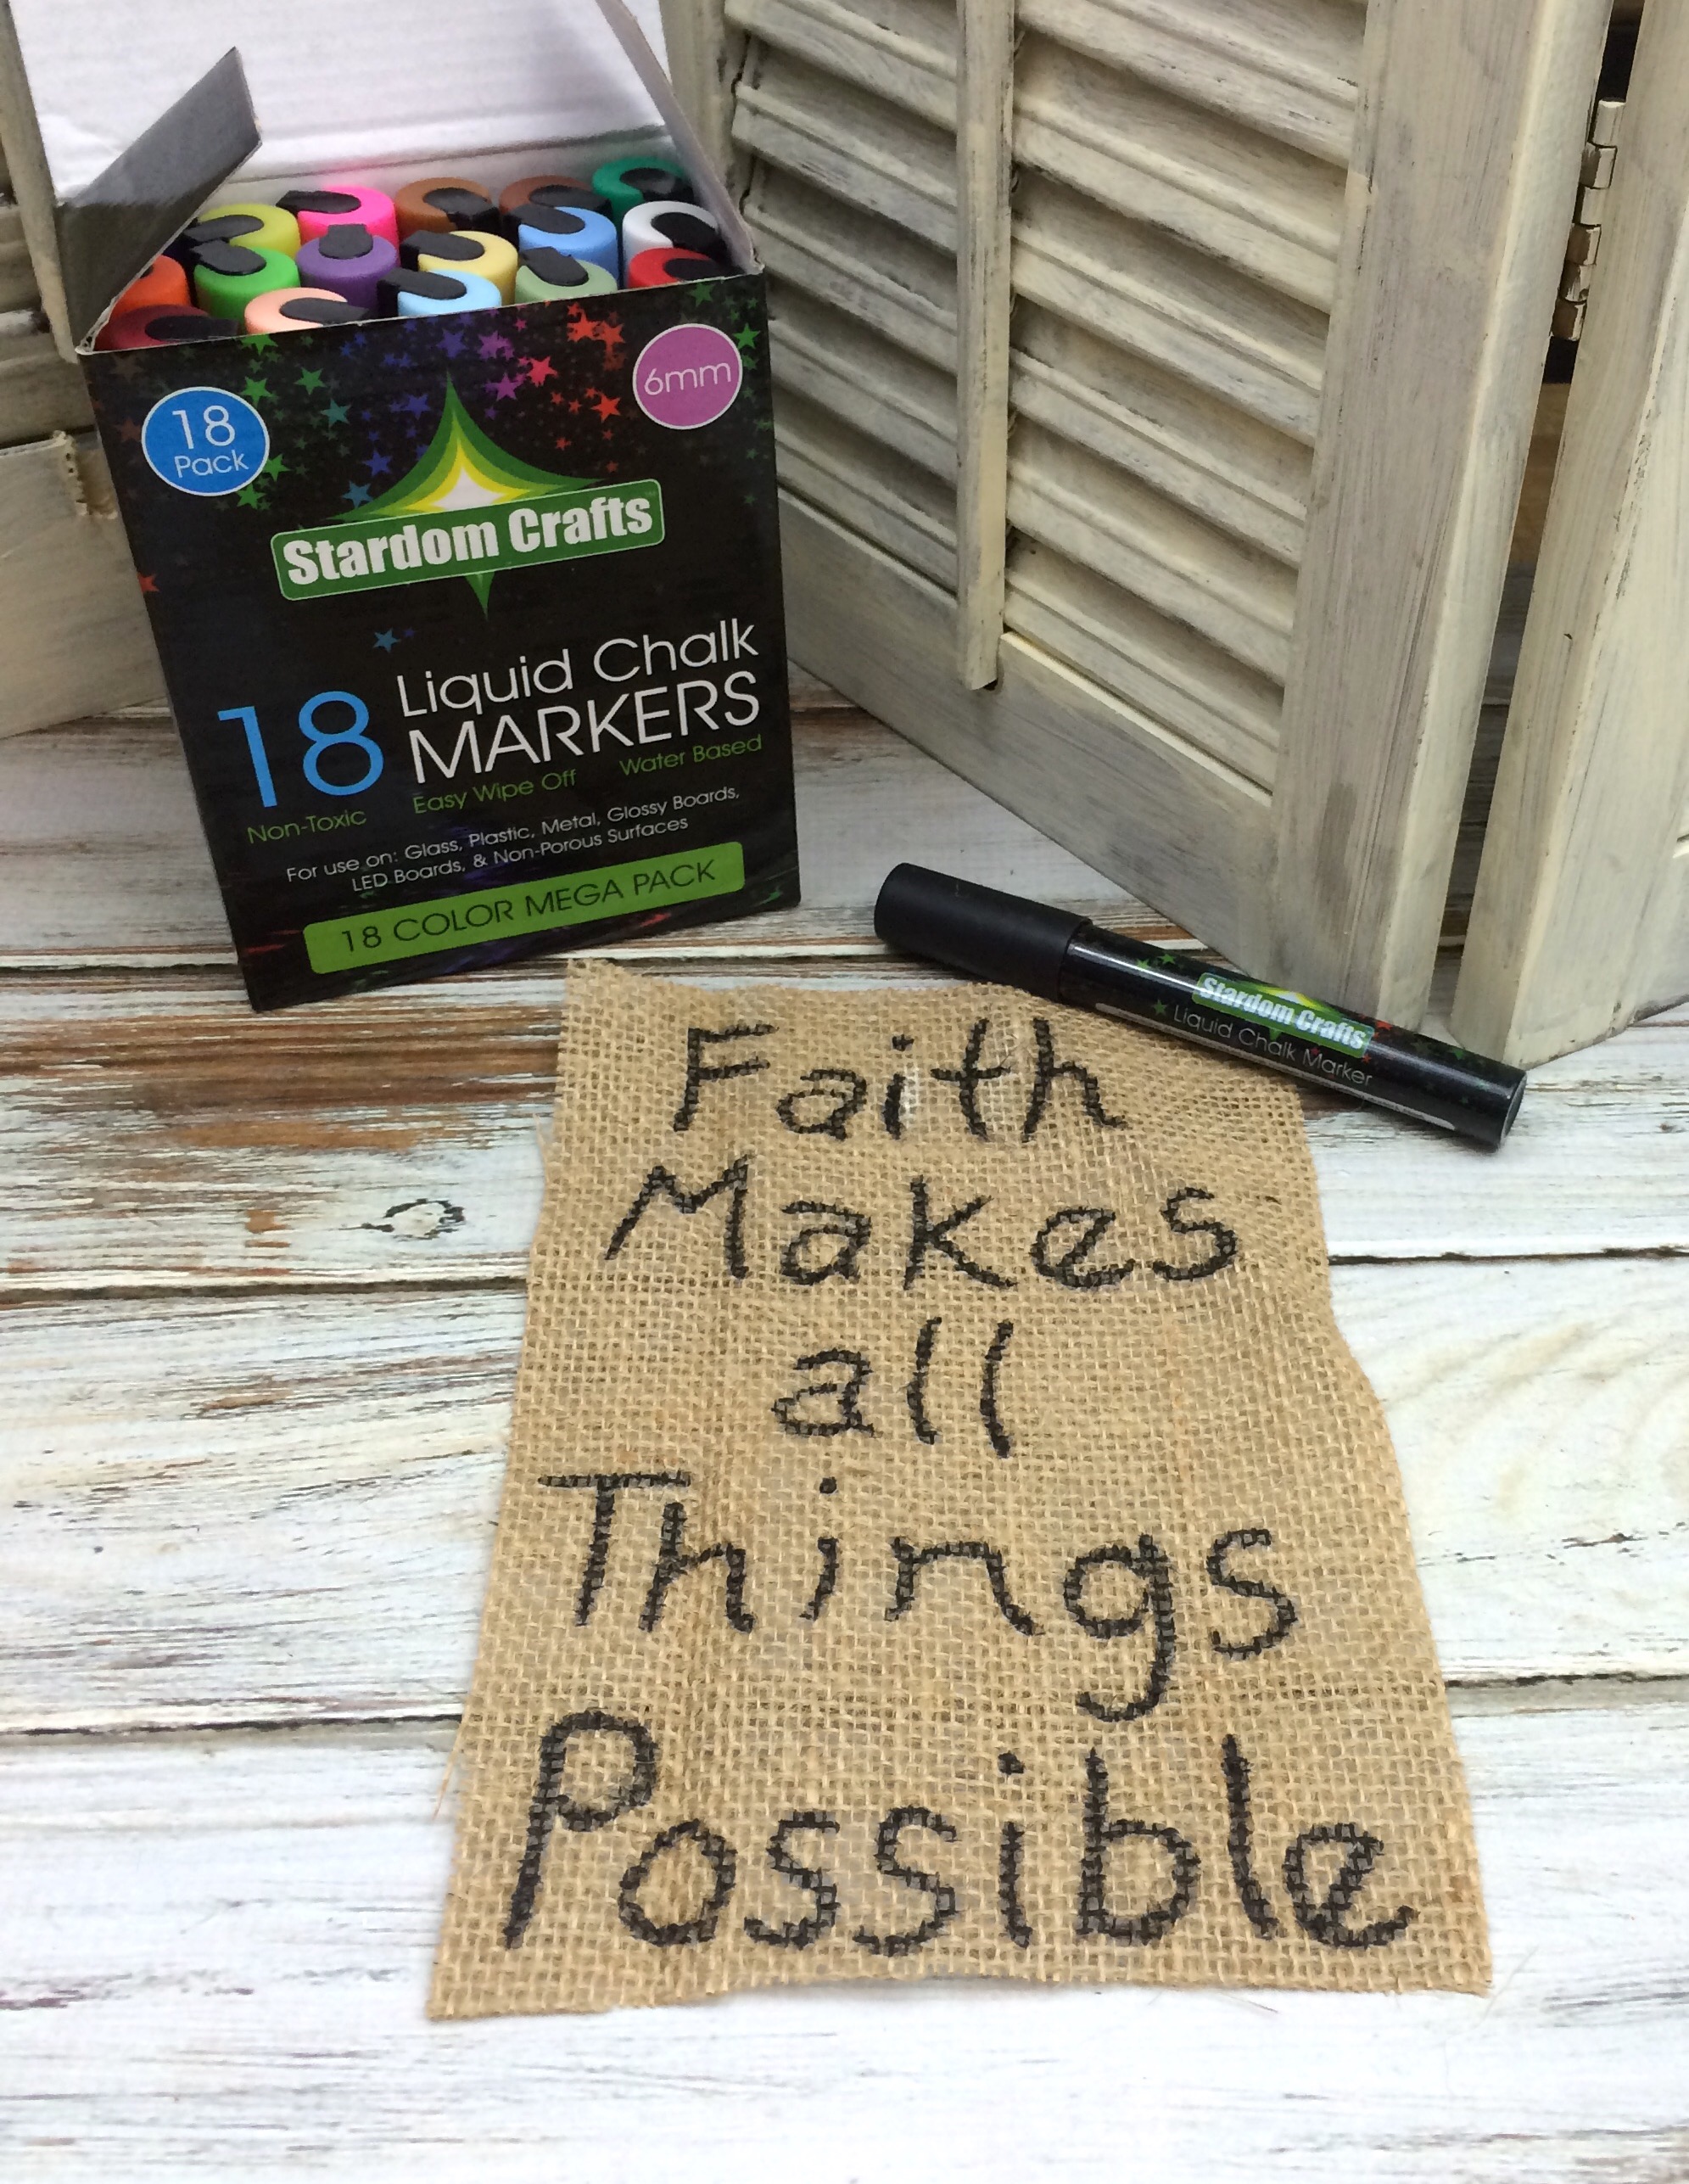
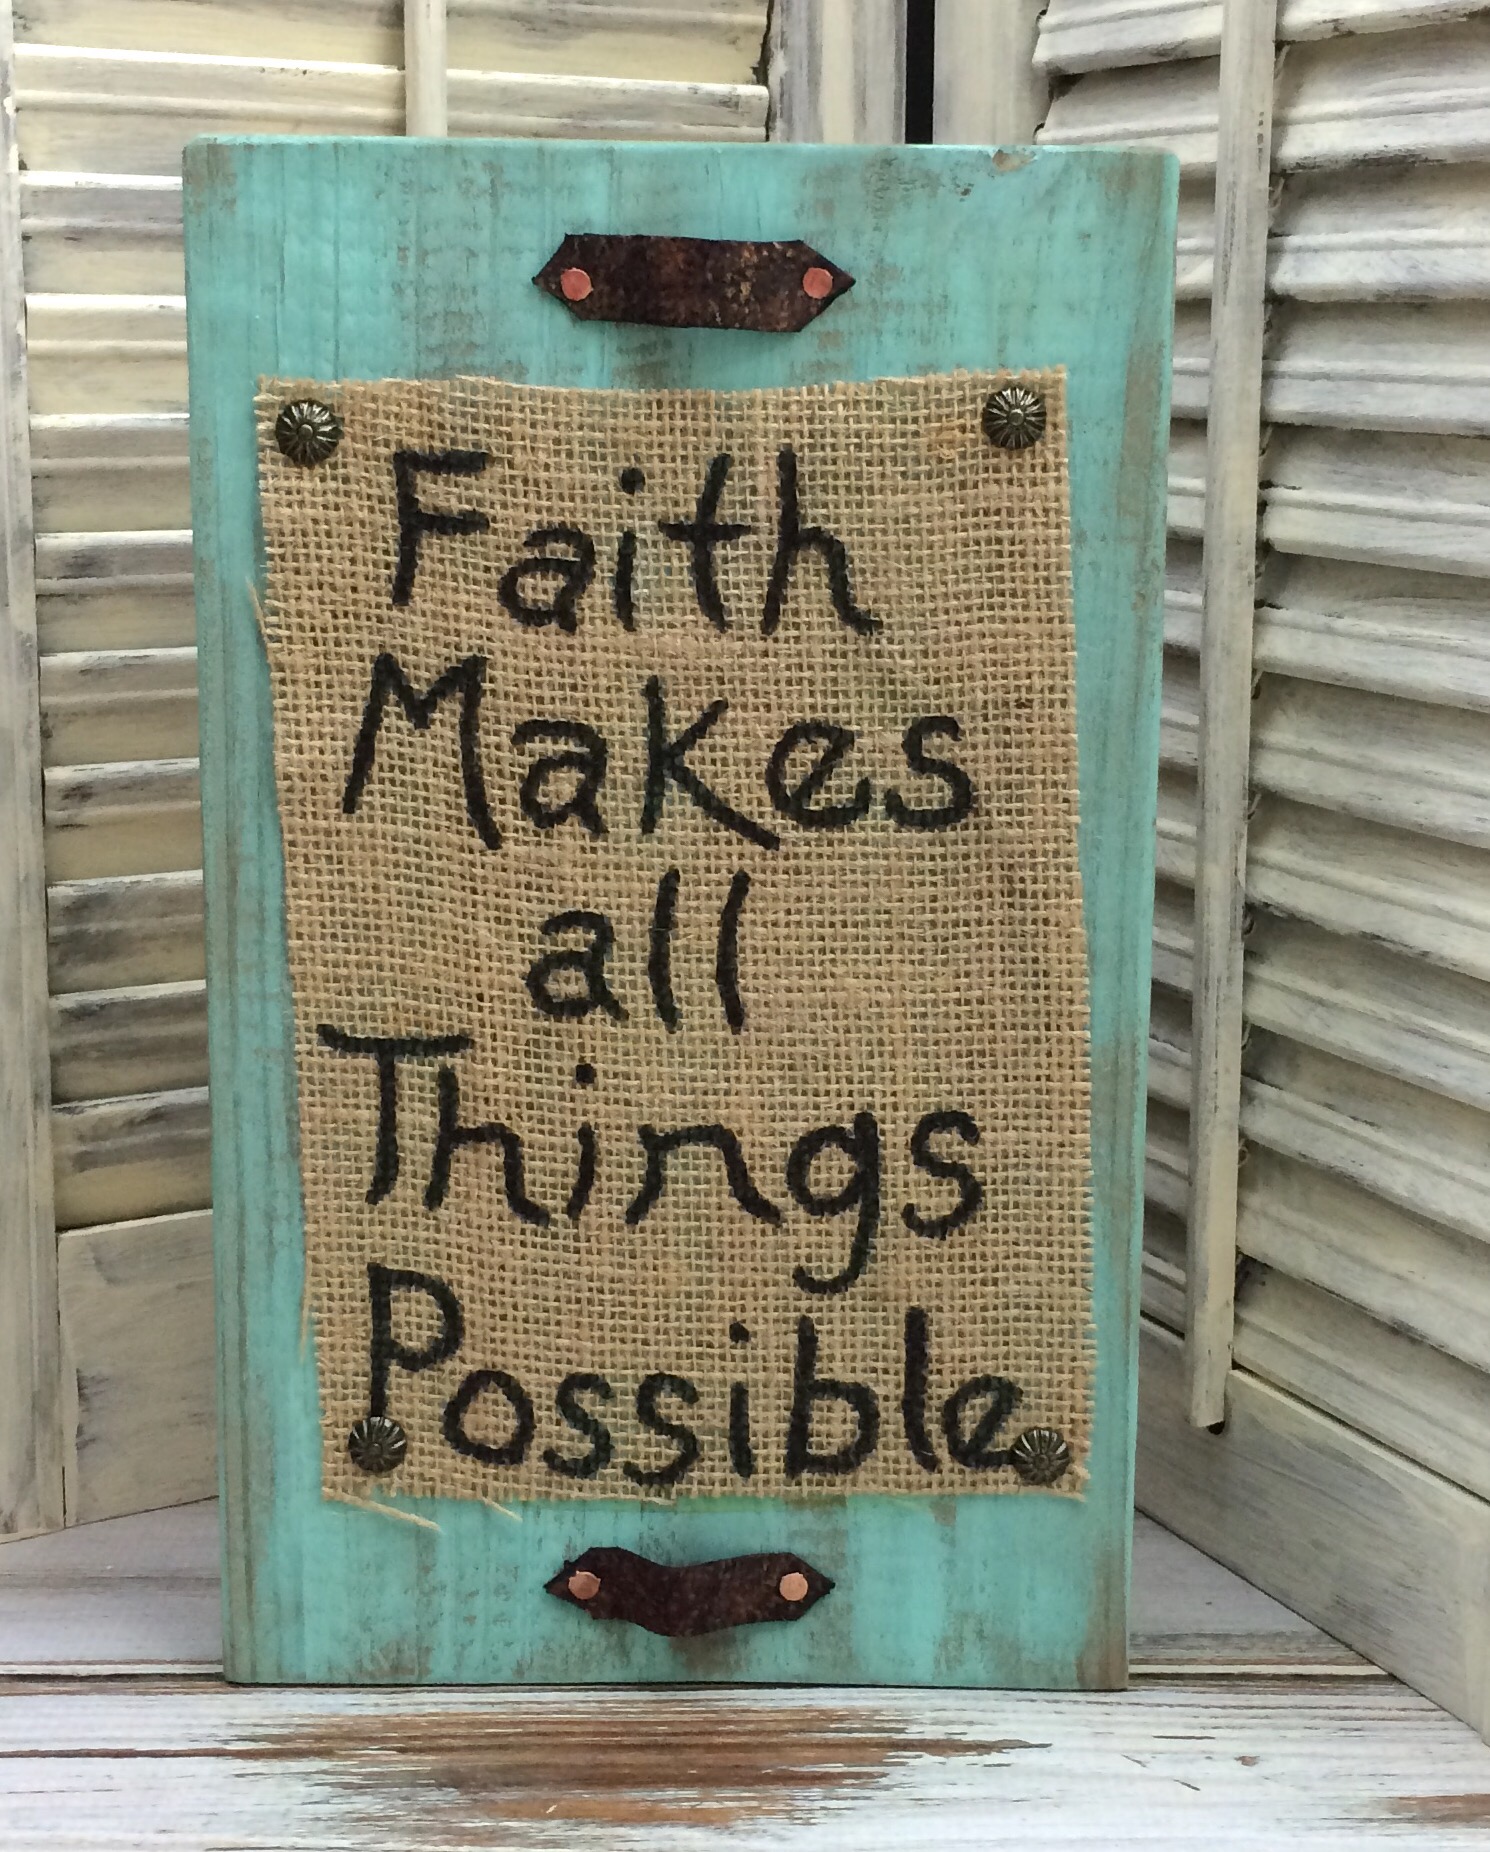
Cut your burlap, then add the lettering for your sign using the black chalk marker
Add a layer of Mod Podge to the front of your wood block, then place your burlap in place.
Hammer the upholstery tacks in each corner of the burlap to help hold your burlap in place. Then secure your leather strips in place with the copper tacks, and that’s it for your easy rustic sign!
*This post contains affiliate links, if you click on an affiliate link & buy something I may receive a small commission at no extra charge to you. The affiliate money I earn helps pay the expenses to keep this site running. Please read my disclosure for more info. Thanks so much for your support!*
You will need (affiliate links)
- 2″ x 8″ x 12″ block of wood
- Burlap cut slightly smaller then your block of wood
- Acrylic paint (your choice)
- Paint brush
- Mod Podge
- Black chalk marker
- 4 Copper tacks
- 4 upholstery tacks
- Hammer
- 2 Leather strips
[tweetthis display_mode=”box”]How to make a easy rustic sign. #WoodCraft #rustic[/tweetthis]
What are some of the projects that you’ve been working on?

I love the bits and pieces that you add to your work. The saying is one I need to remind myself of, so I really like that, but the nailheads and the leather pieces take this over the top! Really cool with the aged look of the wood! Great job.
Thank you Nikki! I thought that the leather and nails would be a great added addition to the sign, making it look a little more rustic.