Hi all! We had a spur of the moment trip to go see the grandkids and take them their Christmas presents so my Wood slice snowman ornaments post is a week late. We had a nice visit and lots of good food! My daughter and son-in-law always feed us very well. In fact, to well! I feel like we come back 5 lbs. heavier after every visit. Need to get back to my daily walks to get the lbs. back off. But today is a drizzly day so let’s make a wood slice snowman ornaments out of Dollar Tree wood slices.
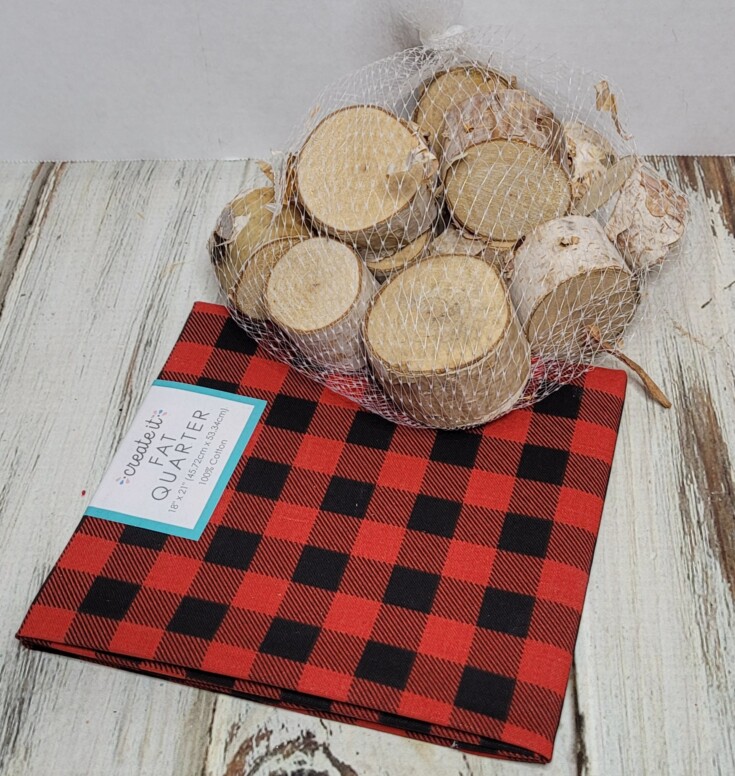
***This post contains affiliate links… We are a participant in the Amazon Services LLC Associates Program, and affiliate advertising program designed to provide a means for us to earn fees by linking to Amazon.com and affiliated sites at no extra charge to you. Please read my full advertising disclosure for more info. Thanks so much for your support!***
Wood Slice Snowman Ornaments
I decided to make 3 snowmen so I first picked out the three wood slices for each snowman.
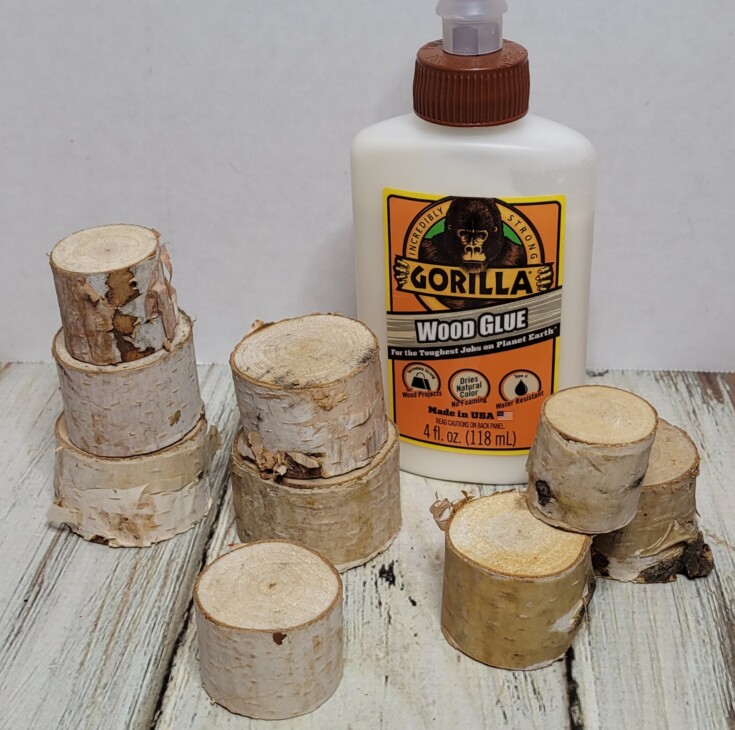
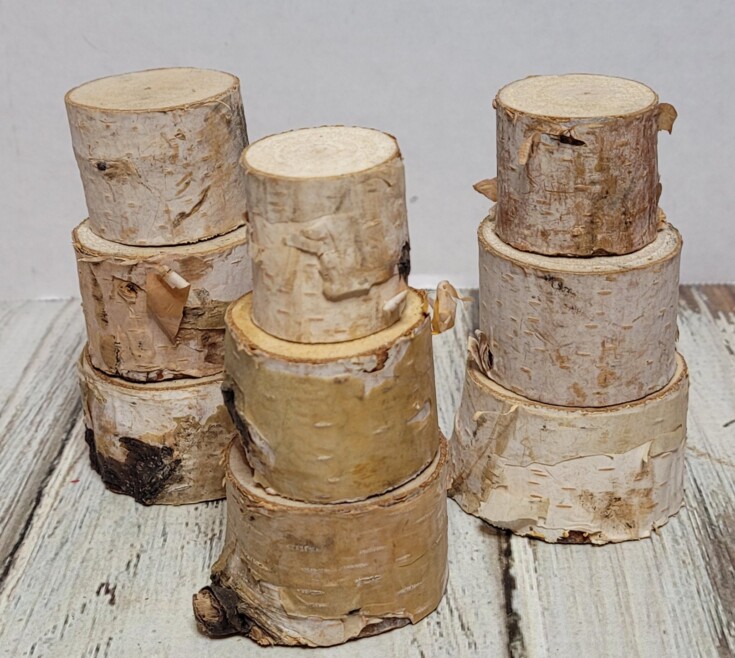
Next, use wood glue and glue the three pieces of wood together for each snowman. Largest wood slice on bottom and smallest on top.
For the snowman hats I used wood buttons. Four to five for each hat. One large and the rest the same size to make a top hat.
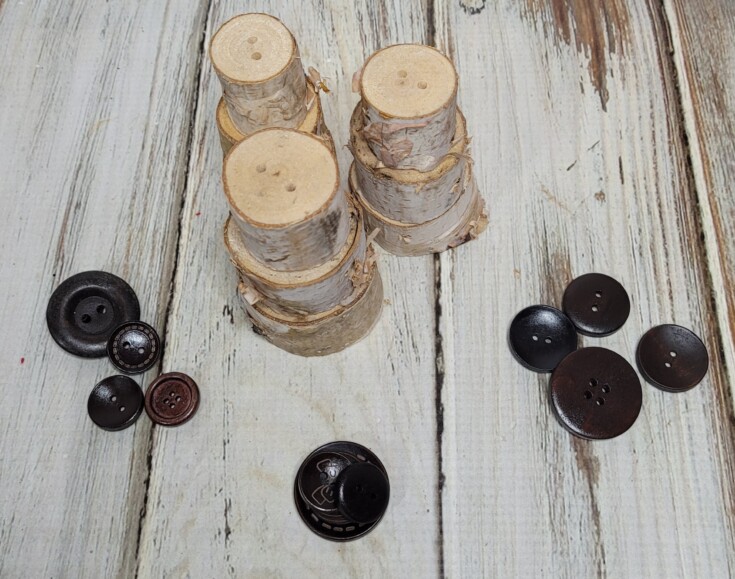
Drill a couple of holes in the top of each snowman in the center and spaced out about the same as the button holes.
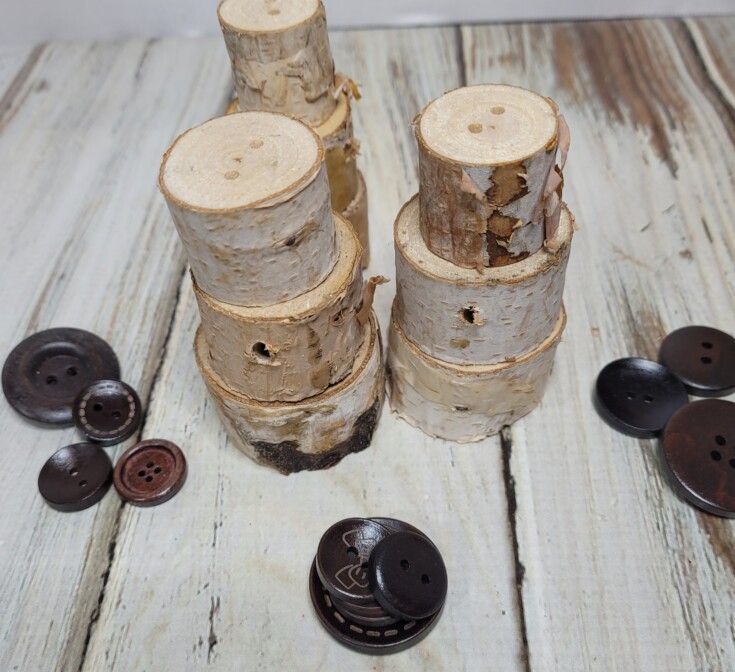
Go ahead and drill a little bit larger holes on the middle slice for the snowman’s arms. There will be twisted double wire in these holes.
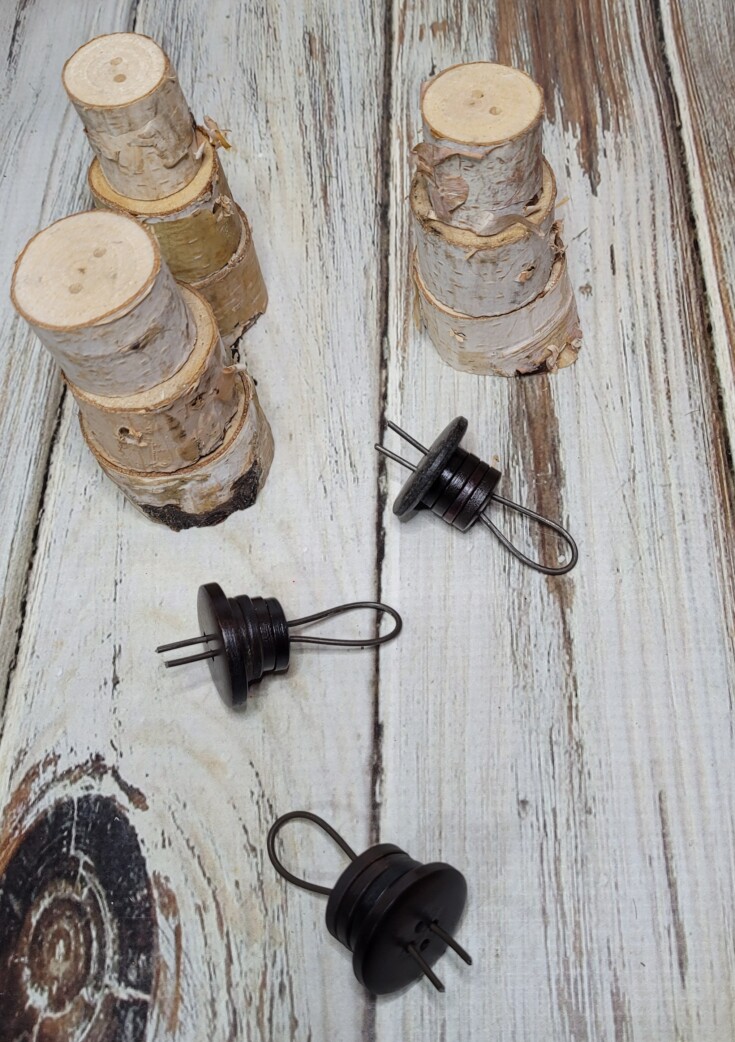
Next cut three pieces of wire about 4 inches long. Bend the wire in half and run it through the buttons. Small buttons first and the larger on last.
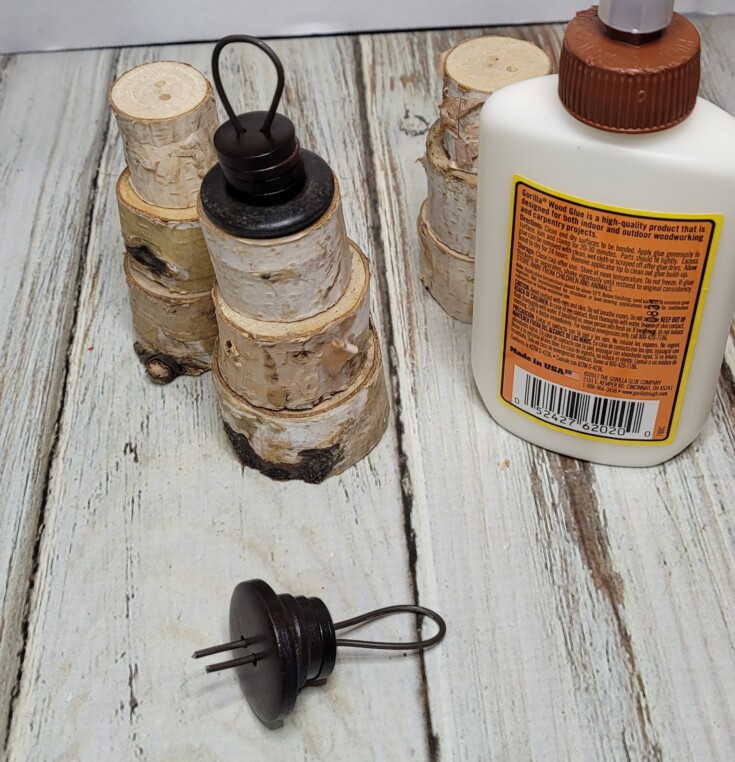
Squirt some glue in the holes and some on top. Place the wire ends in the holes and give a light tap with a hammer. Push the buttons down on to the top of the snowmen’s heads and let glue dry.
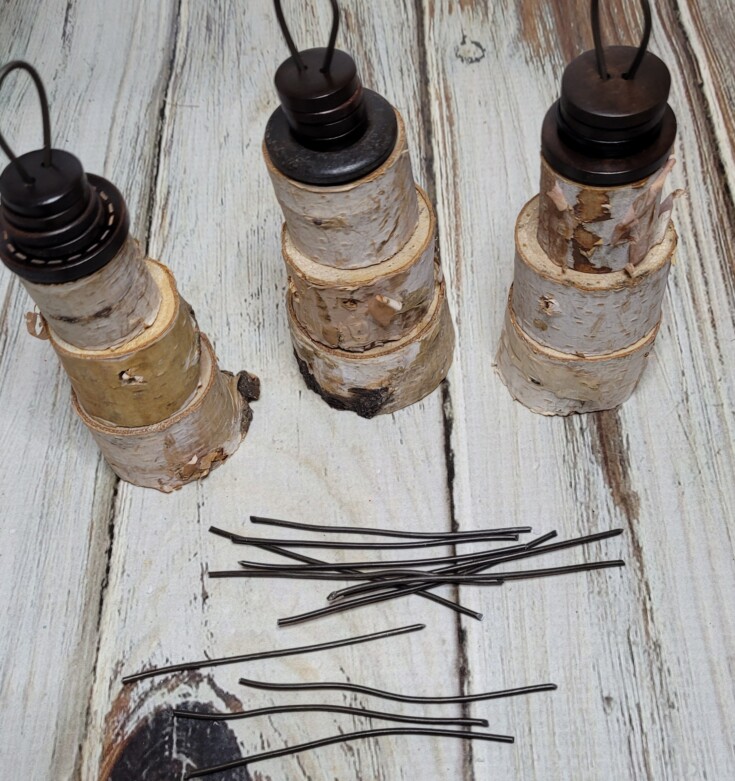
For the wire arms cut four 3” pieces of wire per snowman.
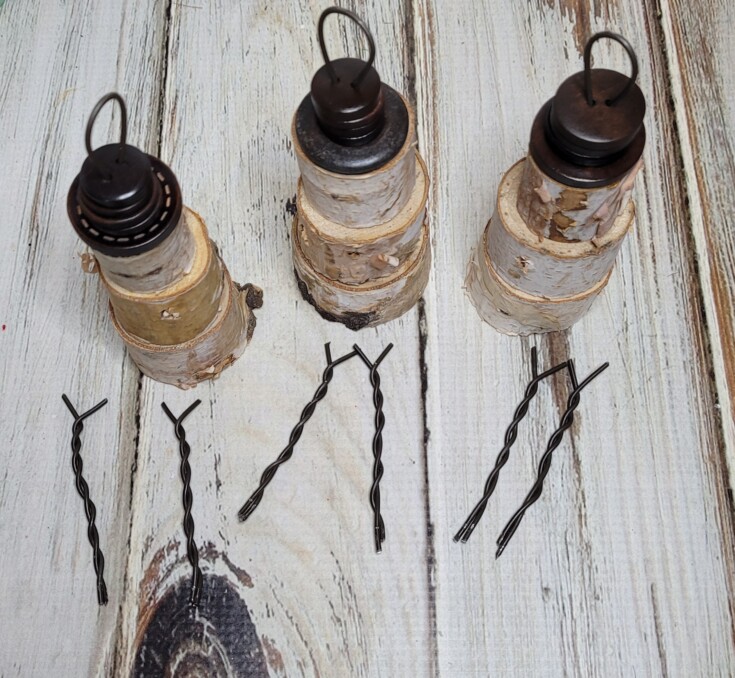
Use pliers and hold two of the ends together and twist leaving a V for the hands.
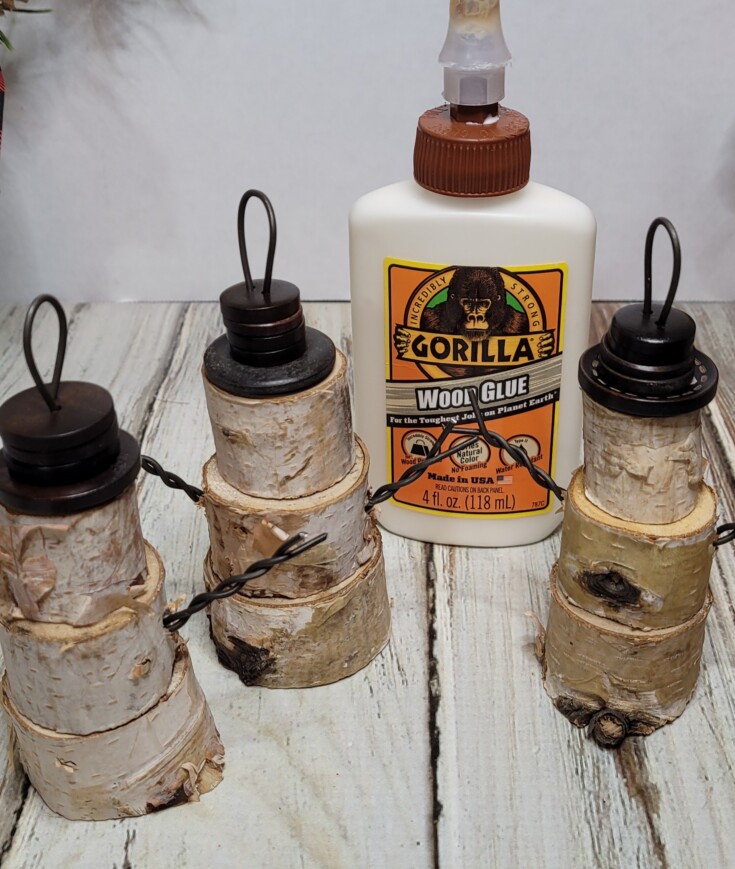
To attach the arms, I used a toothpick to get the wood glue down into the arm holes. Then placed the twisted wire ends into the holes. Set aside to dry.
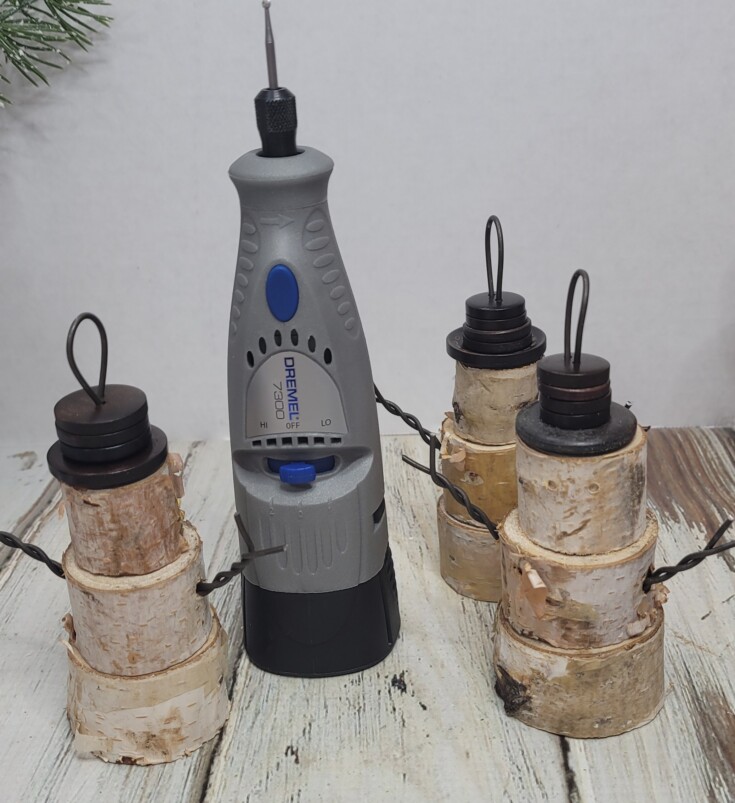
The faces were made using a cordless Dremel tool with a ball end bit. The mouth and eyes were dremeled out just deep enough to add black seed beads. Dremel out the noses deeper to hold a wood skewer, or use a drill bit the size of the wood skewer.
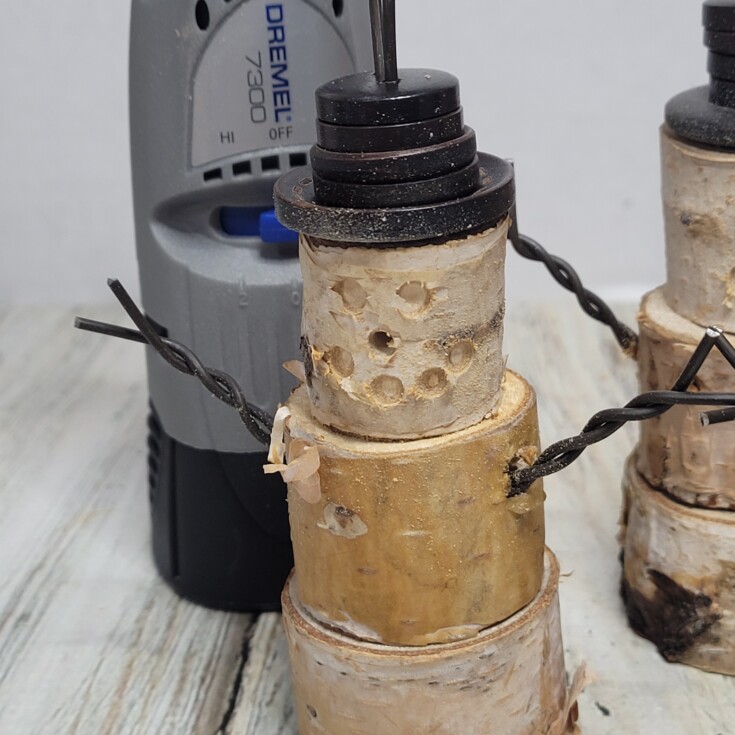
Paint the skewer orange for the noses of the wood slice snowman ornaments.
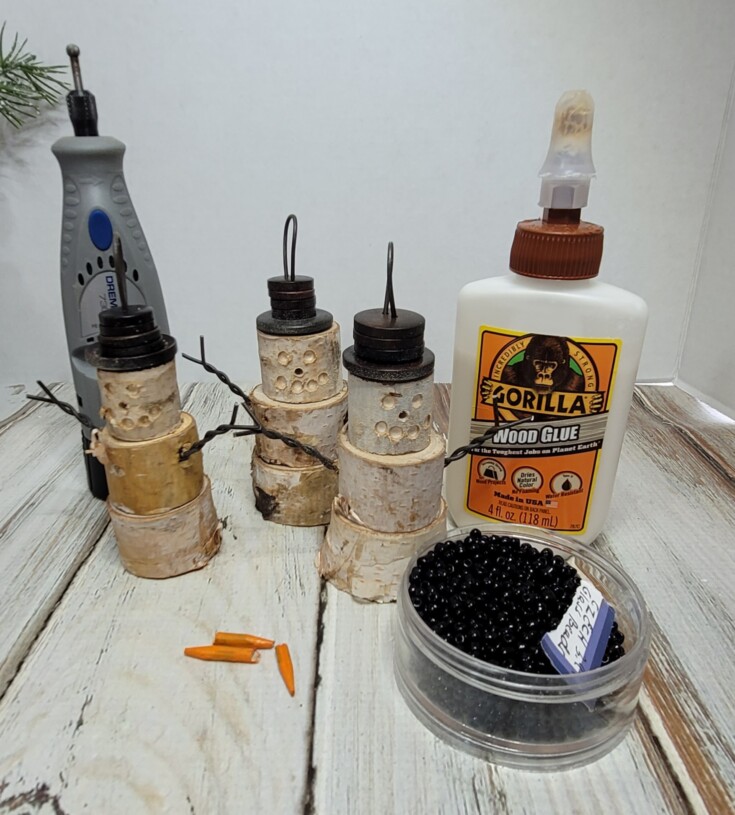
Glue the nose on.
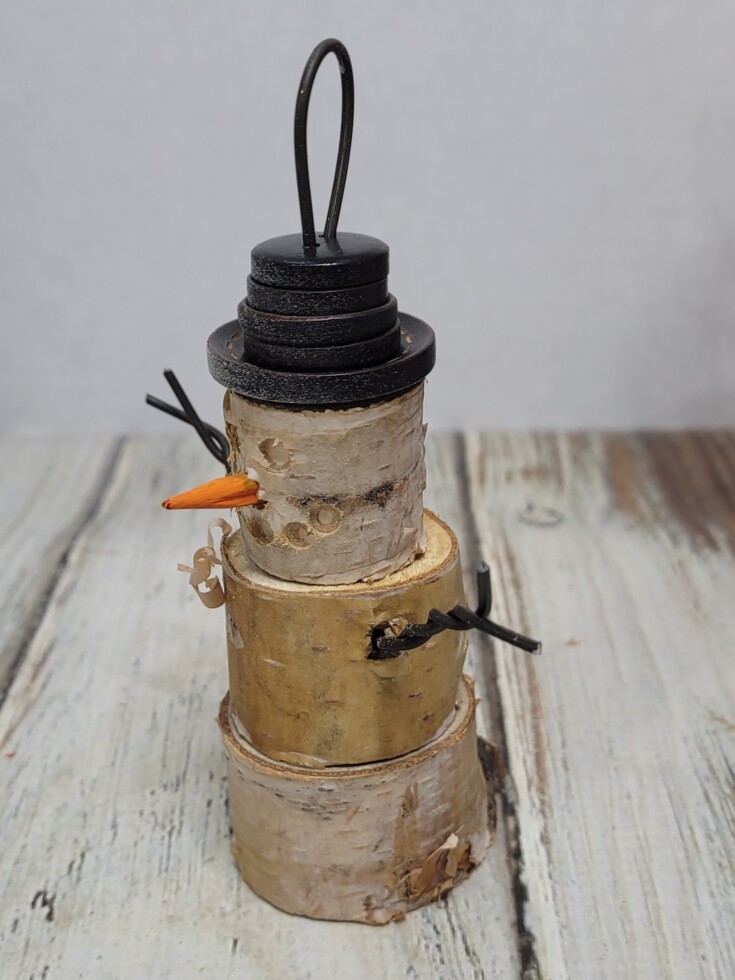
And glue black seed beads in for the eyes and mouths.
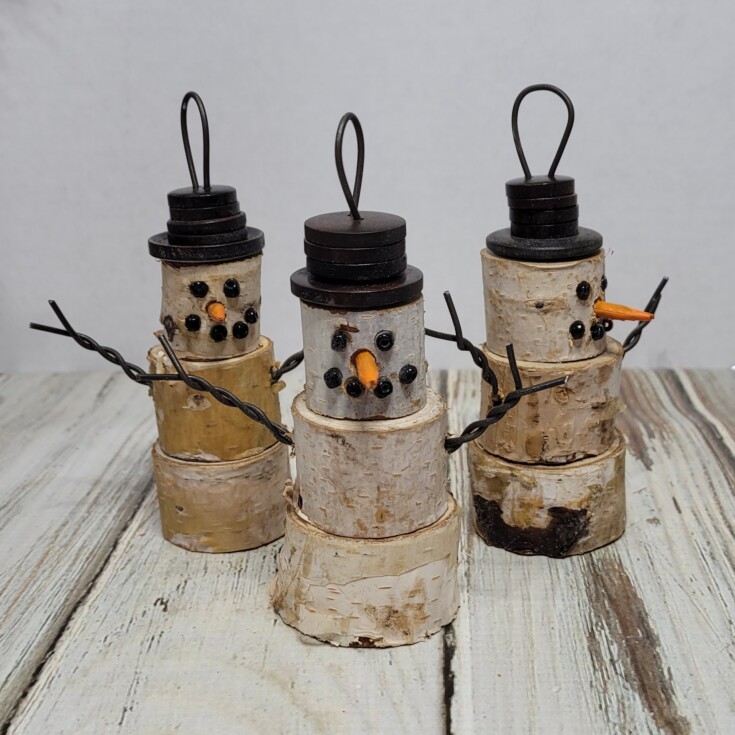
Small fabric strips were cut for the neck scarves.
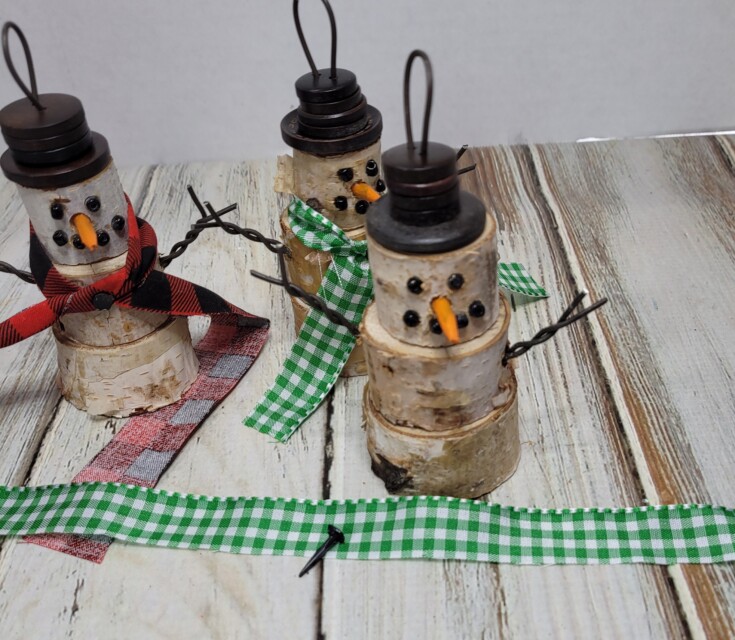
I used a small black tack to tack the scarves down in place. Then trimmed the ends off and cut to resemble fringe.
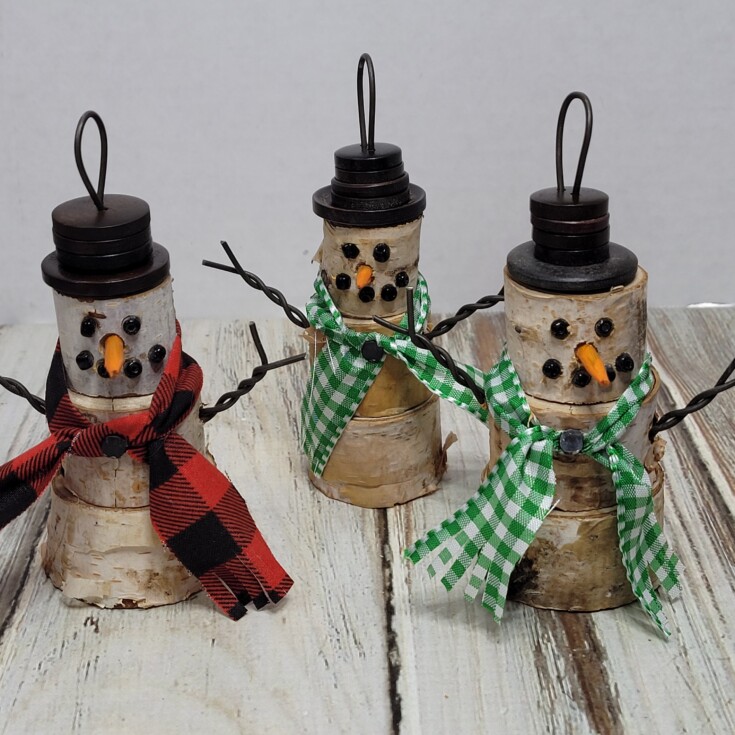
That’s it for these adorable wood slice snowman ornaments! They are ready to be hung on the tree.
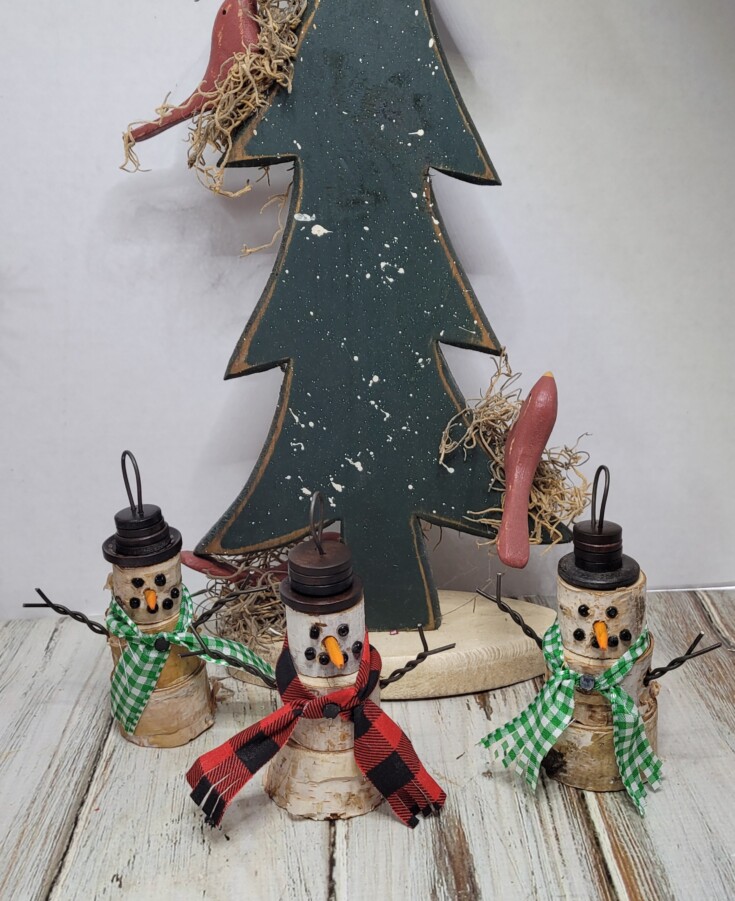
Supplies for Wood Slice Snowman Ornaments
Dollar Tree wood slices
Wood buttons
Annealed wire
Wood glue
Wire cutter
Pliers
Wood skewer
Plaid fabric
Cordless Dremel
Ball Dremel bit
Seed beads
Scissors
More Fun Snowmen Projects!
Scrap wood snowman ornaments
Snowman garland
How to paint a snowman on a picket
Snowman lantern
Leave a Reply