I cannot believe it is already May, where did the time go? Just like everyone else I’ve been working in the yard, garden, and in the flowerbeds. Like that’s not enough to keep me busy I’ve also been working on some Farmhouse Signs and Thrift Store Makeovers.
This week I had a little extra time with the 3 day weekend even though it didn’t feel like it, because I stay so busy. It’s even the first week of the new bid at work. Now I have one day off with the hubby a week. YAY!
The first two days I went to the doctor, ran errands, and work on The Farmhouse Signs and Thrift Store Makeovers nonstop until the hubby got home from work.
Saturday which is my Sunday, the hubby and I went out for breakfast. Then to a few yard sales, and a rummage sale. Then we worked around the house trimming and cutting bushes along the front of the house. I even managed to cut wood for making more signs.
Without further ado let me get to showing you what kept me so busy this past week.
Farmhouse Signs and Thrift Store Makeovers
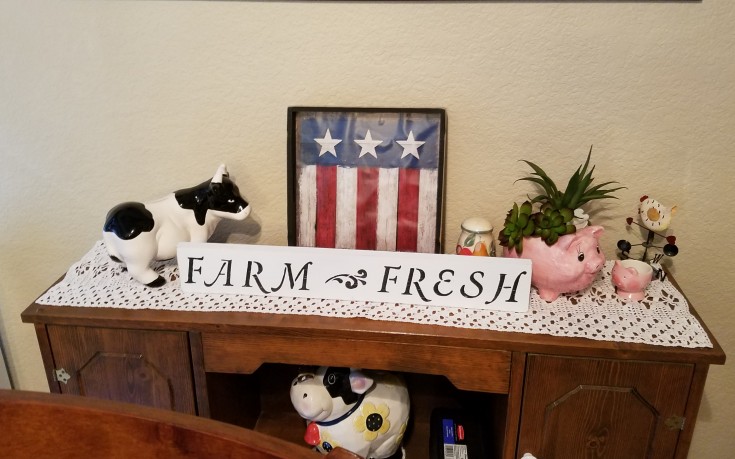
First was my Farm Fresh sign I used white chalk paint then black for stenciling the letters.
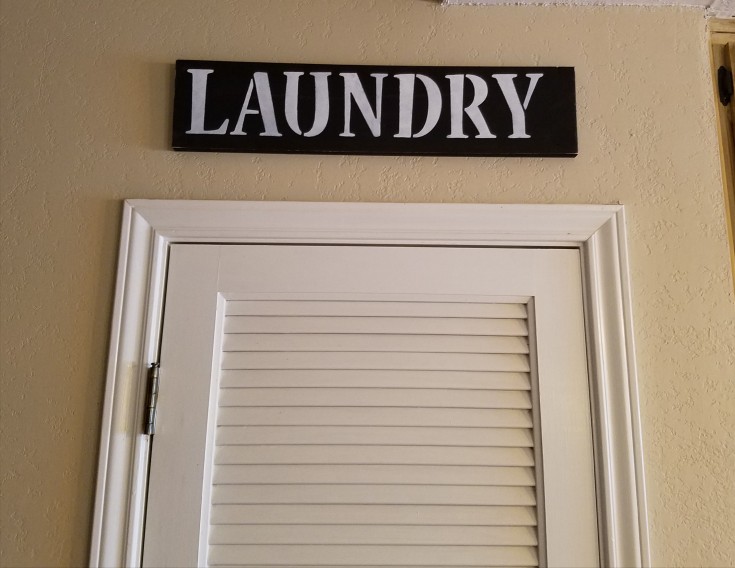
Next is my Laundry sign. This one I used the black chalk paint for the sign then came back with the white for the stenciling.
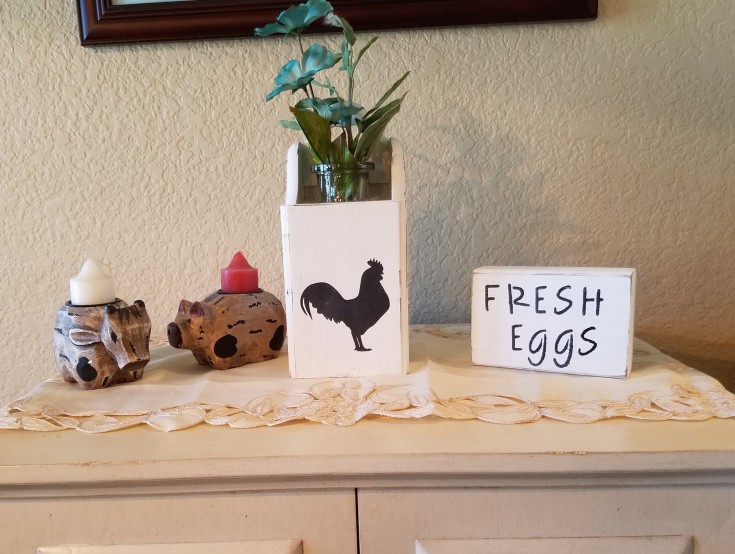
Then came the small block sign Fresh Eggs, made out of leftover wood. The funny thing is when I got through making this sign and staging it, took my photos, and even showed the hubby everything that I’ve made that day. Neither one of us noticed that the sign said fresh egg.
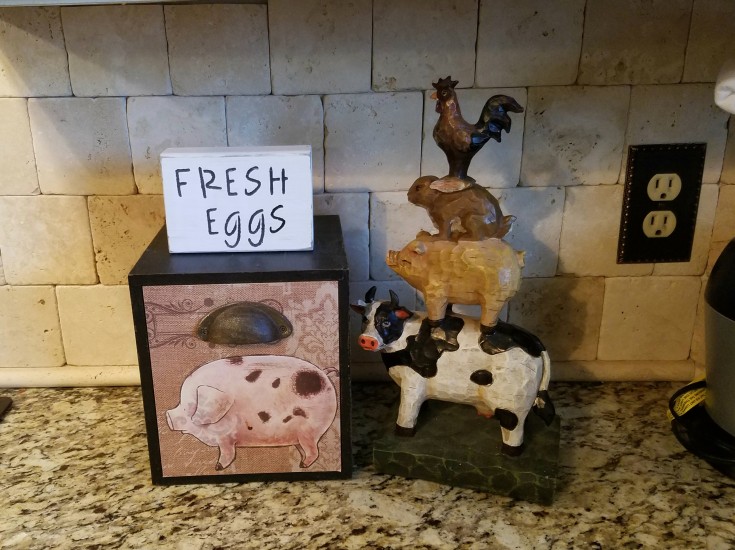
I didn’t realize my mistake until the next day while pricing the items. So, I had to break out the paint and stencil to add the s to make it Eggs, then retake the photos. Whew, I’m sure glad I caught that before taking it to the booth.
I gave all three signs a light distressing on the edges.
[tweetthis display_mode=”box”]Farmhouse Signs and Thrift Store Makeovers[/tweetthis]
The next few items are thrift store makeovers. I’ve got a pretty good stash of thrifty finds. Now I get the look from the hubby anytime I want to buy another thrift store item. So, I thought I’d best start cleaning out my stash.
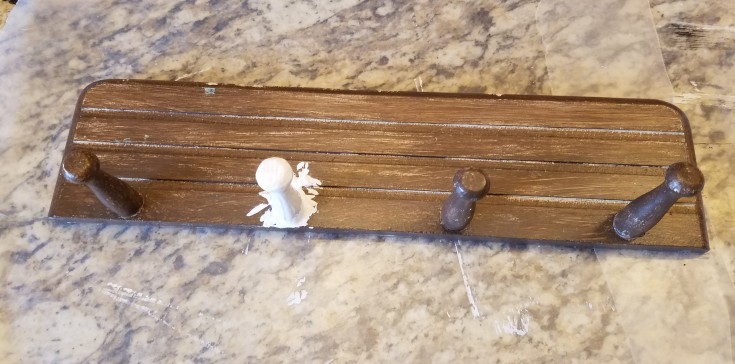
This next item was a 1.99 thrift store peg rack. After painting it with the chalk paint and distressing, I thought that it needed something else. But I couldn’t stencil anything on it because of the grooves in the wood. I got a little ahead of myself, and almost forgot to get the before picture.
Off I went to dig in my stash of wood parts from my earlier days of woodworking. I came up with three little wooden hen cutouts that would be perfect for finishing off this project.
***This post contains affiliate links, if you click on an affiliate link & buy something I may receive a small commission at no extra charge to you. The affiliate money I earn helps pay the expenses to keep this site running. Please read my disclosure for more info. Thanks so much for your support!***
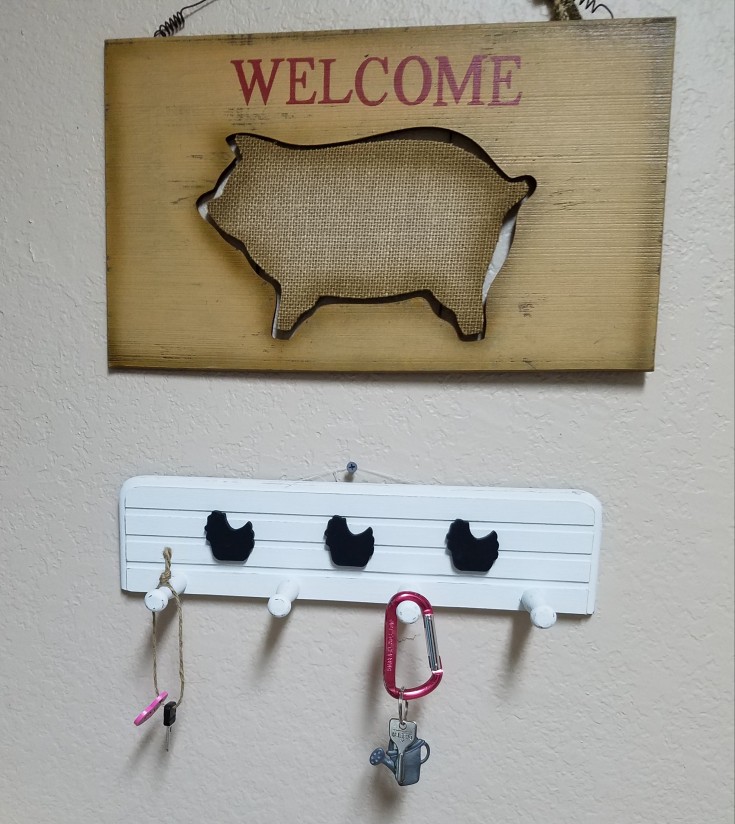
So, I painted them with black chalk paint, then glue them on with some wood glue. Easy peasy!
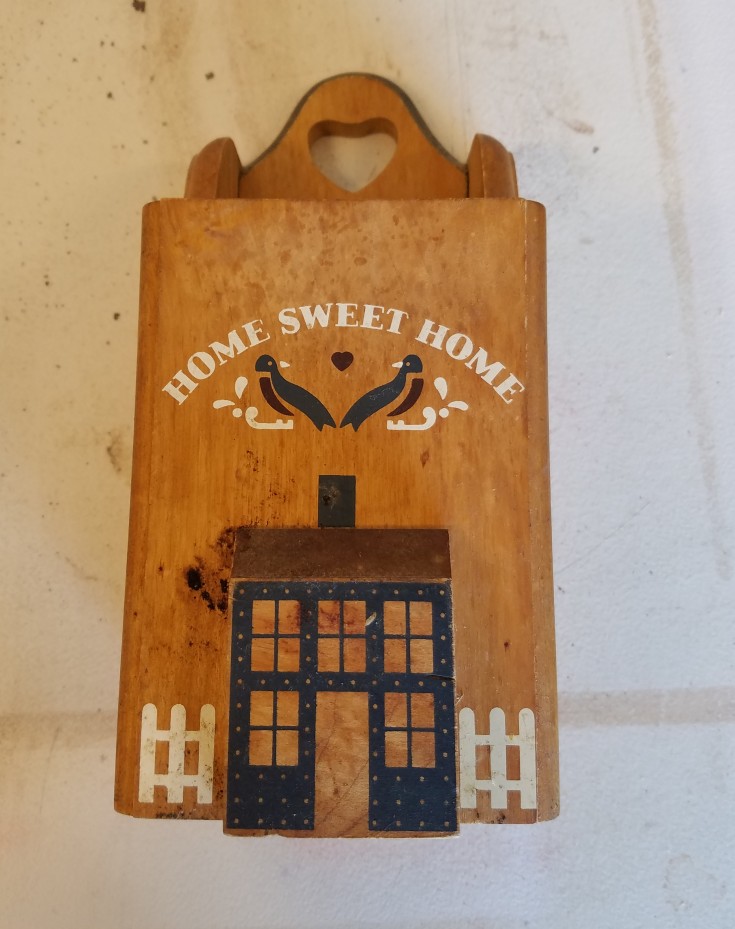
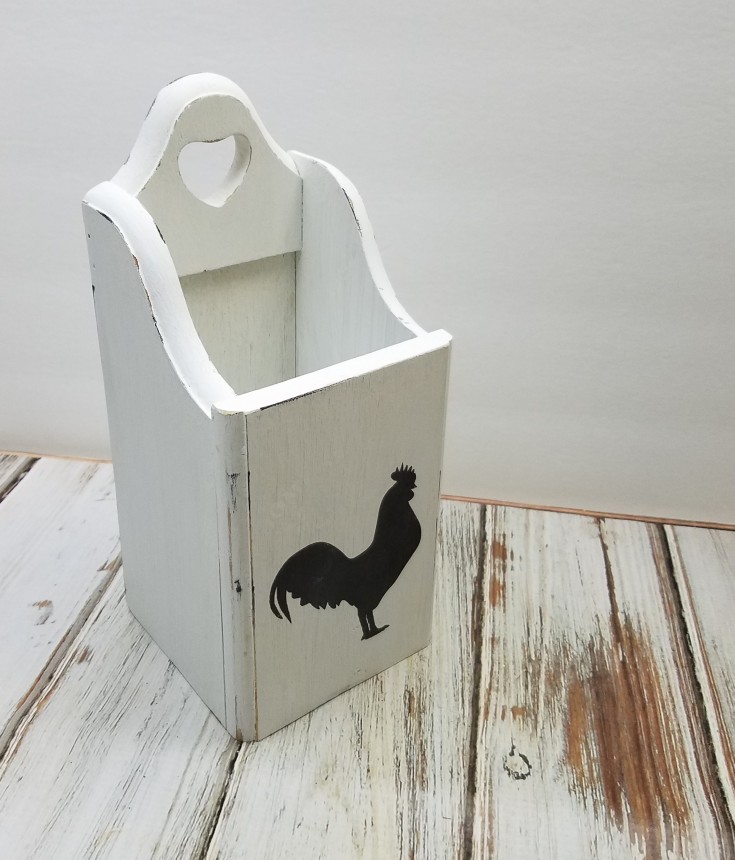
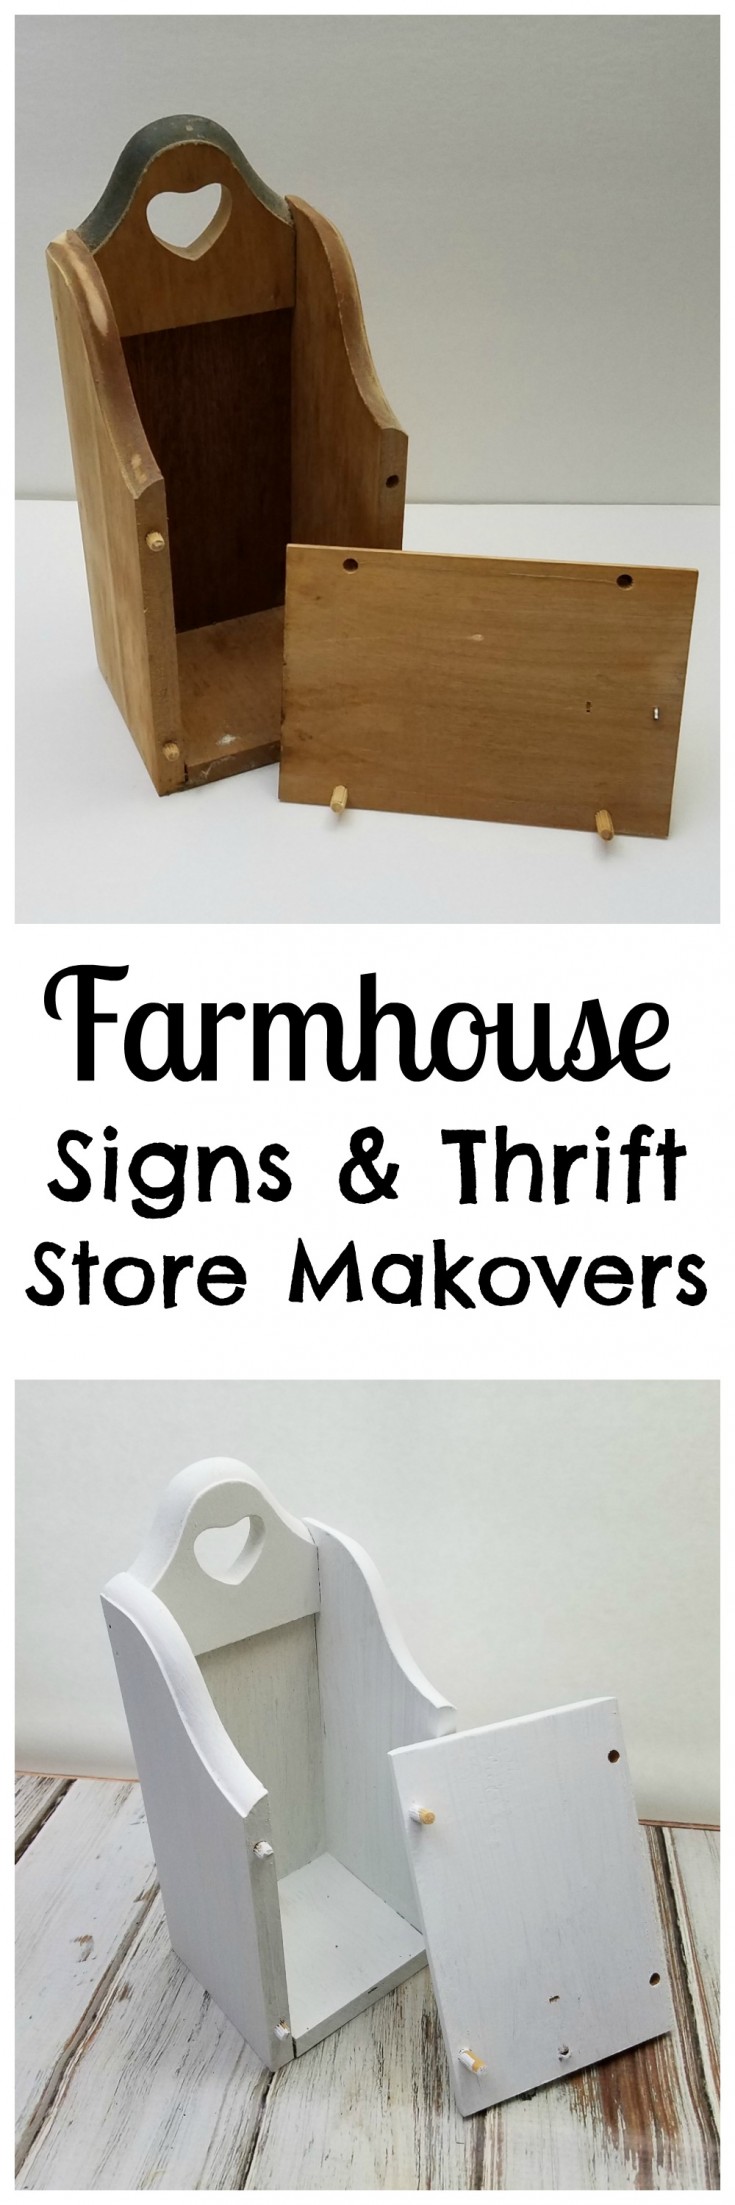
Then came the cute little wood box that was another 1.99 purchases. Removing the little house from the front, then taking the front piece off to make it easier to paint, I gave it a quick sanding.
Using white chalk paint for the box, and black for stenciling the rooster on the front. Then I put it back together and gave it a light distressing, and added a little black to the edges with my ink pad. To add to the distressed look.
A glass bottle that I had on hand was placed inside, then I added a stem of flowers and greenery. This one I am keeping for myself.
I have three more projects to show you but I’m going to save two for another day.
My last project that I am going to share today is the milk glass bottle and jar. I got the idea for painting these with white enamel spray paint at “One More Time Events”.
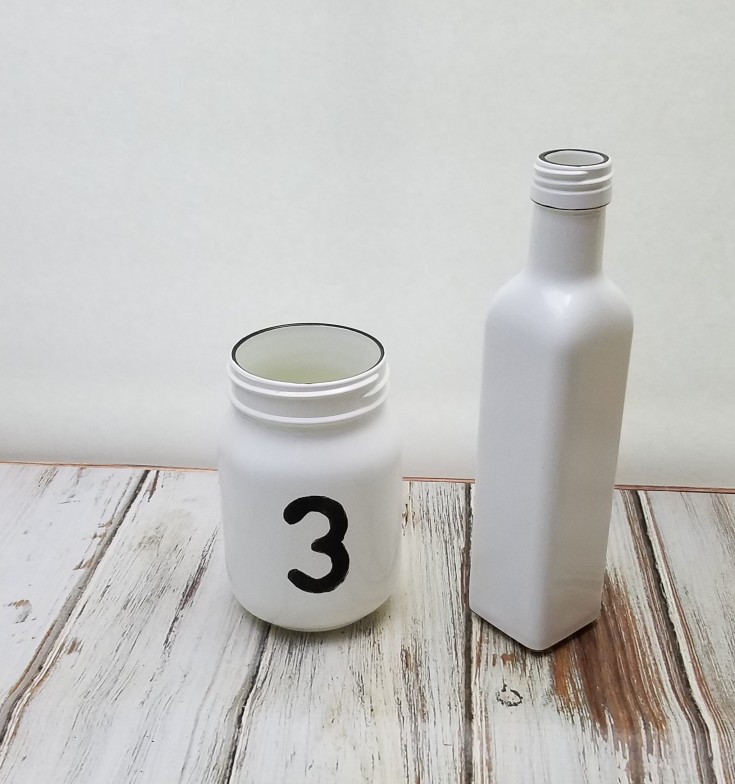
The bottle is white with a little black on the bottom and top rim of the bottle. The jar I decided to add a number 3 in black, and some black on the rim as well.
As you can see I have been really busy with my Farmhouse Signs and Thrift Store Makeovers, and that’s not all like I mentioned up above earlier. I have two more projects to share at a later date.
Thanks for stopping by, and have a great day!
More Farmhouse Signs and Fun Makeovers!
Repurposed Wood chair turned shelf
Diy wood signs and farmhouse wood tray
Thrift store candle holder bundt pan makeover
Thrift store prayer sign makeover
Linda I love everything you did this past weekend. The glass jars, the little boxes, the signs. But I have to say my most favorite is the cute hanger with the little hens on it.
Thanks Mary! I am really happy how it turned out, just glad I still have my supply of small items from when I first started crafting. The little parts come in handy. Like the little chickens. My favorite it the box with the rooster!
Thanks Mary! I am really happy how it turned out, just glad I still have my supply of small items from when I first started crafting. The little parts come in handy. Like the little chickens. My favorite it the box with the rooster!
Wow, you’ve been really busy Linda, those signs are going to sell super quickly. Love the piggy one, did you make that one too and the little wooden box with the chicken on. I would keep that one too 😉
Yep I have been busy! I go through spells where I just spin my wheels, then days I get a lot done. No I didn’t do the little piggy box, and the wooden box I picked up at Goodwill and repainted and added the chicken. I am keeping it! 🙂
Yep I have been busy! I go through spells where I just spin my wheels, then days I get a lot done. No I didn’t do the little piggy box, and the wooden box I picked up at Goodwill and repainted and added the chicken. I am keeping it! 🙂
All these came out great! I love them all! Thank you for the mention, the glass bottle and jar came out amazing!
Thanks Tammy! If it wasn’t from your post I wouldn’t of given it a try. Now I want to spray everything with enamel paint. 😉
Oh, I ADORE IT!!!!!!!!!!!!!!!!!!!!
Thank you Deborah! I was so happy how it turned out I kept it instead of taking it to the craft booth.
You make it sound so quick and easy Linda – I love all of them, but especially the little hen details! The glassware looks amazing with the enamel paint too 🙂
Thank you Sarah! These are all pretty easy projects. I am loving the faux enamel so much that I want to spray everything with enamel now. The only thing is I’m really not good at spray paint. I usually get in a hurry and it runs.