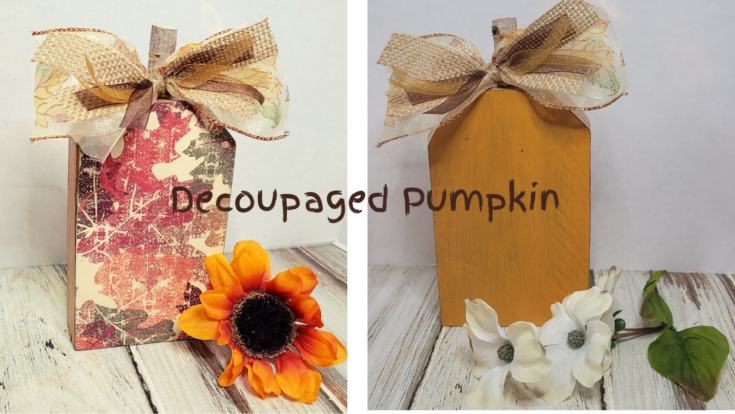
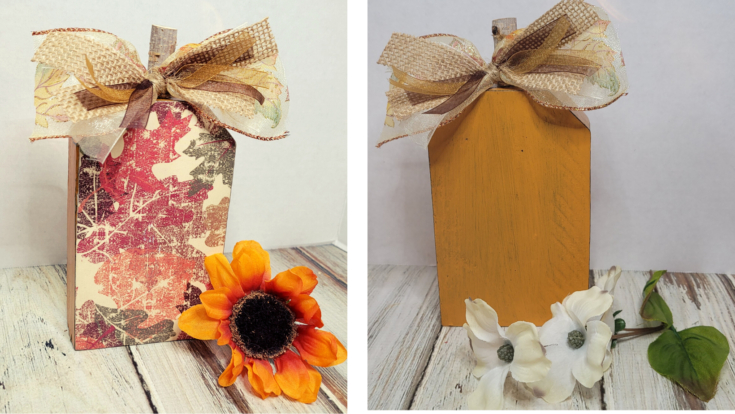
Hi all! Today I am sharing a decoupaged pumpkin which is reversible. One side has scrapbook paper on it and the other side is the traditional orange pumpkin. I’ve been rushing around trying to get all my pumpkin projects finished and posted. At the same time staying busy working on other craft projects, hauling plants to the greenhouse before the cold gets here, and cleaning up after the heavy downpours we have got the last three times it has rained. When it rains heavy it always washes a lot of sand down onto our driveway that we have to shovel up and move. And this last time it flooded and washed dirt into the pool. A big mess that has never happened since we have lived here. Some of the projects that I’ve been working on besides pumpkins is a Days til Christmas truck, and several super cute snowmen that I can’t wait to share. Until than let’s get to creating this festive decoupaged pumpkin.
***This post contains affiliate links… We are a participant in the Amazon Services LLC Associates Program, and affiliate advertising program designed to provide a means for us to earn fees by linking to Amazon.com and affiliated sites at no extra charge to you. Please read my full advertising disclosure for more info. Thanks so much for your support!***
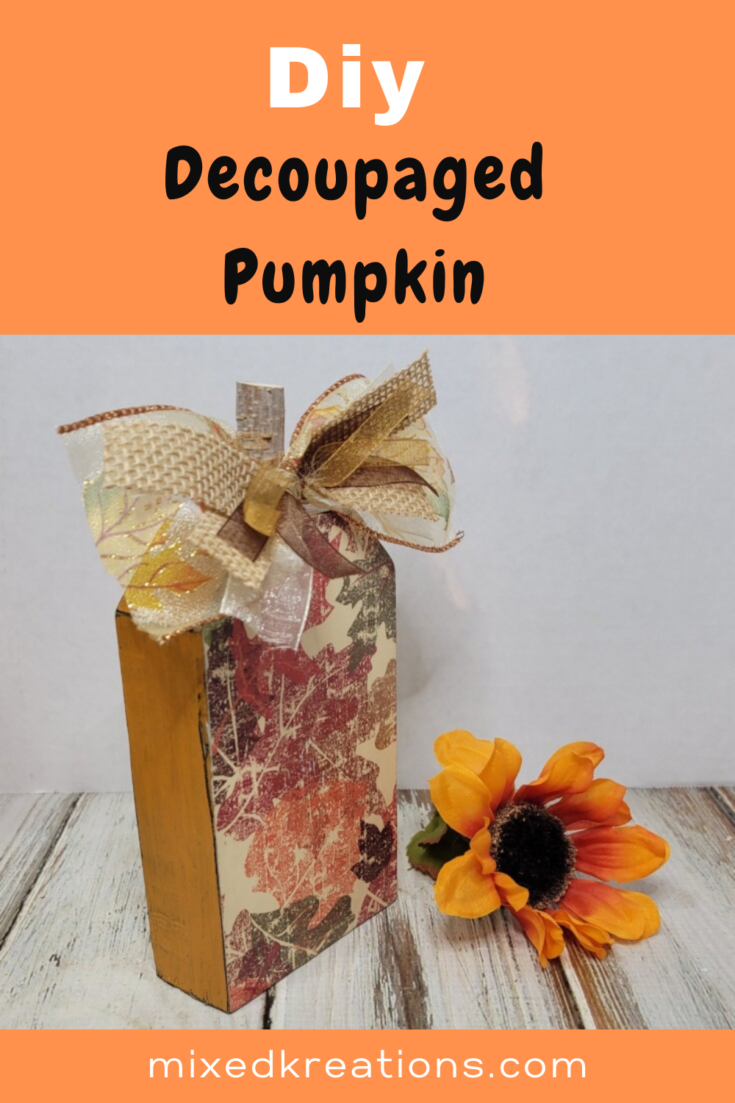
DIY Decoupaged Pumpkin
First I cut my pumpkin out, the painted it with black chalk paint.
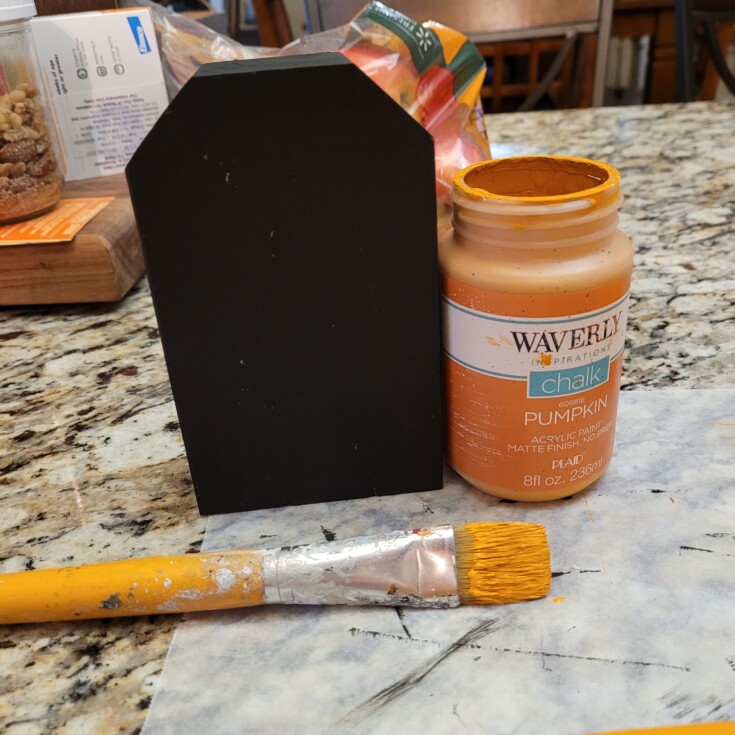
Next, I put a coat of orange chalk paint over the black.
Then I added a coat of Mod Podge on one side of the pumpkin and then positioned the scrapbook paper in place pressing down and smoothing out any wrinkles or bubbles.
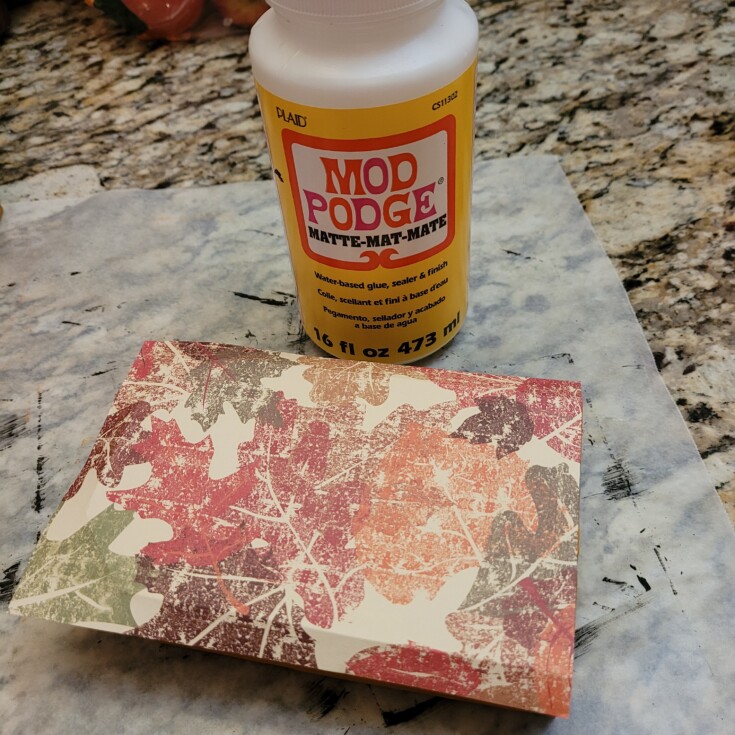
Once dry I used an X-Acto knife to trim off the paper.
Then using my finger sander to distress the edges and to remove any excess paper off my decoupaged pumpkin.
I found a bag of wood stems at the Dollar Store that I used in my reversible fall décor post and again I will be using one of the stems in this project as well. That little bag has come in handy.
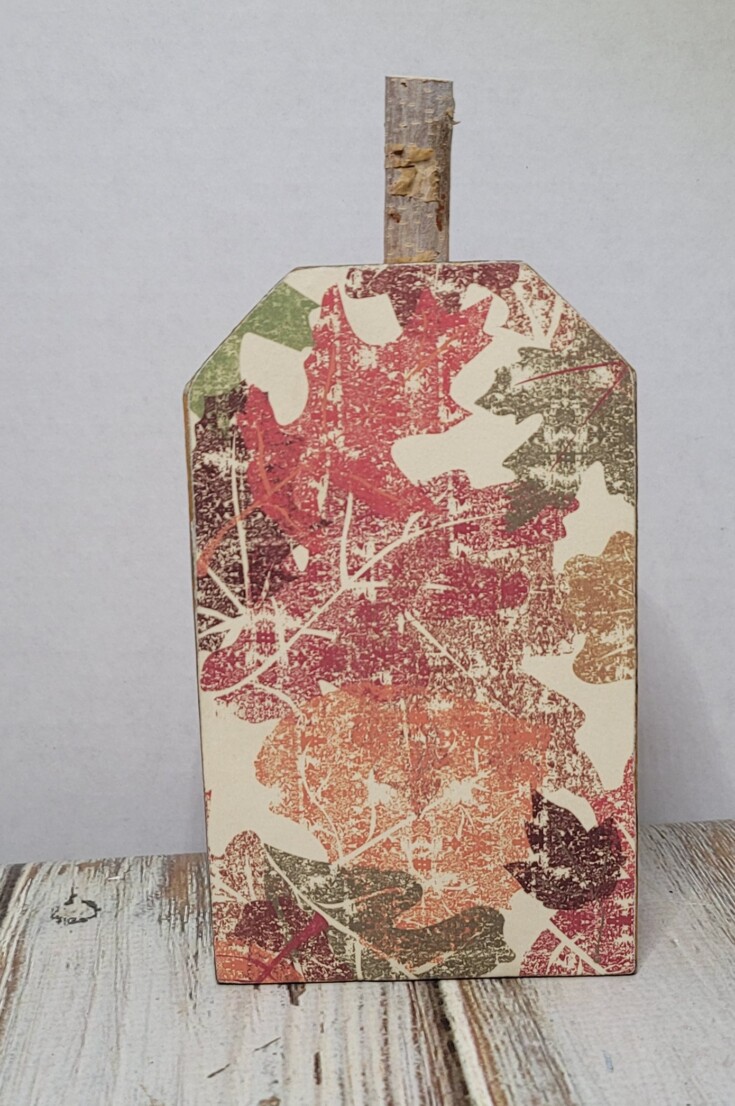
Just drill a hole in the top of the wooden pumpkin and use wood glue to glue the stem in place.
Now for a messy bow. Start by laying a long thin ribbon for tying up the bow then stack a variety of ribbons crisscross on top until you get the desired amount for a messy bow.
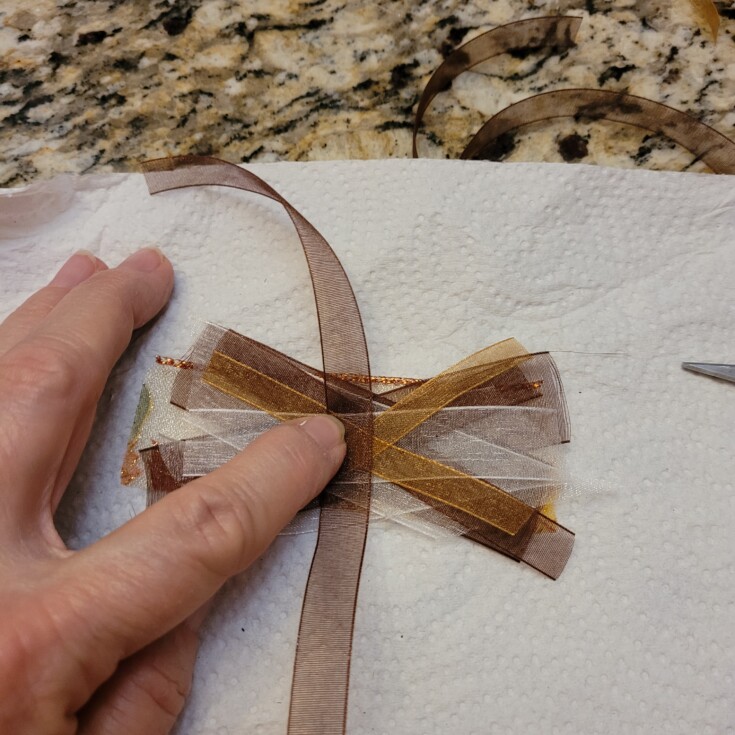
Then pinch together, tie a knot and trim the long ends.
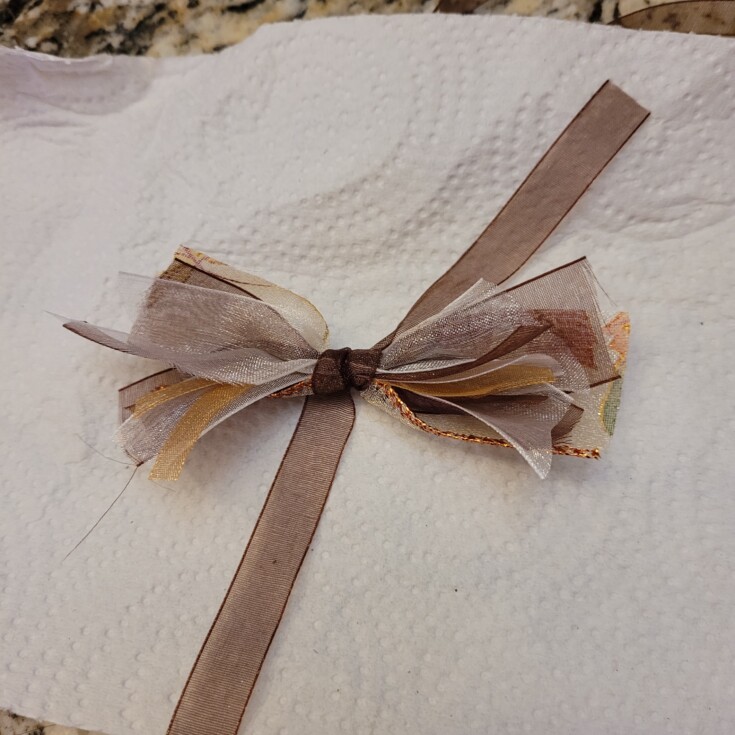
Attach the bow to the decoupaged pumpkin stem with just or another piece of ribbon.
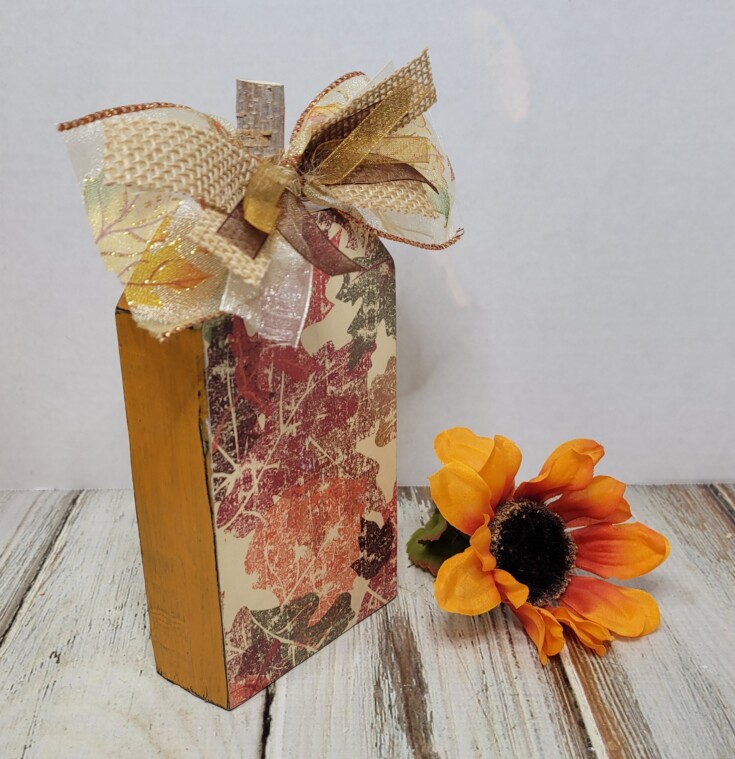
That’s it for this DIY Decoupaged Pumpkin. Weather you want the scrapbook paper side displayed or the traditional orange side, just turn the bow around on the stem for the side you want to show.
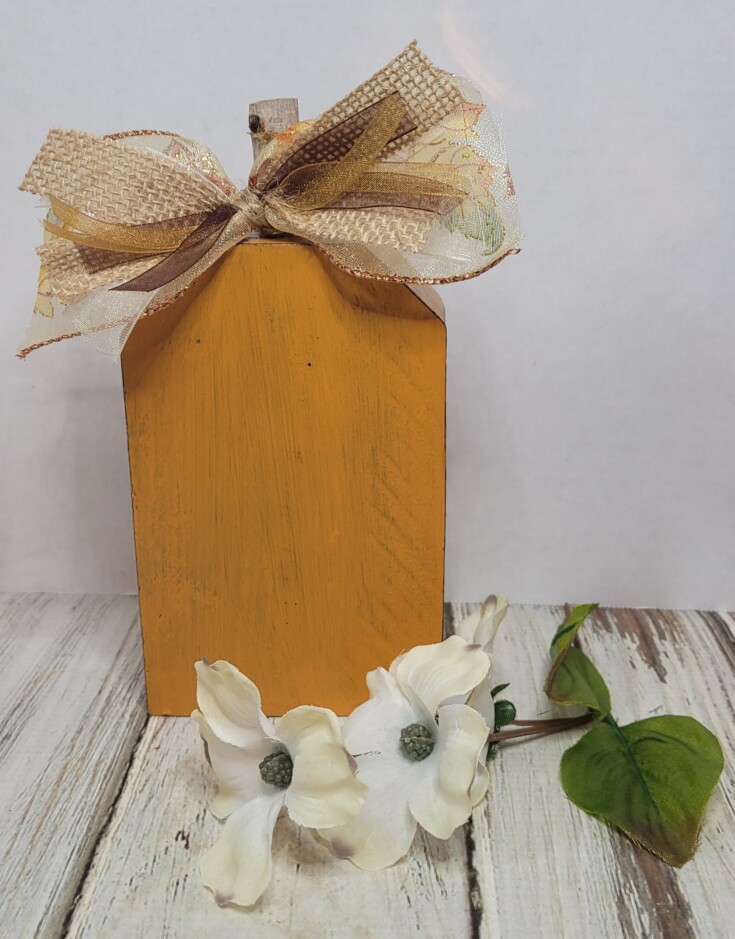
Which side would you display?
Supplies for Decoupaged Pumpkin
Fall scrapbook paper
Wood pumpkin
Black and orange chalk paint
Wood stem
Wood glue
Mod Podge
Paint brush
Drill
X-Acto knife
Assortment of ribbon
Jute
Finger sander
More Fun Fall Projects!
Scarecrow tissue dispenser
Diy wood block pumpkins
Tin can pumpkins
Happy Fall Yall
Leave a Reply