I picked up this brass link last week while visiting my daughter out of town. I cannot pass by a hobby lobby without stopping. You just never know what kind of bargains you might find. And a bargain I did find. I found several packages of these links on the clearance aisle for under $1.50 for four. Couldn’t pass them up, so I bought them all. Haven’t seen these at my Hobby Lobby before.
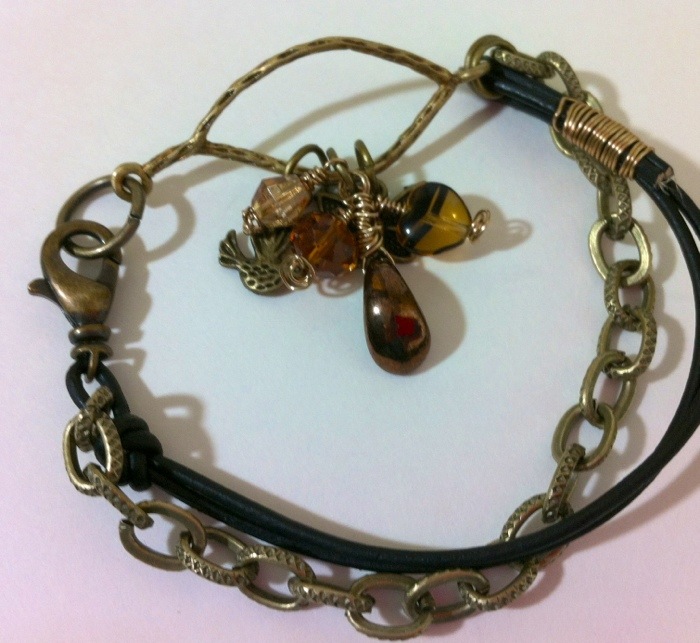
Now what to make? I have been wanting to put another tutorial together, something easy. So I started pulling things out, and then remembered the brass links. So now the question is how to incorporate one the links into my design? I decided to start out with some black leather cord for the bracelet band, and add charms to the link for embellishment. The chain came later when I decided that the bracelet needed a little something else.
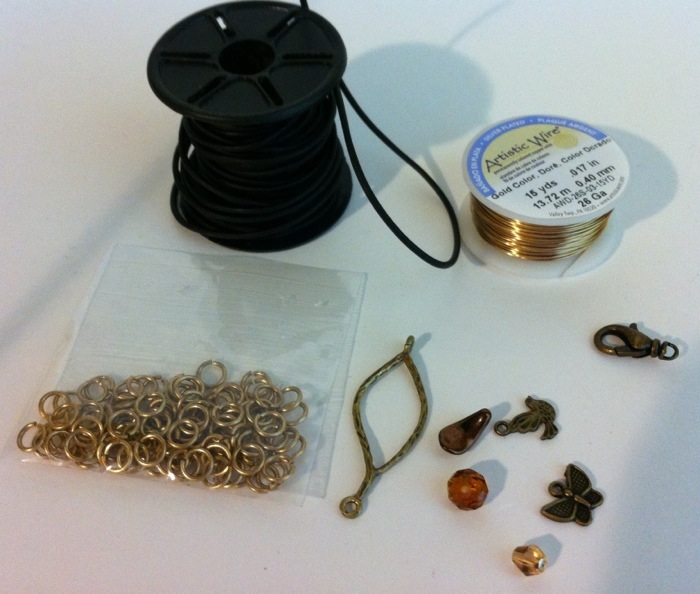
These are the supplies needed for making a bracelet like this one. For the link you can make one yourself out of wire, use a washer, or another kind of link.
Decorative link
Black leather cord
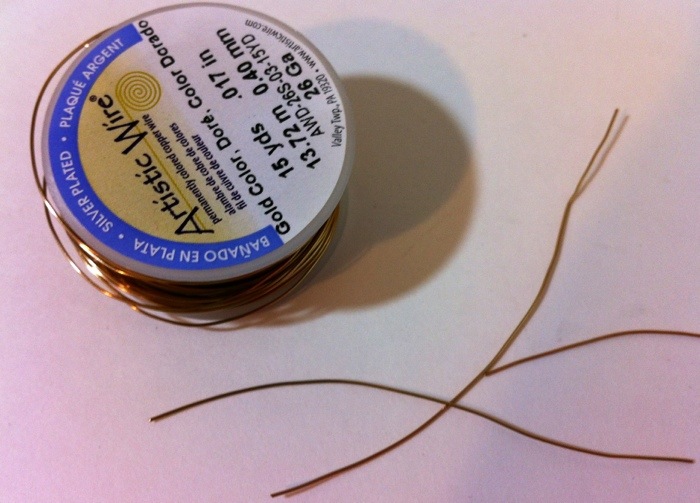
Artistic wire
5 small jump-rings
1 large jump-ring
Charms & Beads
Lobster clasp
Chain optional
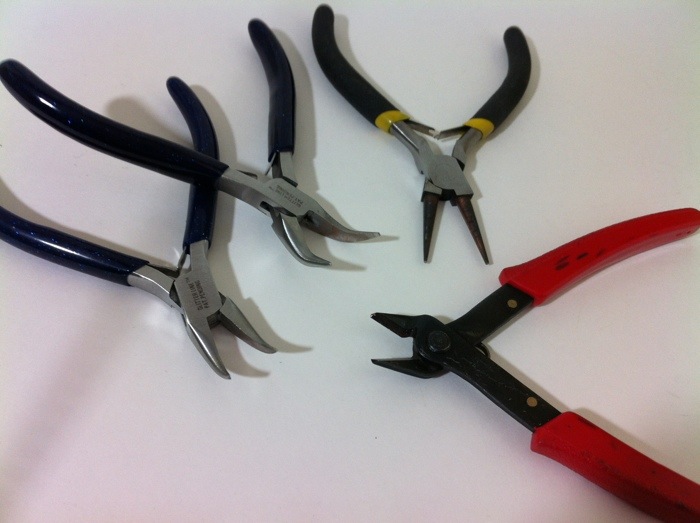
Here are the tools needed for this project.
Two bent-nose pliers
Round-nose pliers
Flush wire cutters
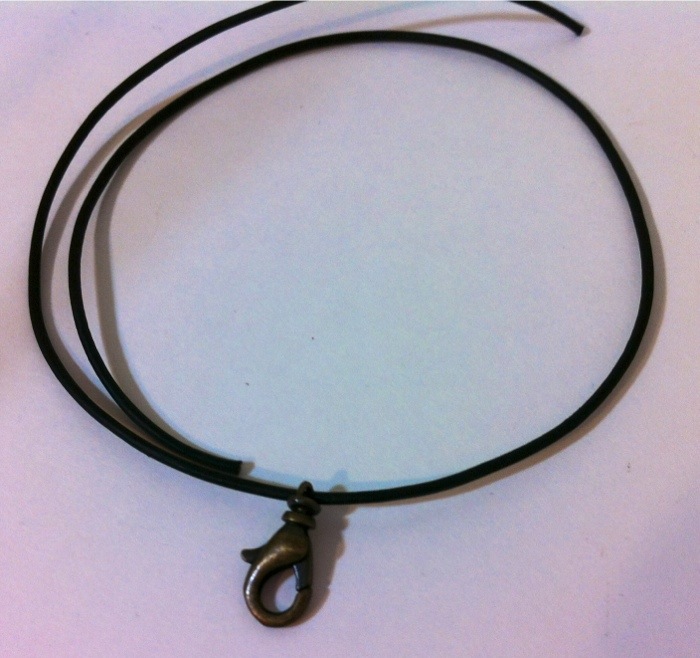
Ok let’s get started. First I cut a piece of leather cord about 16” long, then string the lobster clasp onto the cord.
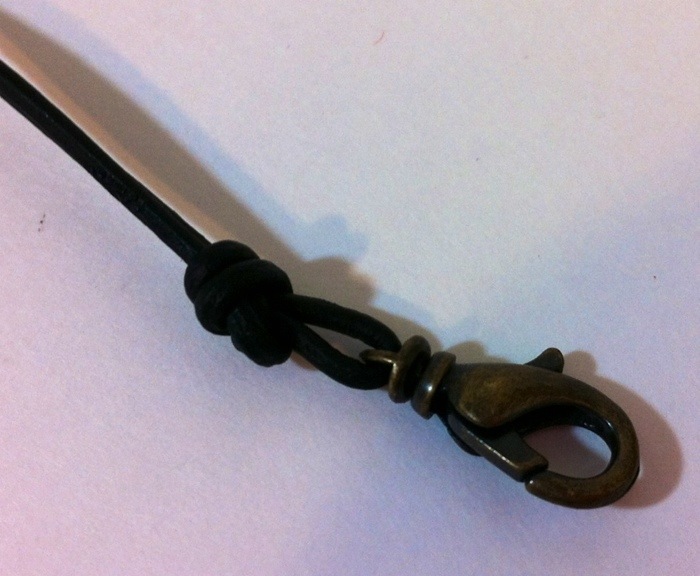
Center the clasp then tie a knot in the cord to hold the clasp in place.
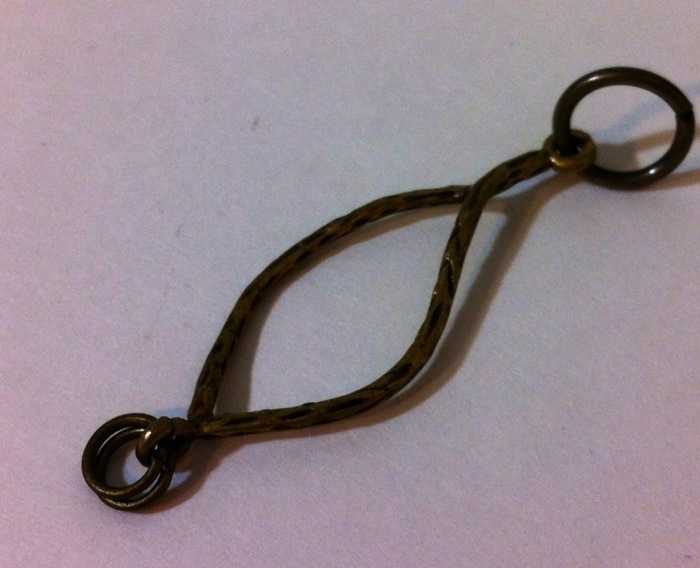
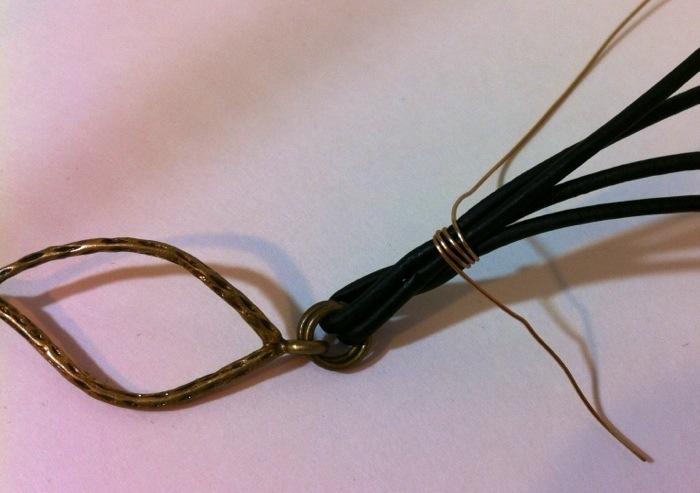
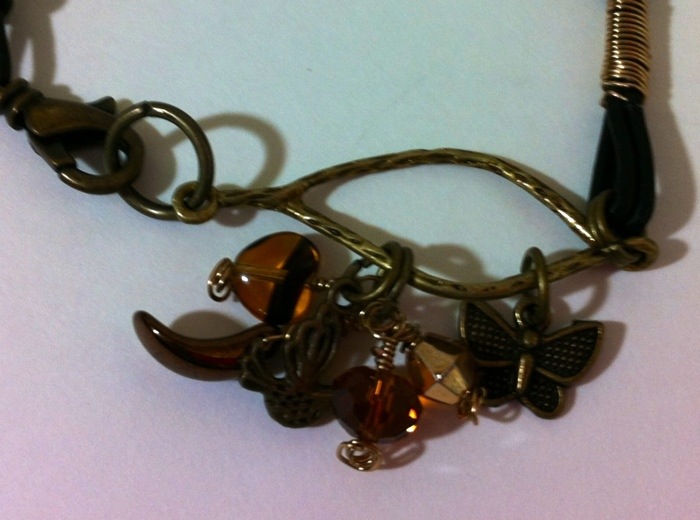
Add your jump-rings to your decorative link, I added two small to one side to run cord through for extra strength. The larger jump-ring is part of my clasp (hook the lobster clasp onto).
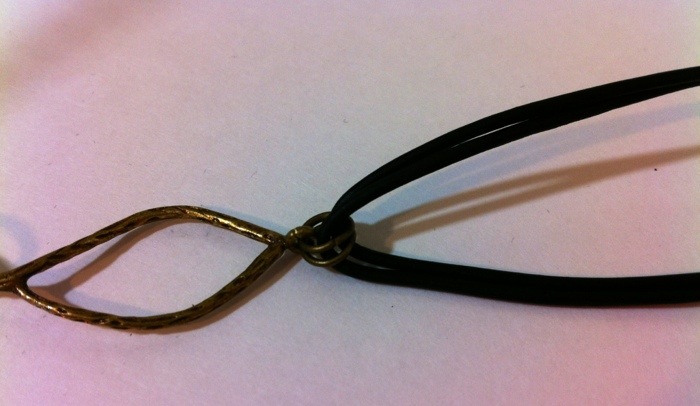
Now run your cord through the smaller jump-rings, and fold ends over, (adjust the length for your bracelet here). This bracelet measures 7” in total length, from large jump-ring to the lobster clasp. You can add more rings later if you decide that you would like it longer.
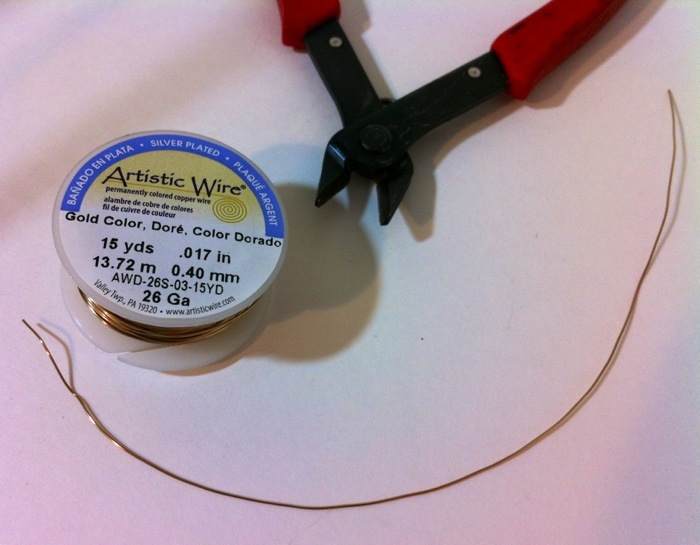
Cut about a 3” piece of artistic wire for wrapping around the cord where you folded it over.
Start wrapping the wire around your leather cord tightly.
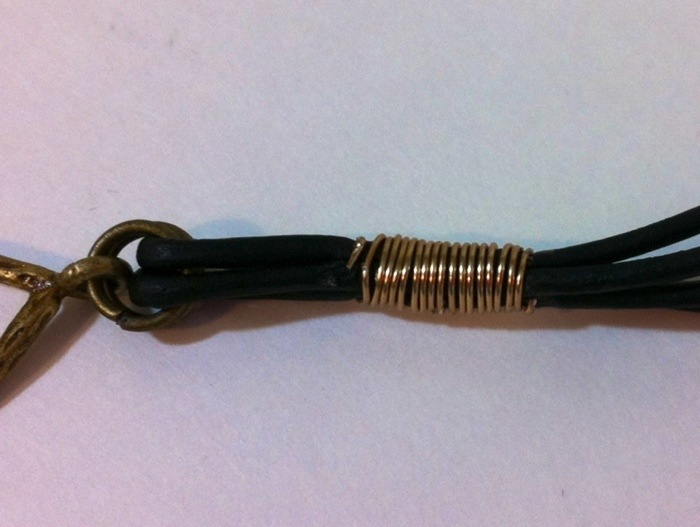
When you reach the end of the wire, bend the tip and tuck down in between the two cords using your bent-nose pliers.
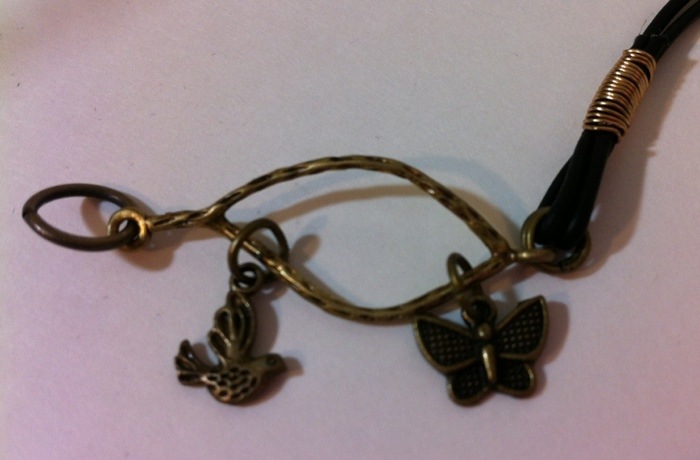
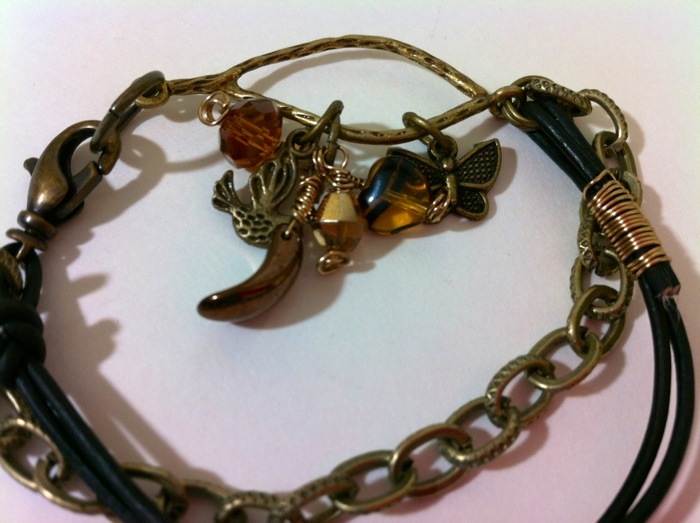
Now start adding your charms. I choice two charms, a bird and butterfly. For the other charms I am going to make bead charms.
To make my bead charms I first cut several 3” pieces of wire. I am going to make my own head pins.
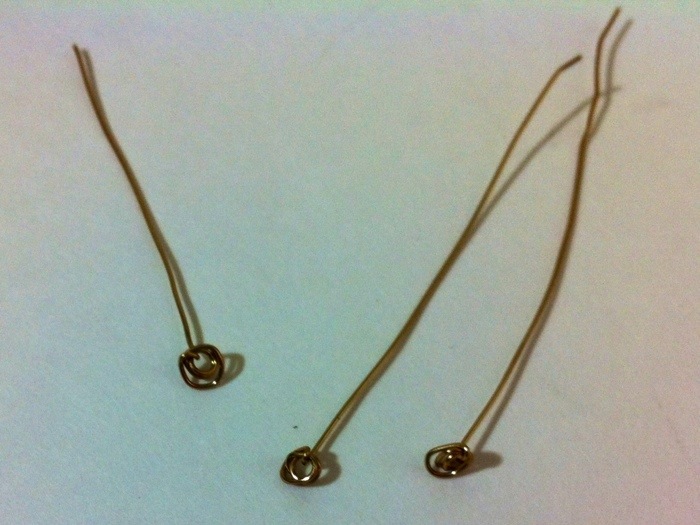
To make head-pins.
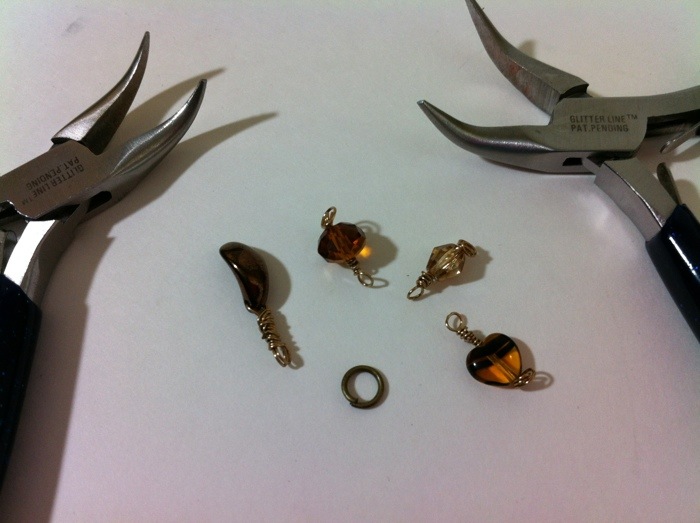
Add the beads to your head-pins and make a simple wrapped bead loop.
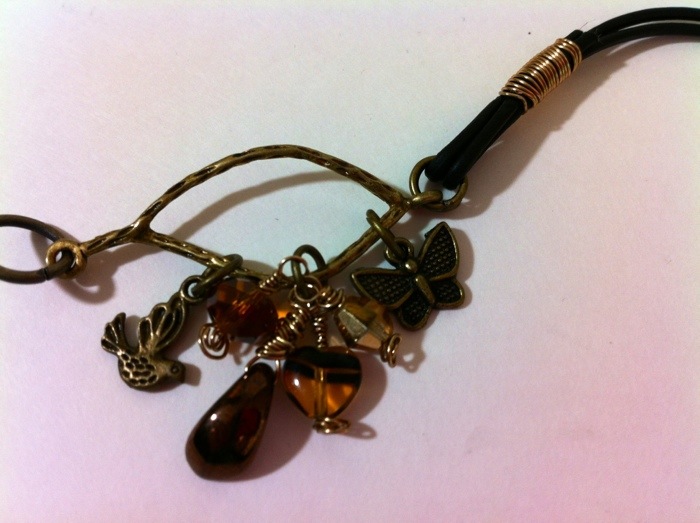
Now add your bead charms. Yay! You’re done. Now wasn’t that easy? You can add more charms or leave it as it is. This is when I decided that the bracelet needed a little something else and added the chain.
Please leave a comment below and tell me what you think.
If you Like (-; Please Share! Thanks!!!
Leave a Reply