Hi All! Today I want to share with you a super cute and easy painted Easter bunny jar. It’s no secret that I love upcycling jars. Jars are free and something that I always have on-hand. With Easter fast approaching what better idea than to upcycle one of my glass jars into décor that can be used for Easter. This cute painted Easter bunny jar can be used as a vase, centerpiece, utensil holder, or even a treat jar.
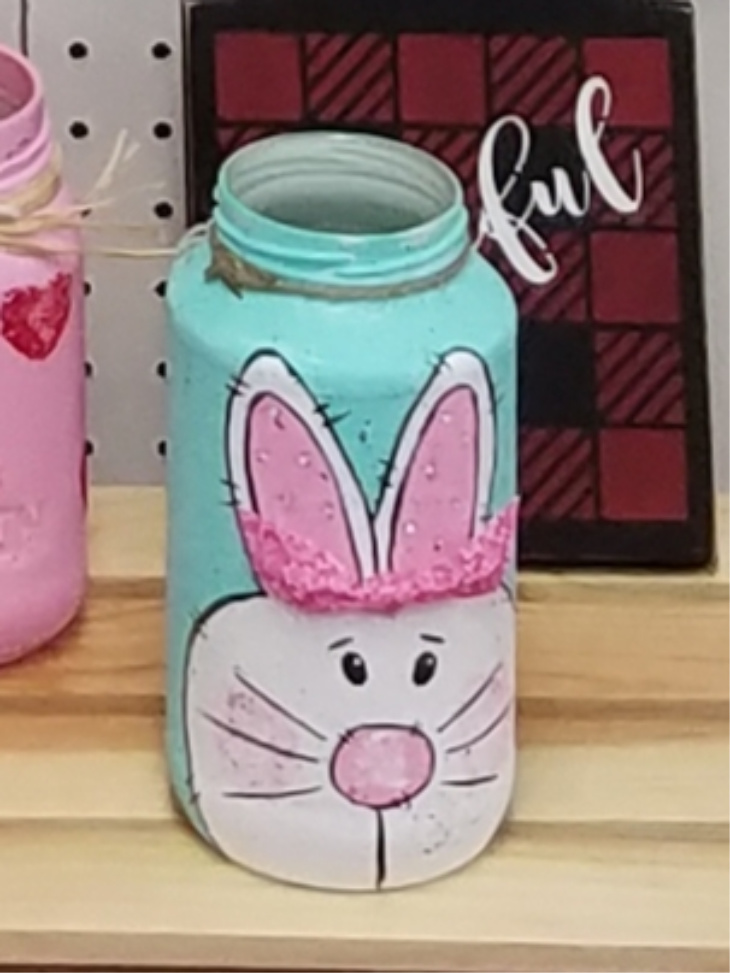
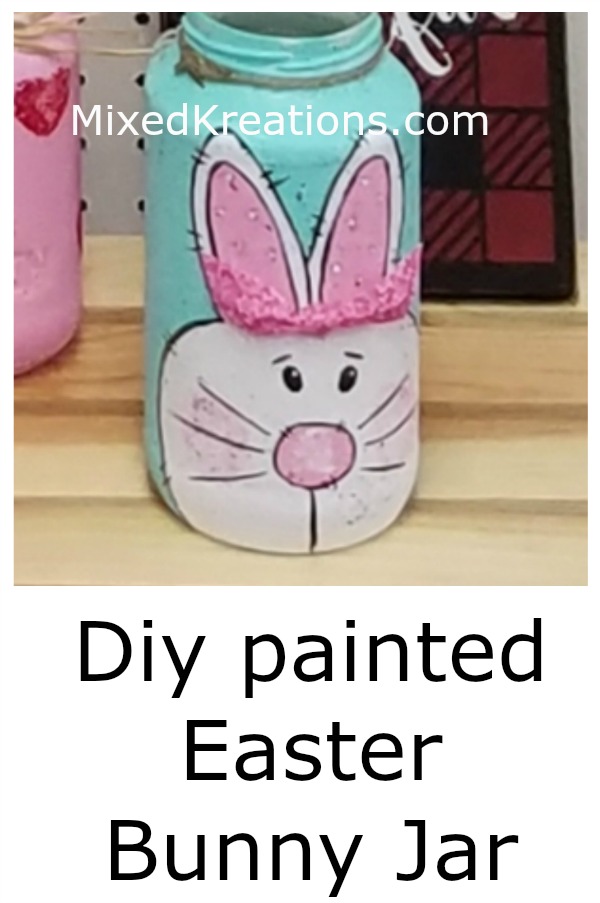
Diy Painted Easter Bunny Jar
Start off by removing any labels then wash with hot soapy water.
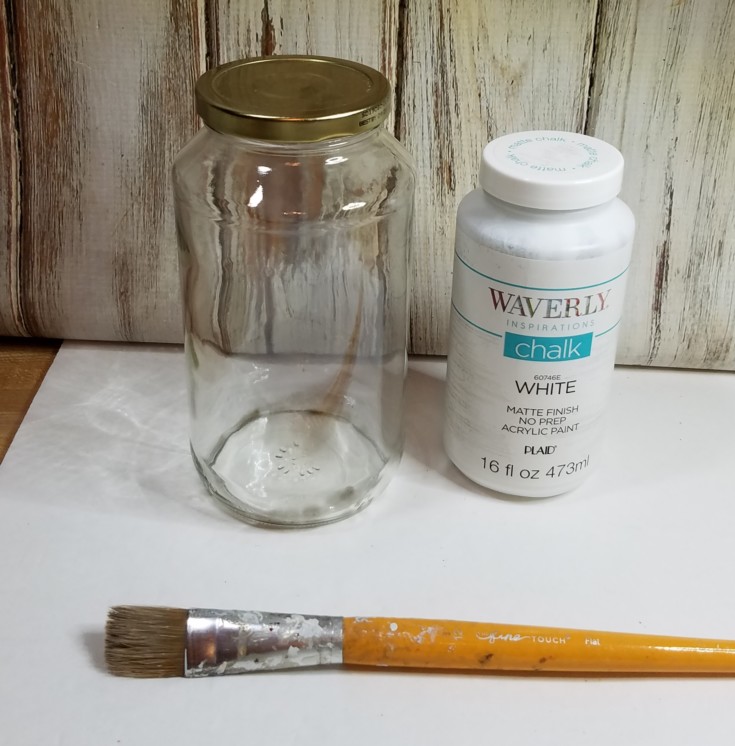
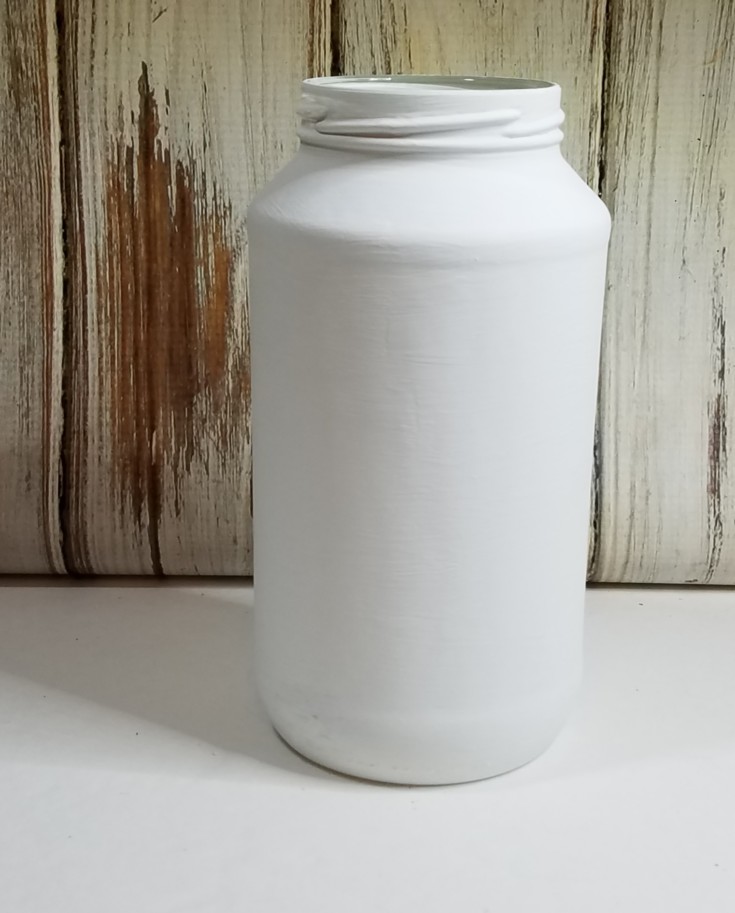
Next, give the jar two coats of white chalk paint.
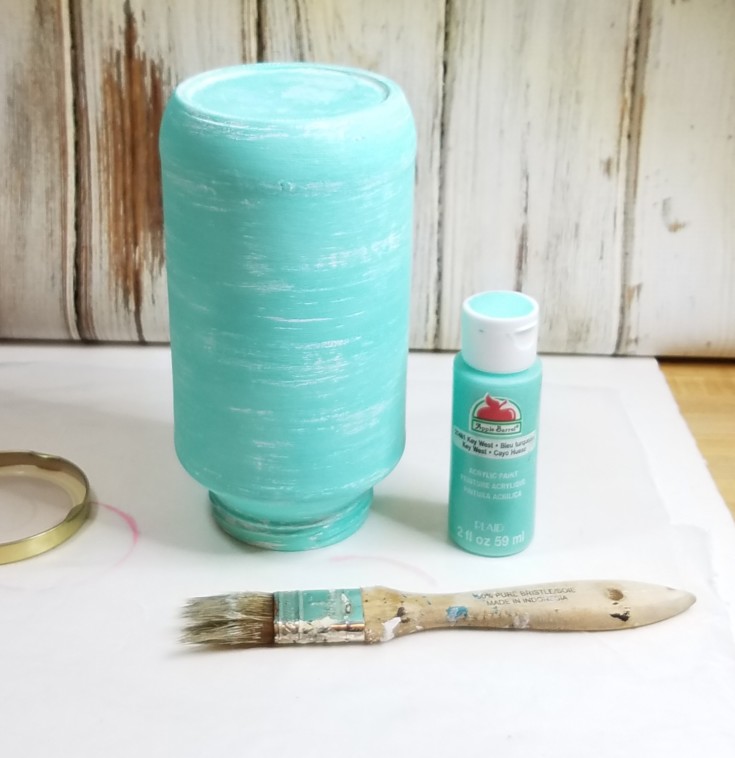
Once thoroughly dry go back over it using an old paintbrush and turquoise paint or the color of choice. And dry brush the color on leaving some of the white showing through.
When that’s dry you can then draw the bunny outlines with a pencil.
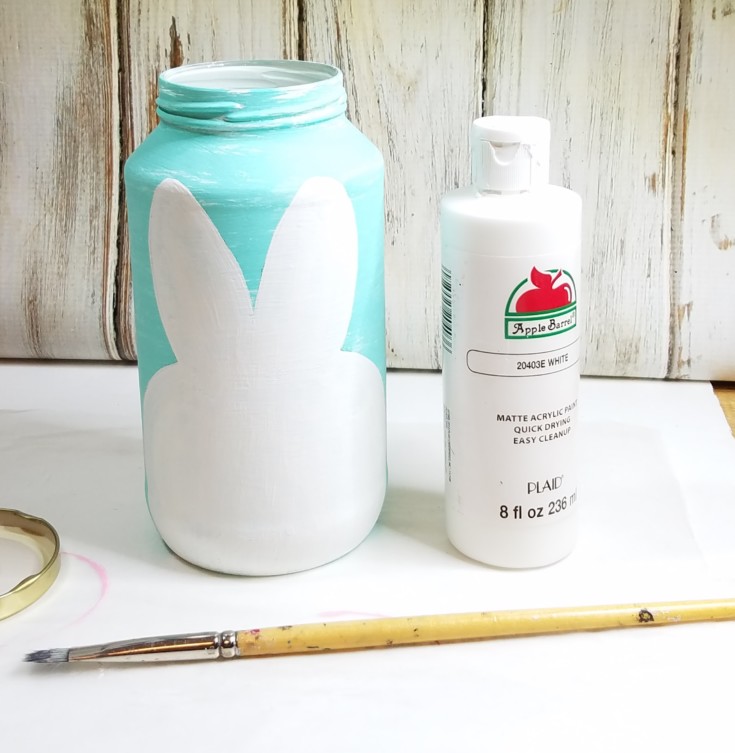
Use white acrylic paint to fill in the bunny. It took two coats for me.

Afterward, draw the center of the bunny’s ears and its nose.
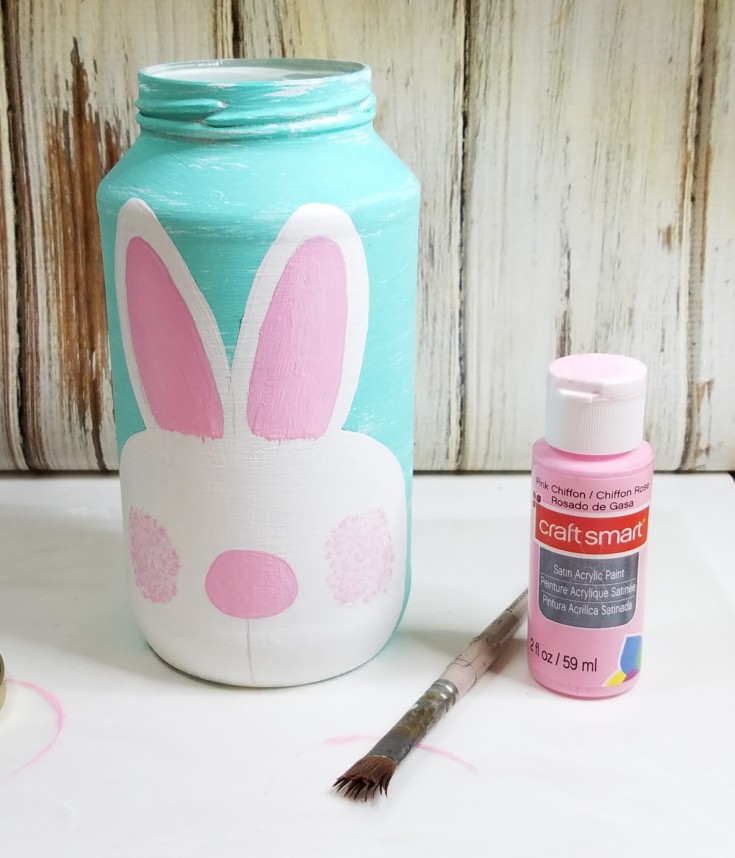
Fill the nose and ears with pink, then use a small old brush for stippling the cheeks on.
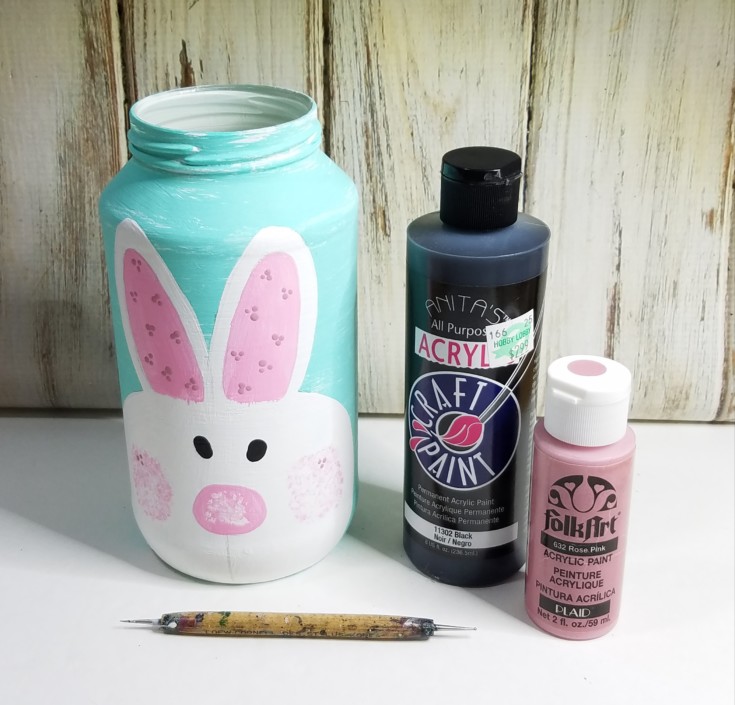
A stylus pen was used to add the eyes and small dots to the ears and cheeks. Some white was stippled on the nose as well.
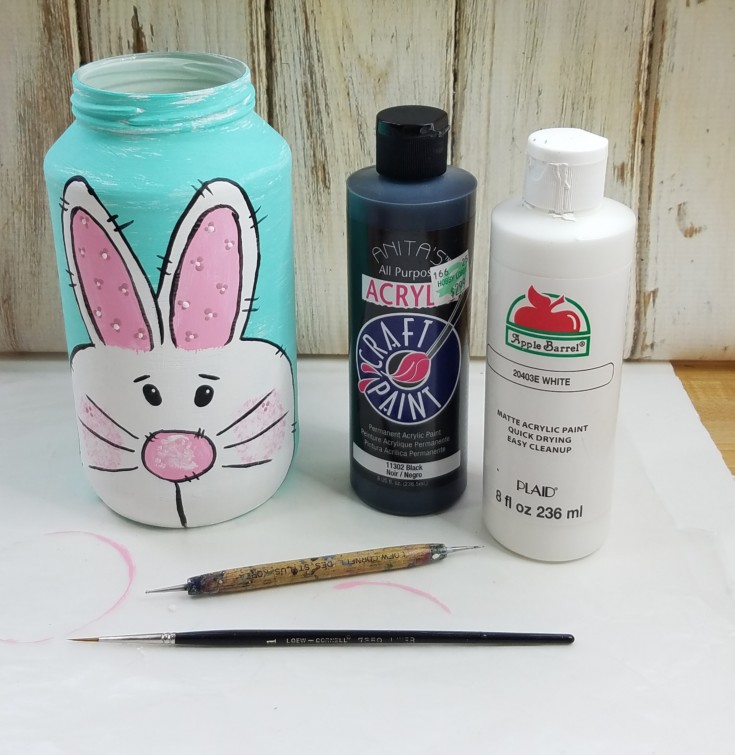
For the detailing, I used a small detail brush and some slightly watered down black paint. Add the whiskers and other details.
I used the stylus pen again to add some white dots to the eyes and ears.
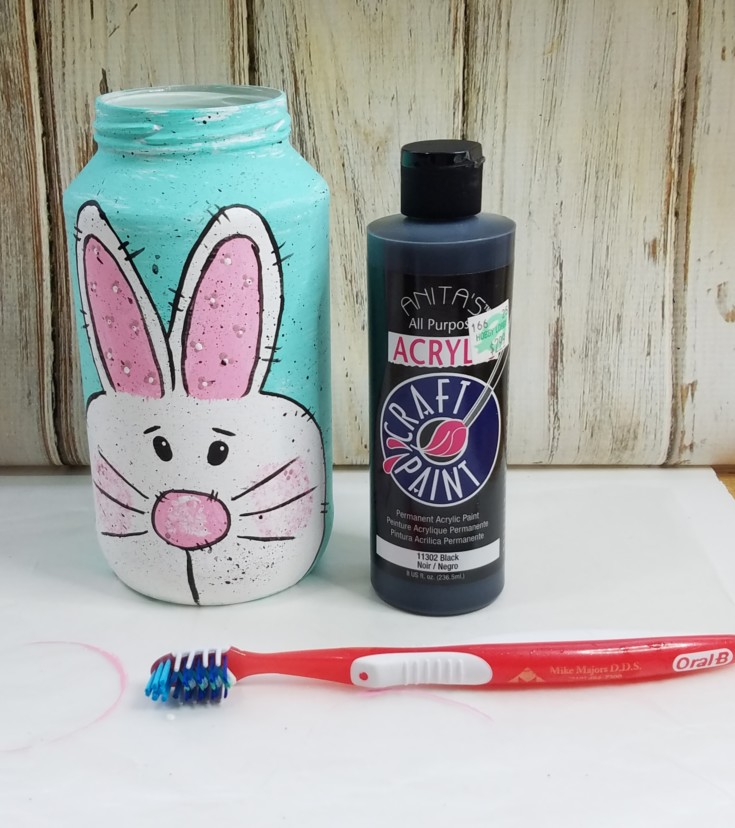
An old toothbrush was used to splatter on some black paint. To splatter you first dip an old toothbrush into water and give a little shake then dip into the paint you want to splatter. Now hold the toothbrush in the sink or a trash can and rake your nail over the bristles until you get fine speck. Then hold the jar over the sink or in a trash can and proceed to splatter using the toothbrush and raking your nail over the bristles. Turn the jar a continue until you get the amount of splattering you desire.
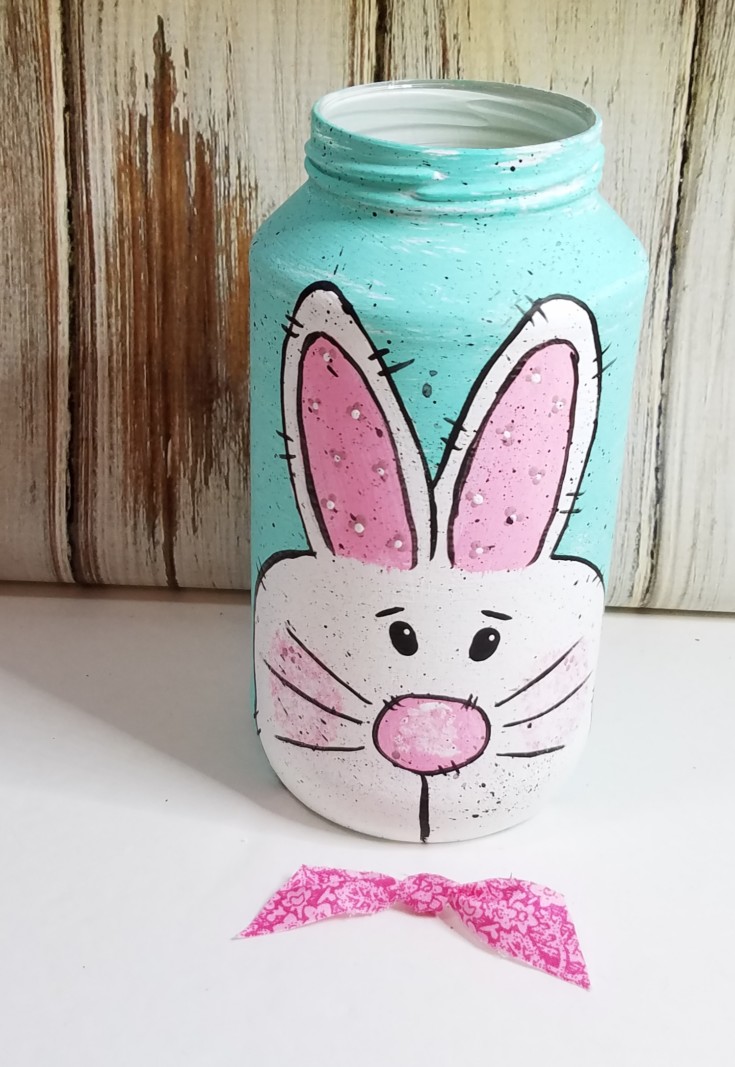
E-6000 was used to glue a piece of scrap fabric between the bunny’s ears for a bow.
That’s it for this easy DIY painted Easter bunny jar! Wasn’t that easy? Do you like to upcycle jars? What Easter projects have you been working on?
***This post contains affiliate links… We are a participant in the Amazon Services LLC Associates Program, and affiliate advertising program designed to provide a means for us to earn fees by linking to Amazon.com and affiliated sites at no extra charge to you. Please read my full advertising disclosure for more info. Thanks so much for your support!***
Supplies for Painted Easter Bunny Jar
Glass jar
White chalk paint
Turquoise acrylic
Black acrylic
White acrylic
Pink acrylic
Paintbrushes
Pencil
Stylus pen
Scrap fabric
Twine
Old toothbrush
More Fun Painted Jars!
How to make a pencil jar tissue holder
Diy snowman lantern
Mason jar mummy lantern
Faux sea glass
Your painted creatures always make me go awwwwww Linda. I don’t know how you do it but they have so much personality and charm. Pinned
Michelle Leslie recently posted…How to Make Translucent Dragonfly Wings
Awwww Thank you Michelle that is sweet of you to say! 🙂