Air plants are new to me, new because I’ve never had one before, but have always thought they were neat plants. Recently Michelle a good friend of mine over at “A Crafty Mix” shared a tutorial for Knitting up a planter for an air plant, or Tillandsias. Ever since I read the post it has made me want one even more, and I will also need a Rustic Air Plant Planter.
But now that I have been on the lookout for one I haven’t been able to find one, until one day when we went to the First Monday Flea Market in Weatherford. A lady there was selling them. Now wishing that I had of bought two of the air plants, but not knowing if I would kill it or not I only got one. I really dislike killing plants.
From what I’ve read they are supposed to be really easy to grow. They don’t need soil, and for water give them a misting about once a week. What makes them so neat is they can be attached to pretty much anything and hang anywhere. You can let your imagination go wild when it comes to planters for air plants.
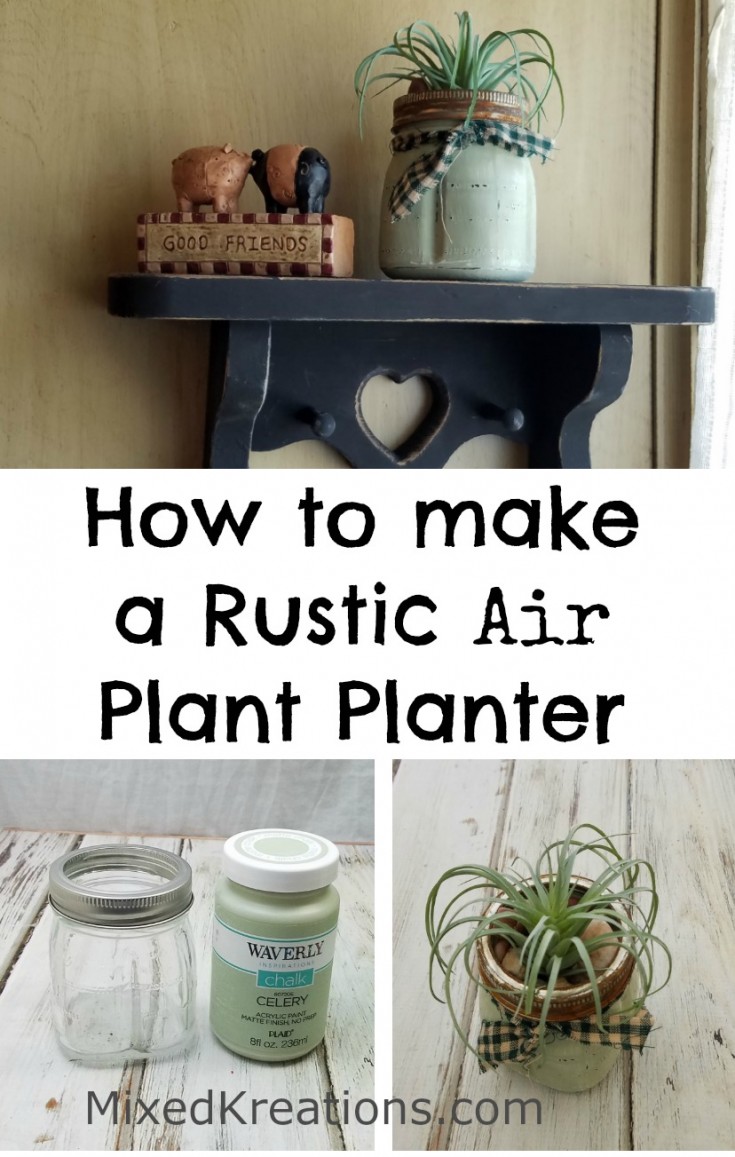
Now that I have my new air plant it needs a container. I want something simple and rustic. Since I love mason jars that I can paint, and distress for the rustic style I love. I went with a small mason jar for my planter.
[tweetthis display_mode=”box”]How to make a rustic planter for an air plant.[/tweetthis]
***This post contains affiliate links, if you click on an affiliate link & buy something I may receive a small commission at no extra charge to you. The affiliate money I earn helps pay the expenses to keep this site running. Please read my full advertising disclosure for more info. Thanks so much for your support!***
Supply List
Small mason jar or any glass jar with rim
Chalk paint
Paint brush
Sandpaper
Strip of fabric
Pebbles
Tillandsias air plant
Diy Rustic Air Plant Planter
First wash your mason jar in hot soapy water, then dry.
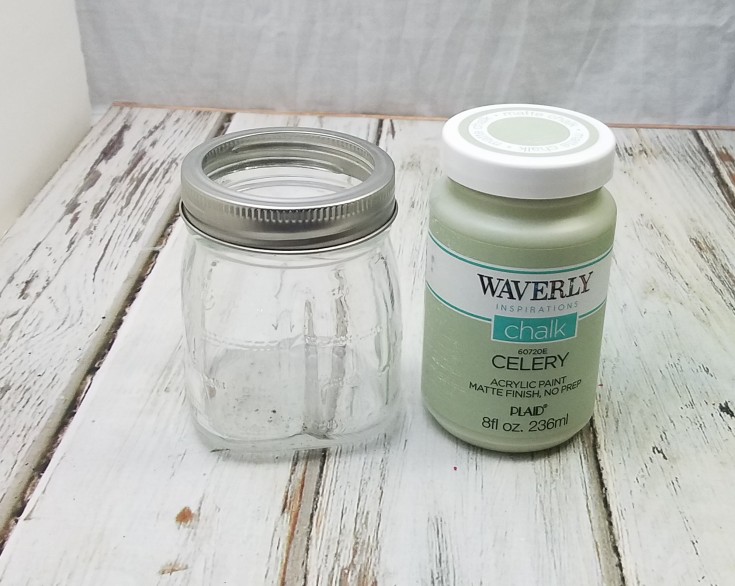
Next give the jar two coats of chalk paint. Letting each coat dry thoroughly.
Use coarse sand paper to distress the jar to your liking.
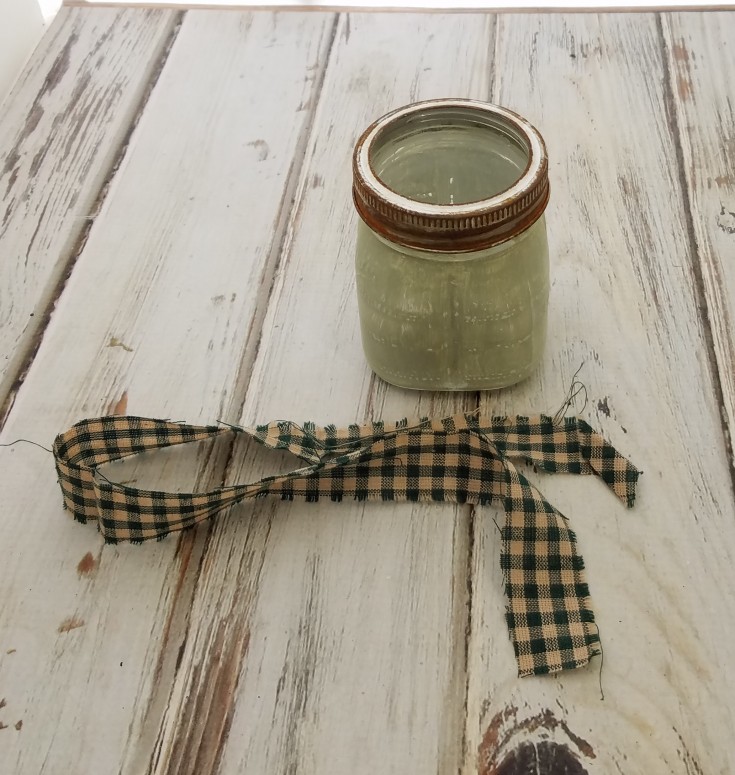
I used the salt and hydrogen peroxide technique to rust the mason jar rim.
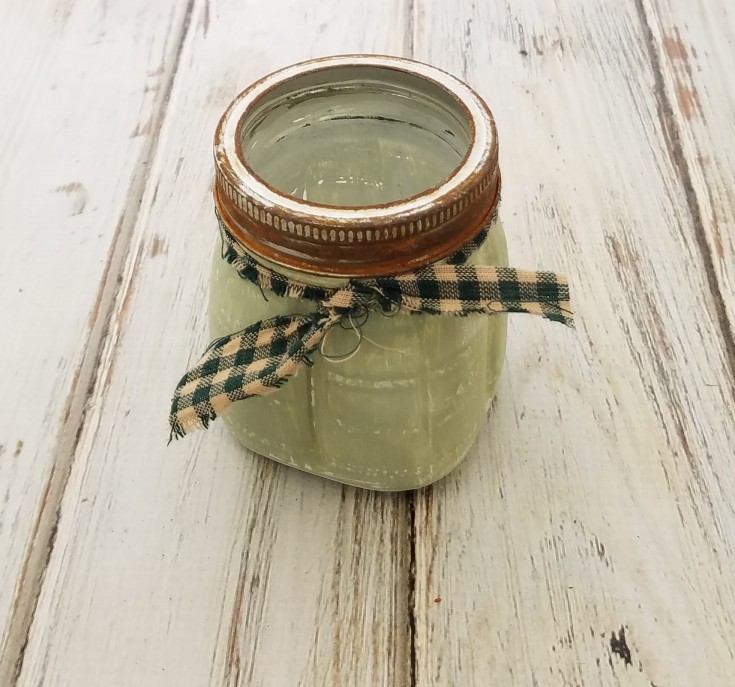
Once the jar rim is rusted to your liking, then put it back on the rustic planter. Then tie a piece of scrape fabric around the neck of the jar.
Fill the new planter with pebbles almost all the way to the top.
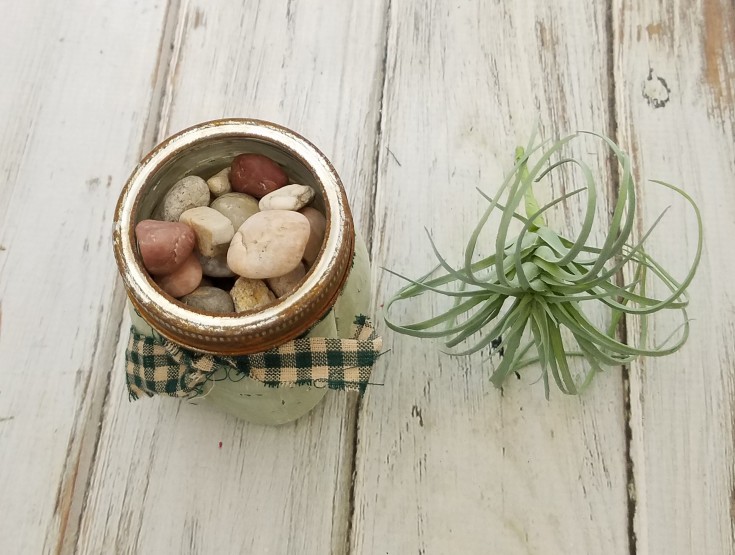
Then lay the air plant on top of the pebbles and spread its roots out. Then add a few more pebbles to help hold the plant down in place.
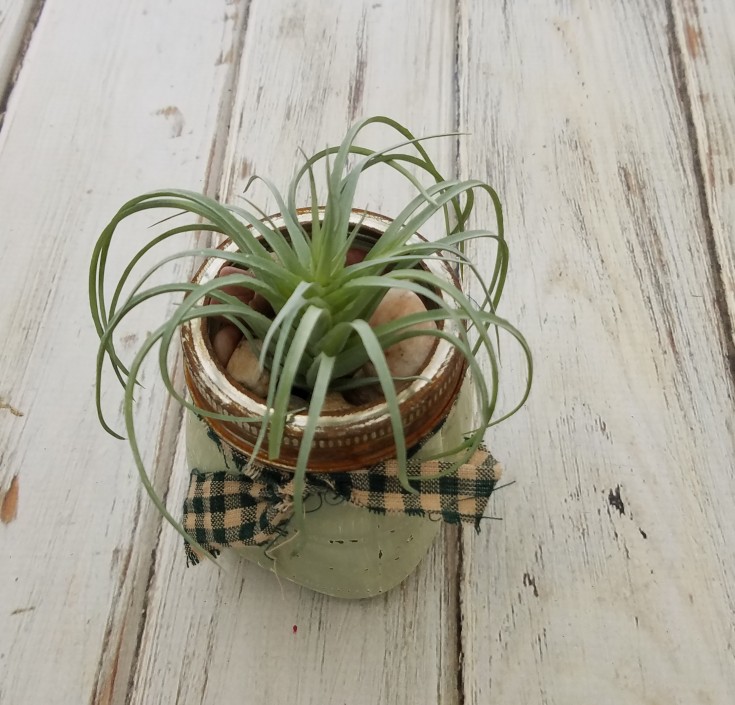
Giving the air plant some water by misting it, then to find a home for my new rustic planter where it will get bright indirect light.
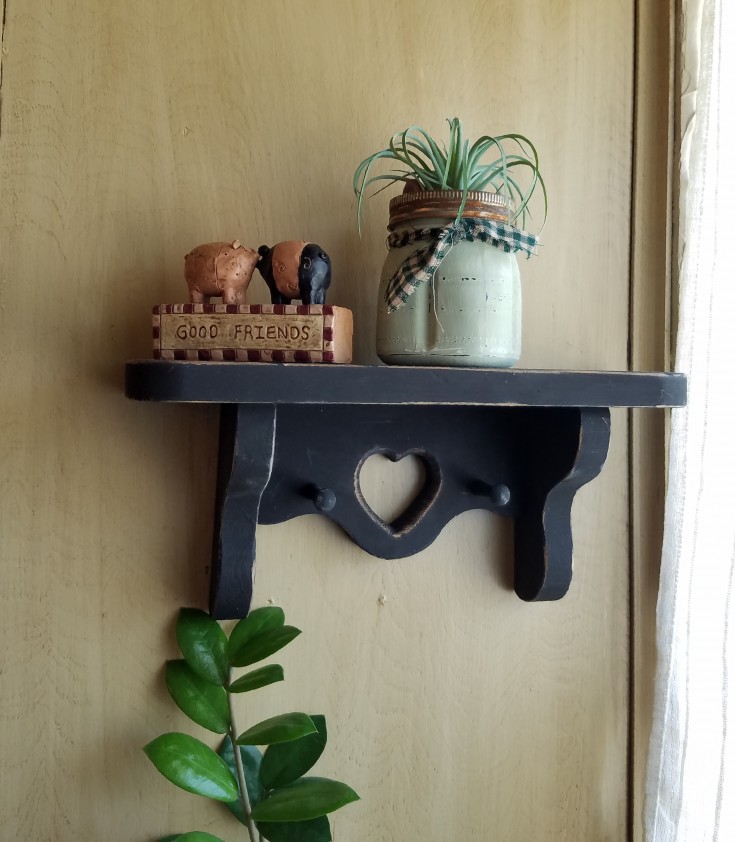
On a shelf in the kitchen window with evening sun.
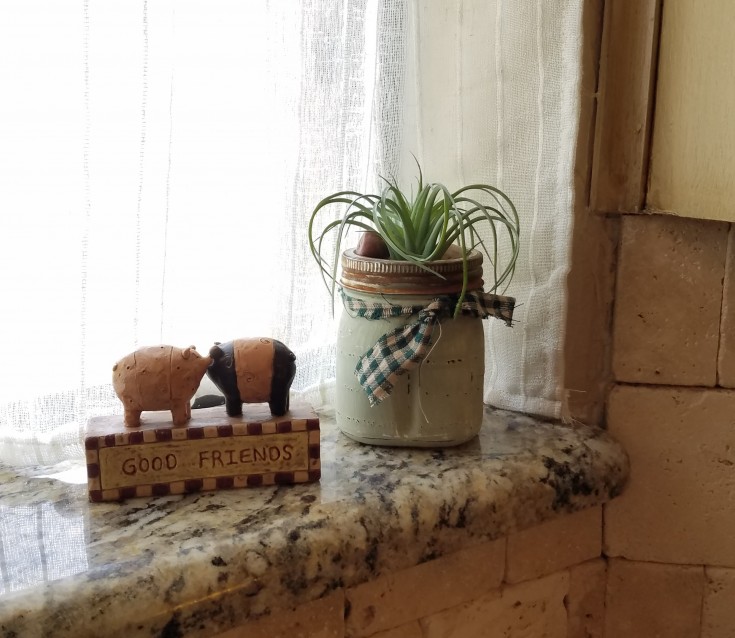
Kitchen window seal. I’m afraid that it may get to much light here.
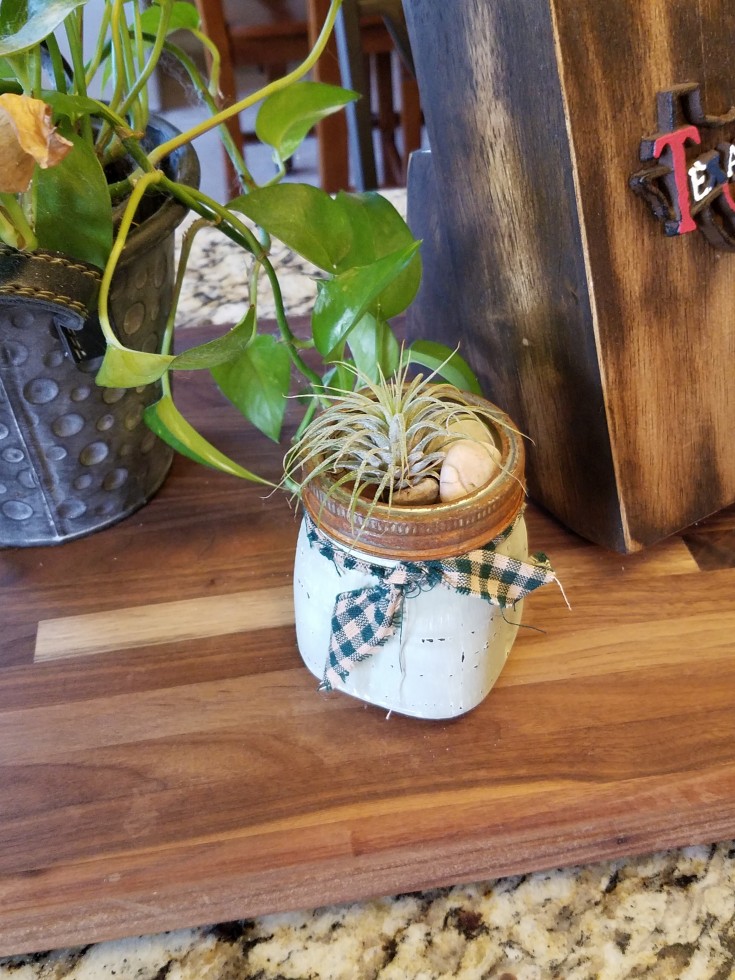
Or on the cutting board at the kitchen counter/breakfast bar. Gets evening sun from two windows.
That is how to make a rustic air plant planter. Do you have an air plant? What kind of planter do you have for your air plant?
More Planters You May Enjoy!
Rusty can succulent planters
Faux succulent planter
Pig planter with faux succulents
That is such a cute idea Linda. I have never used air plants before. I am guessing they grow in the air? What a cool idea. Maybe even I could do this… with my black thumb. Anyway you have it a really nice home.
Thanks Mary! I’ve seen them around but never bought one until I seen Michelle’s post about her knitted air plant holder. Then I started to want one! I use to have a green thumb, but over the last few years I think one side has turned brown. LOL So I’m giving this one a try. At least I can’t drown it. 😉
This is adorable! I have 2 air plants in a shaded window ledge. They don’t have a pretty pot like yours, this one would be perfect for the style of the room! Pinned 🙂
Thank you Wendi! I wanted to keep mine in the kitchen, but was afraid the window ledge would be too bright. So to not take the chance of killing it, it only get indirect light. Thanks for pinning!
Awwww you found one Linda. I’m so glad. Tillies are such amazing little plants and once you get hooked you’ll be putting them all over the place. Love the little rustic planter you made for yours and here’s hoping she gives you many little pups in the not too distant future
Thanks Michelle! So far she is doing well, and I am hoping that she will give me lots of pups so I can fill the house up with low maintenance plants. LOL
Well like you I hate killing a plant and that normally happens to at least one of mine during the winter months. By Spring they are crying to go on the deck! haha…I love the planter you made, so cute. Also like you the air plants are new to me, I have to wonder how they live like they do. I have yet to think I need one but if they don’t need a lot of love and WATER, I might need to fill the house with them.
Thank you Pam! I have already killed two of mine since I had to bring them in over winter. So far so good with my air plant! I’m hoping that they are as easy as they say, if so I will be buying more as well, LOL. Thanks for stopping by!