Hello my friends! Today I am excited to share with you two diy rustic Christmas tree ornaments that are quick and easy, and can be made in just a couple hours. I don’t know about you but I love quick, and easy projects. Especially when I’m so short on time, and Christmas will be here in less than 3 weeks. There is no way that I am going to be able to get all the Christmas projects that I was wanting to do. So, I will just have to settle with this project and maybe one more.
When I started on these two diy rustic Christmas tree ornaments I was wanting to make them into some rustic ornaments with a little bling. Not much just a little, because I am not a bling bling girl but I thought that a little sparkle may be nice.
Well I didn’t quit end of with sparkle bling, but I do like the beads that I chose with the rusty wire, and burlap ball. I think all in all they didn’t turn out too bad.
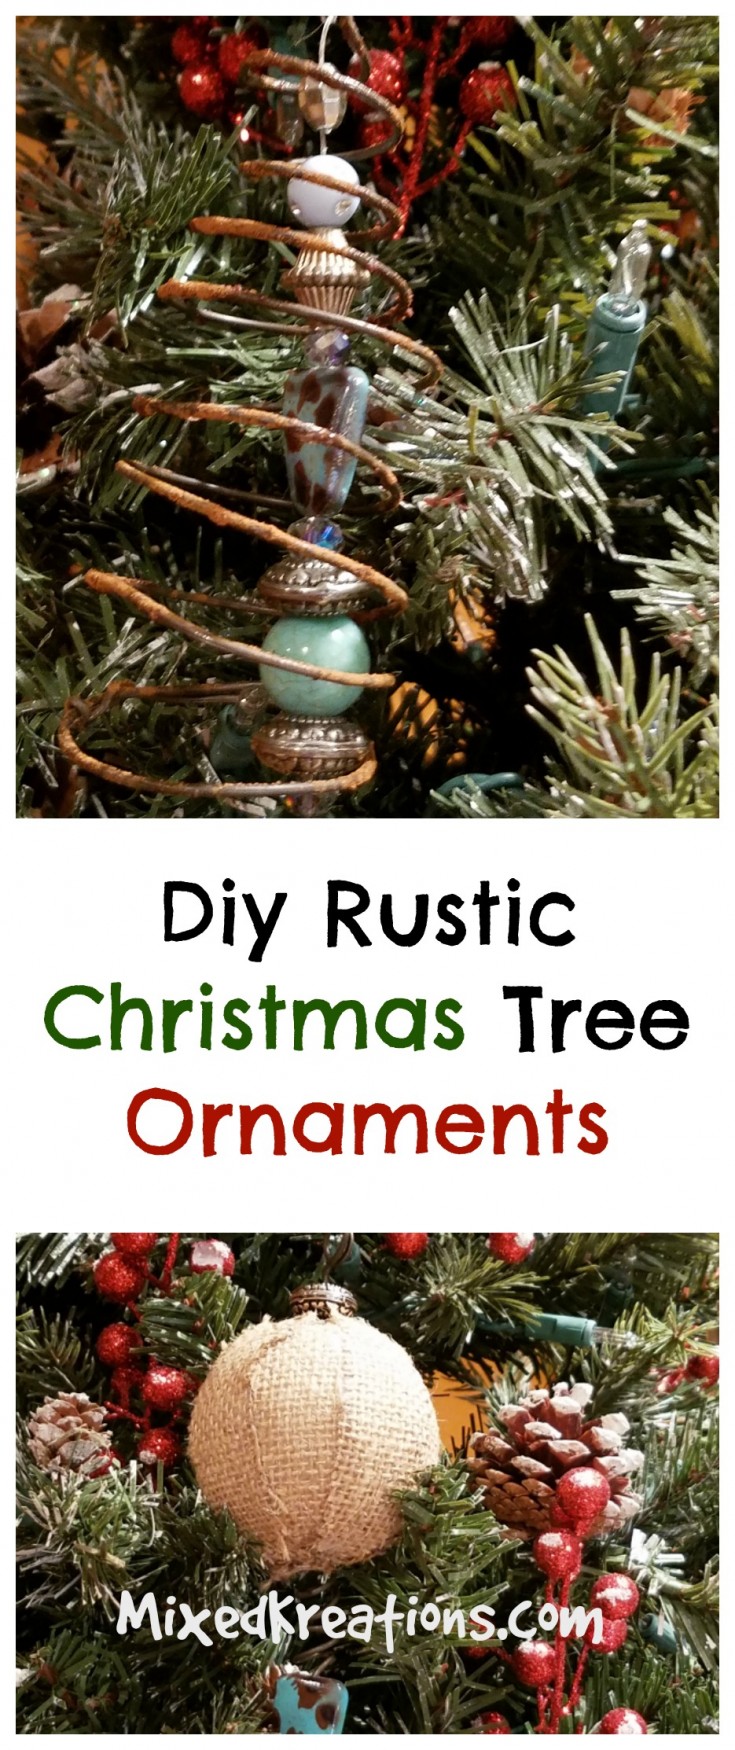
Diy Rustic Christmas Tree Ornaments with Wire
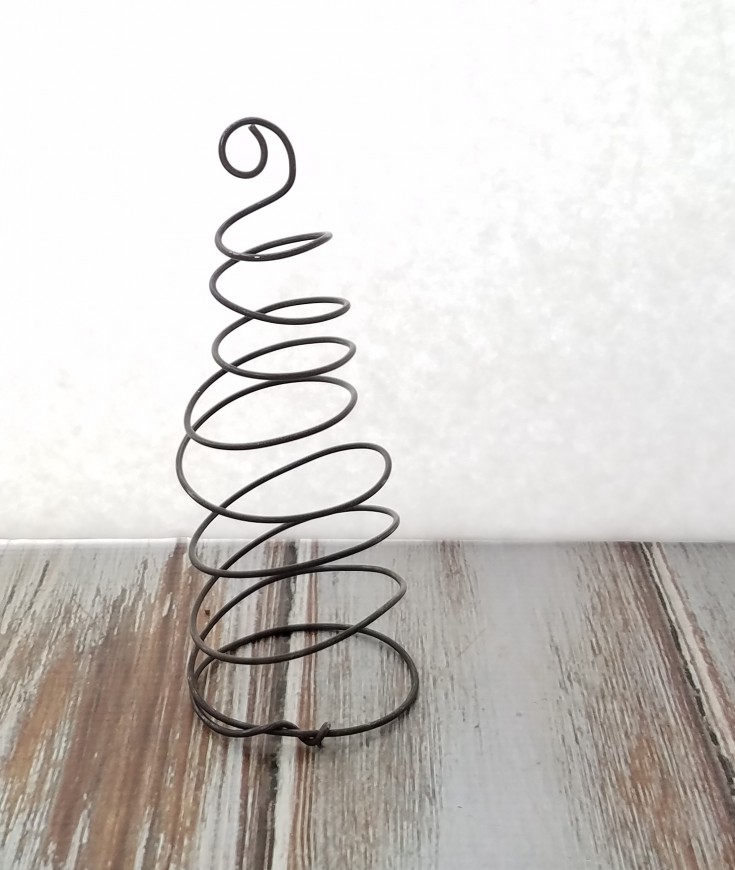
The first ornament is so easy, and was made out of annealed wire that I wrapped around my bracelet mandrel to form a spiral, can be wrapped around anything cone shaped. Then I pulled each end to stretch it out to form a spiral tree.
The top smaller end I formed a loop using my mandrel pliers, and the bottom I wrapped the loose end around the wire above it.
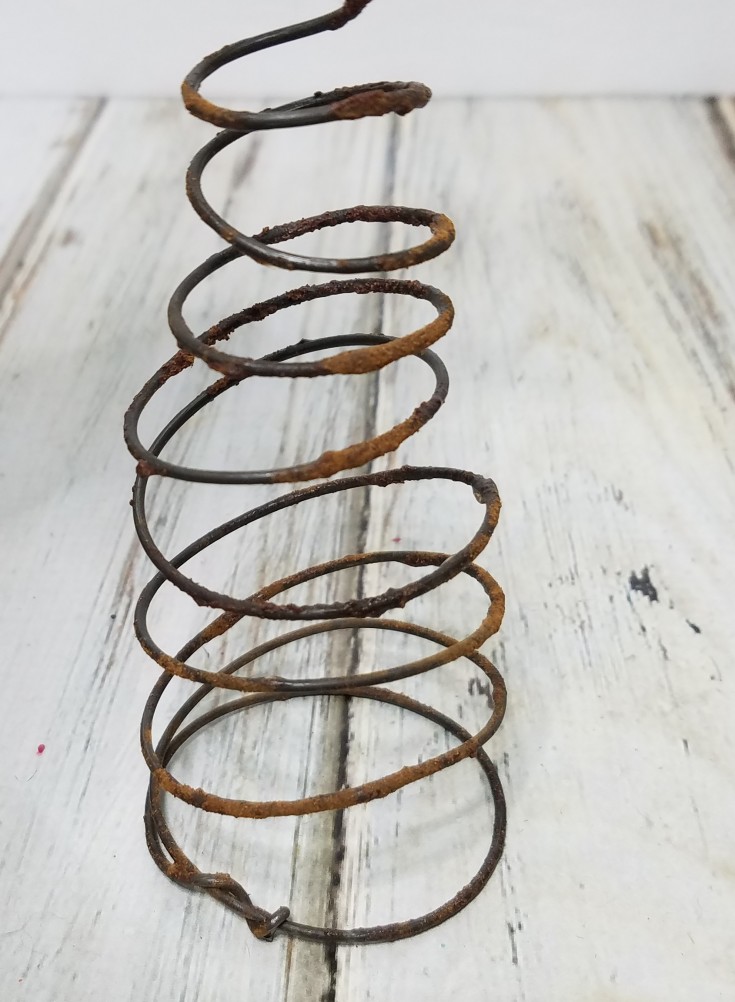
Wanting the wire to look rusty, I then used the cinnamon and Mod Podge technique that I used on my rustic farmhouse Christmas tree base.
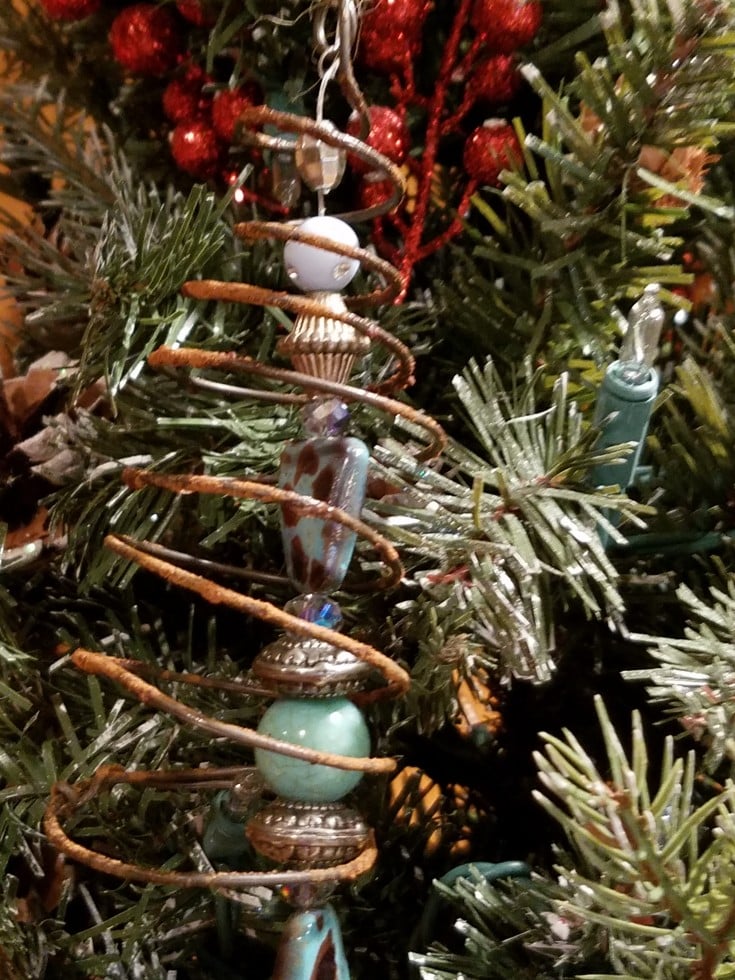
Next, I attached the beads to the loop at the top using fishing line, letting them dangle down in the center of the spiral.
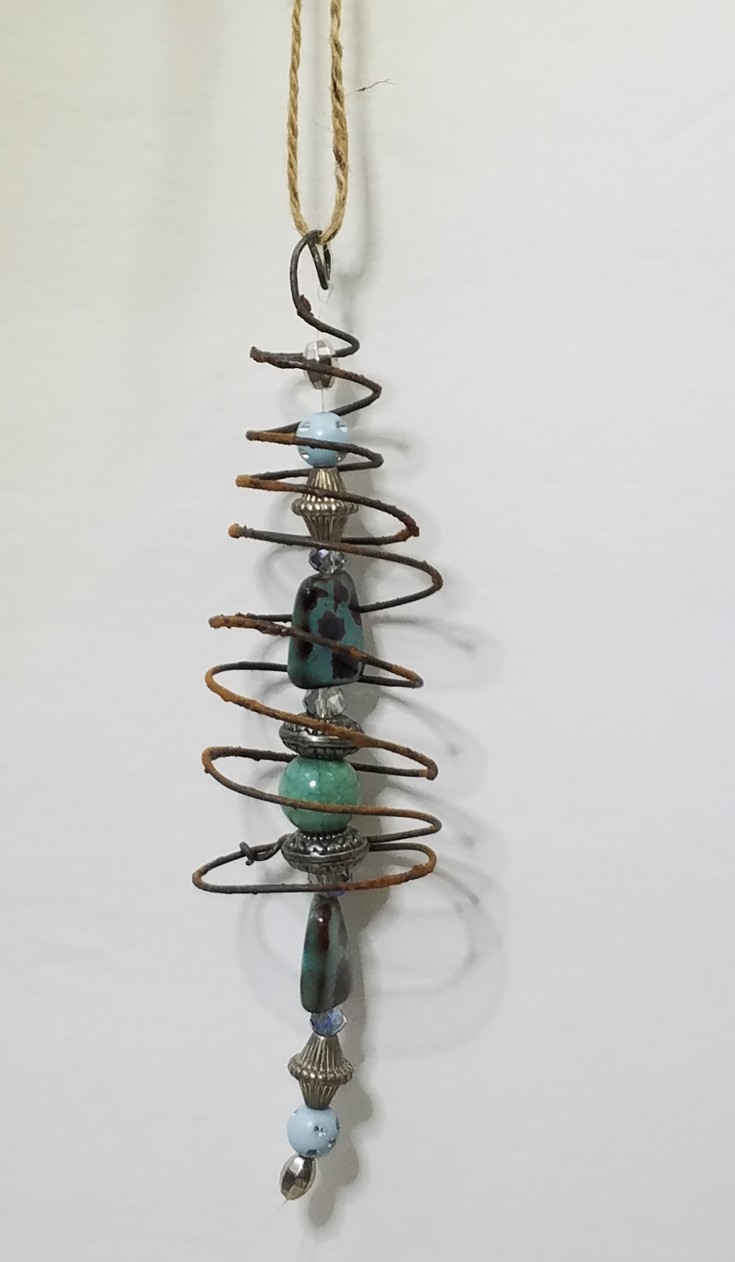
Adding a piece of twine to the top for hanging and this rustic Christmas tree ornament is done. See wasn’t that soooooo easy?
Diy Rustic Christmas Tree Ornaments with Burlap

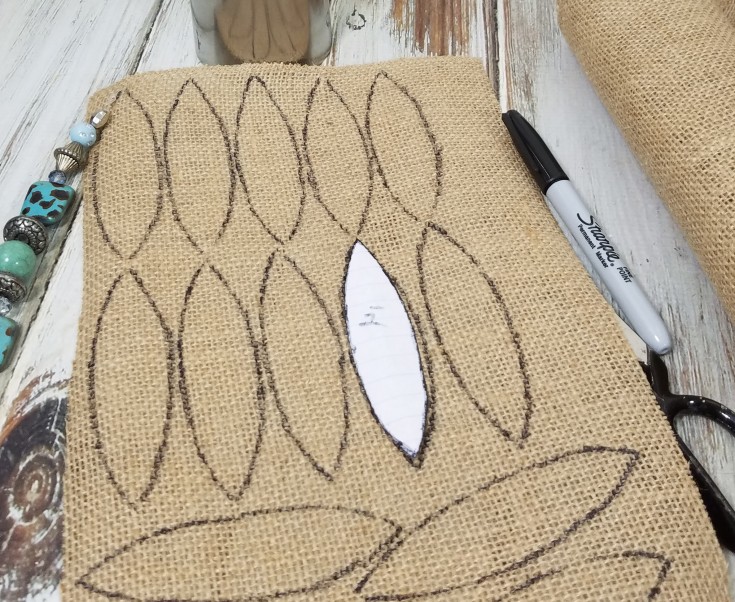
The second rustic ornament was made from a Styrofoam ball, and burlap. I first measured the dimension around the ball, then I halved that measurement and made leaf shaped burlap pieces that measured 3 7/8” x 1” wide. Since I haven’t done anything like this before I wasn’t sure how many that I would need, but eight fits perfectly together bumping the edges up together.
I used my hot glue gun to glue the burlap down in place starting at the top, then the bottom.
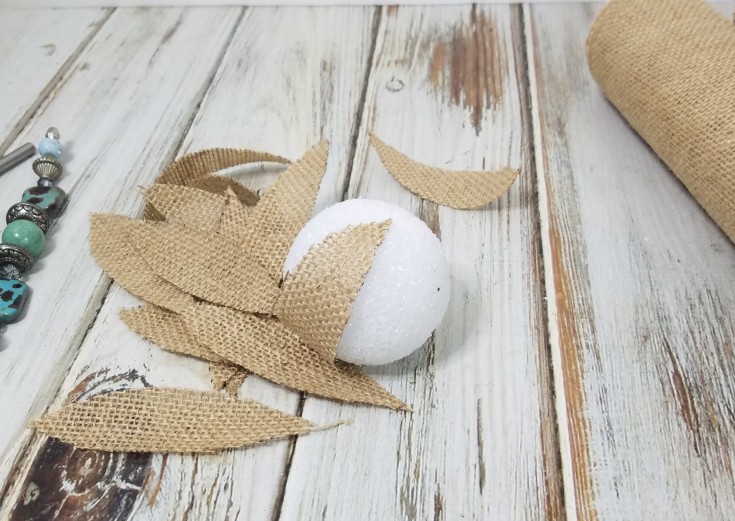
Working around from top to bottom till I had the Styrofoam ball covered.

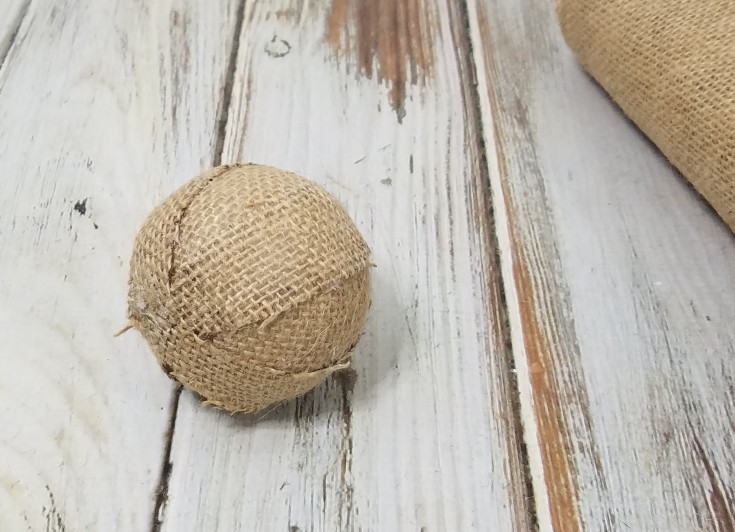
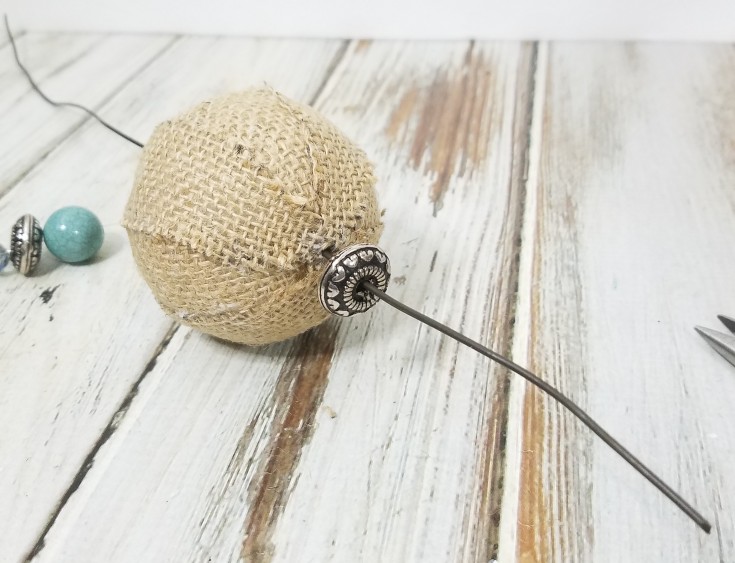
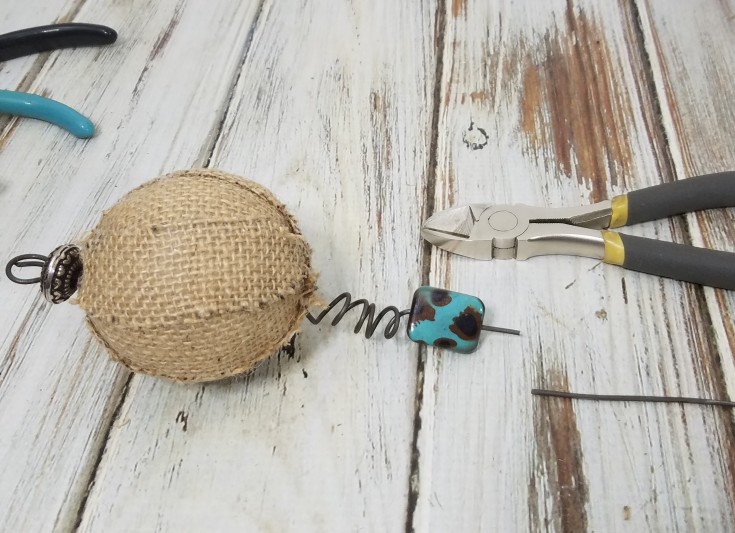
Next came the hard part, running the wire straight through the burlap covered ornament.
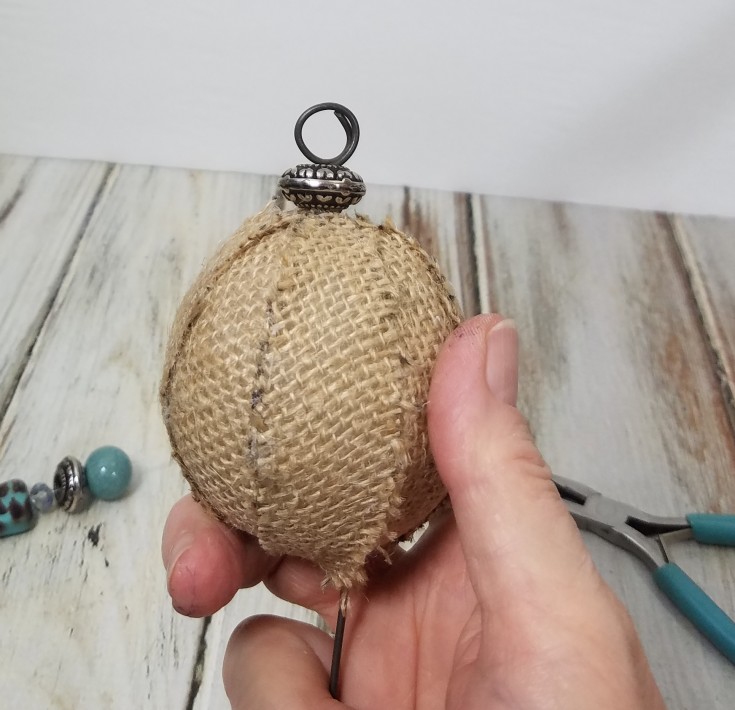
Once I managed that I added a spacer bead to the top then made a loop using my mandrel pliers.
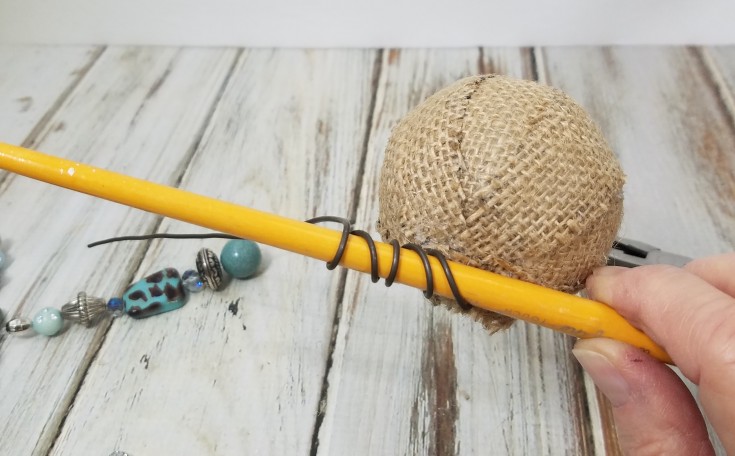
For the bottom part of the wire I used the end of a paint brush to form a spiral close to the ball leaving a wire tail.
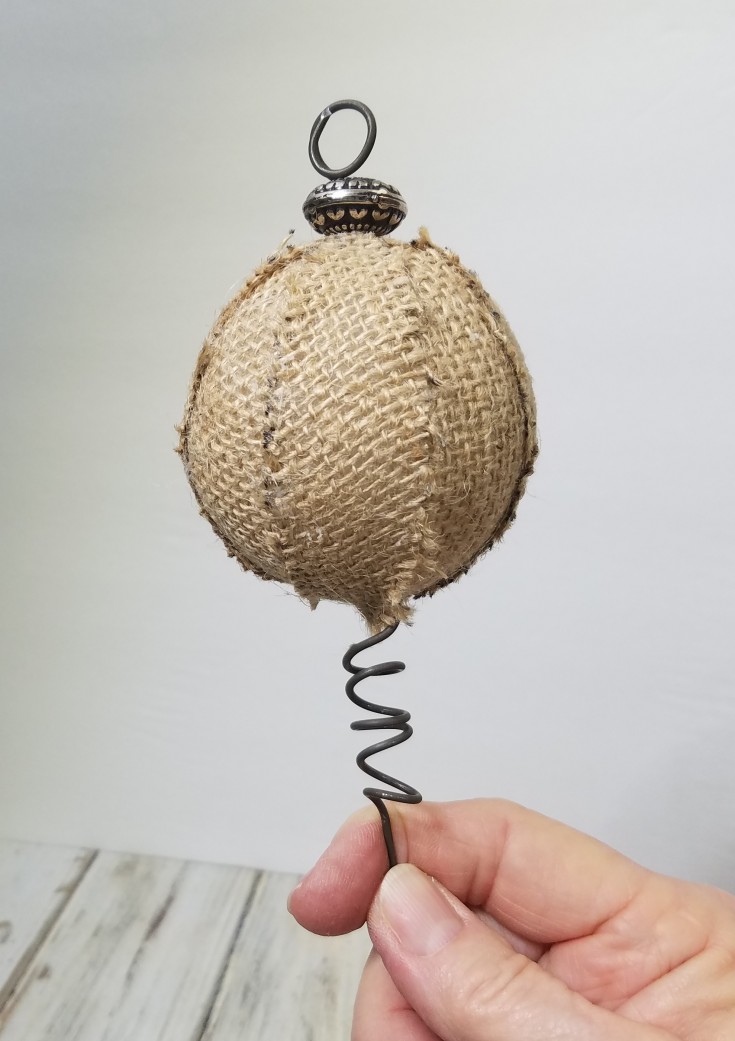
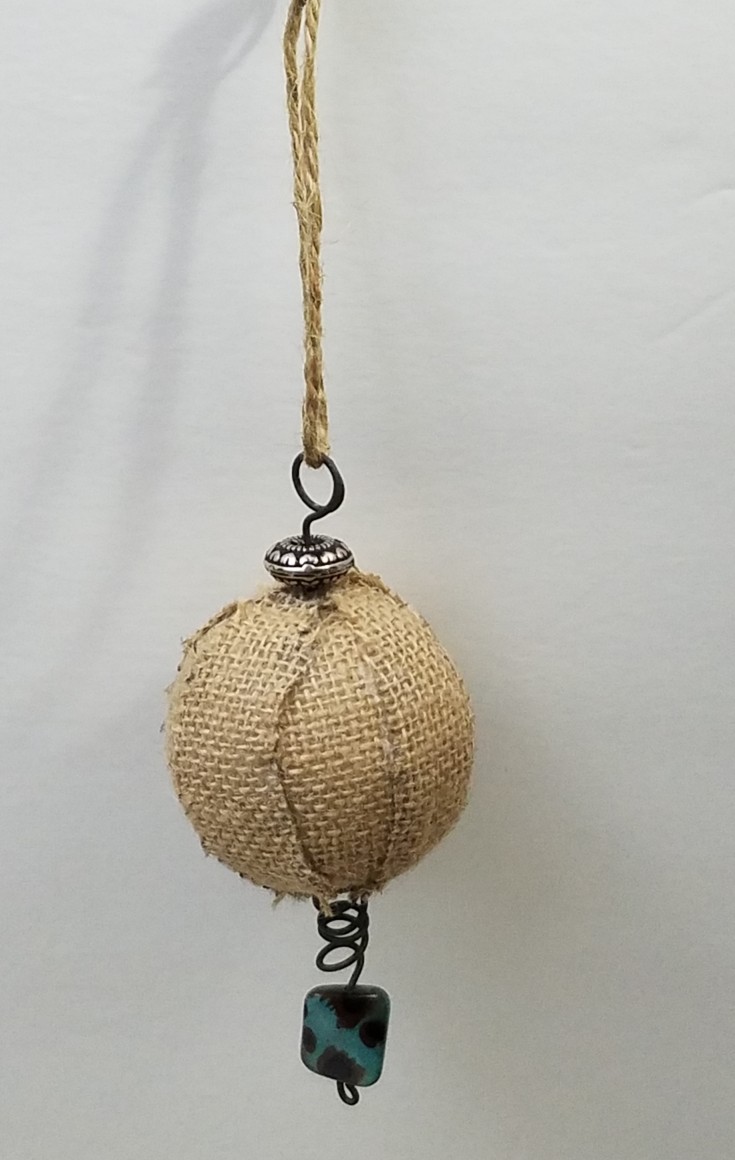
Which I then added a square bead to the wire pushing it up to the end of the spiral. Then cutting the extra wire off leaving just enough to form a small loop with my round nose pliers to hold the bead on.
Lastly, I added a piece of burlap for hanging, and that’s it for my two diy rustic Christmas tree ornaments.
Have you been making your own Christmas ornaments? If so please share what you’ve been working on in the comments below.
***This post contains affiliate links, if you click on an affiliate link & buy something I may receive a small commission at no extra charge to you. The affiliate money I earn helps pay the expenses to keep this site running. Please read my full advertising disclosure for more info. Thanks so much for your support!***
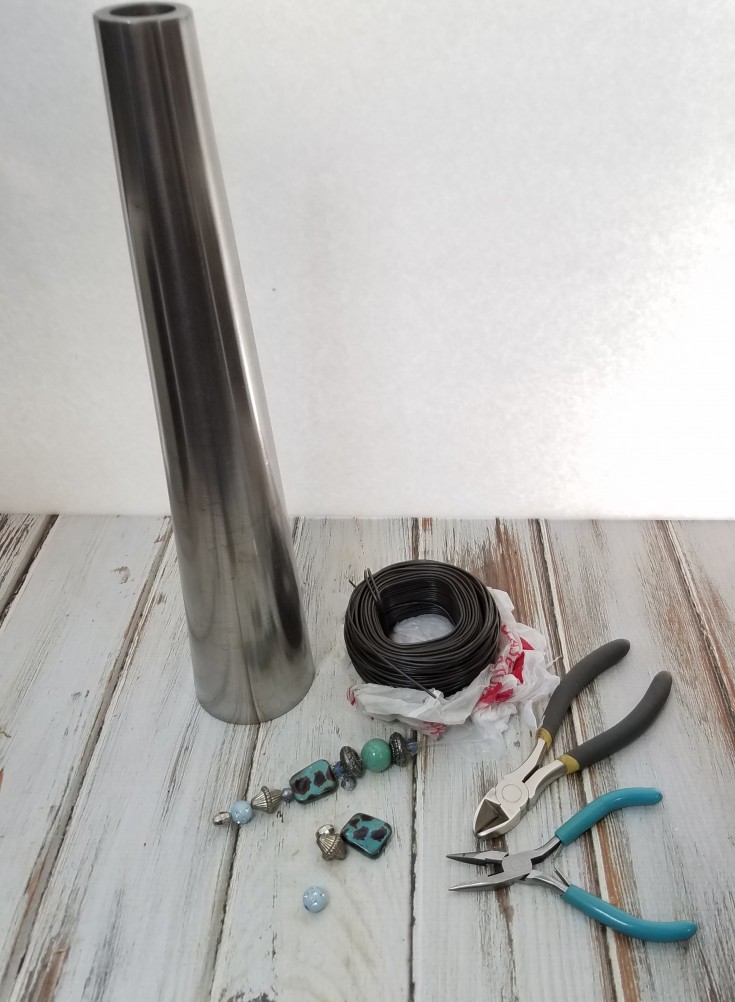
Supply List For Wire Ornament
Annealed wire
String of beads
Mod Podge
Cinnamon
Mandrel or any cone shaped item that you can wrap wire around
Wire cutters
Round nose pliers
Mandrel pliers
Twine
Supply List For Burlap Ball Ornament
Styrofoam ball
Burlap
Hot glue
Annealed wire
Bead
Spacer bead
Twine
Wire cutters
Round nose pliers
Mandrel pliers
More Diy Christmas Projects You May Enjoy!
Easy rag star ornament
Diy yard stick Christmas tree
Diy bath salt Christmas ornament
These are adorable Linda! I haven’t seen them before. The first one looks like a bedspring coil. I’m not sure I know what “annealed” wire is, but whatever you used, I love it! The burlap one is cute too, but the first is my favorite.
Thank you Florence! I got the idea of coiling it from the bedspring. Annealed wire is a dark-colored steel wire that has been heated to make it easier to work with and less likely to break while being manipulated.
The wire coil is my favorite as well.
What I like about Christmas is the he wire ornament and ball ornament. Such a fabulous craft.that gives lots of happiness while making.
Thank you Stephanie! I’m always happy when creating! 😉
Awesome Linda!!!! I’ve always been such a big fan of your jewelry work and now you’ve combined that amazing talent of yours to create these beauties. I really love how they turned out.
Thank you Michelle! I never thought of it that way but I guess I did combine them. The wire I love to work with, and beads. Yet it’s not jewelry, or is it! It’s tree jewelry. 😉
Oh my Linda these are so much easier than I expected. I think your use of the rusty wire and the blue stones is a great idea. They look so good together.
Thanks Mary! I don’t know why, but I come to really love rusty things, and I love my wire. I bought the stones for another project but haven’t gotten around to it yet. So I borrowed some for this project. 😉
I am in love with the burlap ornament! They are both so creative, though! Thanks for the tutorial!
Thank you Jessica! There both really easy to make, that is once I figured out to cut the burlap leaf shaped first.
Both ornaments are beautiful Linda, so pretty! I love the beadwork, in fact I love everything about them! The cinnamon trick is genius and I’m definitely stealing it!
Thank you Sarah! I’m really happy with the wire one, it’s my favorite. The cinnamon trick I will definitely be use it again and again. Can’t wait to see what you come up with it.