Hi all! Good news! We survived the foundation work on our house and so happy that its over and ready to share this set of 3 DIY Spooky Halloween Blocks. I started these before the work started and hope we never have to go through any kind of foundation work ever again. That was awful! Eleven holes total and five of those holes were in our house and two on the front porch. We had to cut part of our wood floor and take half of it up, but they had to cut through the tile in the laundry room. Now the rest of the tile in the laundry room floor will have to be replaced. We were able to put the wood floor back in but where we had to cut it I’m hoping with some patching and putty it will not be so noticeable. We put plastic up everywhere to try and keep the dust and dirt contained in the areas they were working. It helped some but still had a mess to clean up even after they cleaned. I vacuumed, swept, and mopped several times then ended up hiring someone to come in to do a thorough cleaning in all the rooms that were connected to the rooms they were working in. There was just no way to keep that dust and dirt from going to other rooms. I stayed outside most of the time that they were working. Those jack hammers can give you a headache real fast. I’m just glad that is all over, and now we wait for the plumber to do his drain test on Friday. I pray all will be well there or there could be more digging in the house depending if they find a leak.
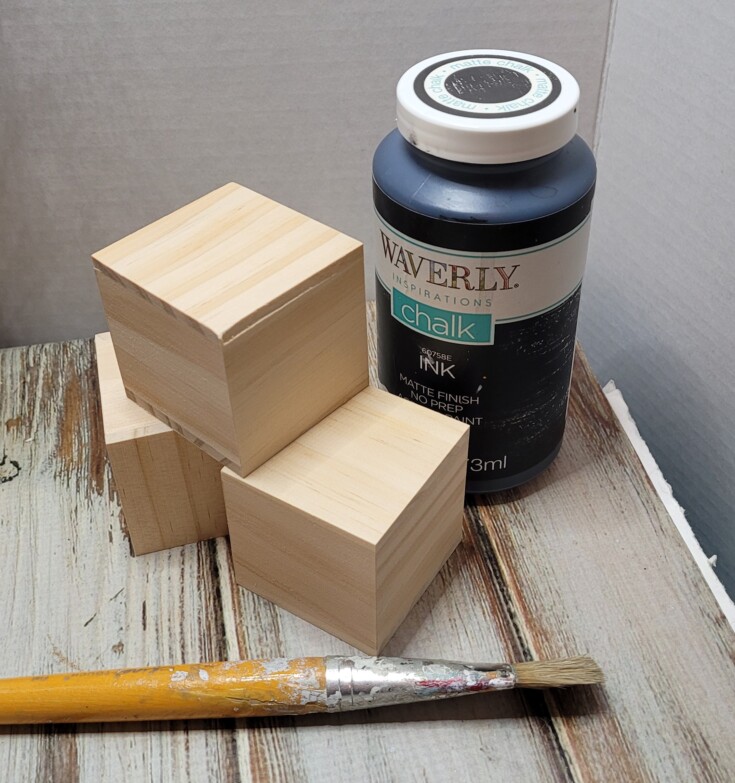
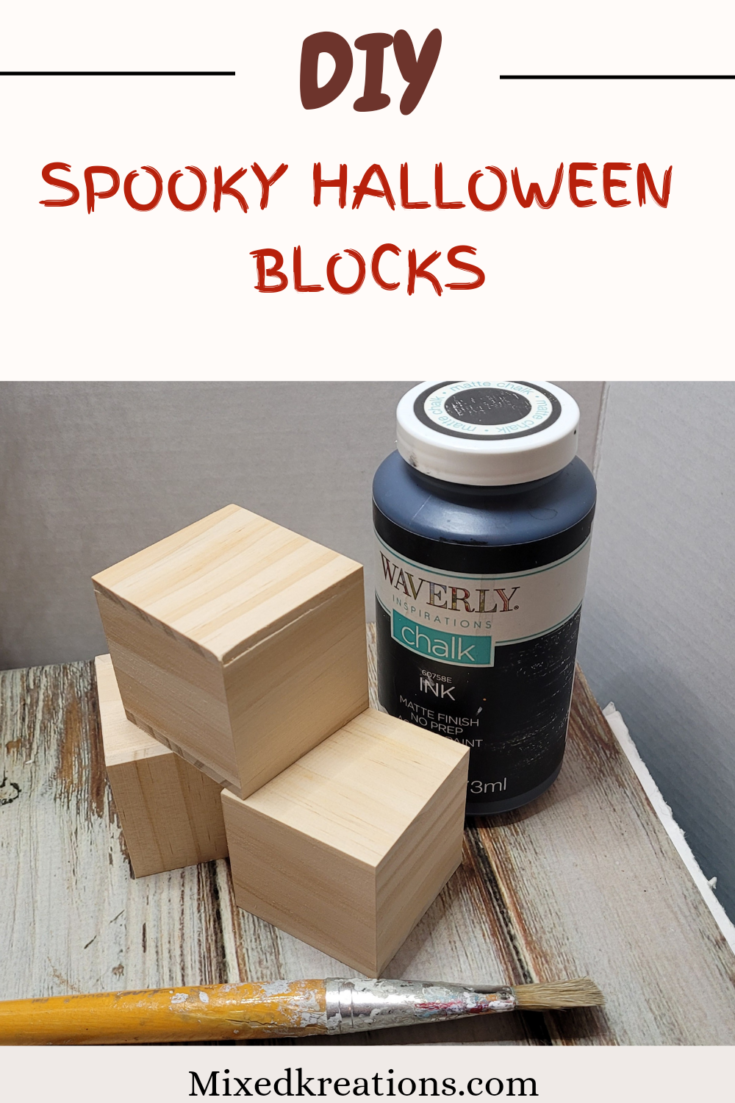
Once I was able to get back into my craft room, I started back working on these Halloween décor blocks. I picked these 2 ¼” wood cubes up from the Dollar Tree. Without further ado let’s get started painted Halloween blocks.
***This post contains affiliate links… We are a participant in the Amazon Services LLC Associates Program, and affiliate advertising program designed to provide a means for us to earn fees by linking to Amazon.com and affiliated sites at no extra charge to you. Please read my full advertising disclosure for more info. Thanks so much for your support!***
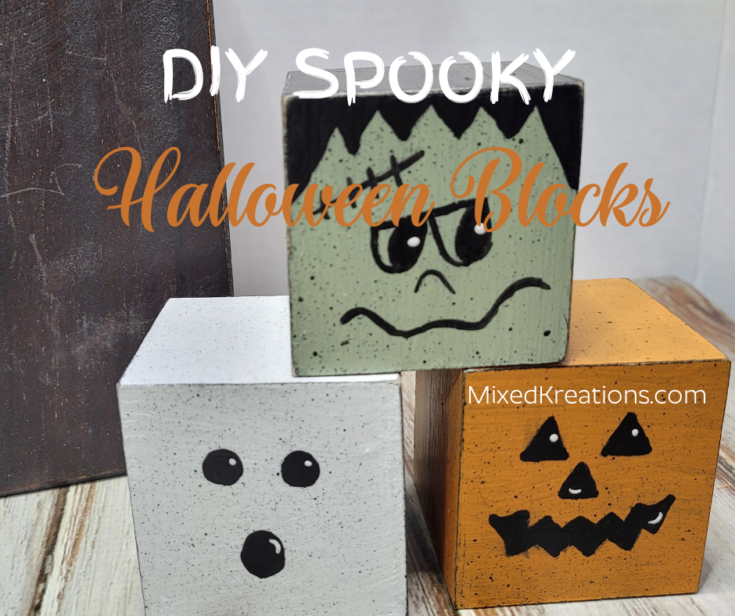
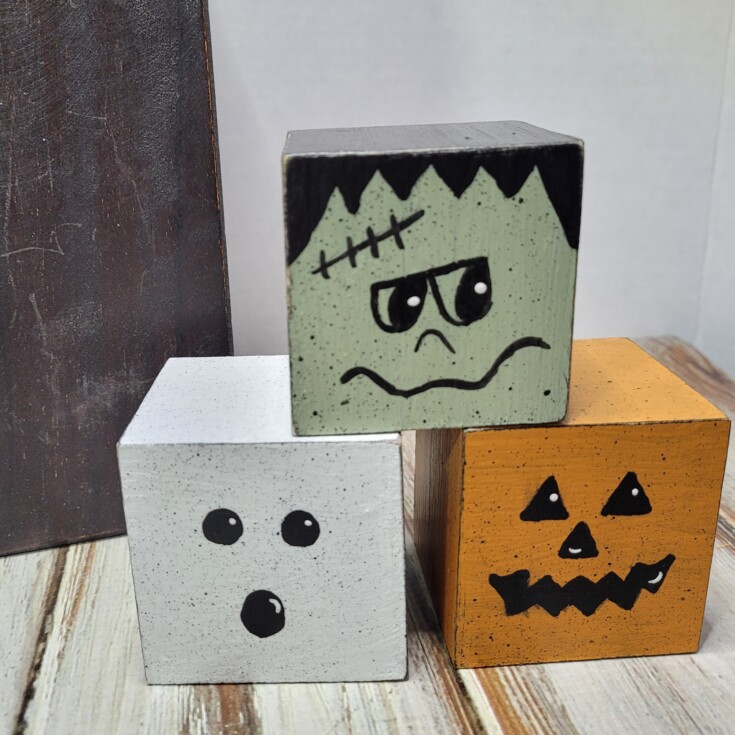
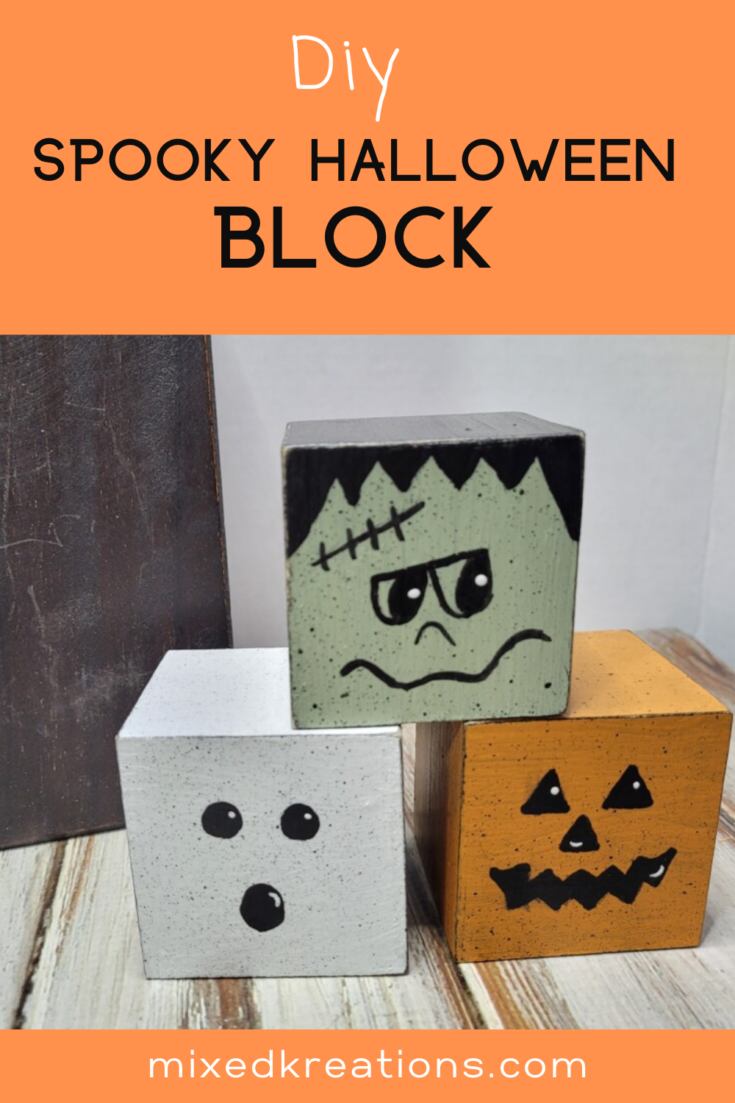
Spooky Halloween Blocks
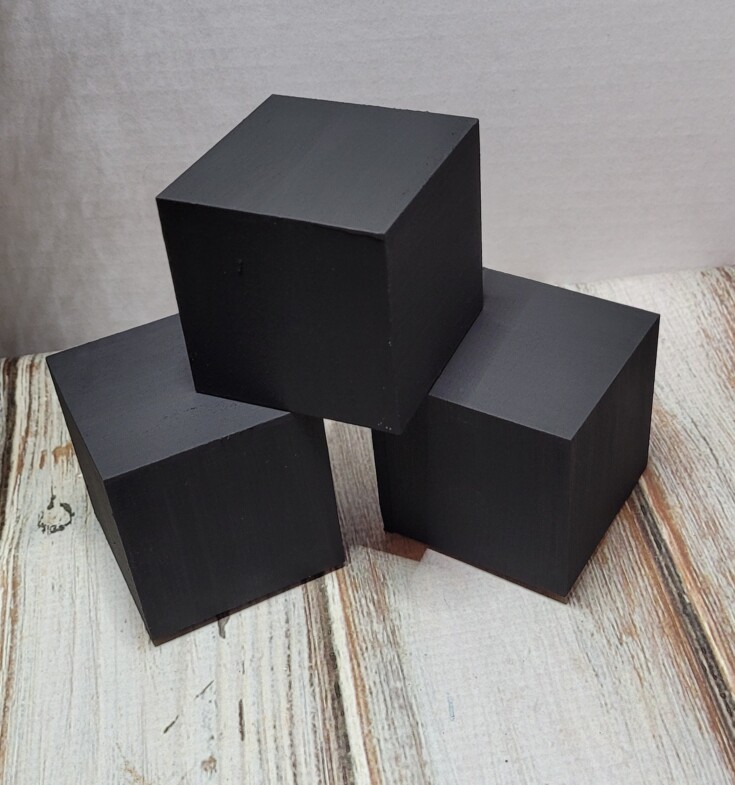
I started off by painted all three cubes with black chalk paint.
Next, I painted them three different colors of chalk paint. White, orange, and black.
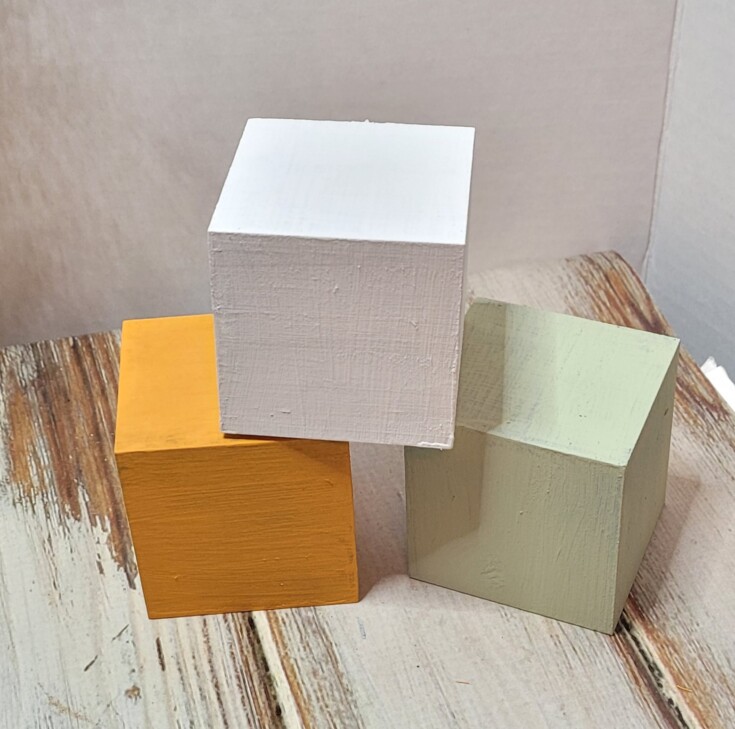
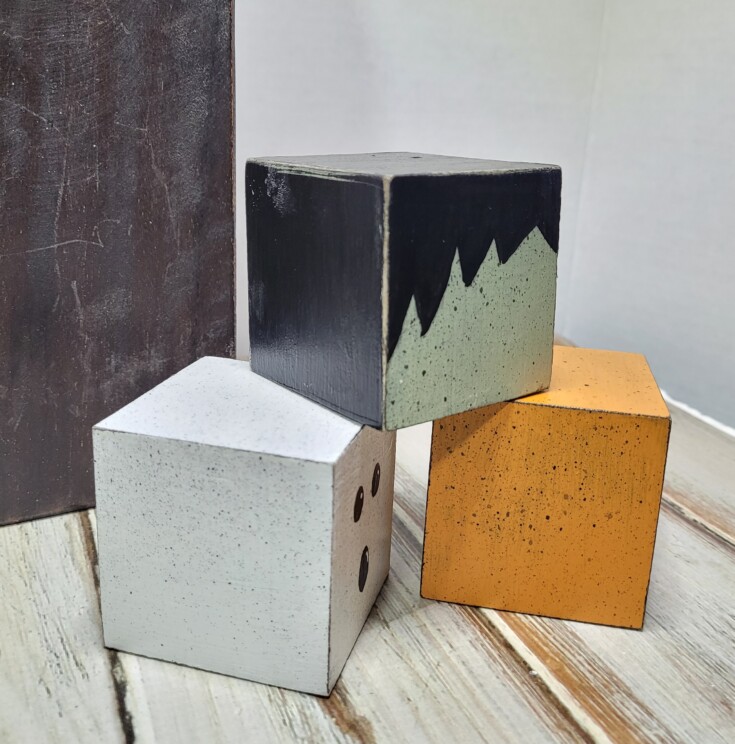
After that I distressed the edges of each block so that the under coat of black and some raw wood showed through. Then use a pencil to draw the faces on the spooky Halloween blocks.
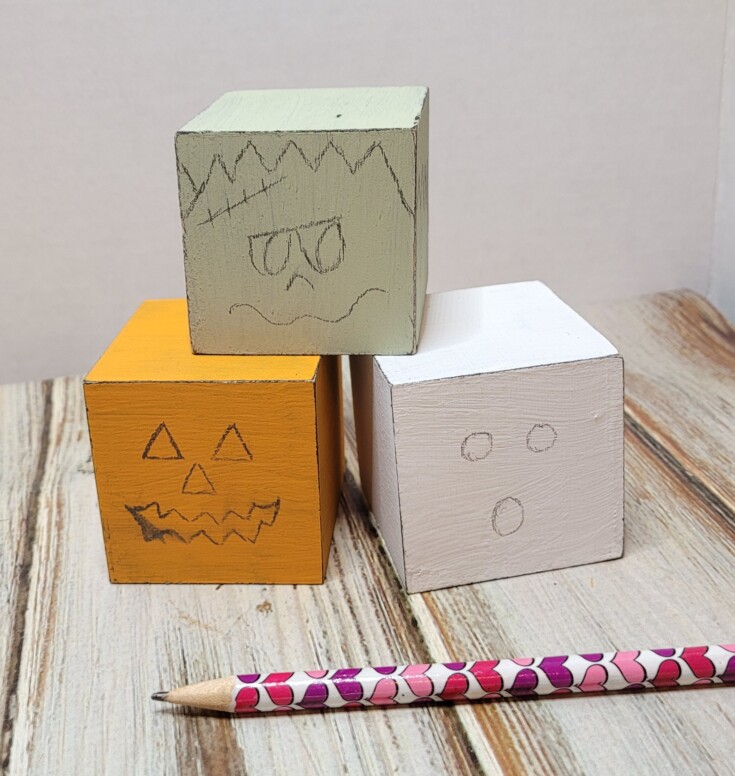
Use a small detail paint brush and black paint for the faces of ghost, pumpkin, and Frankenstein.
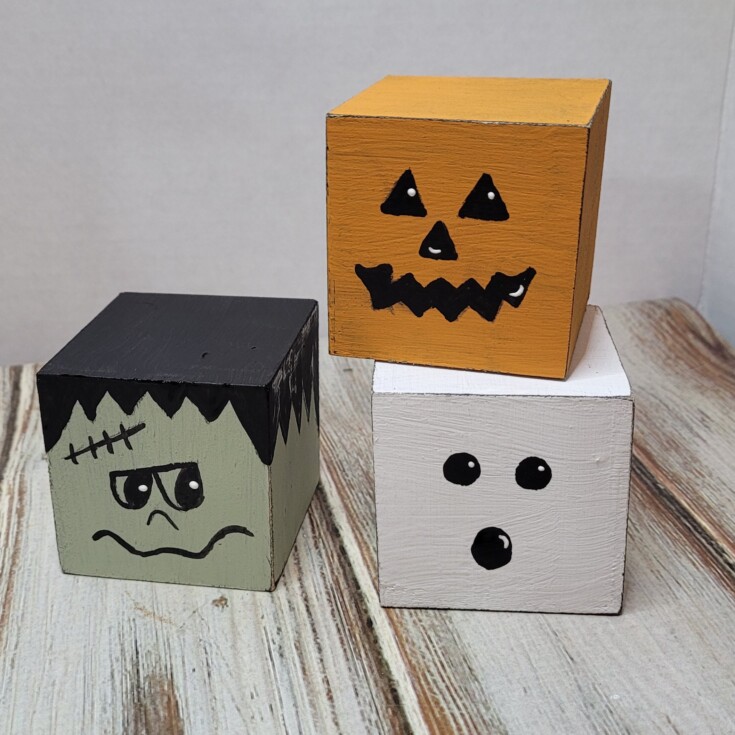
Now paint in Frankenstein’s hair.
Once all is dry I splattered each block with black paint and a toothbrush then, added the dots in the eyes with a stylus tool. The backend of a small paintbrush will work too.
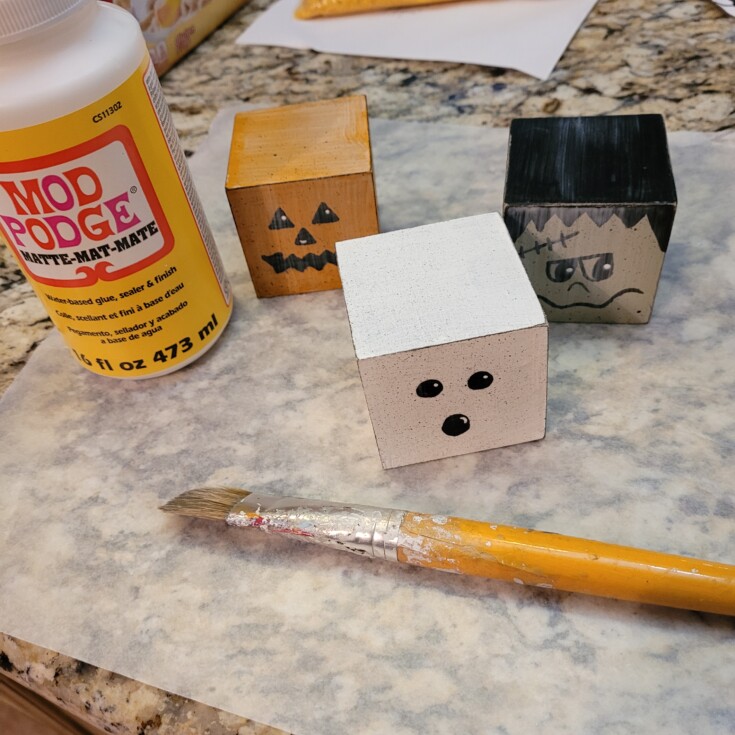
Next, seal them with Mod Podge, and that’s it for these easy DIY Spooky Halloween Blocks. Perfect Halloween décor for the office, shelf, or on a mantle.
Supplies for Halloween Decor Blocks
3 wood cubes
Black, orange, white, and green chalk paint
Paintbrushes
Sandpaper
Mod Podge
stylus tool
More Fun Halloween Projects!
Halloween Garland from repurposed bulbs
Metal vintage strainer Jack-O-lantern
Repurposed items into Jack-O-lantern lamp
Oh lordy I can just imagine the mess. It must have driven you insane. I hope it all works out in the end so that you can share more of your cute crafts. You have such a unique way fo painting faces. I think I’d recognize them anywhere.
Oh it did! When I found out we had to get it done I just wanted to sit down and cry. I was really temped to pay the extra to have them just dig under the house only. But I hate spending money (unless it’s for my crafts, lol) so I just couldn’t bring myself to pay the $7,000 more.
I wish that I could paint more real looking eyes like yours. Maybe one day I will learn.