Mixed Kreations

The Creative Life & Journey Of A DIY'ER

  • Home
  • Diy Projects
    • Handmade Cross Projects
    • Holiday & Seasonal Projects
    • Mason Jars
    • Fun Upcyled Shutters & Spindles
    • Texas Projects
    • Upcycled Cans
    • Wood Projects
    • Jewelry Tutorials
  • Quick and Easy Recipes
  • Shop Mixed Kreations
    • Etsy Shop
    • Mixed Kreations Amazon Influencer
  • DISCLOSURES STATEMENT & PRIVACY POLICY
  • About Me
  • Recommendations
You are here: Home / Jewelry / Jewelry Tutorials / Easy Braided Bangle

Easy Braided Bangle

November 5, 2013 By: Linda @ Mixed Kreations4 Comments

If you enjoyed this post, don't forget to pin it for later!

1 shares
  • Share
  • Tweet

20131102-061542.jpg
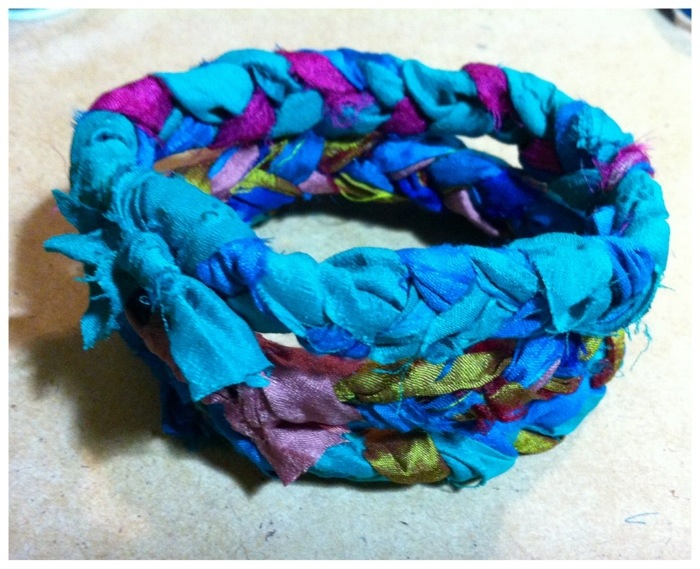
Handmade Shabby Braided Bangle
I’ve been seeing a lot of these cute shabby bangles made from scrap fabric, so I thought that I would give it a try.

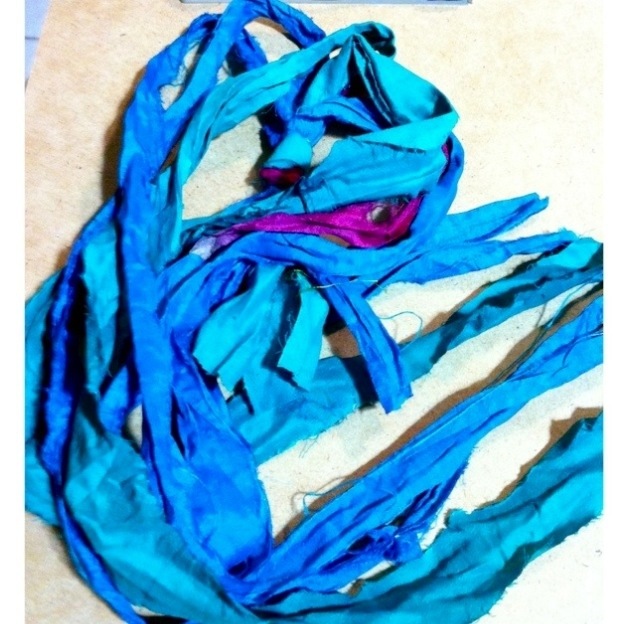
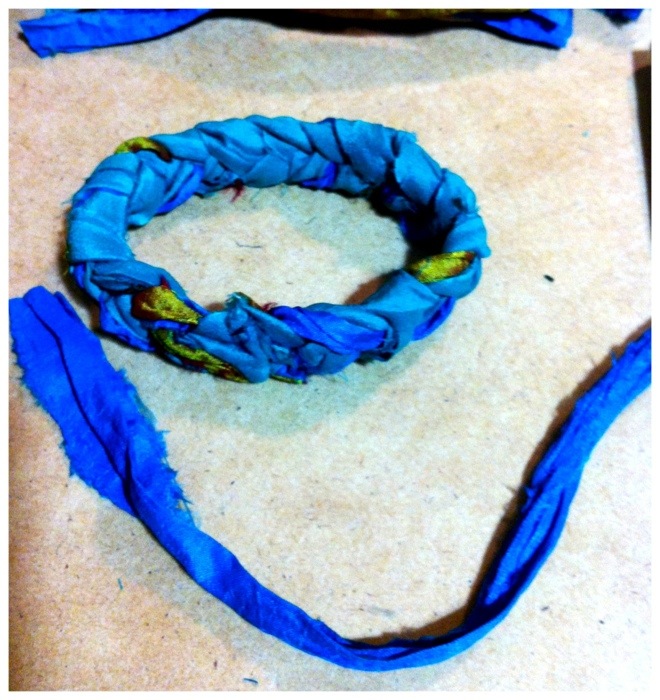
I have several different balls of sari silk remnant strips with raw edges, so I think these will work great for the shabby chic bracelet look that I’m going for.

Project Material Needed
3-6 pieces of scrap fabric 15″ long and 1″- 1 1/2″ wide
1 piece scrap fabric 6″ long
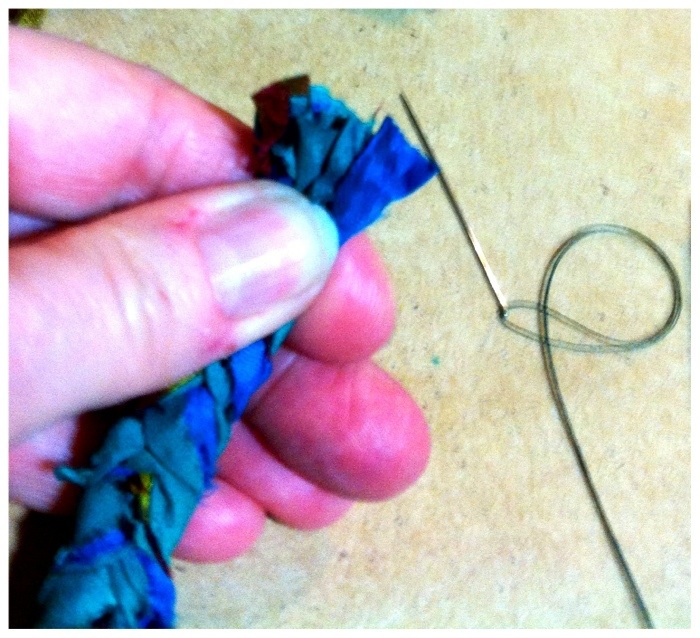
Needle
Thread
Scissors
Jewelry clamp
Clip board (optional)

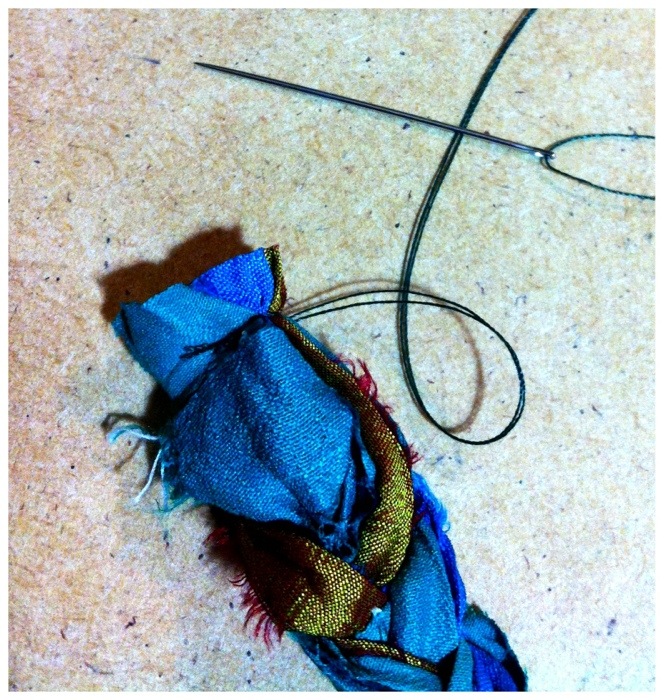
My strips of sari silk are really thin so instead of using three strips, I am going to use six.

20131105-031012.jpg
Cut six strips 15″ long.

20131102-061654.jpg
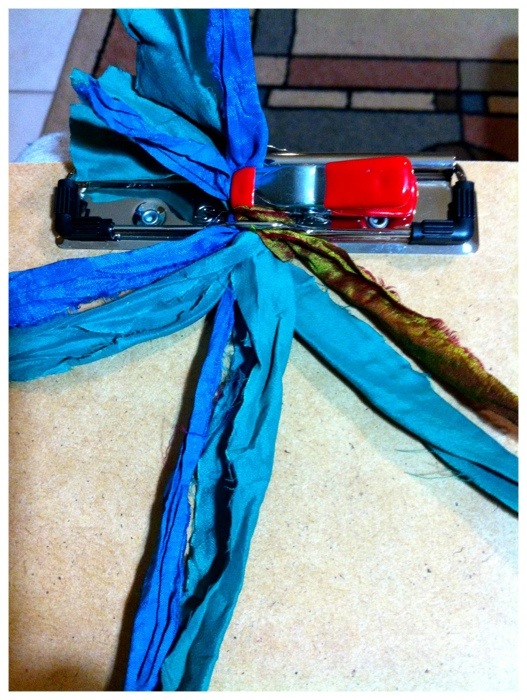
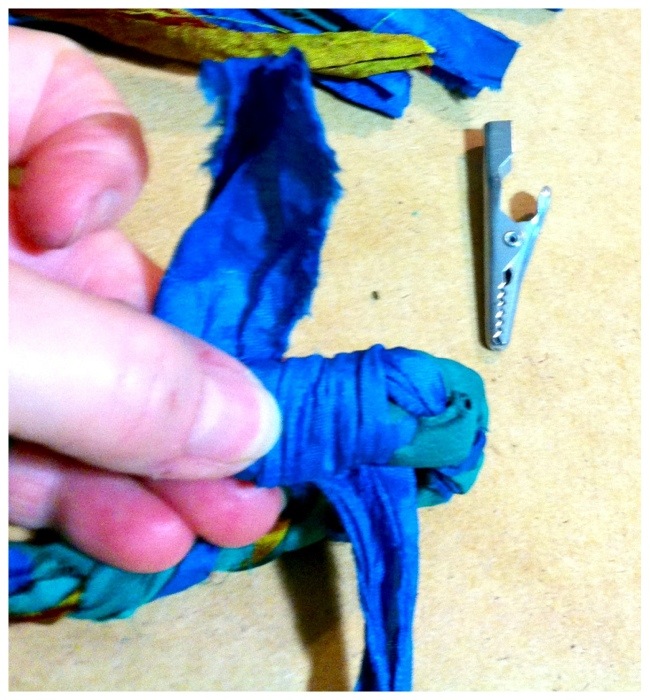
This next step you could either stitch the six fabric strips together now, or just put a clamp on them to hold them together and stitch them together later.

I have tried it both ways. But for this tutorial I clamped them together.

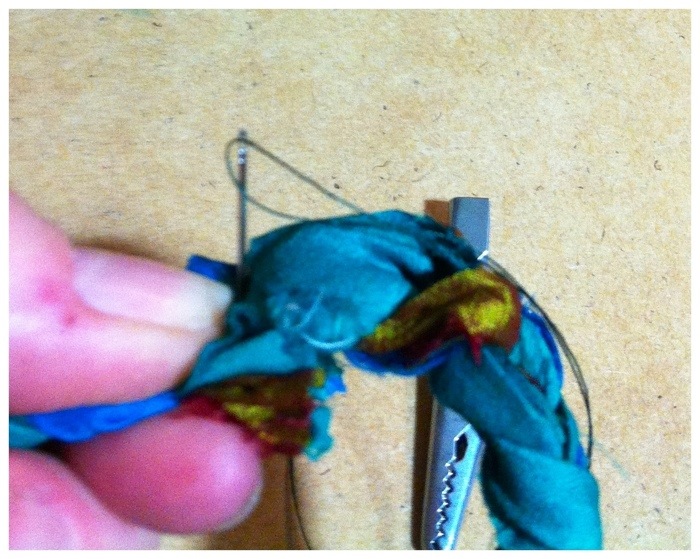
I separated the fabric strips into three sections for my braiding.

20131102-061728.jpg
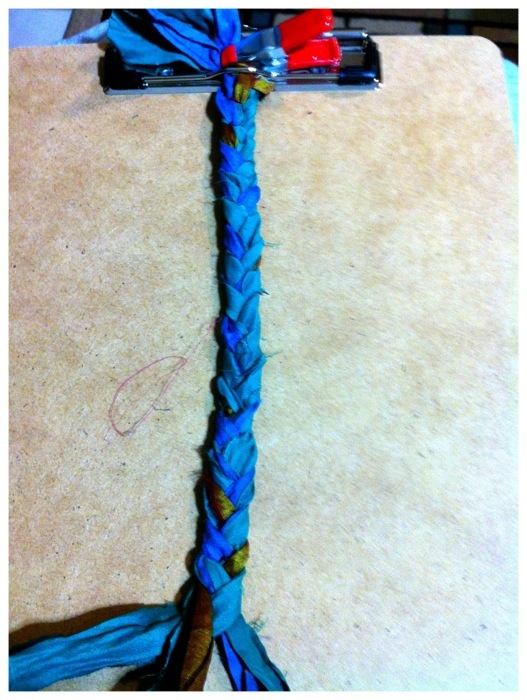
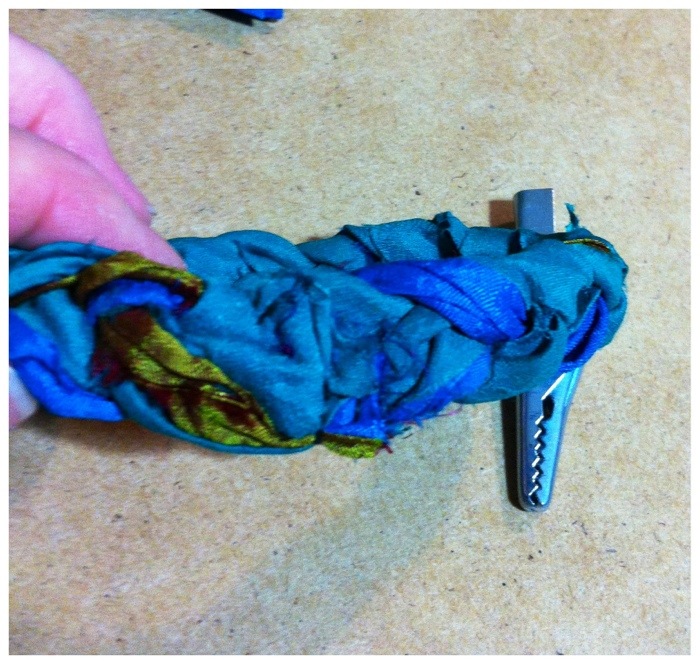
Braid your fabric strips till you get a braided strip approximately 8″ long.

I find that 8″ is about right, that once sewn together it will slip over my hand.

20131102-061904.jpg
Once you get your braid the length you desire trim the loose ends off.

20131102-062005.jpg
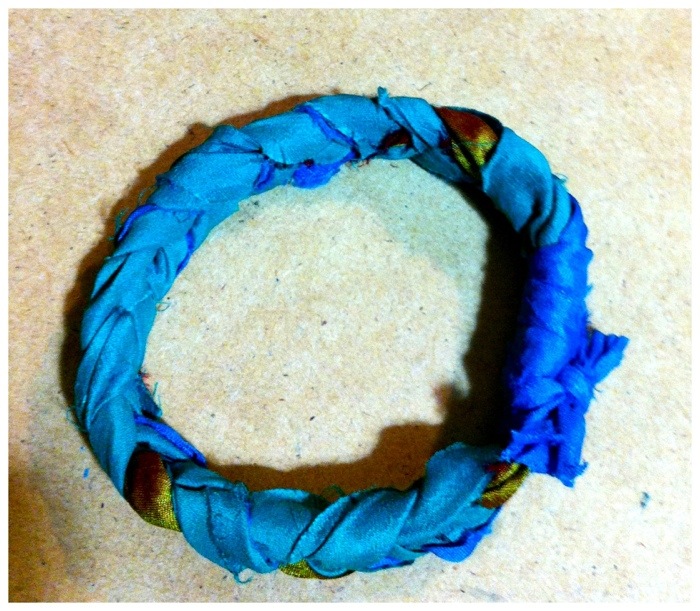
Stitch the ends together.

20131102-062218.jpg
Trim off the loose ends from the other end of your braid, and stitch this end on top/together with the opposite end to connect and form your bangle.

20131102-062245.jpg
Now lets cover the stitching.

20131102-062305.jpg
Take a 5″-6″ strip of fabric and wrap it a few times over the area where you stitched the two ends together.

20131102-062328.jpg
Tie a knot.

20131102-062357.jpg
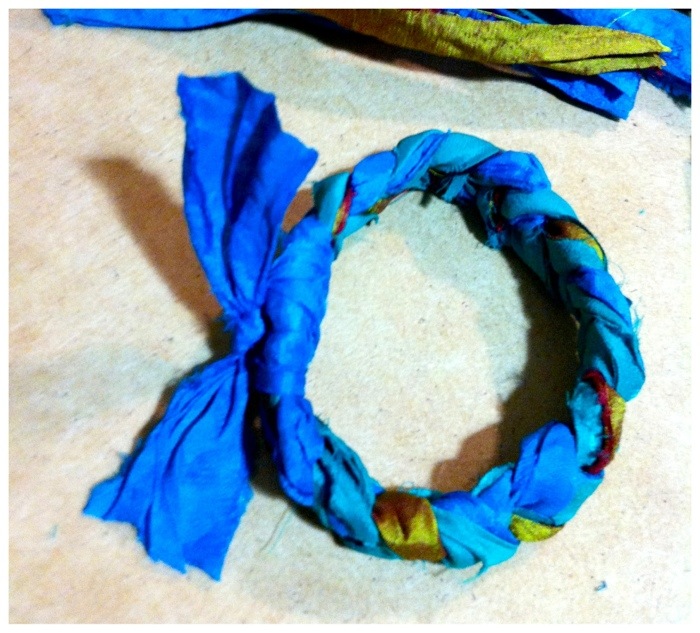
Trim ends, and your bangle is finished.

20131102-062413.jpg
Wasn’t that easy? You can wear one.

20131102-062441.jpg
Or make several and wear them together for the shabby stacked style.

20131102-062458.jpg
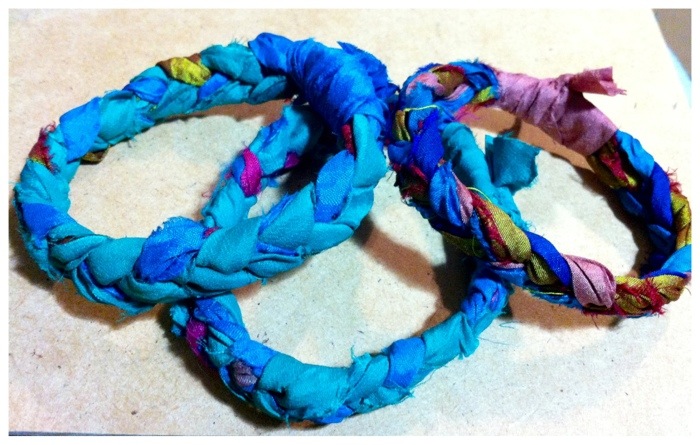
I think several of these bracelets stacked together with a charm would be really cute. What do you think?

With a charm , or without?

If you would like to receive new blog post please follow me on Facebook, Twitter, or Bloglovin.

If you enjoyed this post, don't forget to pin it for later!

1 shares
  • Share
  • Tweet

If you enjoyed this post, would you mind taking the time to:
  • Share, or Pin for later reference.
  • Follow me on Facebook, Twitter, Pinterest
  • Leave a comment
Thank you so much for taking the time to comment. I love hearing from my readers, and appreciate the kind words.

Leave a Reply Cancel reply

Your email address will not be published. Required fields are marked *

CommentLuv badgeShow more posts

This site uses Akismet to reduce spam. Learn how your comment data is processed.

Thanks for sharing your thoughts and comments! I read and appreciate every single one!

Follow Mixed Kreations

Facebooktwitterpinterestyoutubeinstagram

My Favorites on Amazon

My Amazon Influencer Shop

Homemade Chalk Paint

diy chalk paint

How to Make Rusty Cans

how to make rusty cans

How to Make a Flag From a Wood Shutter

how to make a 2 sided american flag

Easter Egg Jar

How to make a Easter egg jar

Diy Texas Tile Coasters

Texas Tile Coasters

Update a Thrift Store Find

How to Update a Hanging Box in 4 easy steps

Categories

By Kelli & Crystal From Learn To Blog Hangouts

#LearntoBlog Hangouts

Dominate Course

LearntoBlog
Featured on Hometalk.com
Rakuten Affiliate Network Welcome Program
Grow and Make

Dollar Tree

Creative Fabrica Font Bundles

Font Banner - Free Fonts

Featured At

Featured At

Mixed Kreations featured in Country sampler

Featured at

mixed kreations is featured in Bella Crafts online magazine
The Pin Junkie

Canva Photo Editing

Amazon Affiliates

I am a participant in the Amazon Services LLC Associates Program, an affiliate advertising program designed to provide a means for sites to earn advertising fees by advertising and linking to Amazon.com.

Disclosures Statement

This policy is valid from 19 July 2013 This blog is a personal blog written and edited by me. For questions about this blog, please contact Linda @ ldkeesee@mixedkreations.com. This blog accepts forms of cash advertising, sponsorship, paid insertions or other forms of compensation. The compensation received will never influence the content, topics or posts made in this blog. All advertising is in the form of advertisements generated by a third party ad network. Those advertisements will be identified as paid advertisements. The owner(s) of this blog is compensated to provide opinion on products, services, websites and various other topics. Even though the owner(s) of this blog receives compensation for our posts or advertisements, we always give our honest opinions, findings, beliefs, or experiences on those topics or products. The views and opinions expressed on this blog are purely the bloggers' own. Any product claim, statistic, quote or other representation about a product or service should be verified with the manufacturer, provider or party in question. This blog does not contain any content which might present a conflict of interest. To get your own policy, go to http://www.disclosurepolicy.org

Copyright © 2023 · Modern Blogger Pro Theme By, Pretty Darn Cute Design