Hi All! I hope everyone is well, and staying cool. I haven’t got much done in the past few weeks, because I have been suffering from back pain. I’ve come to the conclusion that it is our sleep number bed, that I haven’t liked since day 1. But it has helped the hubby tremendously with his sciatic nerve pain, but now I believe it is causing me my pain. So, I am now going to a chiropractor for help, and added a piece of plywood under my side of the bed. Hoping that is going to help, time will tell. Enough of that let’s get on with How to paint a farmhouse style tissue box cover
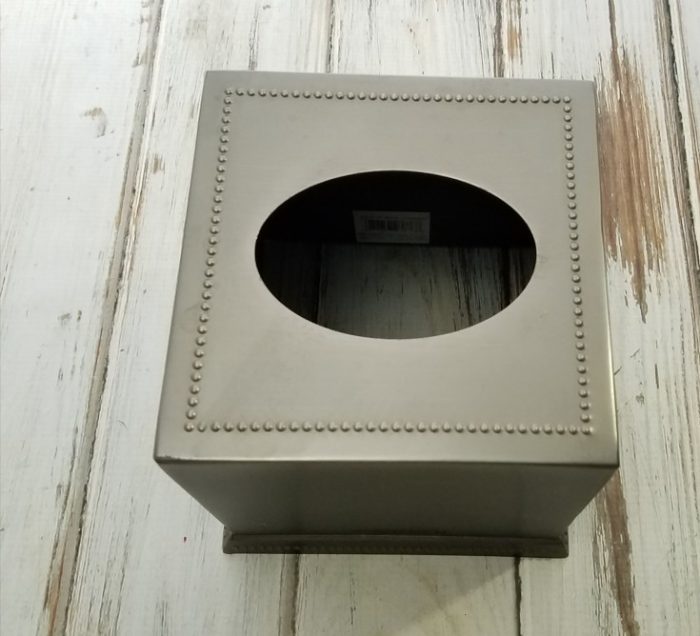
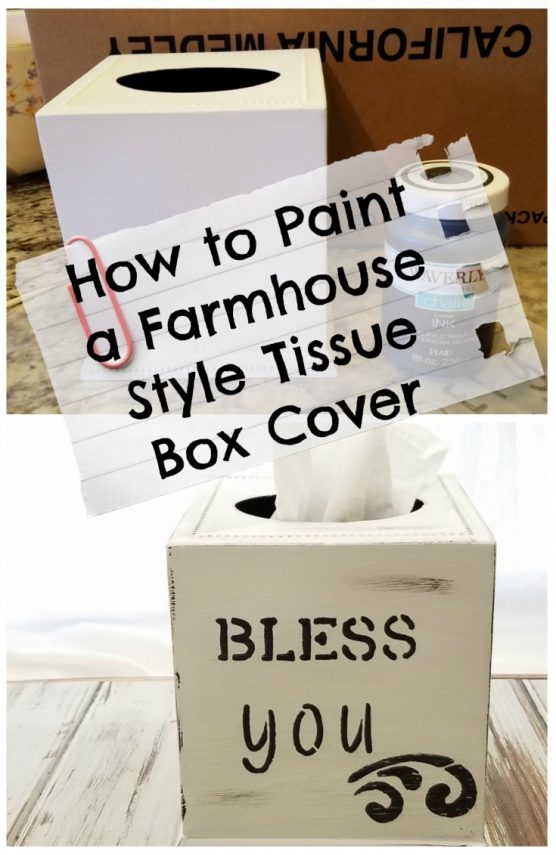
I have two tissue box covers that I will be sharing. The first one is going to be a makeover of a metal tissue box cover that I picked up at Goodwill. It is for the small square box of tissues.
***This post contains affiliate links, if you click on an affiliate link & buy something I may receive a small commission at no extra charge to you. The affiliate money I earn helps pay the expenses to keep this site running. Please read my disclosure for more info. Thanks so much for your support!***
Material List
Tissue box cover
White chalk paint
Black chalk paint
Letter stencils
Stencil brush
Sandpaper
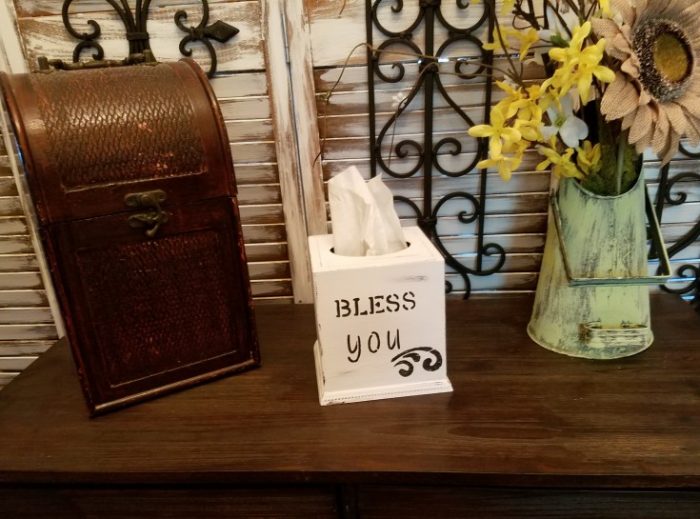
Square Farmhouse Style Tissue Box Cover
First, I washed, and dried the tissue box cover.
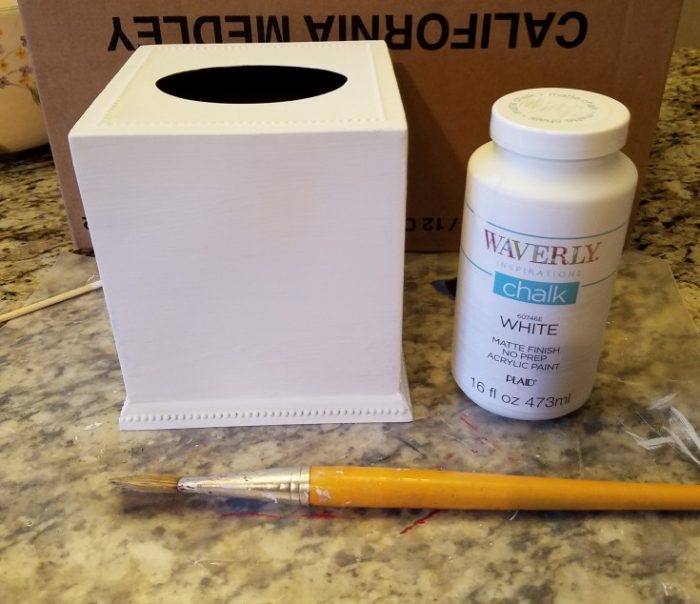
Next, I gave it two coats of white chalk paint, letting each coat dry thoroughly.
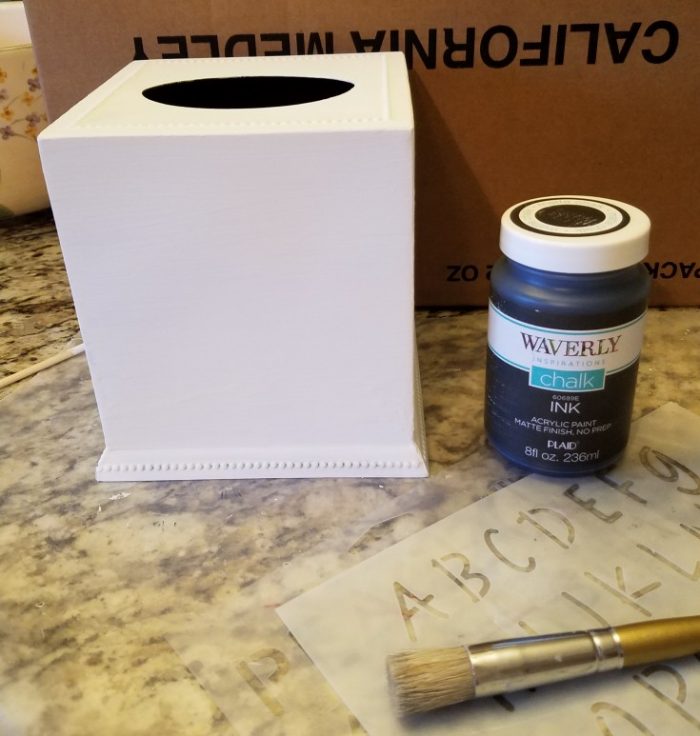
After that I stenciled in the lettering for Bless You, and the design using black chalk paint.
Once thoroughly dry I took it outside and gave it a light sanding to take off some of the paint on the edges, and on the small dots on the very top, and around the bottom of the tissue cover.

Then I brought it back in and using just a little black chalk paint I smeared a dab of black on some of the edges and sides of the farmhouse style tissue cover. Now just place the cover over top of the square tissue box, and your good to go.

[tweetthis display_mode=”box”]Diy tissue box cover – farmhouse style. [/tweetthis]
Rectangular Farmhouse Style Tissue Box Cover
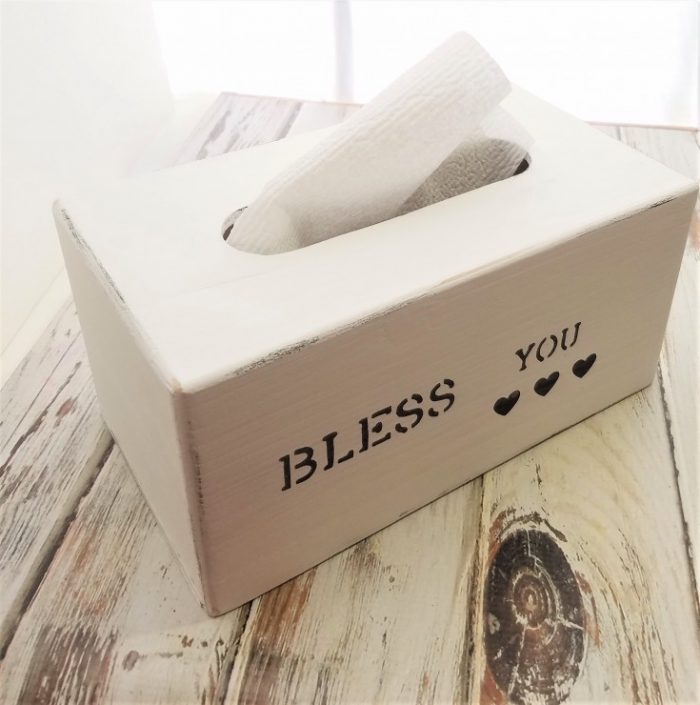
This tissue box cover I purchased at Hobby Lobby, and it is made of wood. The bottom slides out to put the rectangular shape tissue box inside covering it completely.
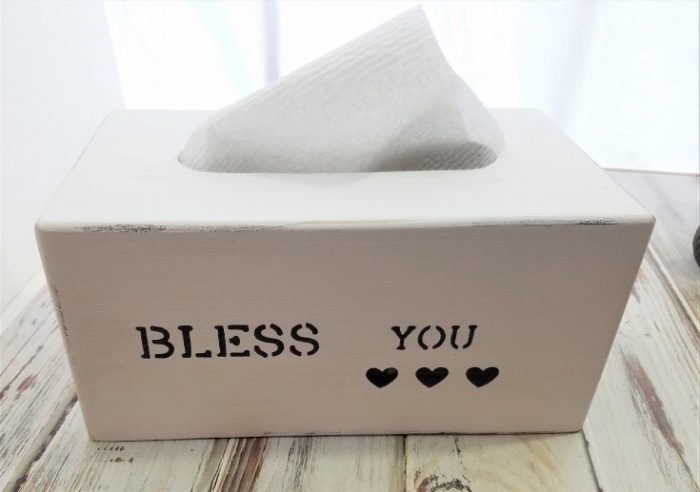
For this farmhouse style tissue box cover, I painted it the same as the one above except I used different font stencils, and added hearts instead of the design.
More Fun Projects You May Enjoy!
Farmhouse style box
Farmhouse style wood signs and tray
Decorative chalk paint bottle
Linda these are both so much nicer than the generic holders we see at the stores. I think that the black really adds a sweet touch to the over all look.
I hope you are feeling better. Have those chiropractic sessions helped at all?
Thanks Mary! I am really happy how they turned out!
One day I am feeling better then the next I’m in pain again. I still have 4 more weeks so I hope my back will be better by then. They have me doing more stretching and exercises daily. Like I don’t have enough to squeeze in daily as it is. LOL
These are darling! I’ve always hated the way tissue boxes look without cute coverings. Nice makeover! Pinned 🙂
Thank you Wendi! I’m really happy how they turned out, and they were so easy. Thanks so much for pinning!
Those are so darn cute! I love them & haven’t seen painted tissue box covers yet. You did a good job. Pinned.
Thank you Florence! I got the idea when I ran across a plain metal cover at Goodwill. Thanks so much for pinning!
Oh dear Linda, I’m so sorry to hear about your back problems. Hope the chiropractor helps, although a visit to them is pretty sore too. Your tissue boxes look lovely by the way and I agree with Mary, adding that personal touch is so much better than just a plain old boring box
Thanks Michelle! I love how they turned out!
My back is feeling better, and I am not enjoying my chiropractor visits at all. How can you relax when you know someone is fixing to pop parts of your body. Then they piled on more exercises, and with a ball. You should see me doing the elbow to knee crunch, I fall off the ball every time. LOL
LOL Linda, you gotta stay on that ball 😉 I am glad though to hear that your back feels better though
I’m trying, But it’s not easy. That thing rolls to much. Lol. Maybe I should let some air out
Linda, these both turned out perfect! And it’s the right time of year for these projects. Back to school tends to bring home the sniffles! And these would also be great teacher gifts, can you imagine having all those germs and all those kids in one room? LOL
Thanks Nikki! They would be the perfect gift for teachers, and it is the season.
I love these, and I wish I had seen this a week or two ago. I just bought a tissue box cover for my daughter’s room… I will keep this in mind for the future though! They look great!
Thanks Amy! This is such a easy project, and i love how they turned out. Hobby Lobby does sale the large tissue cover, but have’nt found anymore of the small.