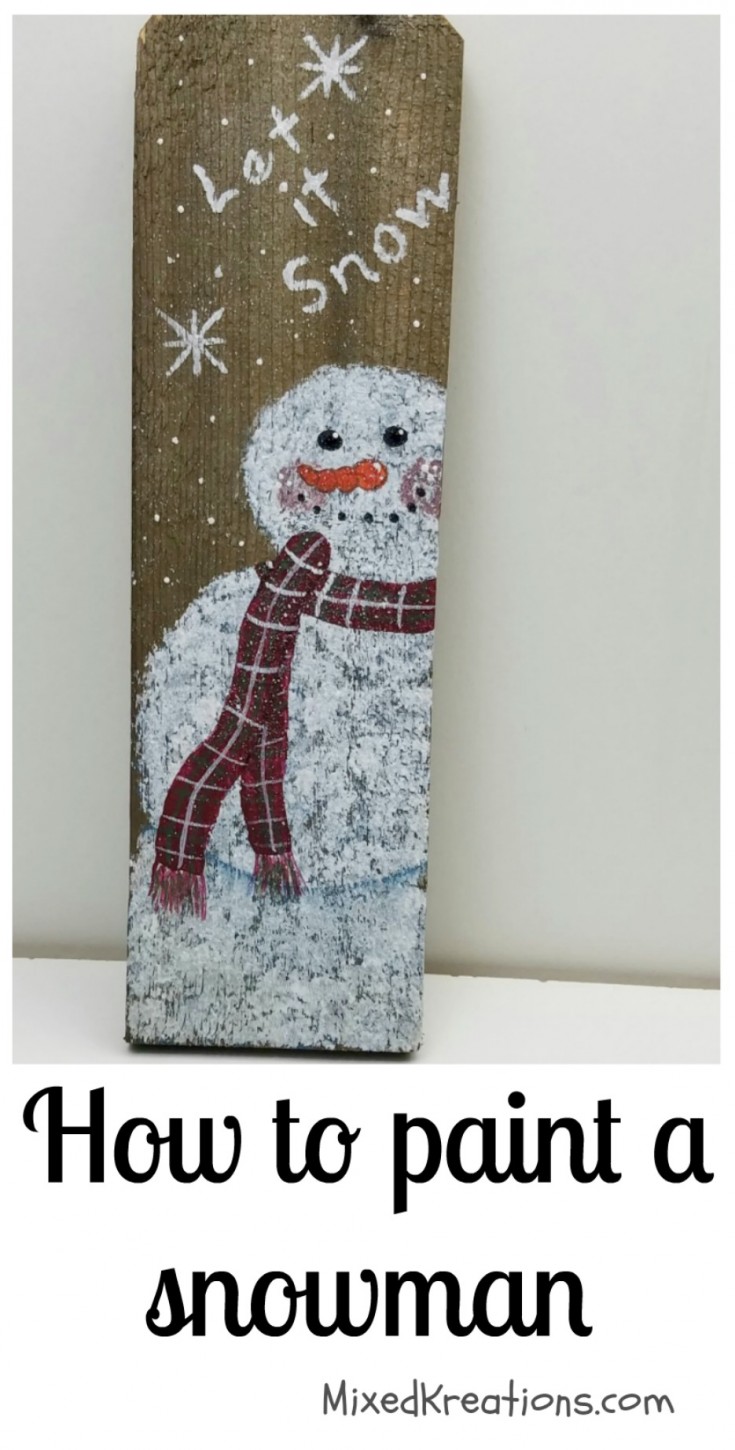
Today I am going to show you how to paint a snowman. This is a quick and easy project that you can paint on just about anything to add some fun holiday spirit to any home.
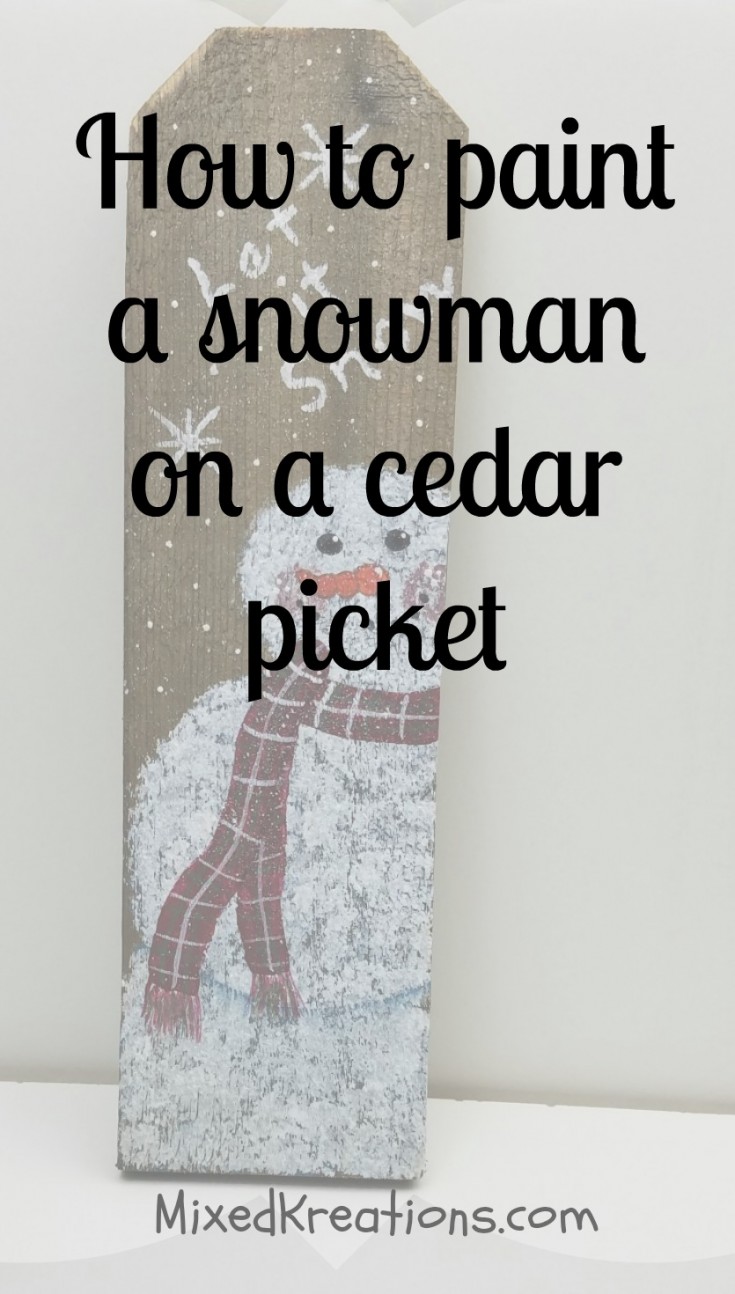
How To Paint A Snowman
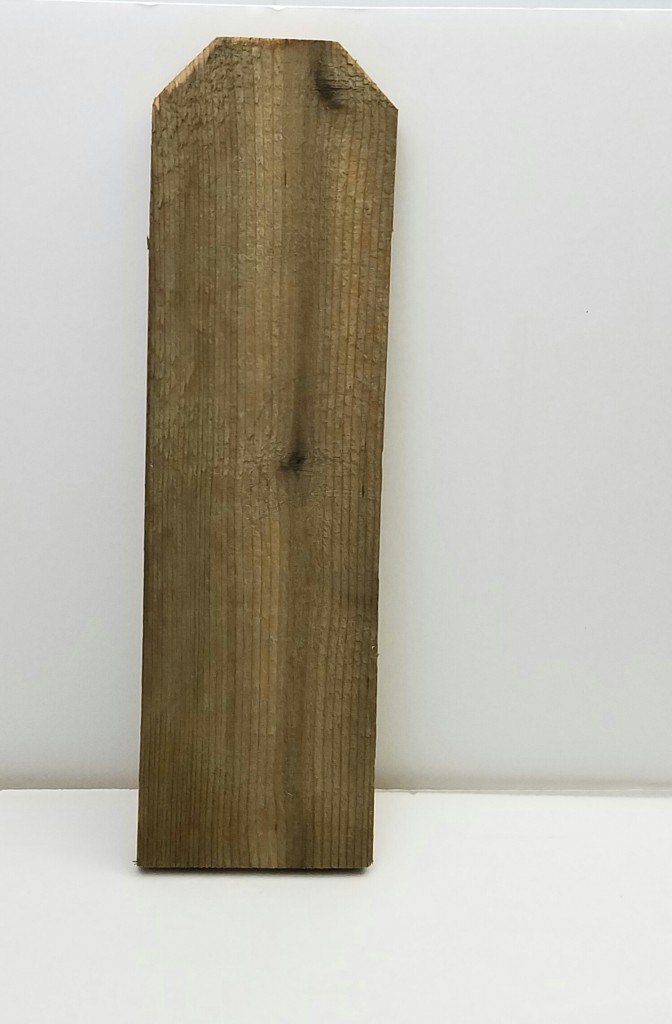
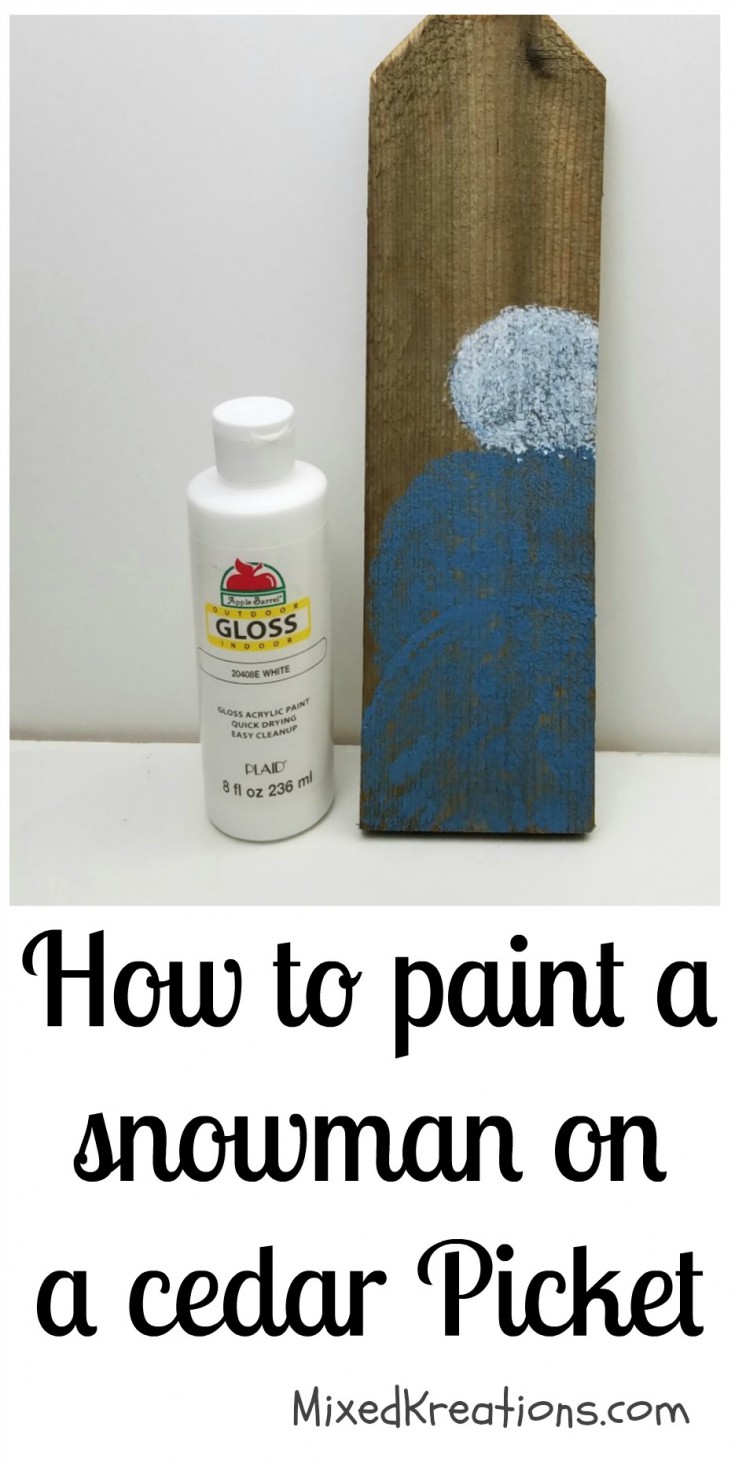
For this project, I started out with a cedar picket that I had added some of my wood aging solution to. But you could paint this snowman on an old cutting board, tray, etc. Then I lightly sketched an outline of a snowman on my piece of wood.
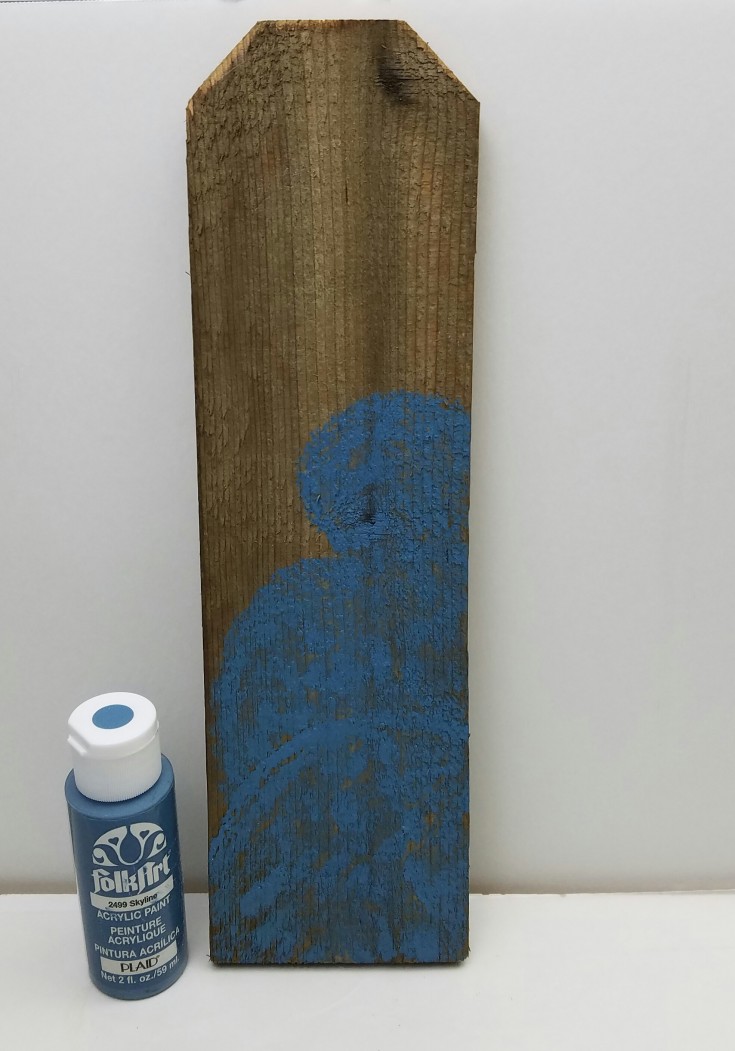
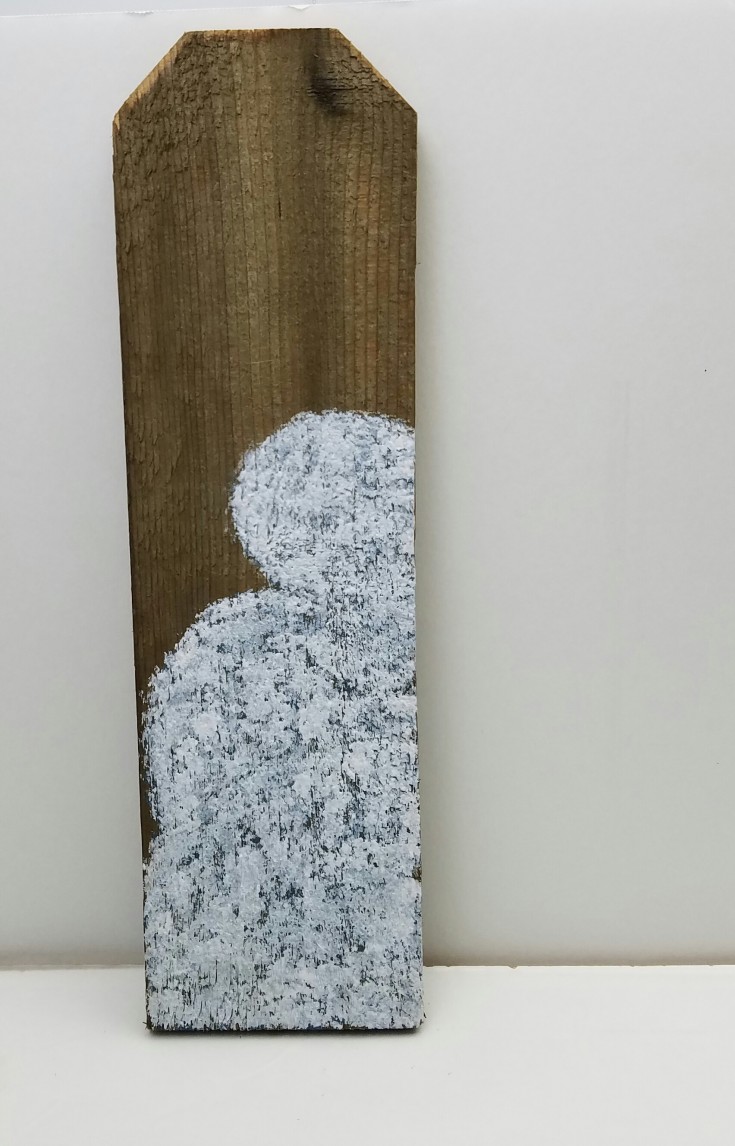
I then used some skyline acrylic blue paint and a old paint brush, and using the stippling technique I added the blue where my snowman was going to be. (Instead of using a fan brush like in the video, use a small round brush). Do not cover the area completely, let some of the wood color showing through.
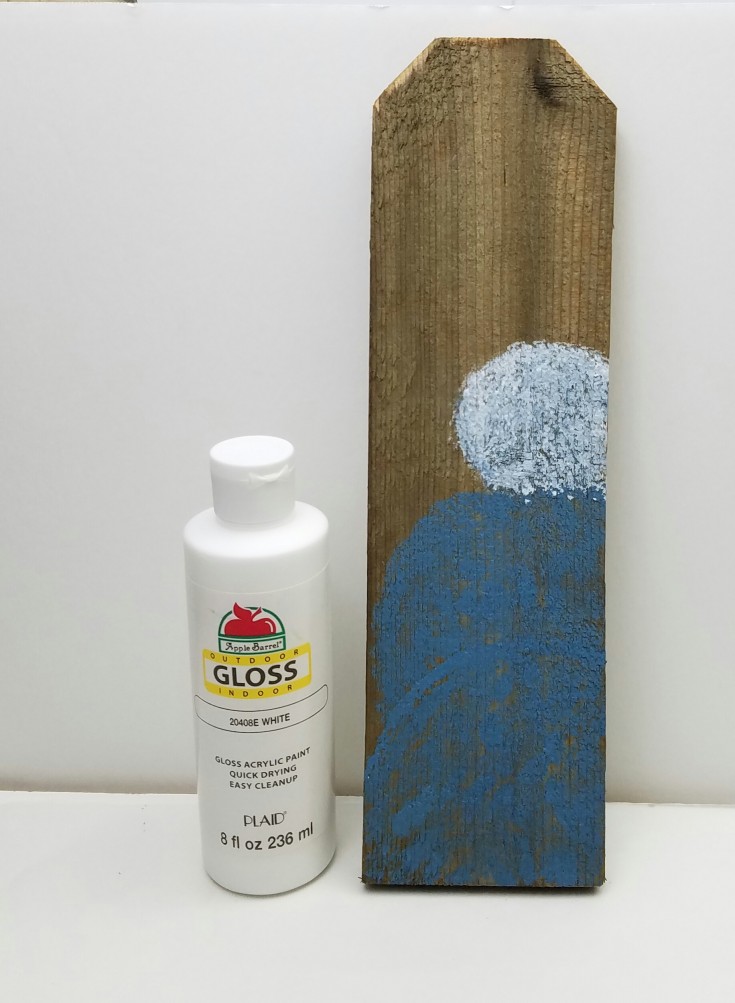
Once my blue paint was dry I went back over it using white acrylic paint and using the stippling technique again to add the white over top of the blue letting some of the blue show through. My theory is that adding the blue first then the white over it gives the snowman a frosty look. After all snowmen are made from snow. Burr
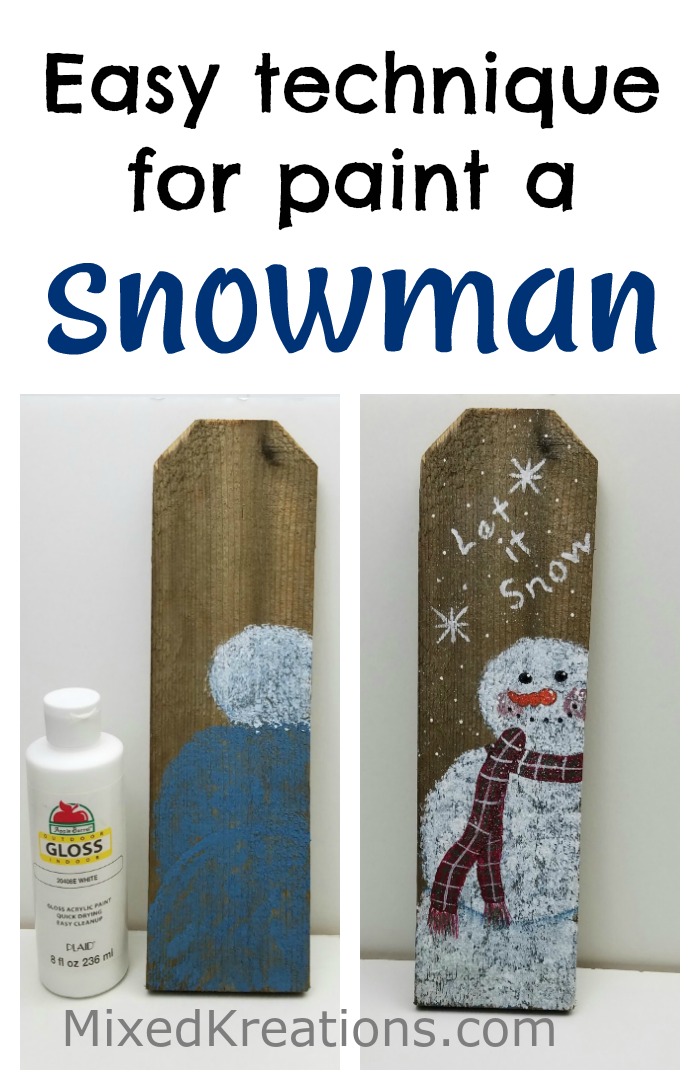
While that is drying, I added the snowflakes and lettering.

Now For The Detail Work
First, I floated some blue paint just under the belly of the snowman to distinguish one snowball from the other. Snowmen are made from giant snowballs.
Then I added the plaid scarf, first by painting it red then adding white and green lines. You may want to used a lighter green then I used so that it would of show up brighter.
Next came the snowman’s cheeks, again using the stippling technique with an old paint brush. Then came the nose, eyes, and mouth. You can find some cute snowman faces on Pinterest.
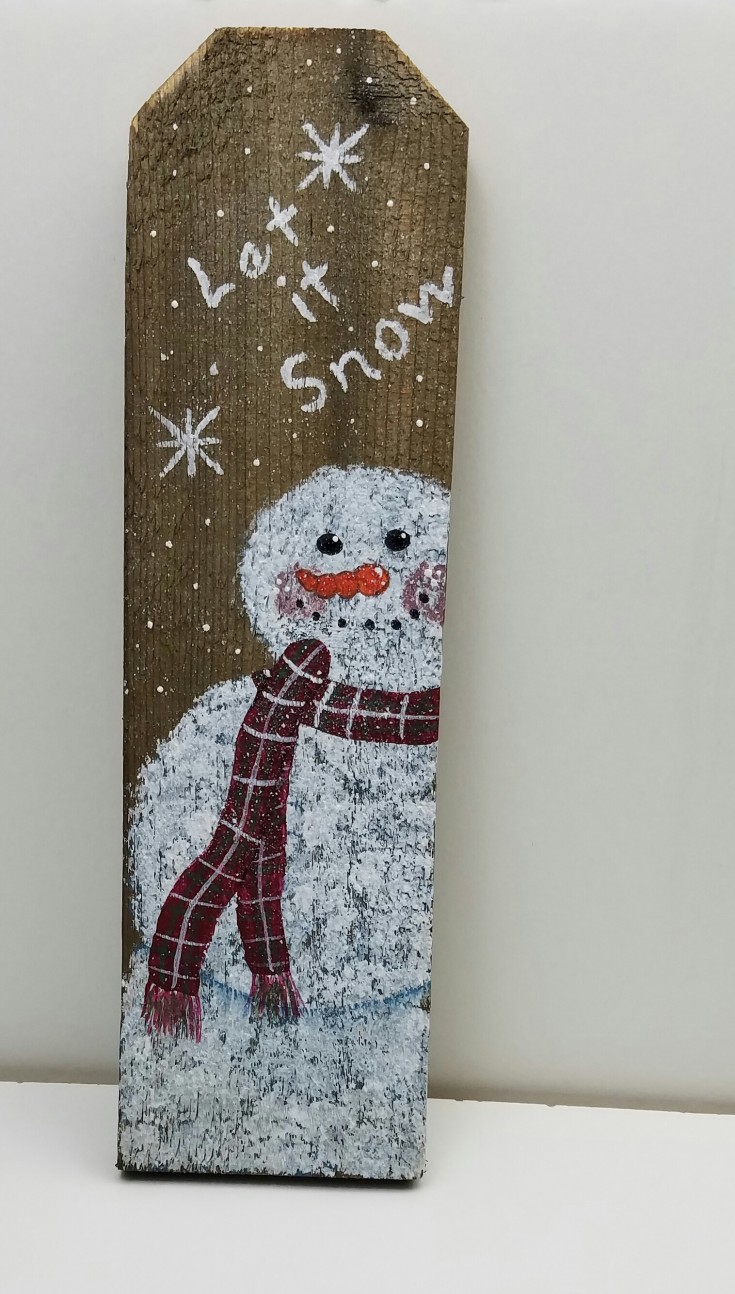
Lastly, I splattered everything using white acrylic paint and a old toothbrush. Giving the effect of small snowflakes.
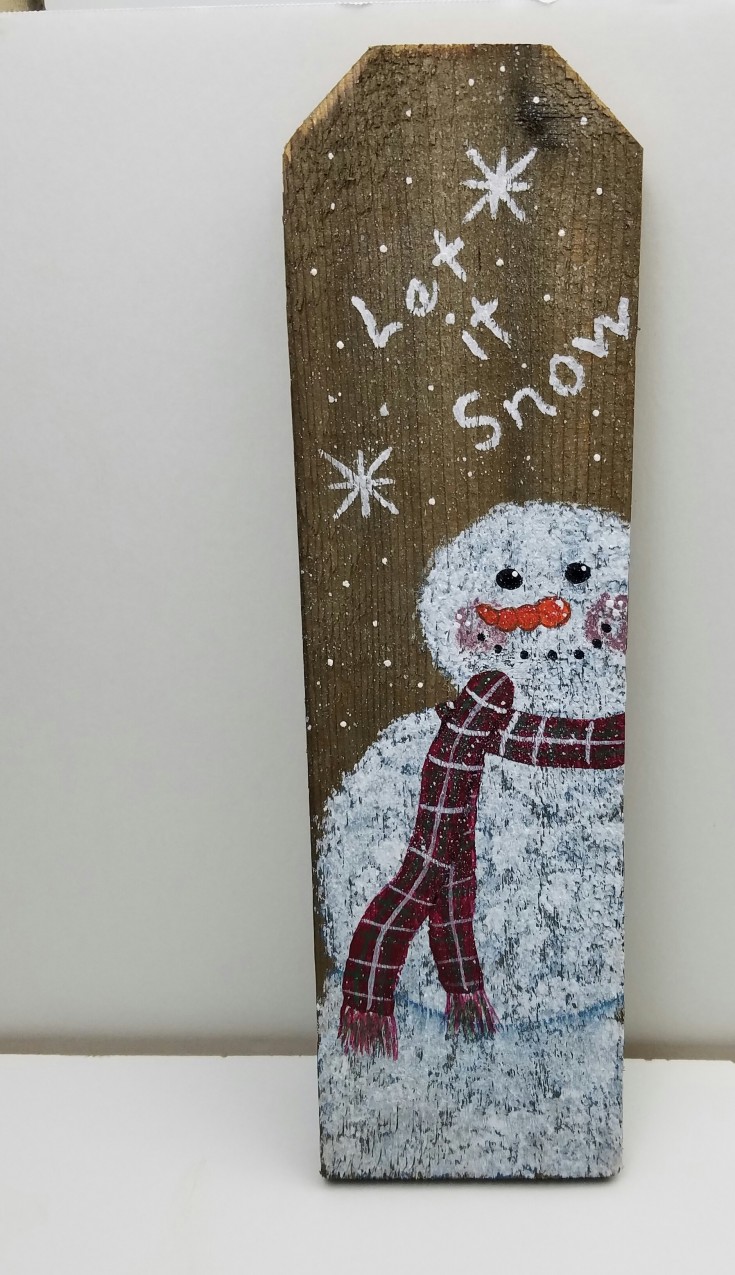
That’s it for my how to paint a snowman tutorial.
Isn’t he adorable?
*This post contains affiliate links, if you click on an affiliate link & buy something I may receive a small commission at no extra charge to you. The affiliate money I earn helps pay the expenses to keep this site running. Please read my full advertising disclosure for more info. Thanks so much for your support!*
Material List – How To Paint A Snowman
Cedar Picket
Skyline acrylic paint -snowman
White acrylic paint – snowman, lettering, snowflakes,
Black acrylic paint – eyes and mouth
Green acrylic paint – stripe on scarf
Mauve acrylic paint – cheeks
Red acrylic paint – scarf
Orange acrylic paint – nose
Brown acrylic paint – outline around the nose
Paint brushes
Tooth brush
More Post You May Enjoy
Snowman Lantern
Rustic Wood Snowman Block
Burlap Tree On Wood Picket
I love the layering of paint and the texture you created with it! So much more beautiful and interesting than just white paint slapped on with a brush (which is totally what I would have done 😉 ).
Thank you Nkikki! I took a tole painting class years ago and learn a lot of little things to do that can really make a difference in painting. Something as simple as just splattering a piece can change the look.
This is adorable! Now I want to find some planks!
Thank you Terri! He really is fun and easy to make.
Aw, well this is downright adorable and looks like SO much fun!! I LOOOOVE the texture you’ve added to it, it really gives it that frosty effect. Thanks for sharing! <3
Thank you Savannah! I’m really happy how he turned out, and glad that the technique worked and he looks frosty. LOL
Thanks for stopping by, and have a great day!
What a great way to re-use scrap wood! Thanks for sharing Linda!
I save every piece of scrap wood that has potential for another craft project. LOL
Thanks for stopping by, have a great day!
Linda this is such a cute idea. I love all of the details you have painted on the picket. Is it snowing in your neck of the woods? But what am I saying you live in Texas!
Thanks Mary! I took a tole painting class years ago, one of the best things that I did to improve on my painting. It’s amazing what a difference a few easy technique’s can make. No it’s not snowing, but believe it or not we do get snow every once in a while. Last year we had a warm winter and we still got a light dusting of snow, enough for me to make a 6″ snowman when I got home from work. LOL. When usually get more ice though. Thursday and Friday it suppose to get down in the 20’s but the rain suppose to stop by then.
This is a great project. Your little guy is truly cute and adorable. Pinning I need to do some of these.
Thank you Leanna! He’s not hard at all to paint.
He’s so sweet Linda. Adding the blue behind the white makes such a difference. It seems to add a whole new dimension to the painting
Thanks Michelle! I thought that it would help him look a little frosty.
Linda, the skyline blue did give a lot of depth to the snowman, I’ll have to try that. He does look icy cold! The scarf is so cute, I love that you made a plaid pattern, I would have never thought of that. But it’s the face that I love the most! That carrot nose is so adorable, and his rosy cheeks. I can see the glint in his eye. I think he has a secret! LOL
Thank you Nikki! I’m glad the undercoat of blue gave it the icy look I was looking for. I always picture snowmen with a carrot for the nose. The cheeks and the glint in the eyes was just a simple things that I learned in a tole painting class years ago. You should of seen my painting before I took the class. LOL
Did you shorten the plank? If so what is your length ? I️ can’t wait to use my wood planks I️ purchased a couple years ago .
Hi Pam! Yes I cut the picket to 15″ in length. If you have the wide pickets you could even cut it a little longer.
Adorable! Thank you for sharing your techniques! I really love the face. So expressive and the eyes are so sparkly and kind.
Thank you Gigi! He is easy to paint, and he’s a happy and friendly snowman 😉
Another way to paint the blue and white is to use crumpled up plastic wrap.
Hi Carol! Yes, you are absolutely right! That would work for painting a snowman as well.