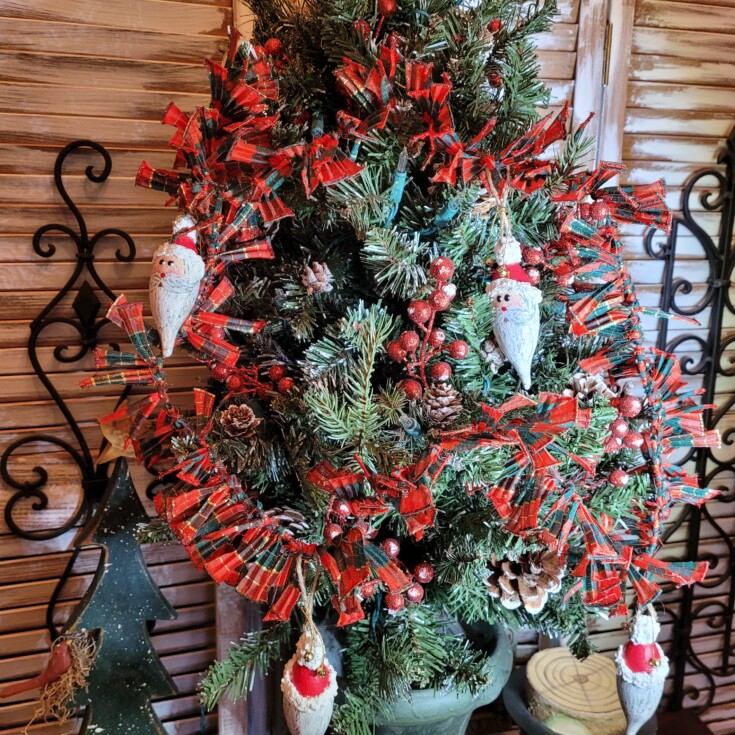
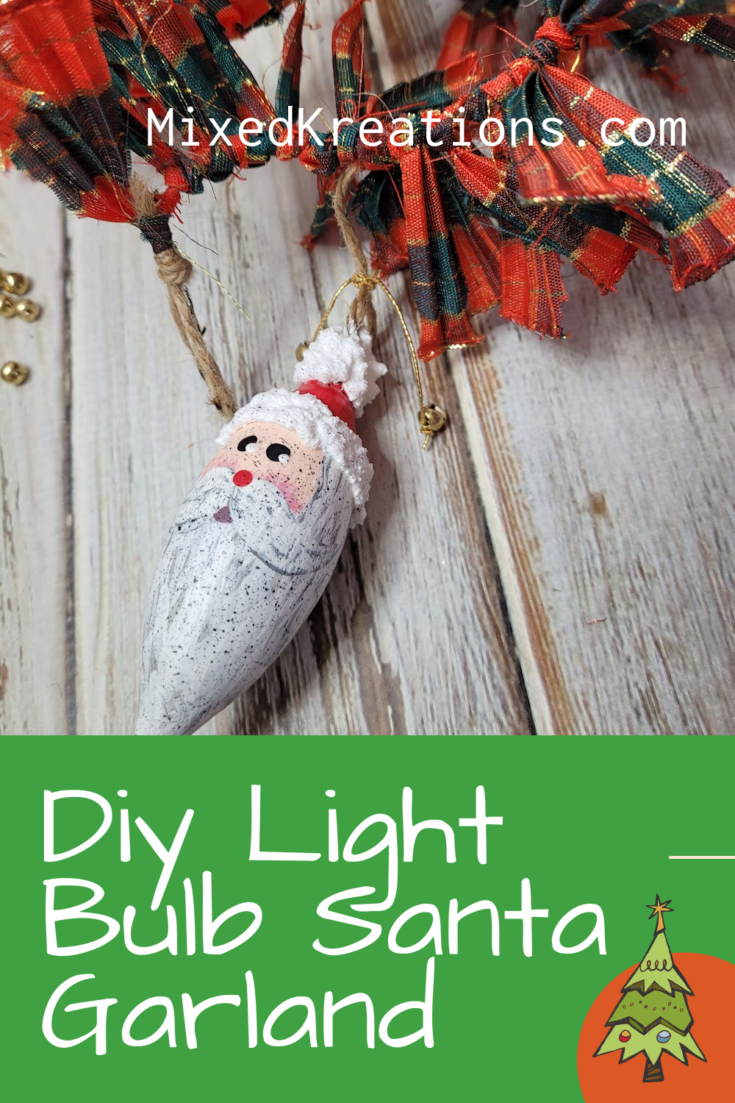
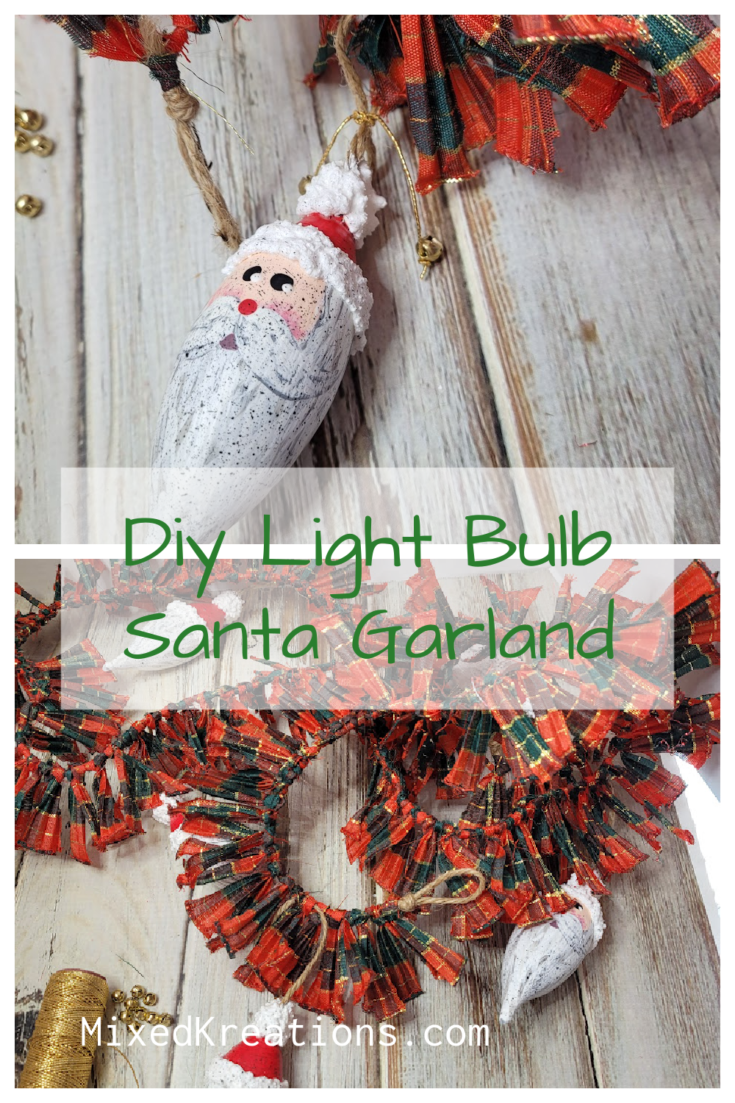
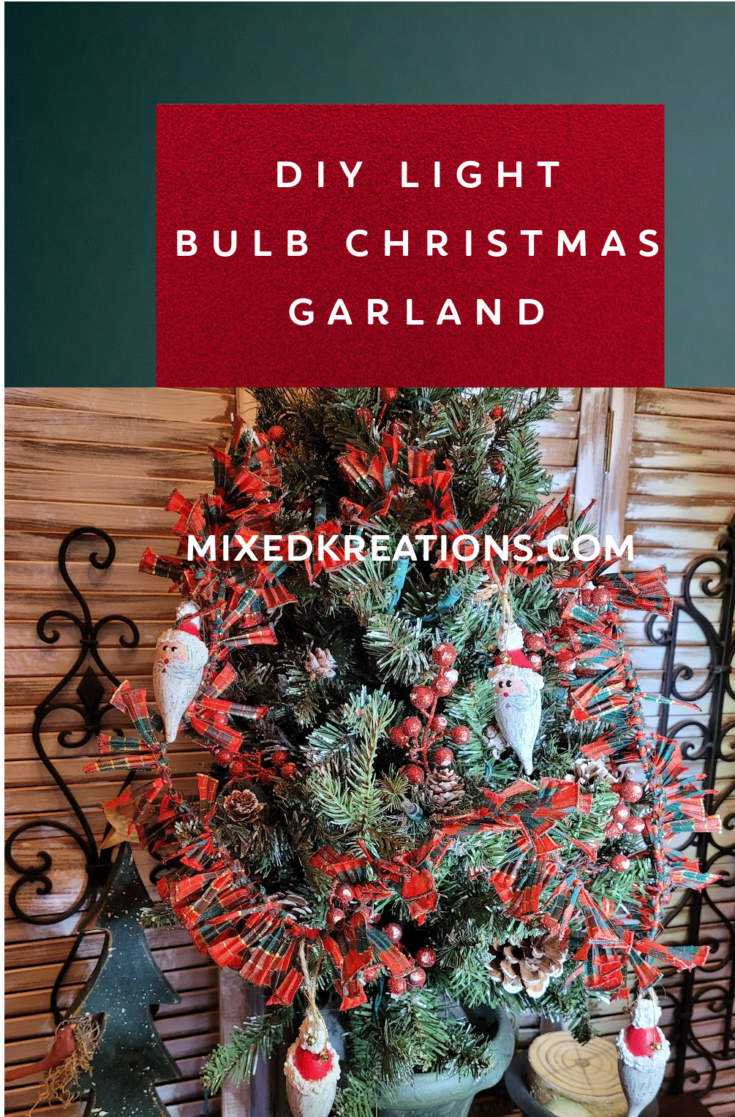
Hi all! Today I am sharing the light bulb Santa garland that I made from the leftover hand-painted light bulb Santa ornaments from last week’s post. There will be five light bulb Santa’s included in the Christmas garland.
***This post contains affiliate links… We are a participant in the Amazon Services LLC Associates Program, and affiliate advertising program designed to provide a means for us to earn fees by linking to Amazon.com and affiliated sites at no extra charge to you. Please read my full advertising disclosure for more info. Thanks so much for your support!***
DIY Light Bulb Santa Garland
I looked all over for some small fabric scrapes to use for the garland and finally came up with this roll of ribbon that I had found at the Dollar Tree.
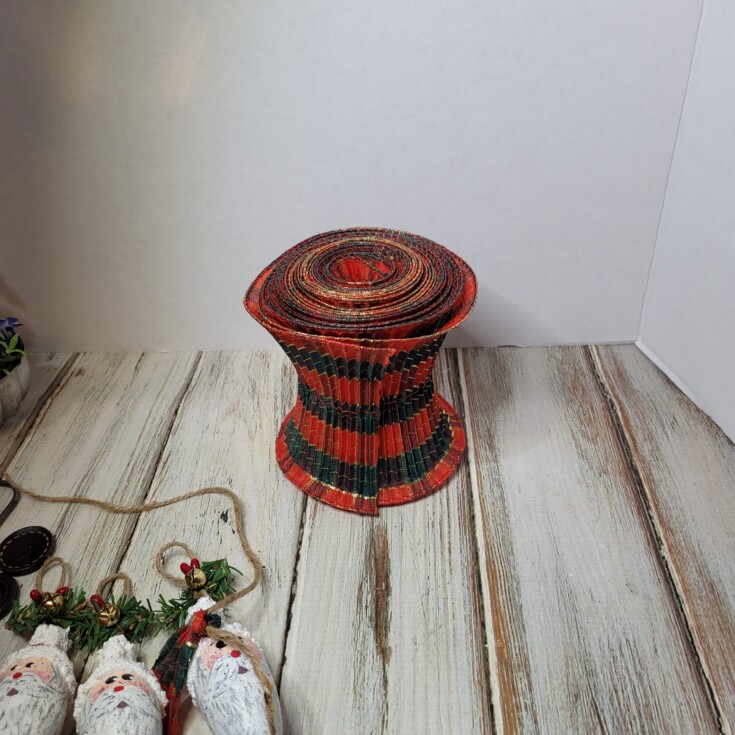
First, I cut this ribbon into approximately quarter inch strips.
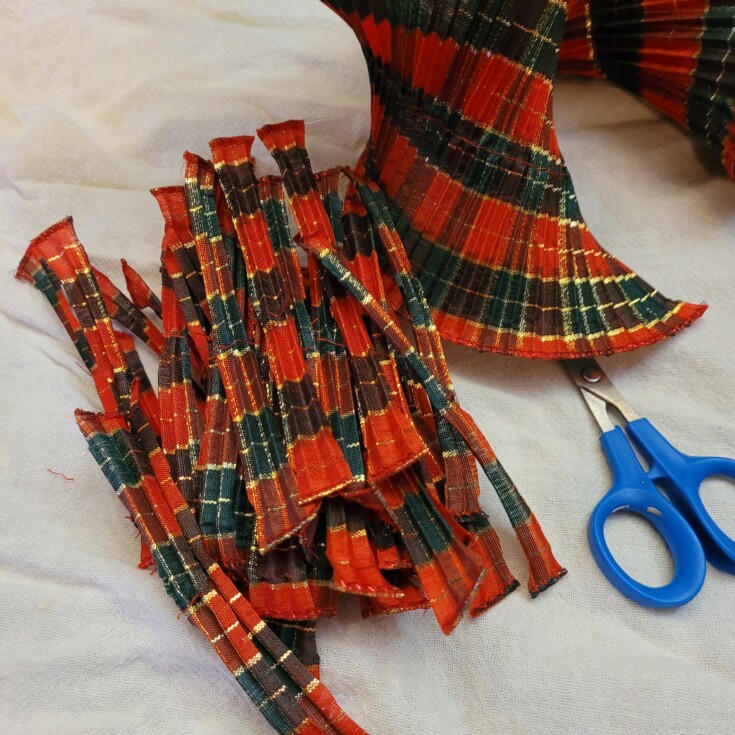
Then cut a piece of twine about 4 ½ feet long and tie a loop on each end.
Use a marker to mark on the twine where to evenly place the light bulb, Santa’s.
Then start adding the ribbon by folding the ribbon evenly and place under the twine and running the two loose ends back up over the twine and through the loop to connect to the twine.
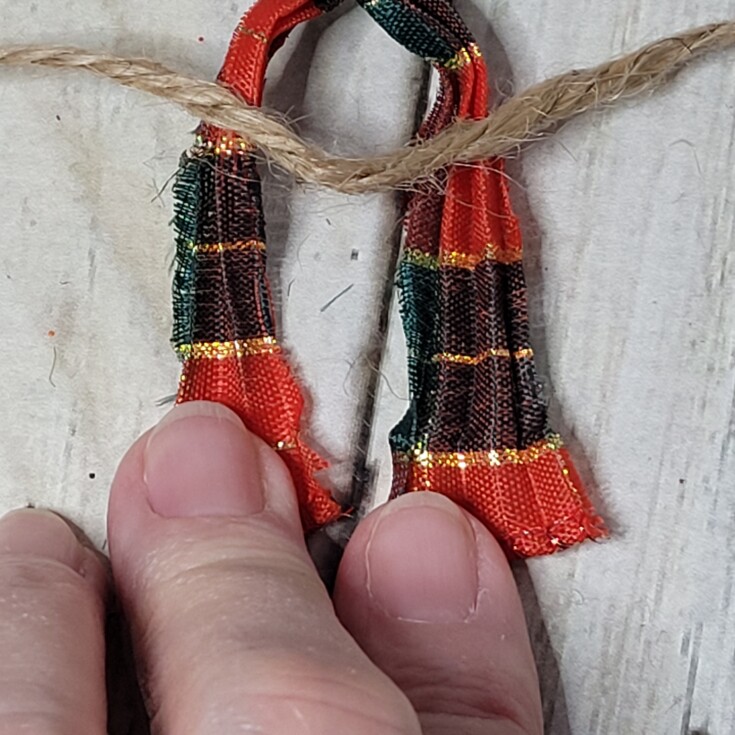
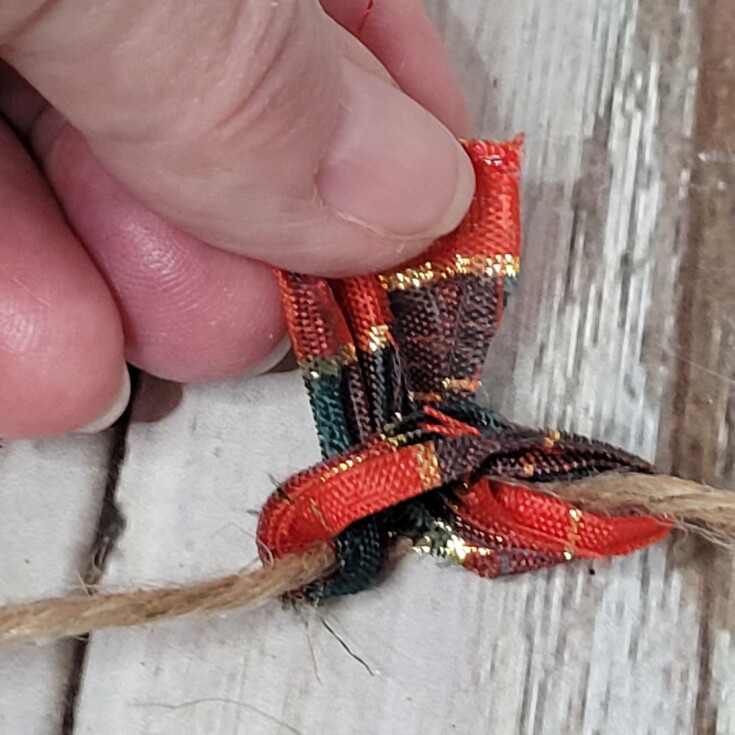
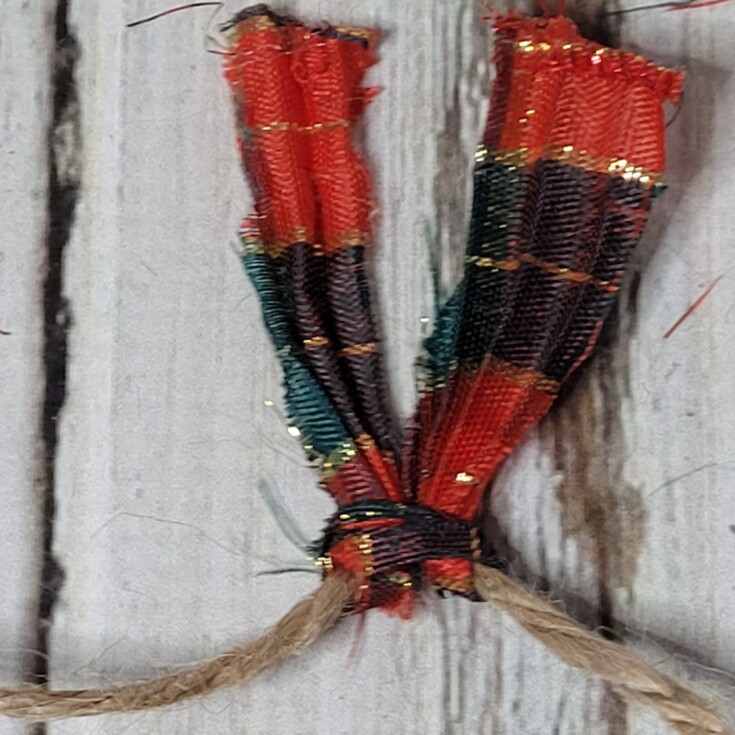
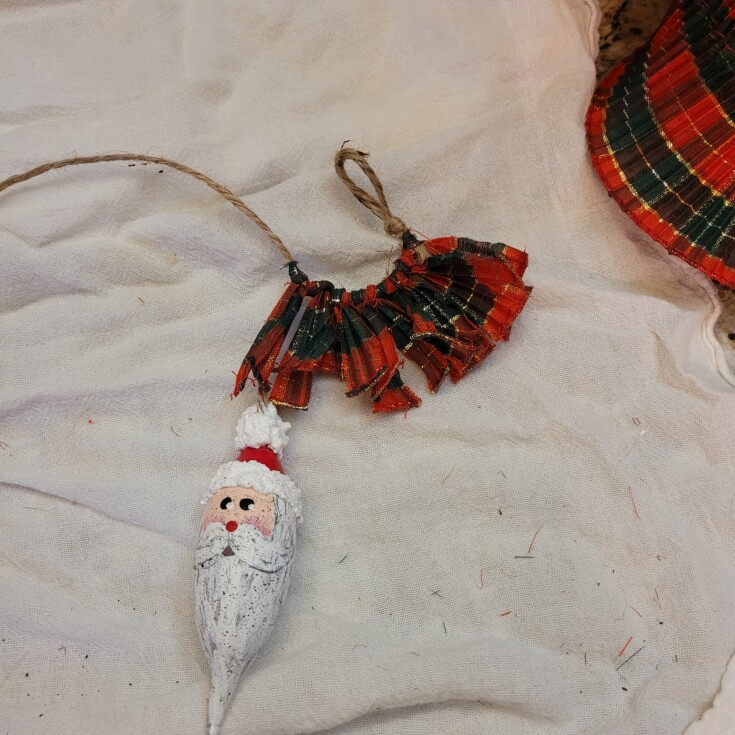
Keep adding the ribbon pieces up to the marker for the Santa bulb placement then connect the Santa with the ribbon. Then continue until all the ribbon pieces and Santa’s are all connected to the twine forming the light bulb Santa garland.
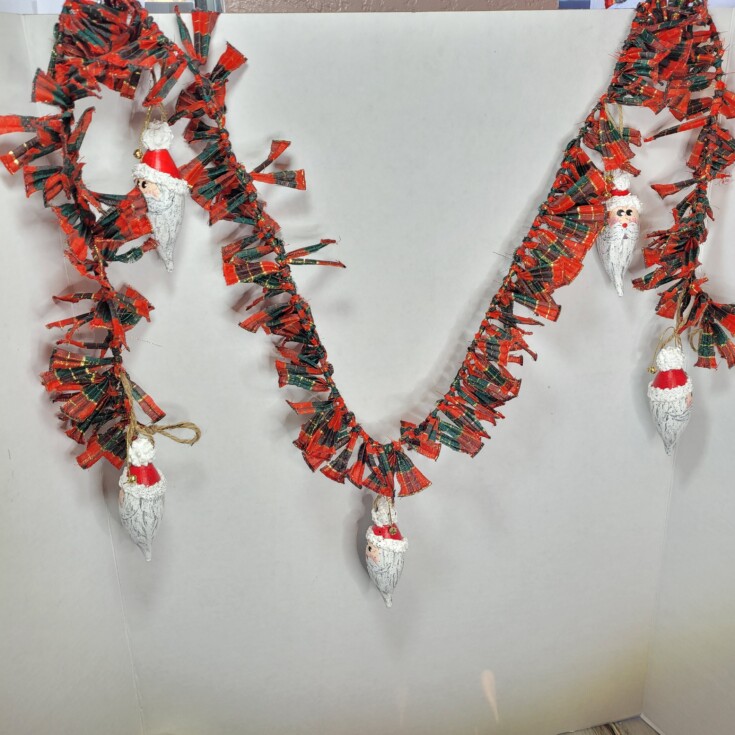
Afterwards I decided to go back and add a couple bells to each light bulb Santa with gold thread by just tying them onto the twine hanging loops.
That’s it for this cute light bulb Santa garland.
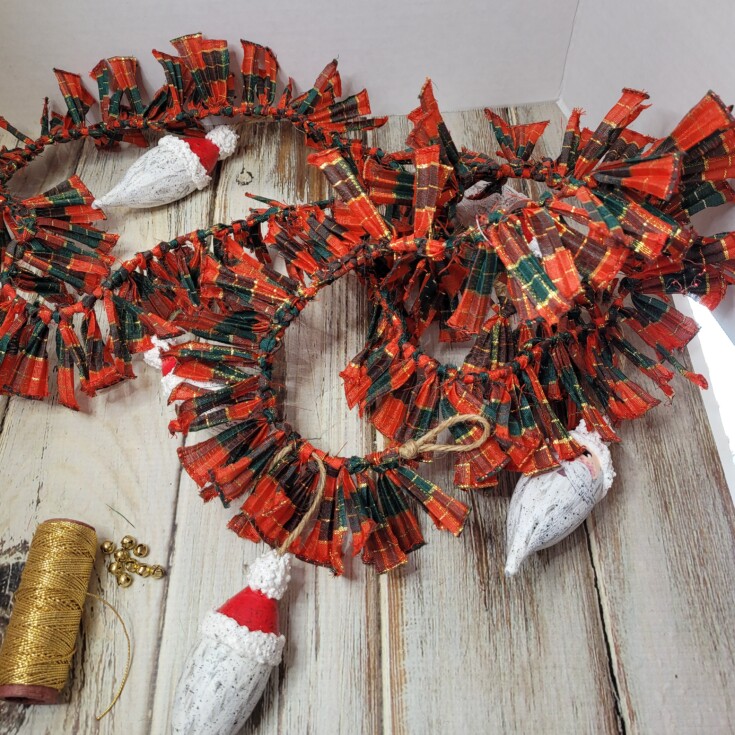
Supplies for Santa Garland
Light bulb Santa ornaments
Twine
Christmas ribbon
Bells
Gold thread
Scissors
More Fun Christmas Ornaments!
Hand-painted light bulb Santa ornaments
Wood slice snowman ornaments
faux mercury glass salt shaker ornament
Scrap wood snowman ornaments
Rustic Christmas tree ornaments
Leave a Reply