This project was a little challenging for me. Next month I am participating in a Spring Garden Round Up with several other ladies. Since I am a do-it-yourself crafter my blog post is about how to craft the perfect spring garden centerpiece.
Tray For My Spring Garden Centerpiece
I knew exactly what I wanted to start with, and that was making a tray out of a weathered piece of wood that has been waiting around for me to make up my mind what I wanted to use it for.
It was the perfect length so all that was needed, was to add some handles. I had some old drawer handles from the remodel of our other house. All they needed was a coat of black spray paint.
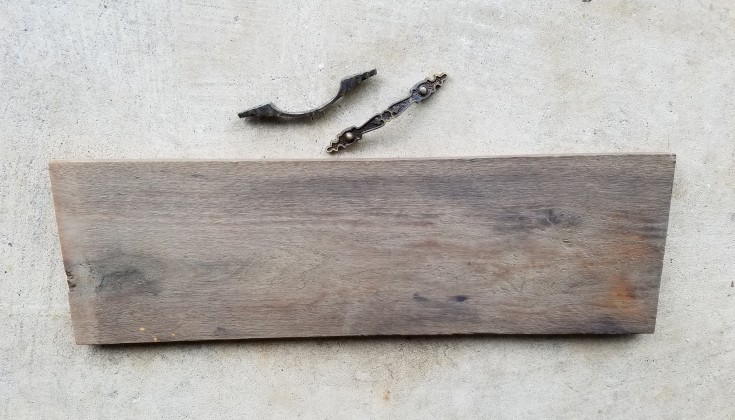
Next I marked off the placement of the handles, then drilled my holes and added the handles. That was the easy part!

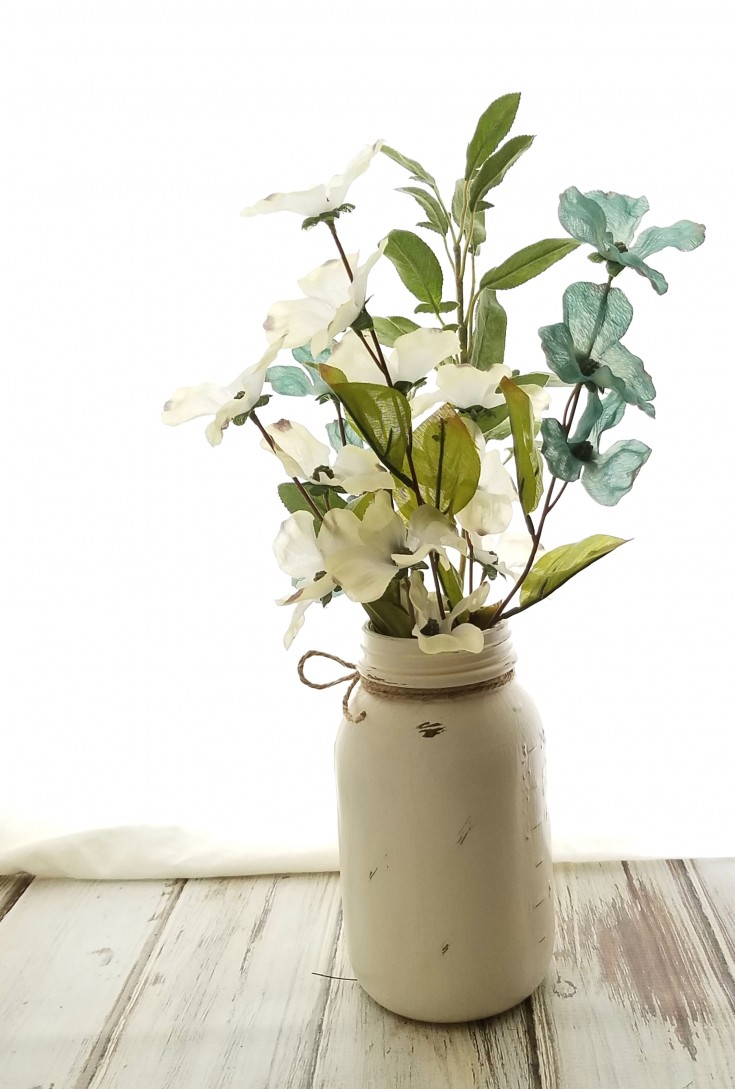
What’s a Spring Garden Centerpiece without flowers? Now what to hold the flowers? A mason jar would be perfect with my rustic wood tray.
Grabbing a large mason jar I gave it a couple coats of white chalk paint, then I use some sandpaper to distressed the jar, add some twine around the neck, then added my flowers. Perfect!
Now for the hard part! What to go with it? I played around with this for a couple weeks with the hubby’s help. I am the crafter he is the one with the eye for decorating.
First I painted a bird that I had picked up on clearance quite a while back, and bought a premade bird nest with eggs. Didn’t like the bird, so I painted it again, and still didn’t like it. So, I took the bird nest back and exchange for some farmhouse stencils (one can never have too many stencils).
Next came a chicken that I had in my kitchen, the hubby said no. I love my chicken but I guess it looks better in the kitchen instead of in a garden centerpiece.
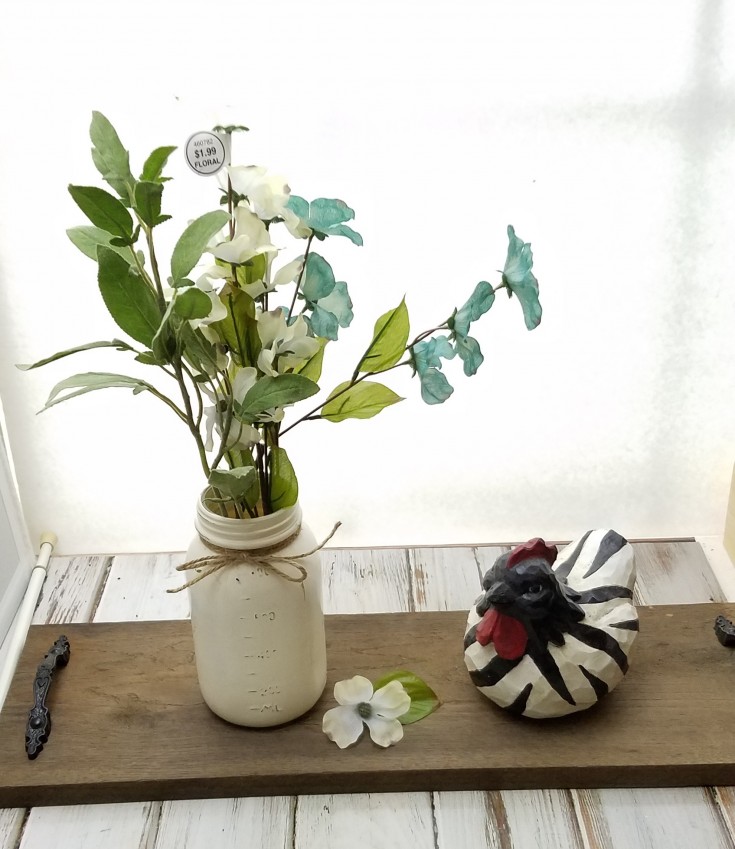
Now back to the drawing board. I dug around through my stash and came up with some mini terra cotta pots. Yep, I think this may be what I was needing. I had three, I’ve always heard when decorating use odd numbers.
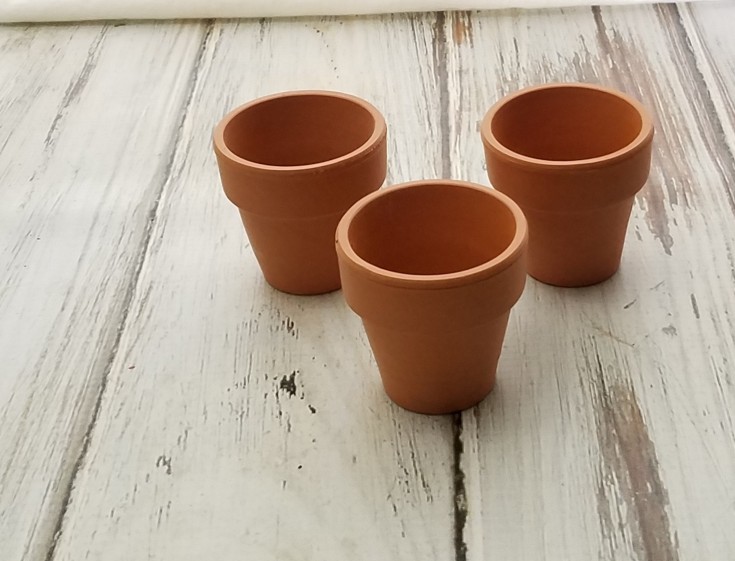
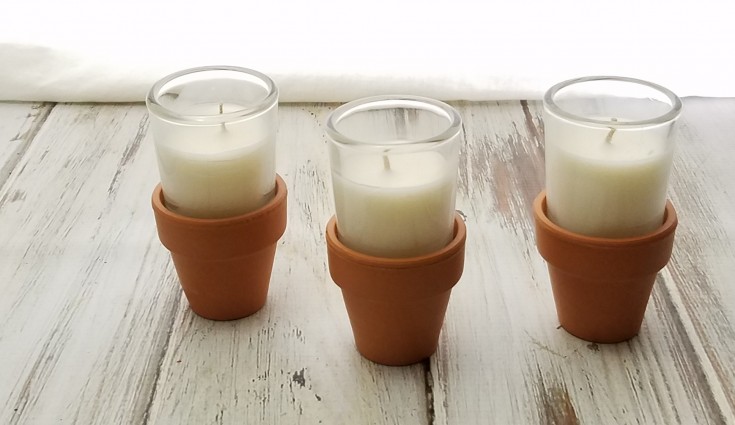
So, I added the three little terra cotta pots, and placed small votive candles in the tops of the little pots. They wouldn’t go all the way down, but I liked how they sit up above the pot. I think that it looks better because it adds some height, so that they don’t look too small next to the Mason jar.
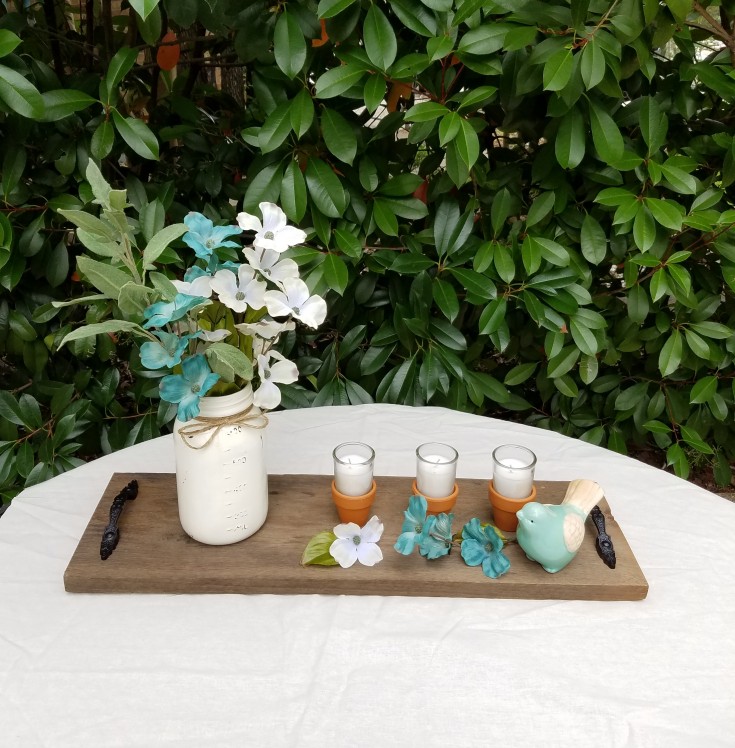
I then laid a few flowers in front of the little pots, and added another little bird that I had picked up when I took the bird nest back. Showed what I had came up with to the hubby. He loved it! Yay, I believe that I conquered this challenge!
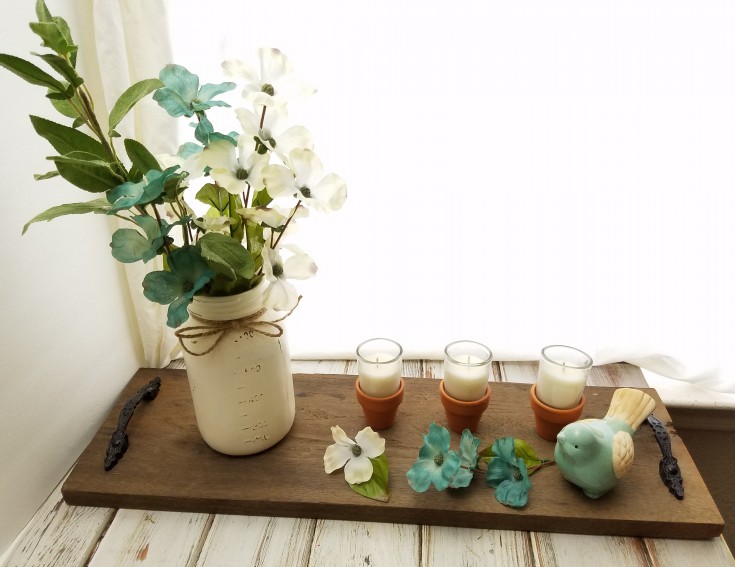
This Spring Garden Centerpiece will make the perfect addition to any garden party. It has the Country Charm, pretty flowers, and if the party goes on into the night, you can light the candles to catch the nice soft glow on the surroundings. Like I would ever get this far lighting the candles. I don’t know when the last time I’ve stayed up till it’s dark outside. Having to get up so early for work I beat the chickens to bed. LOL
*This post contains affiliate links for your convenience. Please read my full disclosure for more info. Thanks so much for your support!*
Materials Needed
Mini terra cotta pots
Votive candles
Twine
Mason jar
Bird
Weathered wood
Metal handles
Rust-o-leum spray paint
Flower sprigs, and greenery
Chalk paint
Sandpaper
Drill
More Spring Projects You May Enjoy!
Faux Zinnias
Yard sale find turned spring vase
Colorful spring decor, altered bottles
How to make a Easter egg jar
Handmade spring decor

Linda this is such a lovely centerpiece. The addition of the terra cotta pots and the tea lights really adds to a fun, relaxing summery ambiance. And the tray is perfection. I’m gonna have to look for some wood and make one too.
Thank you Mary! It took me a while to get it all together, but I finally made it. I’m glad I had the little pots in my stash, I think they are the perfect addition for my garden tray. I bet if you look in your basement you will find the perfect piece, LOL.
Thank you Mary! It took me a while to get it all together, but I finally made it. I’m glad I had the little pots in my stash, I think they are the perfect addition for my garden tray. I bet if you look in your basement you will find the perfect piece, LOL.
That looks really pretty Linda and your right about the candles, it does add the the extra height to balance your lovely tray. out. Hope you get to see them lit on one of those days where you don’t have to go to work so early in the morning my friend.
Thank you Michelle! I should of taken the tray with me to visit my daughter and family, then I could of lit the candle. WooHoo we stayed up till 10:30. That is way late for us, then slept in till 6:30 😉
Linda, it looks really pretty and springy. I love the tray, that wood is weathered perfectly! I have the same issues when pairing items together for a display, sometimes I hit on the right combo, but that’s rare! LOL It takes time and trial, swapping out piece after piece. Most times I lose my patience and quit! LOL You persevered and it looks perfect! I love having flowers around the house, especially in the spring, makes the rainy days a bit less gloomy.
Thanks Nikki! I think the weathered wood was perfect for my tray, and I did do a lot of swapping out till I finally hit on the right things. But I would of quit if I could of but since I am part of a roundup later on I couldn’t quit. Flowers do help with the gloomy days!
I love this!! I love the handles and the weathered wood. I’ve been wanting my hubby to make me a serving platter like this. Love it!
Thank you Gigi! The tray was so easy to make! For me the hard part was figuring out what to put on it for the spring centerpiece.
Hi Linda, I love your tray! I’ve ben meaning to make something like this for carrying things outside when we bbq. Pinned!
Thank you Wendi! I wish that it was a little wider, but I really loved the look of the wood, and it was perfect for my garden centerpiece.
Thank you Wendi! I wish that it was a little wider, but I really loved the look of the wood, and it was perfect for my garden centerpiece.