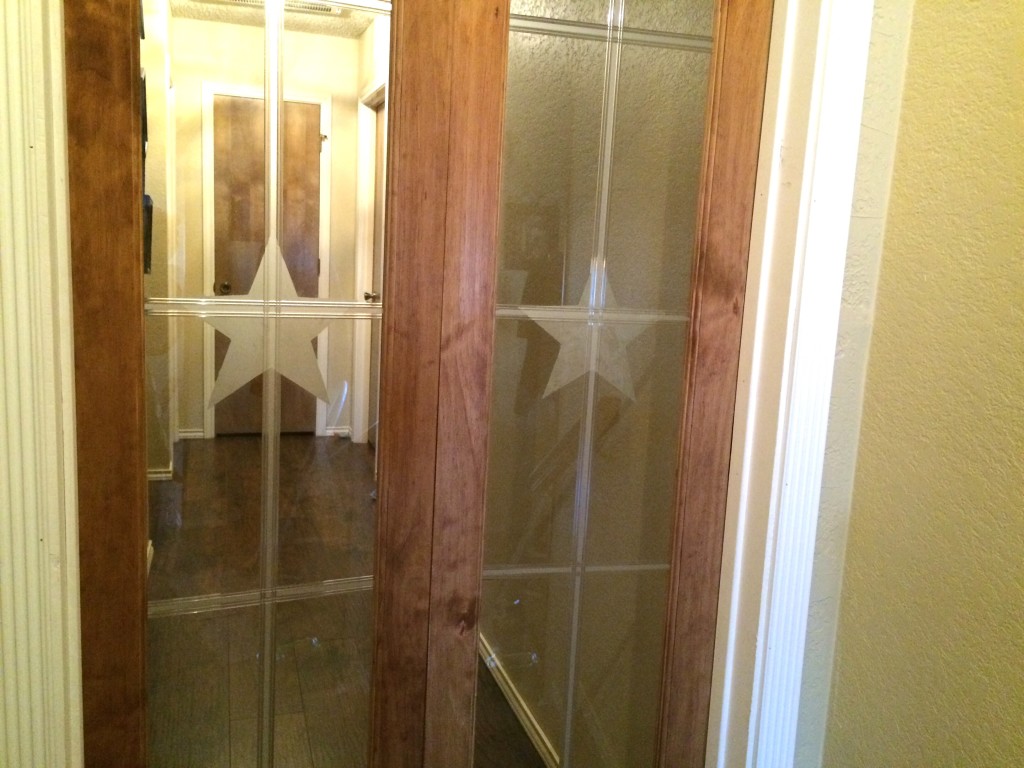
This past week the hubby and I added a glass etching bi-fold door in our hallway. The reason for adding the door was because we have two separate central cooling and heating systems, one at each end of the house. We keep the one turned up depending where we are at, daytime kitchen and living area, and night time bedrooms. With it open like it was, each system would try to heat or cool the other area as well, so we added the doors.
Glass Etching
These were bi-fold doors that the hubby took apart and made two separate doors. We framed in and sheet rocked the hallway for the doors. We have a lot of rustic, country décor so the hubby wanted me to etch a star on each glass door. By buying the bi-fold door, taking apart, and doing my own glass etching we was able to put our door in for a third of the cost of one already with the glass etching.
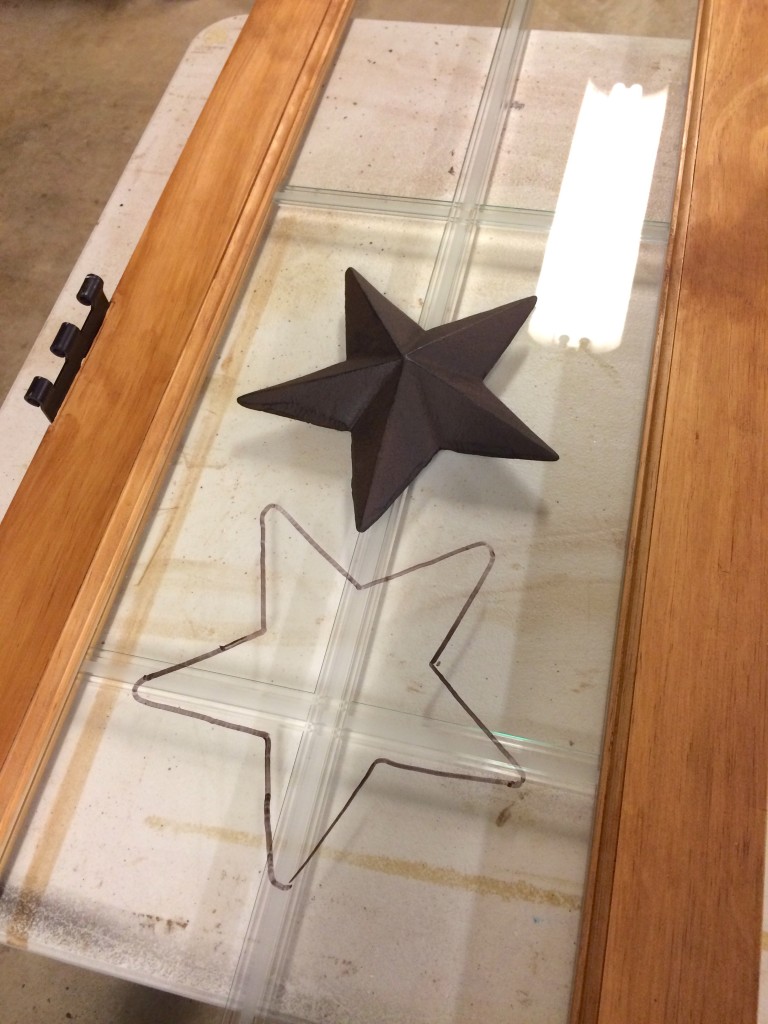
I first traced around a star with a marker on each glass door.

I then taped it off, leaving the center open for the etching cream. Use a piece of wood to rub across the tape to make sure there’s no air pockets, and that it’s stuck to the glass so that the etching cream won’t leak under the tape.

Ran out of blue tape so added more masking tape.

Now add a thick coat of etching cream. I had to add the etching cream twice, because the first time it didn’t take real good. So I left mine on for a total of 1 1/2 hours.
Then I used a paper towel to wipe off some of the cream, be careful to not get any on the other parts of the glass. Now using a wet soapy rag remove the rest of the etching cream. Once you have it all wiped off you can remove the tape.
Lastly I add the liquid leading by outlining the etched star, then let dry overnight.
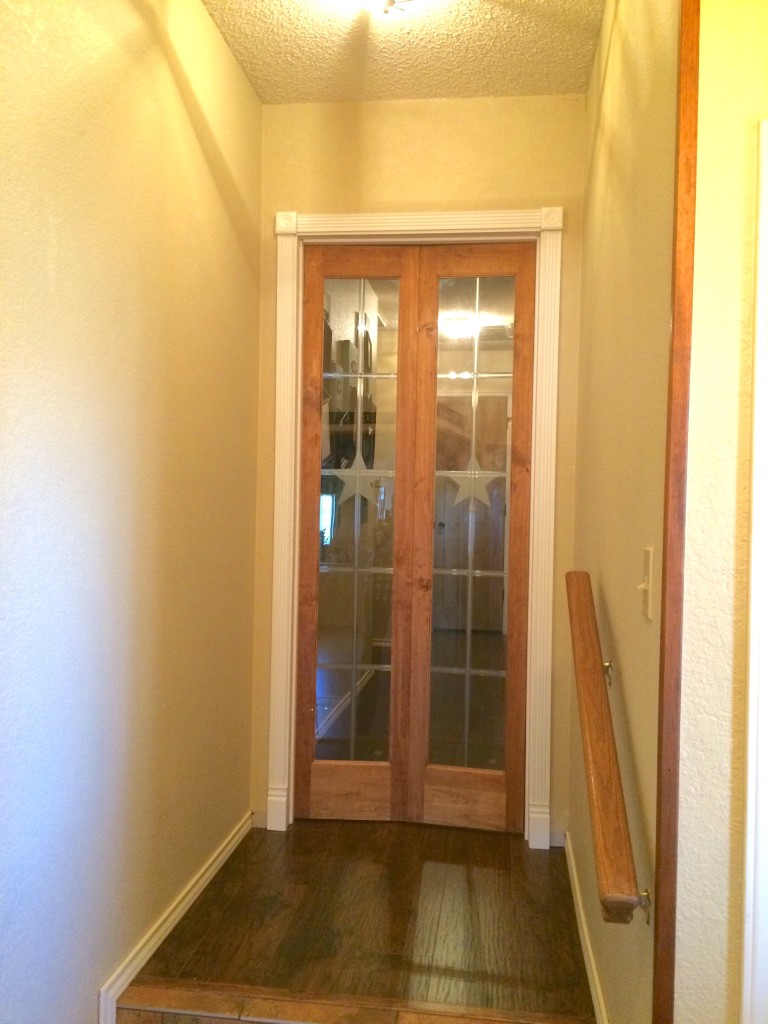
Then we hung the doors, and added the trim. I really love how they turned out! How do you like our new doors?
***This post contains affiliate links, if you click on an affiliate link & buy something I may receive a small commission at no extra charge to you. The affiliate money I earn helps pay the expenses to keep this site running. Please read my disclosure for more info. Thanks so much for your support!***
Material List
Bi-folding doors
Etching cream
Marker
Liquid leading
Masking tape
Small brush to add etching cream
Wet soapy rag
You did a great job on these. I tried etching years ago. I’ll have to try again soon.
Thanks Sherry! I’m thinking of trying it on some copper, for a bracelet or something. Just to see how it works on copper.
I love the way these turned out! Your tutorial also makes them look really easy to do!
Jessica recently posted…Five Things Friday #7
Thanks Jessica! They are easy, real easy. It probably only took me 1 1/2 hours and most of that was letting it set to do it’s magic.
How beautiful! They look professionally done, no one would guess you did them yourself. What an interesting and great focal point also in your home. I really love all the great things you are doing!!!
Thank you Carrie! My husband was going to buy some similar, in fact he had ordered them but when we went to pick them up they were the wrong size thankfully! They were so expensive.
It’s interesting to see how this is done.
Carol @ the red painted cottage recently posted…DIY Slide-out Boxes For Pantry Shelf
Thanks Carol! If I had know it was so easy I would of tried it a lot sooner.
Those are lovely! And what a great idea to “preserve” the AC to where you need it. I’m in Texas too, so I totally get it!
Thank you Cathy! Where bouts in Texas do you live?
Tomball north of Houston. How about you?
Cathy Lawdanski recently posted…5 Lessons Learned as a 50+ Crossfit Competitor
I live in Joshua, south west of Ft. Worth
This looks so cool! I definitely want to try this out, I didn’t realise that was how you did it, I assumed it was a much lengthier process but the stars turned out great!
Charlotte recently posted…The #YumTum Linky – #4 – 04/02/16
Thank you Charlotte! I have wanted to try it for years but thought that there was more to it as well. But it’s really simple, just have to make sure the cream doesn’t get on any other part that you don’t want etched. Thinking of trying it out on copper. I’ve seen copper jewelry etched, not sure if it’s the same cream So I may give it a try.
I really think that this turned out phenomenal. Glass etching is something that I know almost nothing about. But, after seeing your results it’s something that I should really look into. It’s a way to really transform those glass surfaces. Nicely done!
Gina recently posted…February Goals and A Winter in The Rocky Mountains
Thank you Gina! I knew nothing of glass etching either. I watched a youtube video and then just did it. The first try wasn’t dark enough or evenly etched, so I added more and let it sit longer, and it worked.
Linda, I have never etched anything, and I am loving this. Not only do the doors have a function they are so cool! A great decor accent! You did a great job on the etching, I bet the hubby is really happy with it!!!
The etching was really easy Nikki! You just have to make sure that you put tape around the area so you don’t get any of the etching cream anywhere else. Yes the hubby loved them, saved him a lot of money me doing the etching, and him taking the bi-fold doors apart and making two separate doors.
What a great job! And you made it look so easy.
Karen recently posted…Red Velvet Cake with Cream Cheese Icing
Thanks Karen! I have wanted to try glass etching for years but just never got around to it. If I had know how easy it was I would of tried it years ago.
Thank you Karen! If I had know how easy it was I would of tried years ago.
They look gorgeous Linda, the perfect solution for keeping the heat where you need it and the etching the star just makes it even more special. Lovely
Thanks Michelle! I need to try out the glass etching on some other things. It really does help with the heat and air, except with my fur baby opens the doors. LOL