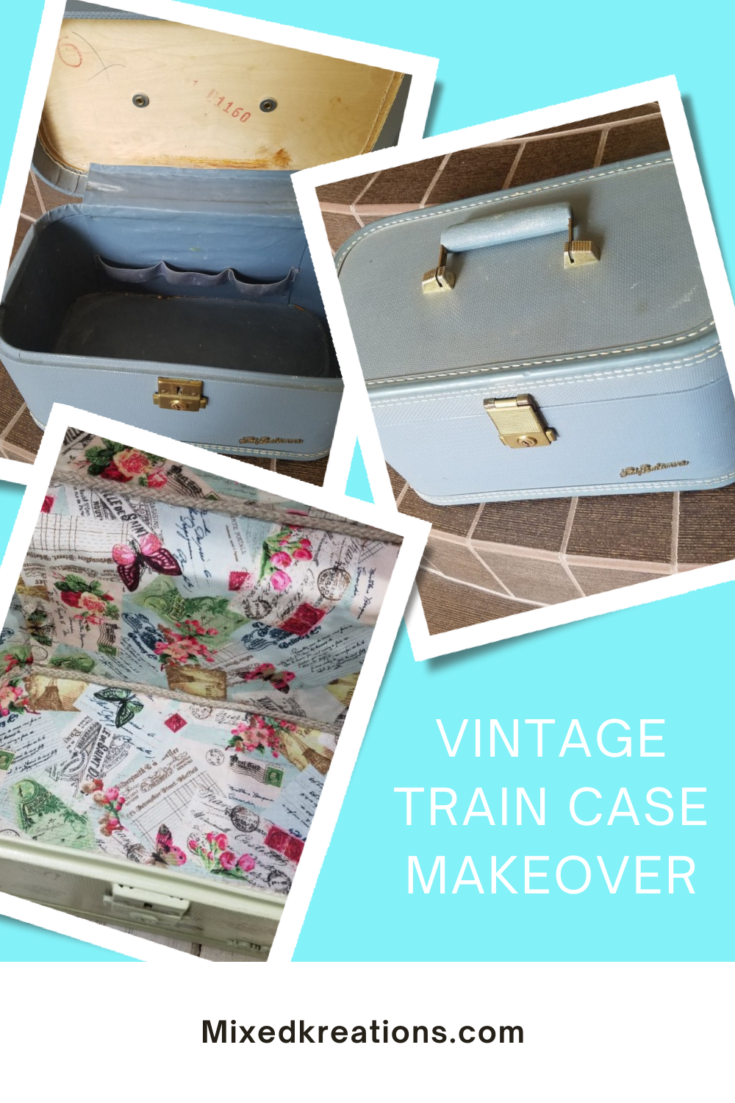
Hi All! I guess everyone is getting back into their normal routine with the kids back in school. Mine are grown so I stay in my routine year-round. Which is go to work come home and work. Work Work Work! Do you feel that way too? For my fun I create things, and makeover things like this vintage train case that I picked up at a vintage shop a few weeks back.
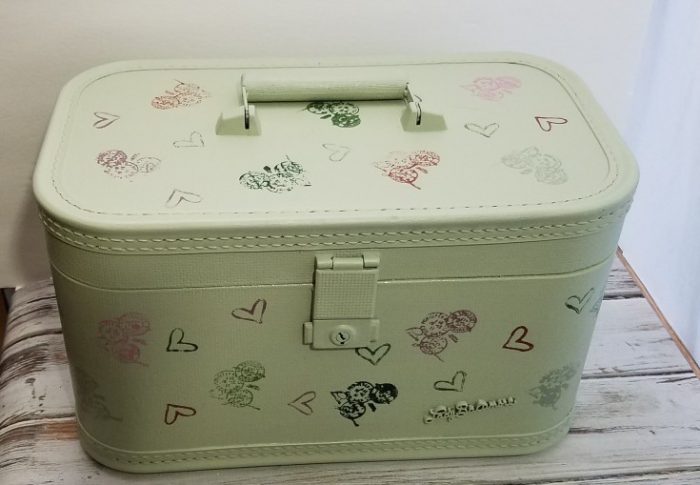
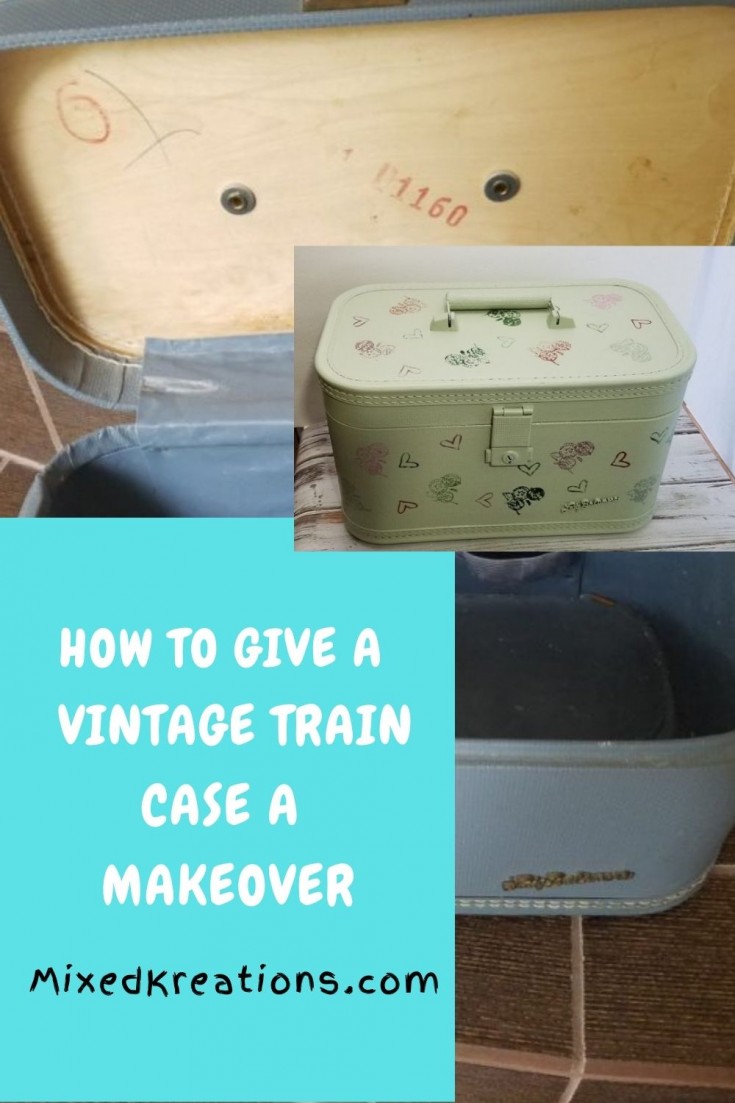
I have been wanting a vintage train case for sometime, but not willing to pay the high price for one. I found this one when the hubby and I were out thrifty. This one dates back to the 1950’s. I paid $10 for it, little more than I wanted (Hey I’m cheap) but since I was going to redo it, and keep it for myself I went ahead and purchased the case.
Can you believe I didn’t even know the name for one of these vintages cases was a train case? I grew up referring to it as a toiletry case or just a small suitcase.
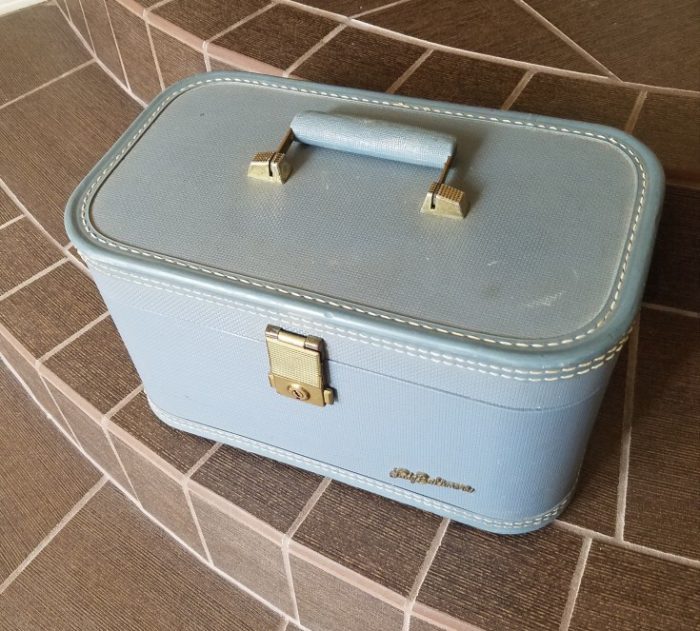
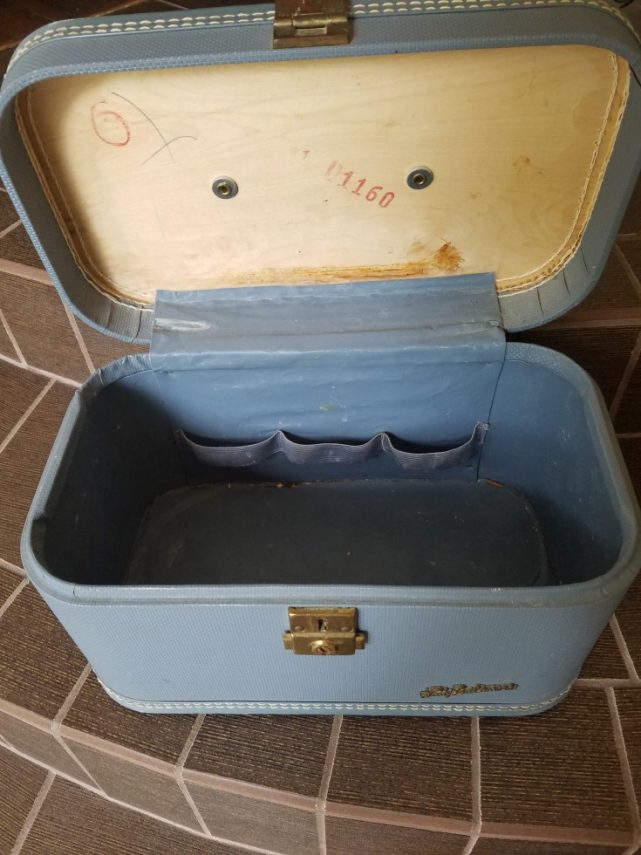
But train case makes perfect sense, it’s small and traveling by train you needed something small.The little case was in really good shape. The inside was a little gross, but that didn’t matter because it was going to get a whole new look inside and out. (Material list at the bottom of the post)
How to Makeover a Vintage Train Case
To start out I wiped the case down inside and out with vinegar and water.
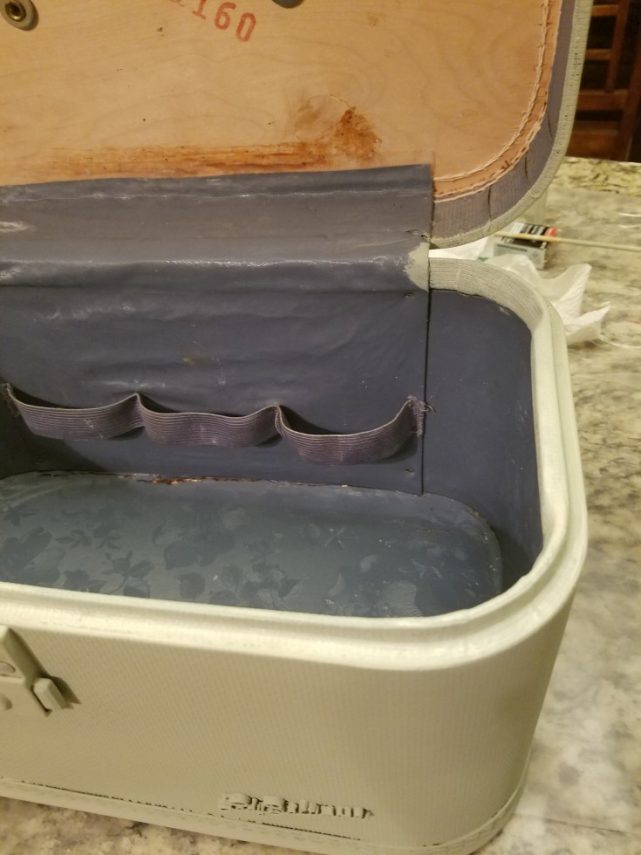
Then I chose the color Celery from my small chalk paint stash for the outside of the case. It took two coats, I also painted the inside edges of the case above the liner.
Then I went shopping at one of my favorite stores Hobby Lobby to find the perfect material for the inside of my vintage train case makeover.
This is the fabric, and cord that I chose. Don’t you think this fabric is the perfect choice for a traveling train case?
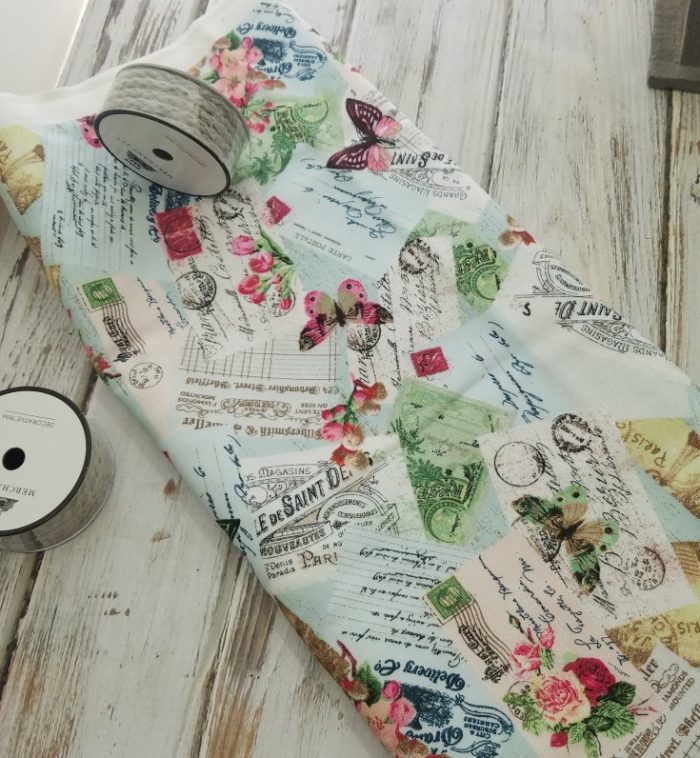
Finding the cord to go around the top, and bottom seams was a little more difficult to find. They didn’t have anything to match, so I bought this with the thought of just painting it. But after getting it home I think it will be just find as is.
Excited to get started I made my pattern for the bottom, top, and side pieces for the inside liner of my case. Then cut them out of my fabric.
I don’t know why I didn’t think to rip the old liner out of the case all together, but I didn’t. Instead I just Mod Podge the fabric on over the old liner. Oh well I can just give it another makeover if I ever want to change it up. Isn’t that what us Diy’ers do anyway? LOL
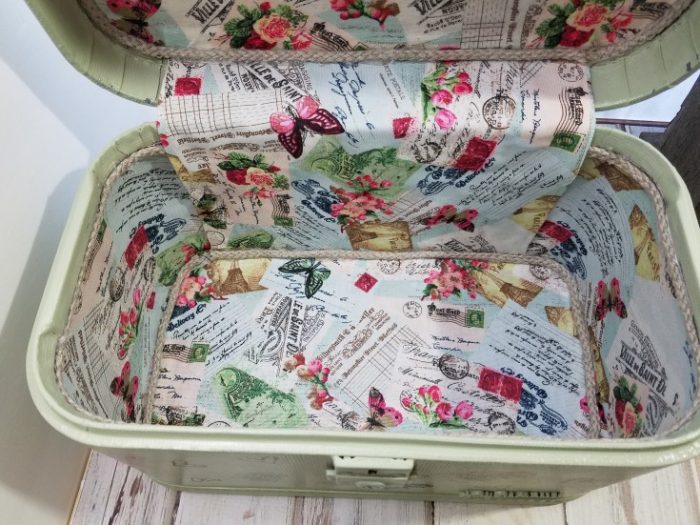
Next came adding the cord around the top edges of the fabric, and around the bottom seam where the fabric meets. I used hot glue for adding the cord. I did the same around the top lip of the case as well.
This next step I debated whether to leave the fabric as is or to add a coat of Mod Podge over it. The Mod Podge won out. I figured the extra coat would protect the fabric, and make it easier to clean if something was to spill on the inside.
Now back to the outside, it needs something else. At first, I was going to cut out some of the post card patterns that’s on the fabric that I used for the inside. Then decoupage it to the outside, but decided against that idea.
Hmmm, what to do? Back to the craft store with buying a vintage rubber postal stamp in mind. I thought that would be cute since this is a travel case.
Yay! I was in luck they had just what I was looking for.
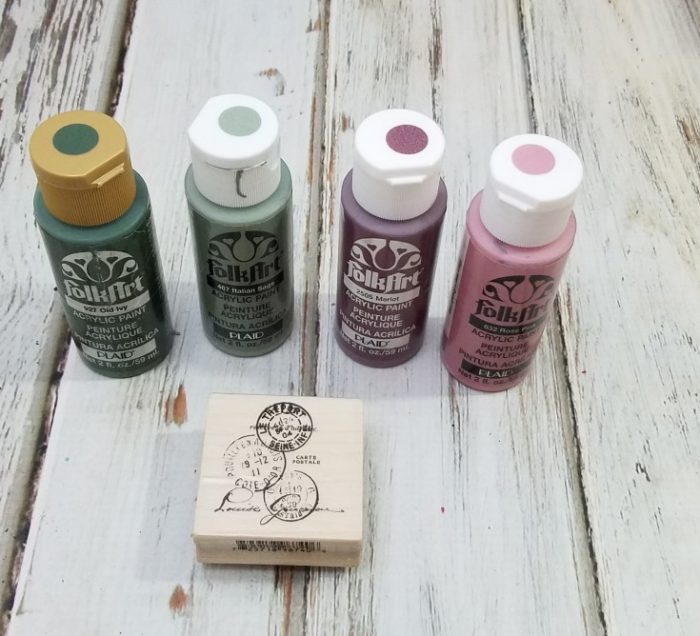
Next, I gathered up some of my acrylic paints in different shades of mauve’s and green’s. Adding a few drops of each color on a paper plate I then started stamping the pattern onto my traveler’s case here and there changing the colors, and turning the stamp different ways.
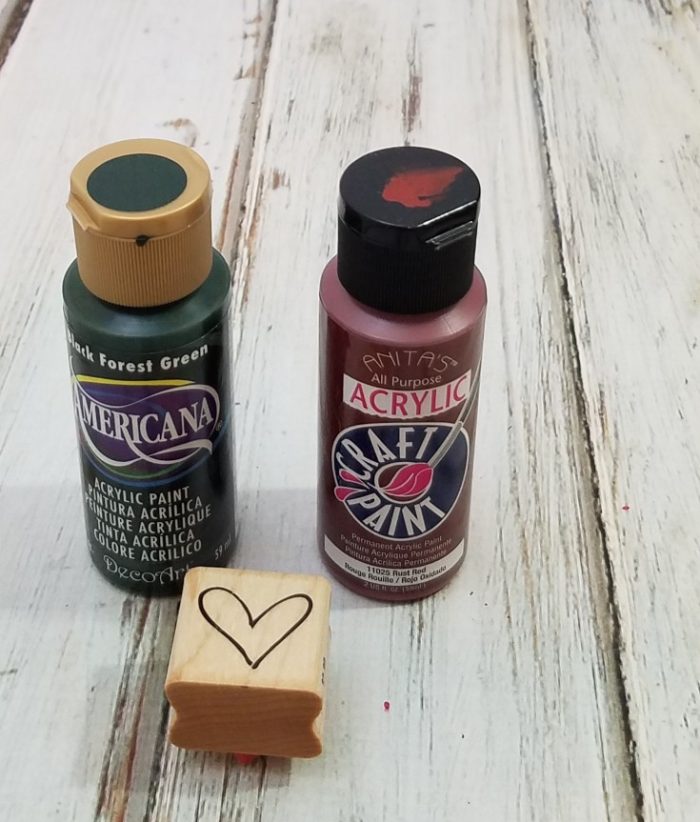
Once I thought that I had stamped enough of the postal pattern onto my case I still had a few spots that could use a little something. So, digging through my small stash of rubber stamps that I had on hand I came up with a small heart.
[tweetthis display_mode=”box”]How to make over a small vintage suitcase. Train case. [/tweetthis]
This little heart would be the perfect addition. A heart for the love of travel! I brought out a couple more colors for adding the heart. Black forest green, and rust red.
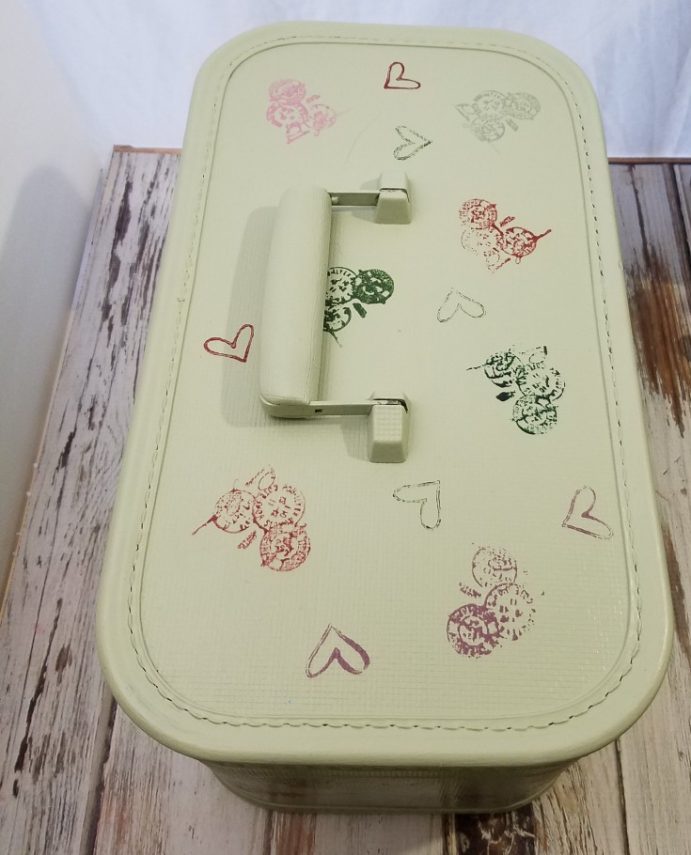
I let this dry for a couple hours then I added two coats of Mod Podge over the entire outside of the train case. Letting each coat dry thoroughly. This will help to protect my paint job and stamping.
Because of painting the edges of the case, it tends to stick now. So, to fix this problem I rubbed some olive oil to the edges so that it will open easily.
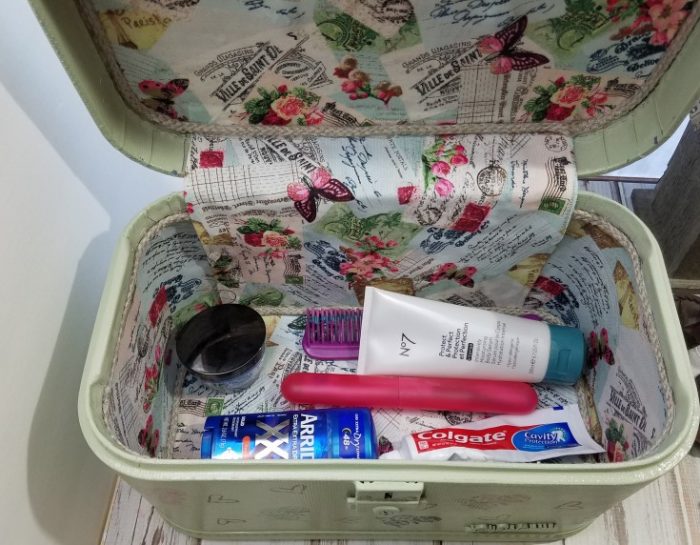
All done with my vintage train case makeover, and I am so LOVING how it turned out.
Have you ever made over a vintage suitcase? If so I would love to heard about your makeover.
***This post contains affiliate links, if you click on an affiliate link & buy something I may receive a small commission at no extra charge to you. The affiliate money I earn helps pay the expenses to keep this site running. Please read my full advertising disclosure for more info. Thanks so much for your support!***
Material List
Vintage Train Case
Acrylic paint– Old ivy, Italian sage, Meriol, Rose pink, Black forest green, Rust red
Chalk paint – Celery
Vintage Rubber postal stamp
Rubber heart stamp
Fabric of choice – I bought 1 yard but ¾ yard would probably work, I had left overs
Cord – I bought two spools of 2’ each
Mod Podge
Paint brush
Hot Glue
More Fun Projects
Jewelry tray – repurposed picture frame
Repurposed chair turned shelf
Thrift store, and bundt pan makeover
Linda I had no idea these were called train cases. My daughter has one and we just thought it was a cosmetics case. I LOVE what you did with it. The fabric inside with the piping is such a nice and unexpected surprise. Beautiful choice of fabric. And the outside with the addition of the stamps is also very pretty and in keeping with the theme Great idea, now I want to redo my girls case.
Thanks Mary! I had always just thought that it was a cosmetic case or toiletry case as well. Thats what my mother used it as.
Hello I seen your pin on Pinterest I love what u didi with your suit case I have a love for the vintage torista carry on I did a remake as well I got my Torista at a thrift store if bought a few over the years
Hi Terri! That was the first time I have ever made over a suitcase, but I was really pleased with how it turned out.
Oh this is fantastic Linda, I love both, the inside and outside! The fabric is perfect for this. I have never made over a vintage suitcase, wish I´d find one.
Thank you Katrin! It was a pretty easy makeover. I think the hardest part was what to do with the outside since my first plan wasn’t going to work. I knew all along that I wanted something to do with travel, and I thought the fabric was a perfect choice as well.
Ahhhhhhhh Linda, my Mom bought me one of these when I was sixteen and I still use it, but it’s due for a serious makeover. After 30 odd years of use it’s looking a bit dreary. I love what you did to the one you found
It was a lot easier to redo than I thought that it would be.
I would love to see you work your magic on one. I haven’t any doubt it will be amazing!!!
Oh, I love this! I snitched a train case from my MIL when they downsized, and lined it with fabric. This was in the 80s so guess which colors I used. Yes, green and rose floral. I still have it standing open in my guest room filled with cosmetics guests might have forgotten, and water bottles, etc. I always think I’ll take it on a trip one of these times.
Thank you Dorothy! I know exactly the colors, and floral you are referring to. When we bought our house a few years back our whole house was those colors. I think it would be so pretty on a train case, but not throughout a house.
I think that is a great idea for a guest room. Now I need to find another to makeover to match in with the guest room. Thanks so much for stopping by!
Oh, this looks great! I love train cases. My mom had one that she used for years and years, and I’d love to have one of my own. I adore the fabric you used on the inside. The whole thing is just perfect.
Thank you Amy! I remember my mother having a whole matching set including the small case, wish I would of had the foresight to tell her that if she ever got rid of the set, I wanted it. I went through all the fabric at Hobby Lobby till I found the perfect one. 🙂
I love it, it’s beautiful. I have one of these, that was my mom’s when she was about 18 or so. She had it forever, and one day about 20 yrs ago and when she gave it to me it had old postcards from family and also some cards from Mom to dad and vice versa, birthday cards from my mom and dad to me, etc. I’ve always treasured this little (ugly blue case) sentimental reasons. I say ugly because it s been used, and is that ugly blue. Lol. But you have gave me more reason to love this little chest, because now, because of you, I can make it pretty!! Thank you ! 🙂
Thanks Missy! Thats so neat that your mother saved old postcards in the case. I bet its fun looking back through them and remembering the good times. Now you will have to give your ugly blue case a new makeover, so you will have something pretty to store those fun memories in. Be sure to share when you get done. Thanks so much for stopping by!
I love the interior!
Thank you Gigi! When I found that fabric pattern I knew this was the one.
Thank you Gigi! When I found that fabric pattern I knew this was the one.
A few years ago I was helping my friend clean out her MIL’s house. She had a train case headed for the dumpster but being a bit of a hoarder, I salvaged it. Didn’t know what I was going to do with it but I knew I just loved it. I have torn out all the old material from the inside and am working on getting the musty smell out. Can’t wait to start to refinish it. Your DIY will certainly come in handy. Thanks.
Hi Deborah! I am happy you were there to save it. I was sure how I was going to update mine when I found it but knew I had to grab it. It wasn’t as hard as I thought it would be to give it new life and was happy with the results. I’m glad that my post can help. Thanks for stopping by!
I made one into a sewing case. Mine also had a tray in the top. Loved your ideas!
That is a great idea! Would be perfect as a sewing case. Thanks for stopping by!
I would love to purchase one of the train cases.
Hi Janet! I’m sorry but the only one that I have I am keeping.
I have identical train case my grandmother’s she bought new. It’s shown it’s years & crazy conversions.
Want to turn into sew box . Can you help with outside needs to be covered. How would I attempt this HELP PLEASE…. It will go to my granddaughter one day.