Hello my friends! Today I am excited to share with you my Repurposed ironing board, ad happy to be back on my normal routine, now that the holidays are over. I get so much more accomplished when I have a routine than not. Otherwise I am just spinning my wheels. Are you like that?
I think that I needed this little break, even if it was just from some of my blogging task. I still had to work my day job though, and boy was it busy. I am hoping that it will slow down some, and get back to normal somewhat.
I would come home some days so tired that I just didn’t feel like doing anything NOT even crafting! And I even have a few Christmas gifts that I need to get started and finished. Luckily, I have till the end of January, Whew!
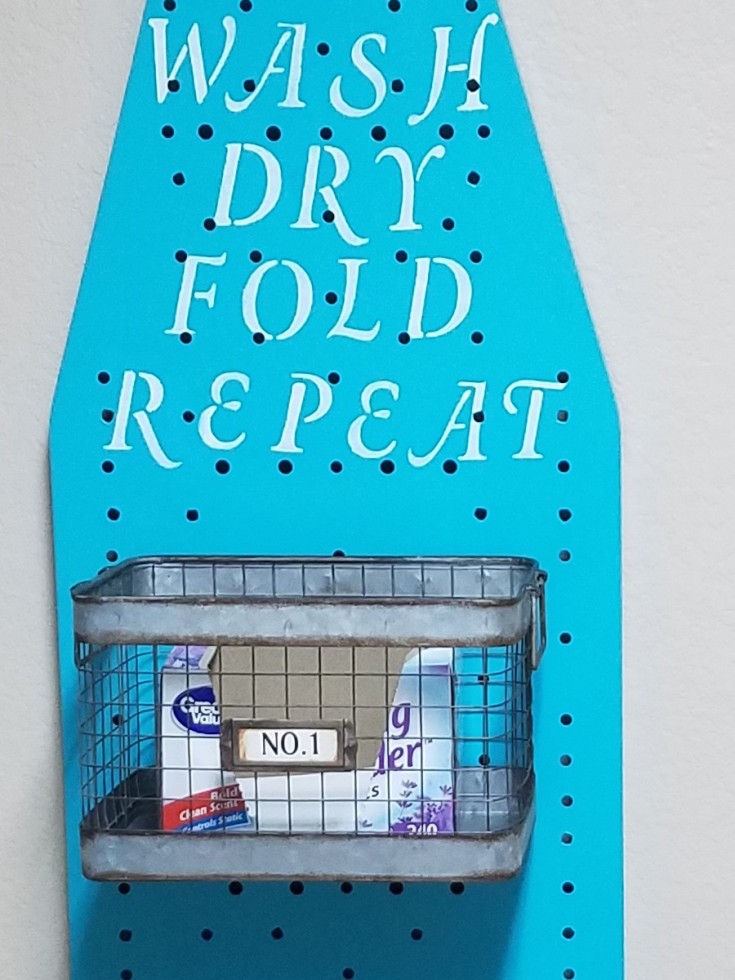
Today’s project is my $3.00 ironing board that I picked up while we were out thrifting/antiquing. This is a joint effort project.
***This post contains affiliate links, if you click on an affiliate link & buy something I may receive a small commission at no extra charge to you. The affiliate money I earn helps pay the expenses to keep this site running. Please read my full advertising disclosure for more info. Thanks so much for your support!***
Repurposed Ironing Board Supply List
Metal ironing board
Seaside Satin Rust-oluem spray paint
White chalk paint
Letter stencils or Walmart Stencil Set
Flower design stencil
Two wire baskets
Wire
Wire cutters
Pliers
Diy Repurposed Ironing Board
First off, the stand had to be removed from the ironing board, and the hubby was sweet enough to volunteer to remove it for me.
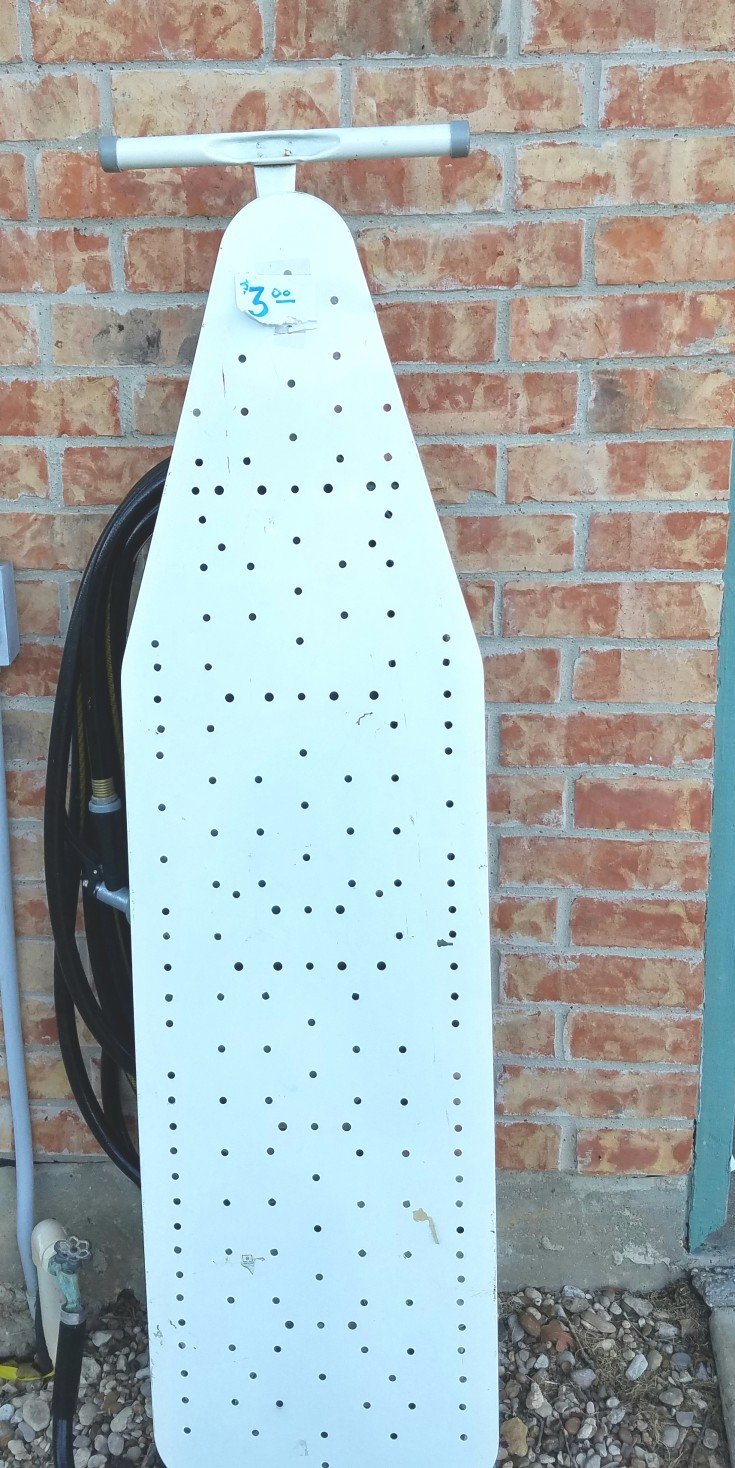
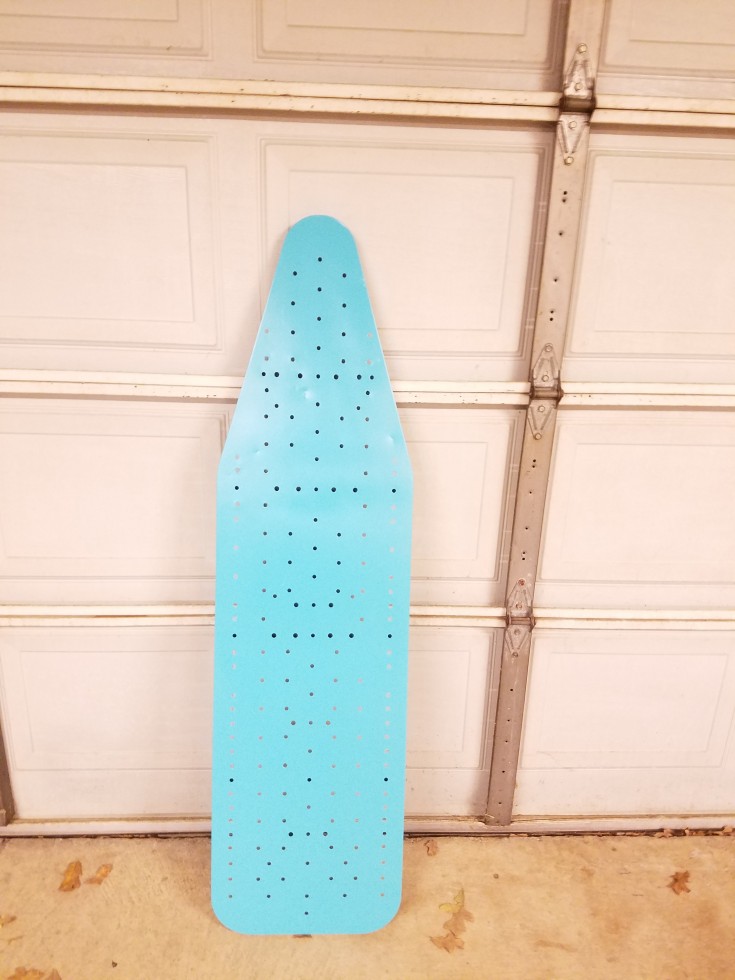
Then it was time to paint the ironing board, and again the hubby volunteered to spray paint it for me. He knows that I’m not very good at spray painting things. I get in a hurry, spray to heavy, to close or something. But I always wind up with at least one run if not more.
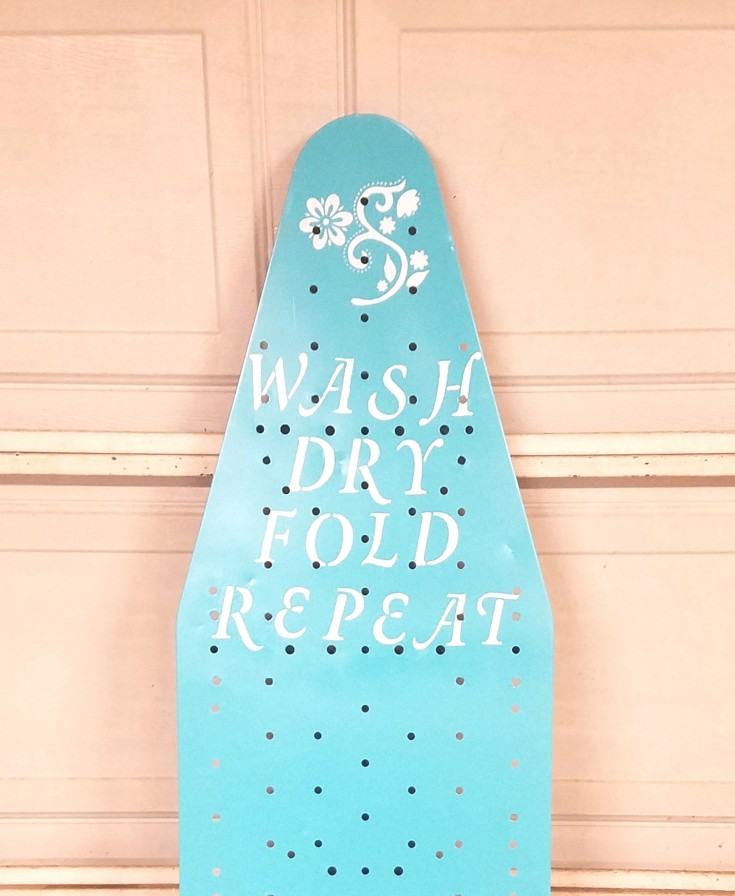
Once it’s dry I started stenciling Wash Dry Fold Repeat, and adding the flower using white chalk paint. If I had of been thinking I have a stencil from my $10.00 set of cardboard stencils that I purchased at Walmart a while back with the saying all together. That would have been so much easier then adding the letters one at a time. They would have been straight, unlike now a little crooked. But that’s ok, I’m keeping this repurposed ironing board for myself.
Next came attaching the wire baskets that I found at Hobby Lobby. I used wire to hold them in place.
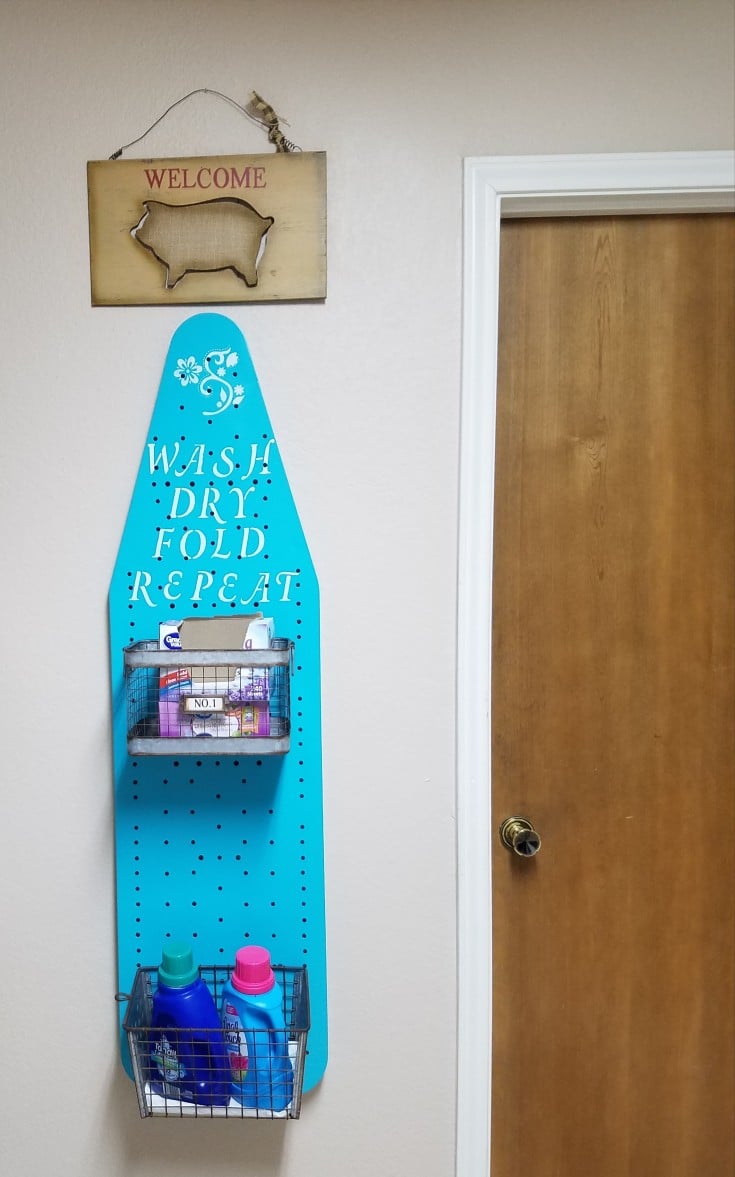
I think that I need to add another stenciled flower in between the baskets, but just haven’t gotten around to that yet.
Last thing to do was to add some wire to the back for hanging. I needed it to be strong since it will be holding my detergent, softener, and dry sheets.
That’s it for this easy repurposed ironing board. Fun repurpose, and it keeps my detergent and softener there at easy reach n the laundry room.
How would you have repurposed this ironing board?
More Fun Repurposed Projects!
How to upcycle a table with paint and a napkin
Repurposed wood chair turned shelf
Mason jar tissue holder
This is such a cool idea, love it!
Thank you Heather. Now everything is there for easy access.
Aww Linda this is such a cute idea. Not only does it make a statement with that striking color but it is also a great way to repurpose the ironing board.
Thanks Mary! It is a bright pop on color. I wasn’t so sure about it, but I love it now.
LOVE this Linda! Very clever! I would be “borrowing” this idea from you if I had an wall space to spare. Bet it was easy to wire the baskets on with those holes in the ironing board.
Thank you Florence! I had to move a few things to make room for it. But it all worked out. Yes that holes made it really easy to add the baskets, and the hanging hook on the back.
Thank you Florence! I had to move a few things to make room for it. But it all worked out. Yes that holes made it really easy to add the baskets, and the hanging hook on the back.
I love how this turned out, Linda!! Such a beautiful upcycle and love the colour that you chose!!
Thank you Sam! The other choice was a lighter mint green color, but I settled on this color, and happy that I did.
Love how it turned out Linda and how sweet of your hubby to help out, especially since you were working so hard. I find that a routine keeps me on track too otherwise I find myself not really completing anything and just jumping around from one thing to the next 😀
Yes he is 🙂 The holiday’s have gotten me out of my routine, and I have been haven’t a hard time getting back on it. Plus work has been so busy and hectic even after the holiday’s that I’m just so tired. I was told that the airlines were offering tickets at half price through February, so I guess until than it will be busy.
This is so cute. Such a stylish way to be organized in the laundry room. I love the color.
Thank you Debra! It keeps my laundry supplies in easy reach when doing the laundry. I started with a light olive green color, but glad I switched to this color. Cheerful color for the dreaded laundry room. LOL
What a amusing and pretty project!
Maria
Thanks Maria! 🙂
I have an ironing board waiting for me to get to it. I have made some magnetic clothespins that I want to use for lone socks, coupons that I find in detergent boxes and lost and found stuff! Picked a similar color blue. Goodwill often has ironing boards fairly cheaply as thye don’t know how we are upcyling them!
Thank sounds like a pretty cool way to use an ironing board. I do love that color, gives the room a little pop on color. When Goodwill figures it out they will go up on their prices like everything else. Thanks for stopping by!
Thank you for a nice upcycle and especially the ‘how to.’ I just found two metal mesh mini ironing boards at a thrift store ($1.96 each). I needed an idea to turn them into storage. Your post was a big help.
Hi Dee! I’m so happy I could help. Thanks so much for stopping by!