Here recently I have added some animal print switch plate covers to my guest bathroom. If you have just started to follow along you may have missed my repurposed wood chair turned shelf, and my shabby animal print valiance. That I had made for our guest bathroom with the safari animal print theme.
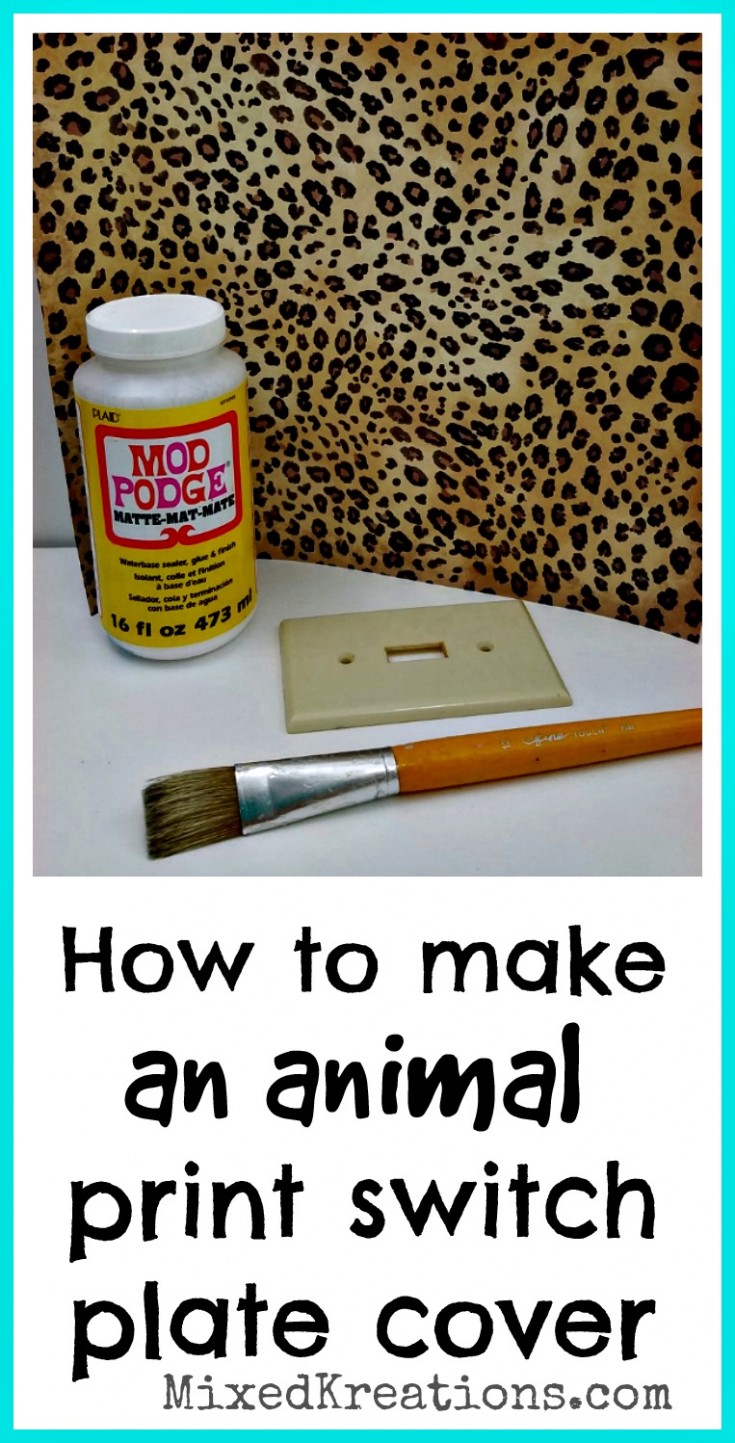
How To Make Animal Print Switch Plate Covers
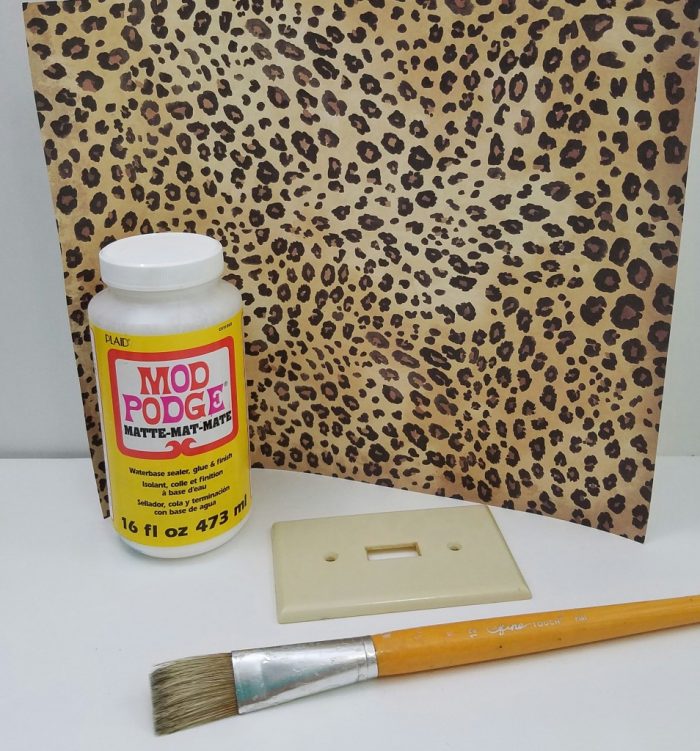
First you will need some switch plate covers. You can either buy some cheap one at Home Depot or even Walmart, or just remove the ones that are already covering your switches like I did.
[tweetthis display_mode=”box”]Add some fun to a room with – animal print switch covers. #diy #AnimalPrint[/tweetthis]
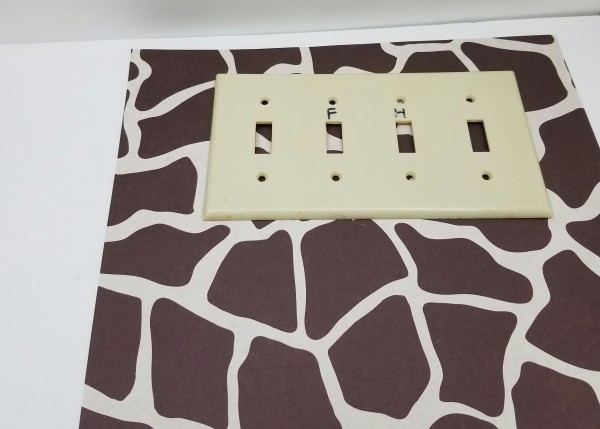
Choose the animal print scrapbook paper that you are going to use.
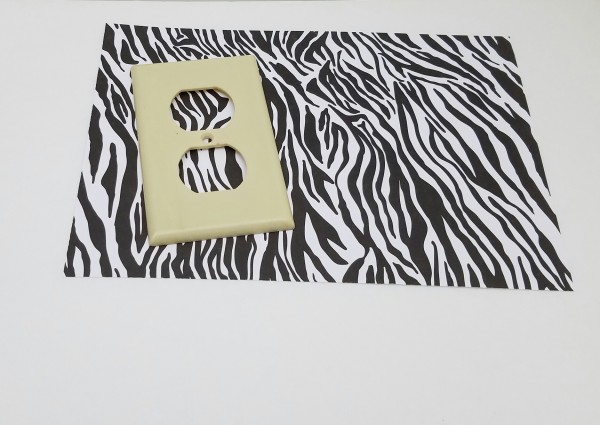
As you can see in the photo’s I have two switch plates that I am going to cover, and one electrical plug cover plate.
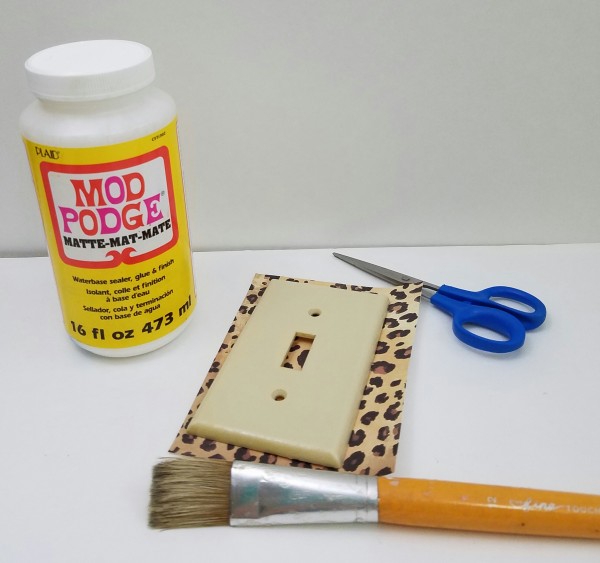
Now cut your scrapbook paper just a little bit larger than the switch plate or plug cover that you are going to cover.
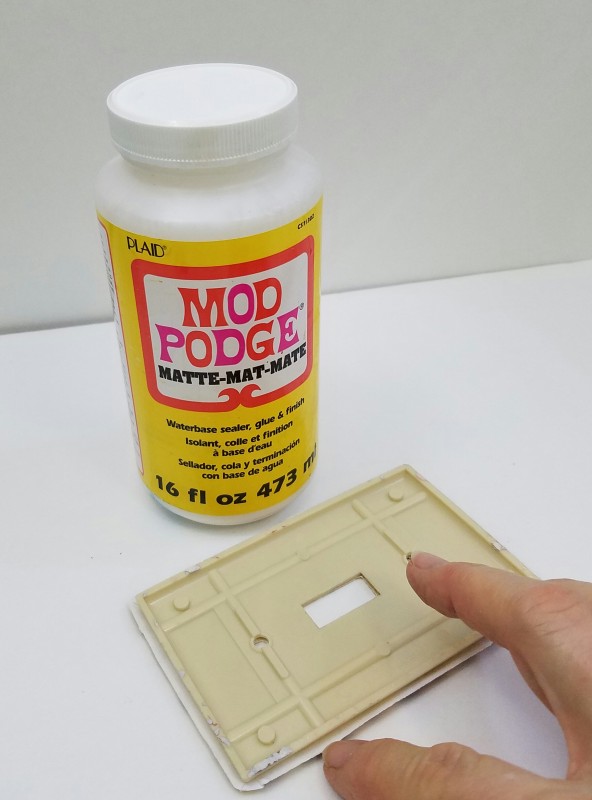
Using your paint brush add the mod podge to the top of your switch plate cover, do not paint the curved edges of the switch plate yet. Lay the scrapbook paper face down and the position your switch plate onto the paper. Let dry.
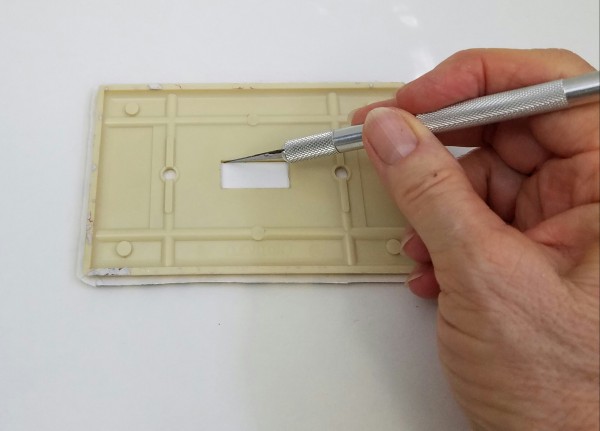
Taking your x-acto knife and using the cutting board to lay the switch plate on face down. Start cutting out the switch opening and the two small hole openings carefully.
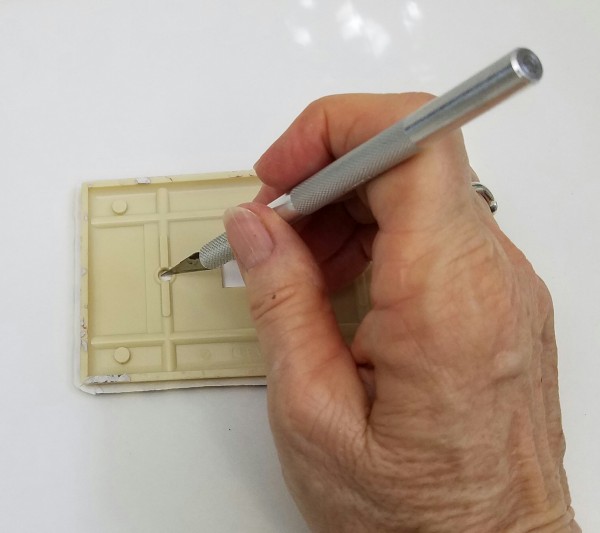
This next step I seem to have forgotten to take the picture (probably because I didn’t have a third hand, LOL). But I will walk you through this step.
Looking at the photo below, take the switch plate and roll it up onto the edge so that the paper is flat on the cutting board. Keep it in this position while using the x-acto knife to trim off the extra scrapbook paper.
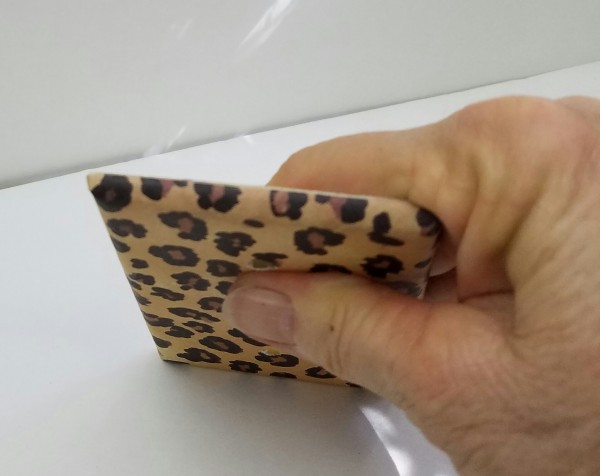
Go around and repeat on all sides, and do the same for the corners because they are rounded.
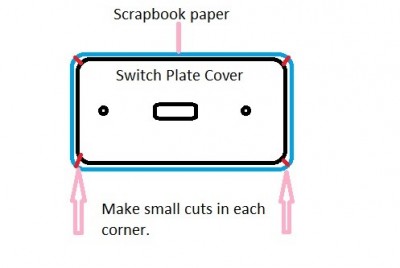
Looking at the example picture above made a small cut at each corner on the scrapbook paper. The small red lines are the cuts. This is to help the scrapbook paper lay flat once glued down.
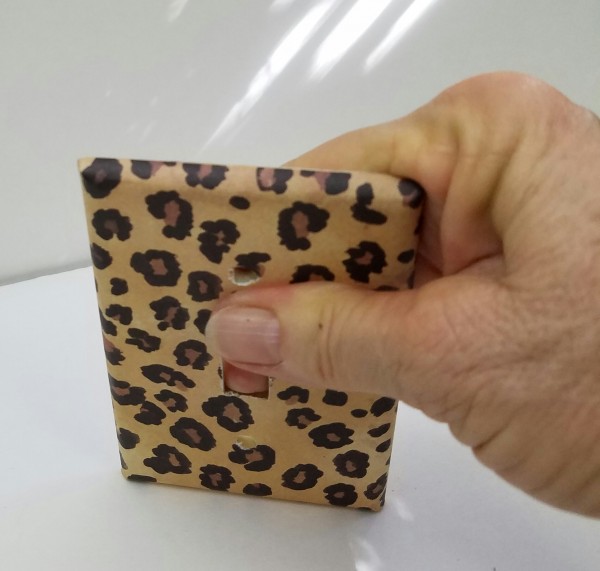
Now go around the edges adding mod podge then use the same rolling to the edge method to glue the edges down smoothly.
[tweetthis display_mode=”box”]These diy animal print switch covers will bring a smile[/tweetthis]
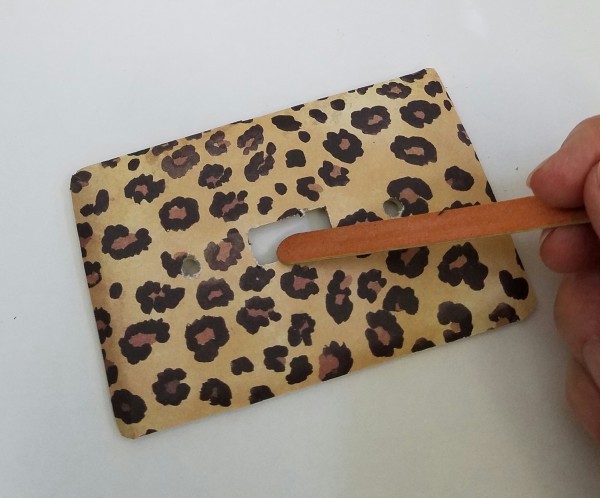
Once the mod podge is dry go around and sand the edges with an emery board to remove any excess paper, and smooth the edges.
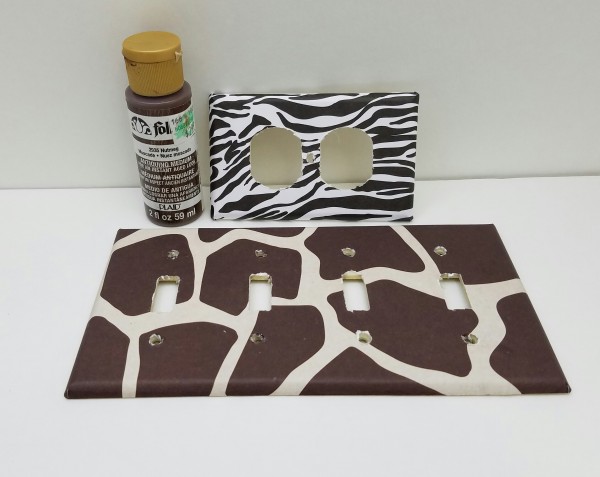
Next I added the antique medium to darken the animal print. Let dry.
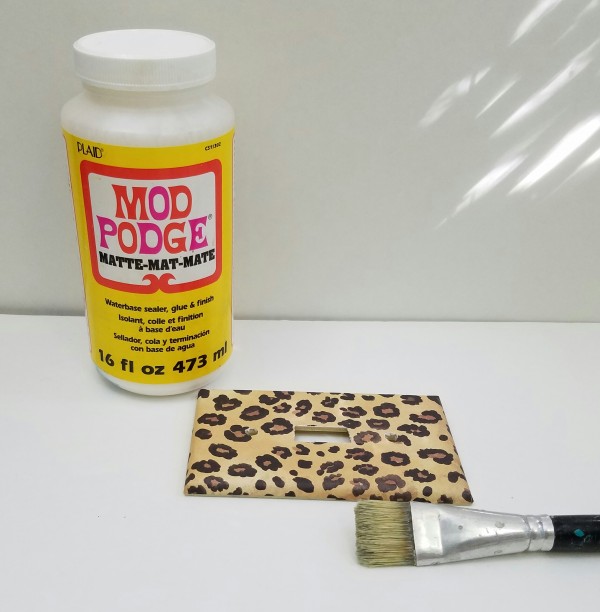
Then I brushed mod podge over the tops of each animal print switch cover to seal and protect each cover plate.
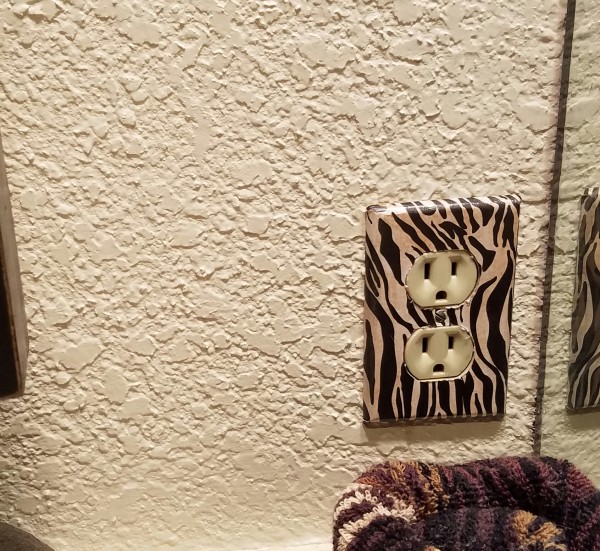
Once dry you can attach the animal print switch plate covers back in place on the wall.
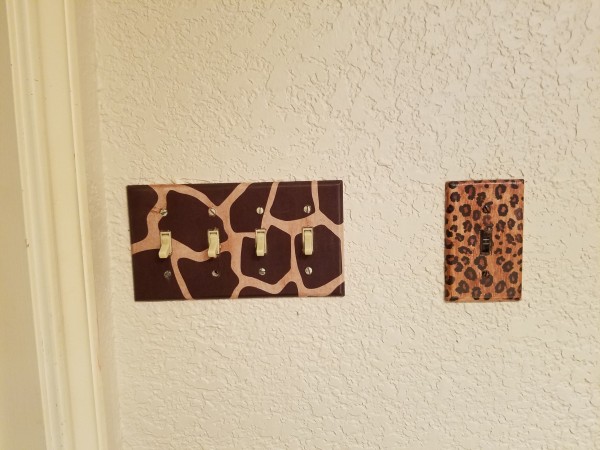
That’s all there is to making animal print switch plate covers that will bring a smile to anyone that sees them.
*This post contains affiliate links, if you click on an affiliate link & buy something I may receive a small commission at no extra charge to you. The affiliate money I earn helps pay the expenses to keep this site running. Please read my full advertising disclosure for more info. Thanks so much for your support!*
Supplies Needed For This Project
(includes affiliate links for your convenience)
* Animal print scrapbook paper
* Mod Podge I love my Mod Podge
* Switch plate covers
* Antiquing medium
* Paint brush
* X-Acto knife
* Emery board (these come in really handy for sanding small things)
* Wax paper (I use wax paper under the projects that I’m painting or using Mod Podge on)
* Small cutting board (for cutting out the switch opening, and where the screws go)
* Screwdriver to attach the animal print switch covers in place
If you found this post helpful, please share and pin for later reference.
More Fun Animal Print Projects
Animal print soap dispenser
Diy vintage zebra print block with cross
I was a lamb, now I am a?
Linda these are so cute. Now you can totally customize all of your switch plates without having to spend a fortune. I love your bold choice of patterns. The tutorial is excellent also.
Thank you Mary! I may eventually have all of my switch plates covered. LOL. The fancy switch covers are so expensive, and I just can’t bring myself to pay $20 a piece for all the ones we would need.
SO easy! And I love how anyone can tweak this DIY to make it their own style just by changing up the paper.
There is so many pretty patterns of scrapbook paper where you can make the switch plates any style that you want. I’m thinking of making one for my craft room. I’m sure I can find something crafty.
Love this Linda!!! You really need to do a video shot of the guest bathroom, with all the beautiful things you’ve made for it. Can I come visit, I promise to bring a little bit of Africa with me?
I haven’t thought of that. I wonder if I could get decent shots, there’s not very good lighting in there. I will have to give it a shot. Sure you can come visit me anytime. Will you bring me a baby elephant please. 😉
This is such a great DIY idea Linda!
Thank you Ilka! I like that it is a easy and inexpensive way to dress up plain ole switch plates. Fancy ones are so expensive.
This is also pretty easy-to-do, even my kids can do it. Thanks you so much for sharing another great DIY ideas, Linda!
Thank you Jennifer! It is very easy, and I bet kids would enjoy decorating their own switch plates. Probably need some help when it comes to cutting the holes for the switch and screws.
These look so cool Linda, and they would be so easy to customise for any room – brilliant!
Thank you Sarah! Yes they would, and I intend to make more just haven’t gotten around to it yet.
So easy! This looks like something I can also do at home. Love this. Thanks for posting!
Hi Diane! I’m glad that you enjoyed the post! It’s most definitely a project that you can do at home. Thanks for stopping by!