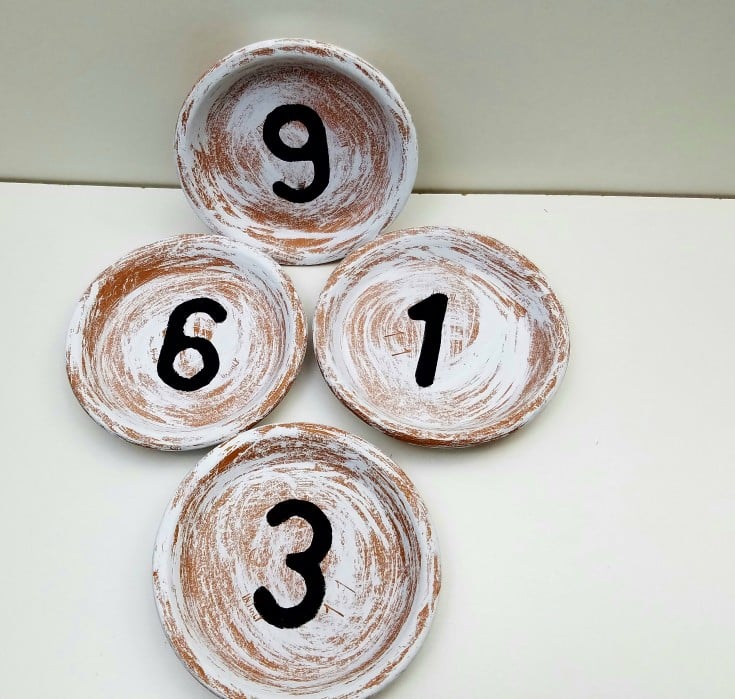
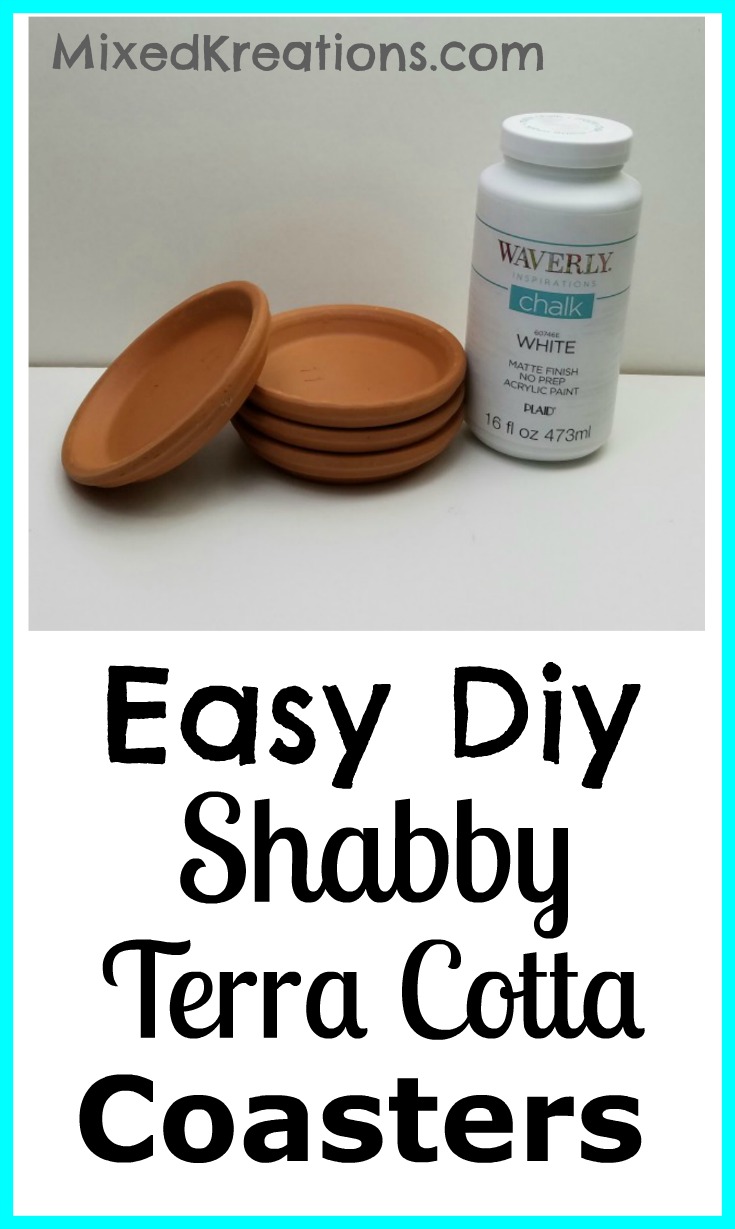
These Easy Diy Shabby Terra Cotta Coasters have been on my mind since I had picked the little terra cotta saucers up. I just wasn’t quite sure how I wanted to paint them until now.
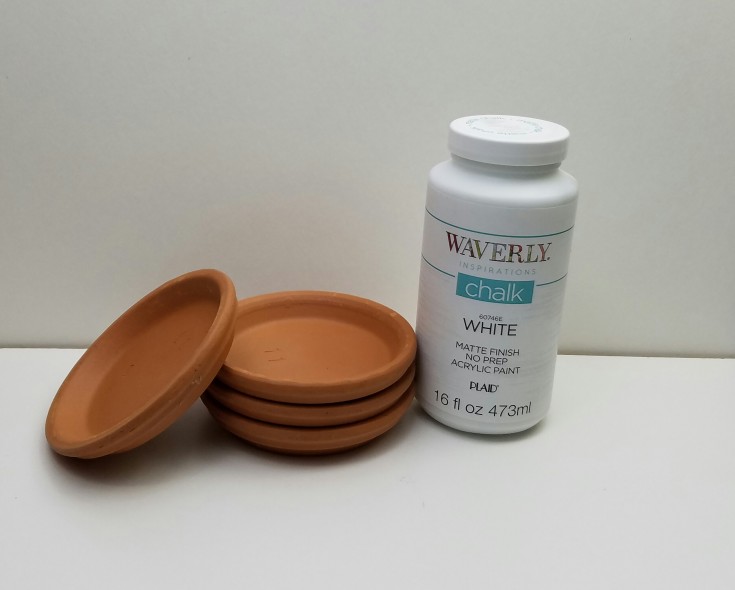
How To Make Easy Diy Shabby Terra Cotta Coasters
Start off by dry brushing some chalk paint on your terra cotta saucers.
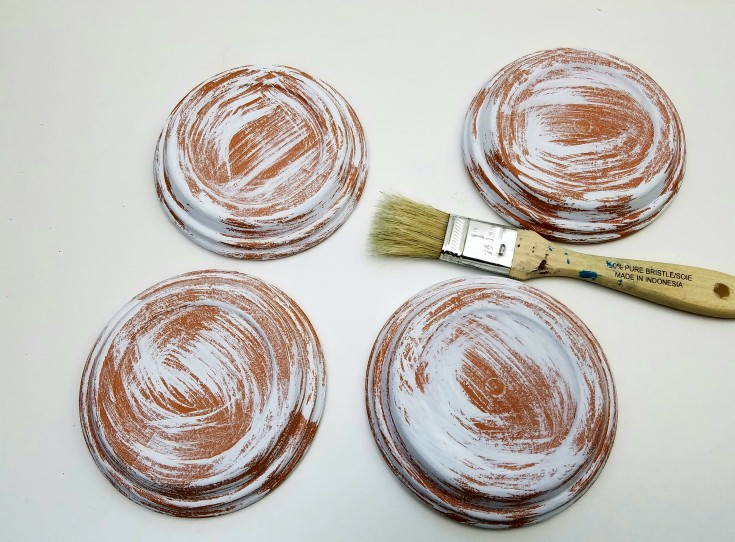
Once dry flip the saucers over and dry brush chalk paint onto the other side as well.
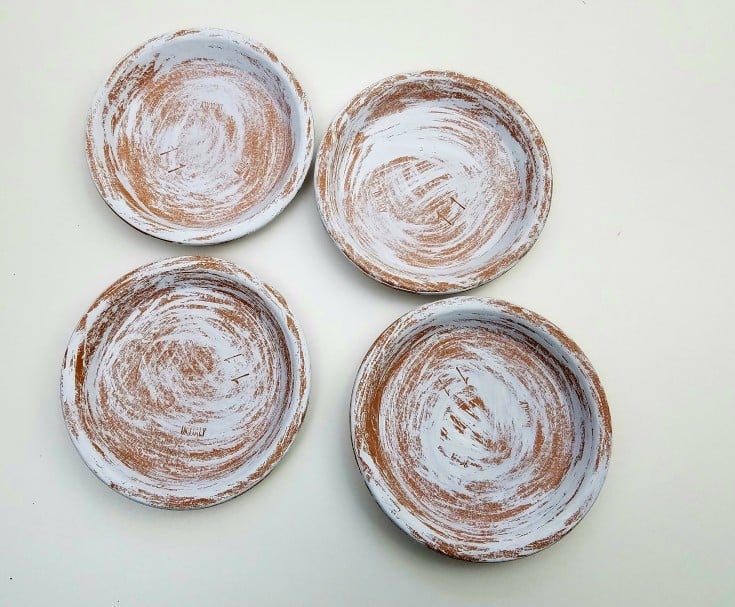
Add more or less chalk paint to your liking.
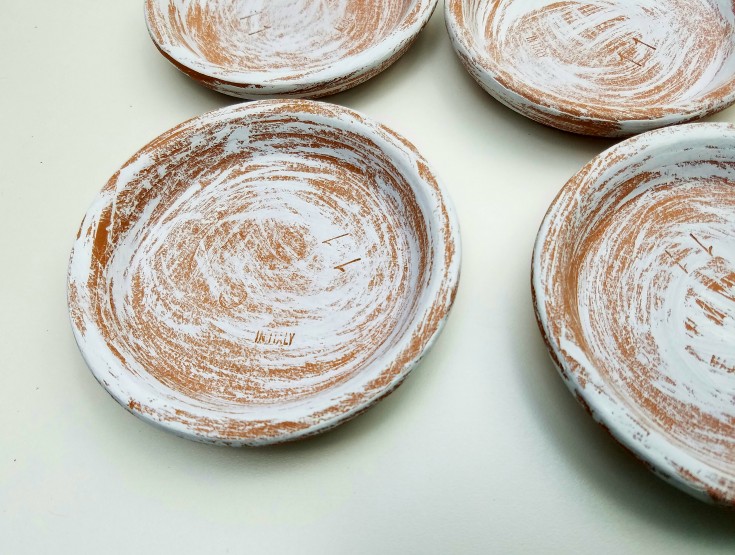
[tweetthis display_mode=”box”]Easy Diy coasters made from terra cotta saucers.[/tweetthis]
I wanted to stencil some numbers onto my shabby terra cotta coasters, but I didn’t have any stencils that would fit inside the saucers so that it would lay flat. So I improvised and made my own out of typing paper.
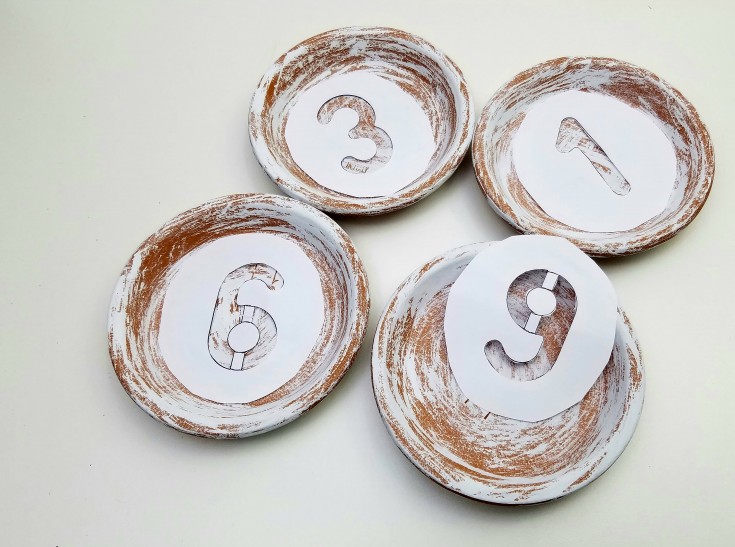
I cut my homemade stencils in a circle so that they would lay flat in the little saucers.
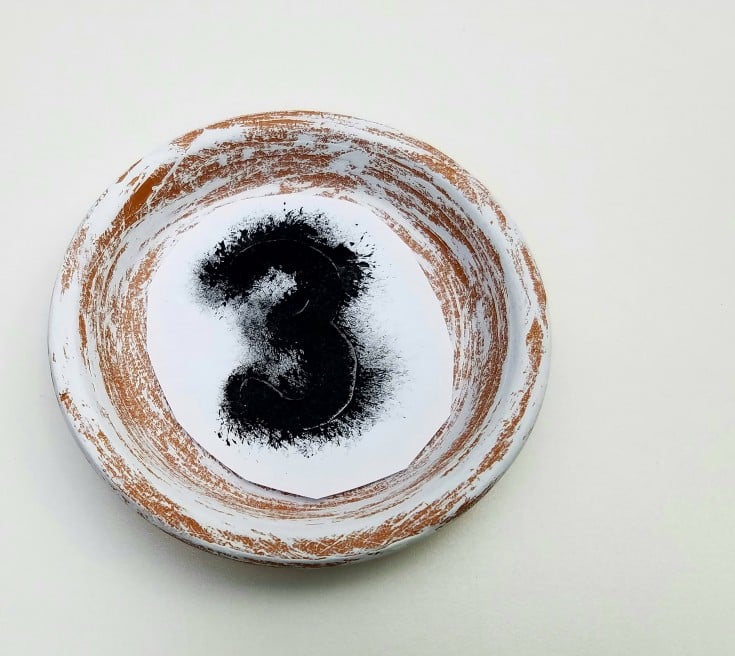
Using a small stencil sponge, and black chalk paint I started stenciling my numbers in the center of my terra cotta coasters.
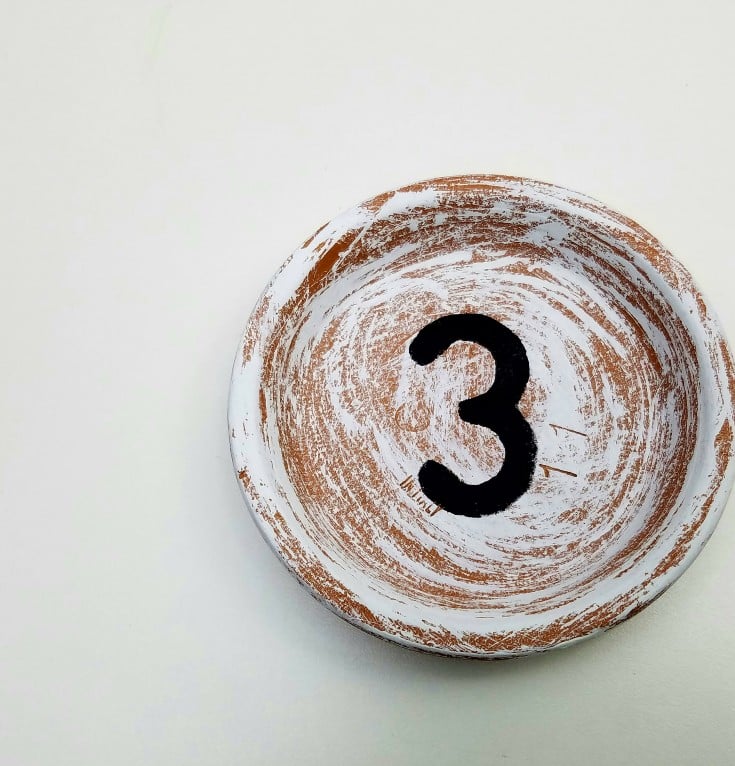
I continued until I had all the numbers stenciled in the center of each saucer.
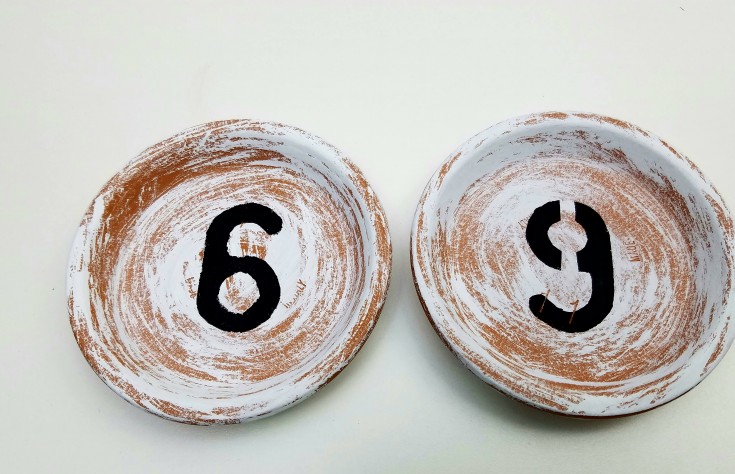
I then went back and filled in the opening on my number 6 and 9.
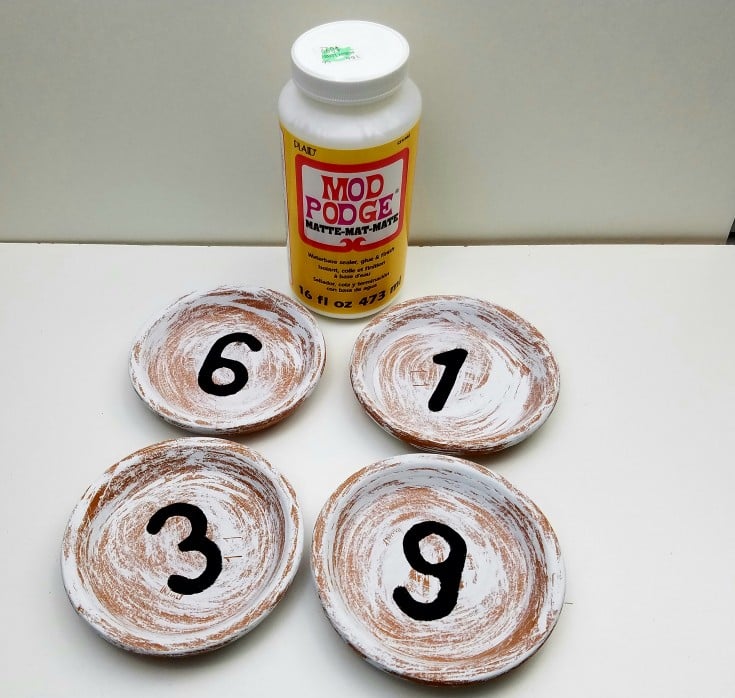
Next I gave a coat of Mod Podge to each coaster for protection.
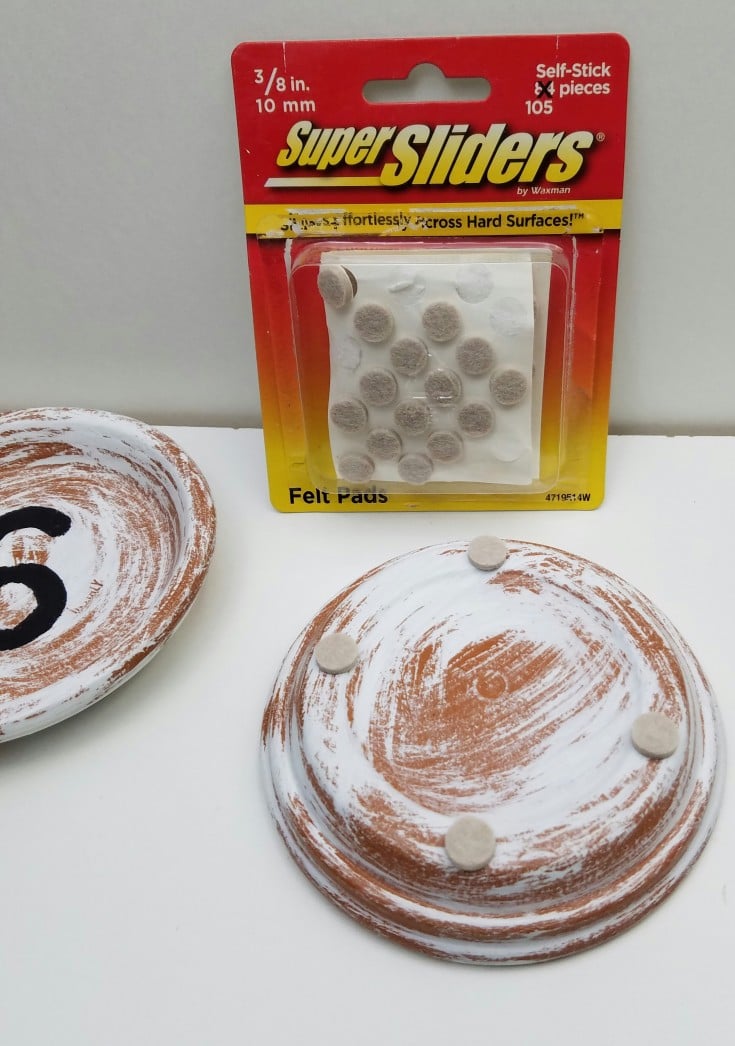
For the bottom of the coasters you can cut a round piece of felt and glue to the bottom, or you can use some small Super Sliders to protect your furniture from the coaster bottoms.
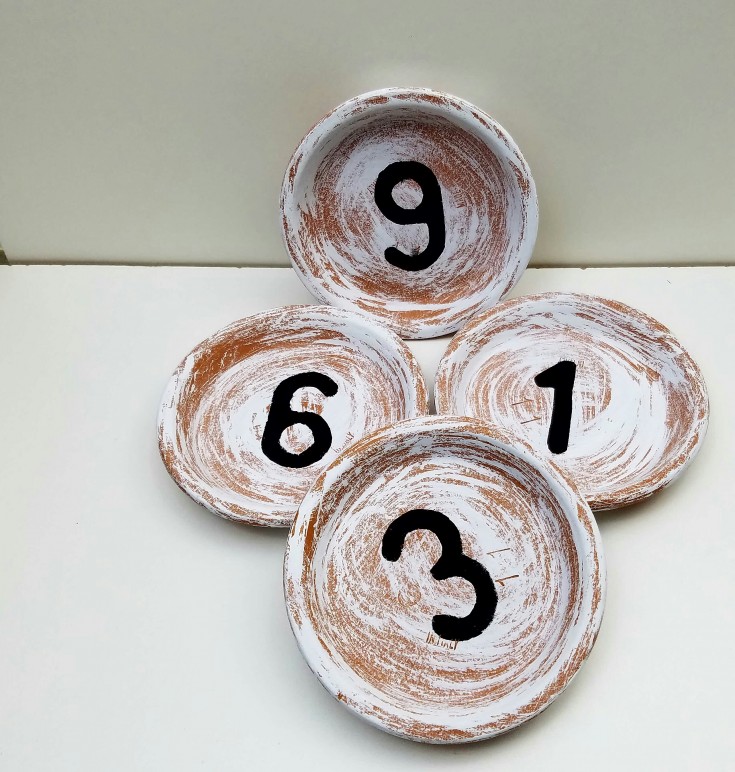
That’s all there is to making these easy diy shabby terra cotta coasters. These coasters would make a great gift for someone special, and they are super easy to make.
Have you made any homemade coasters? If so what kinds or materials did you use?
*This post contains affiliate links, if you click on an affiliate link & buy something I may receive a small commission at no extra charge to you. The affiliate money I earn helps pay the expenses to keep this site running. Please read my full advertising disclosure for more info. Thanks so much for your support!*
Material List For Terra Cotta Coasters
Terra Cotta Saucers
Chalk PaintStencils
Stencil Sponge
Mod Podge
Old Paint brush
Felt or Super Sliders, for the bottom of each coaster
More Post You May Enjoy!
Texas Tile Coasters
Easy Diy Tile Coasters
Shabby Home Decor With Vintage Tag
Your terracotta coaster look lovely Linda and they’ll definitely keep the drips away and save your furniture. We’ve made some wooden coasters for my dad for Father Day last year, but he would love some of these too
Thank you Michelle! I remember the ones that you made last year, they were so cool with the built in bottle opener on the bottom.
I am so into the number decor items and these are so simple to make and they look fantastic. Did you choose those numbers for any specific reason? When I look at them I see 1963. No matter what numbers you chose they turned out adorable. And the idea of adding the sliders or felt to protect your furniture is brilliant! I never would have thought of that.
Thank you Nikki! I am so into the number decor as well. No specific reason for the numbers that I choice. I just picked some. I had first forgot about the furniture protector, and had to go back and add them, then take pictures.
Super cute and super easy to make. My kind of project Linda.
Thanks Mary! Super easy projects are the best kind.
Very cute those coasters Linda, a great idea to use terracotta saucers and add the protection too! Coasters always come in so handy!!
Thank you Katrin! I had the saucers sitting around for quite a while before I finally decided how I wanted to make them. But I am loving how they turned out.