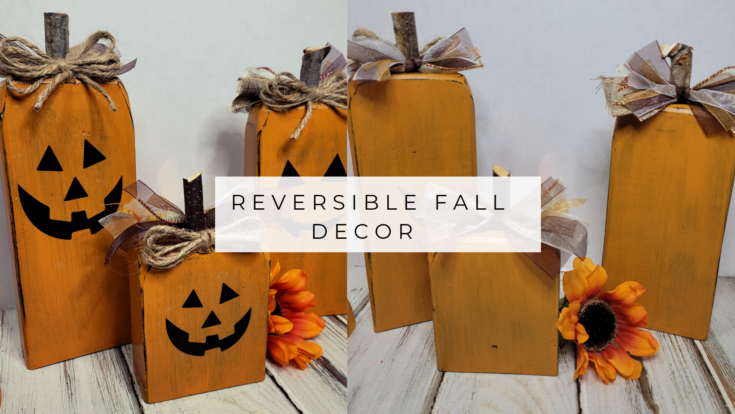
Hi all! Today I am going to share some fun reversible fall décor with a new technique for me that I love so much more then stenciling. No more bleeding under the stencils and then having to touch them up. I have tried this graphic transfer technique before with a jet printer and it was ok but the ink tends to smear some. So, after running across some videos by Our Upcycled Life on YouTube I got hooked and went out and bought a laser printer.
Now with Pic Monkey program and my new laser printer I am able to make my own reverse graphics for my own projects. And I have been going a bit crazy with the graphic transfers. I have already tried it on wood and tin cans. These will be shared in a later post. Because today will be concentrating on this reversible fall décor with a jack-o-lantern on one side and the traditional orange pumpkin on the other.
***This post contains affiliate links… We are a participant in the Amazon Services LLC Associates Program, and affiliate advertising program designed to provide a means for us to earn fees by linking to Amazon.com and affiliated sites at no extra charge to you. Please read my full advertising disclosure for more info. Thanks so much for your support!***
Diy Reversible Fall Décor
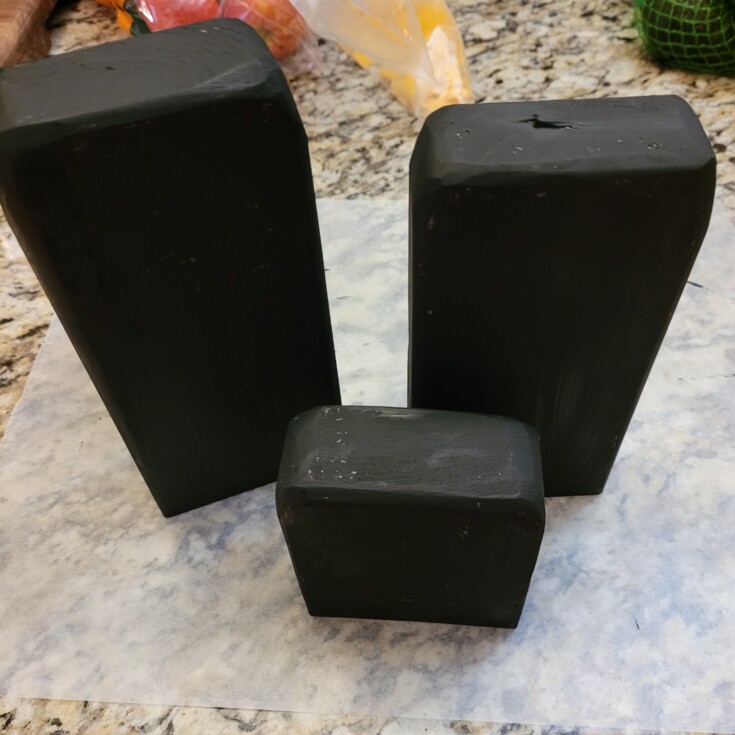
I started off with three different lengths of two by four’s. Then I gave them a coat of black chalk paint.
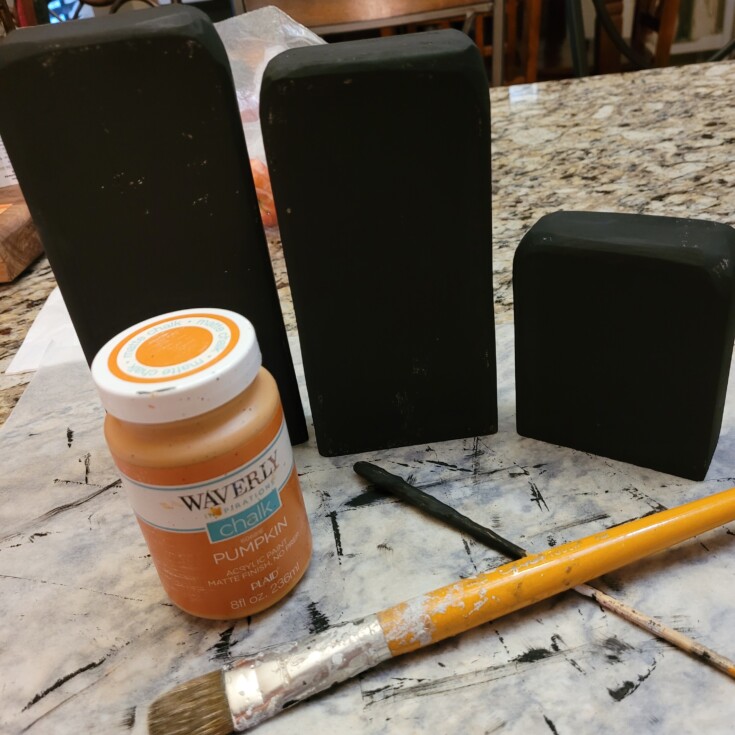
Once dry I gave them a coat of orange chalk paint.
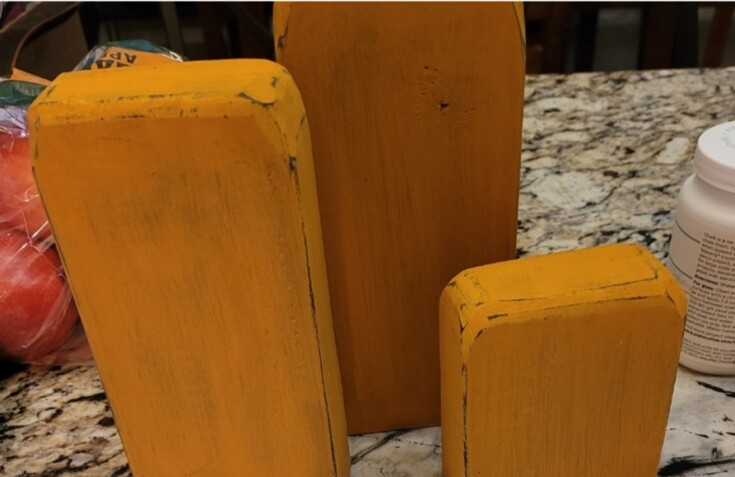
Next, I used my new handy little finger sander to distress the edges so some of the black can show through.
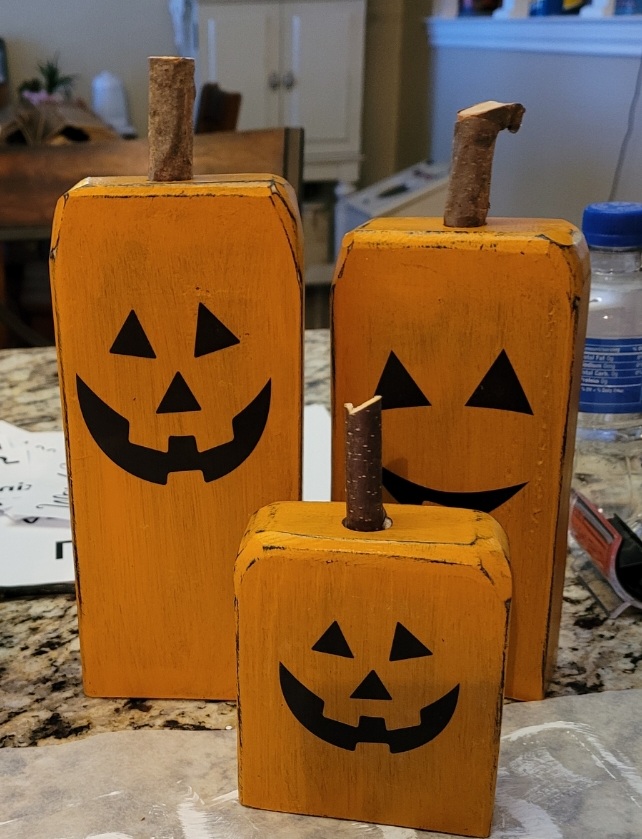
I used PicMonkey to print out some faces for the jack-o-lantern side of the wood.
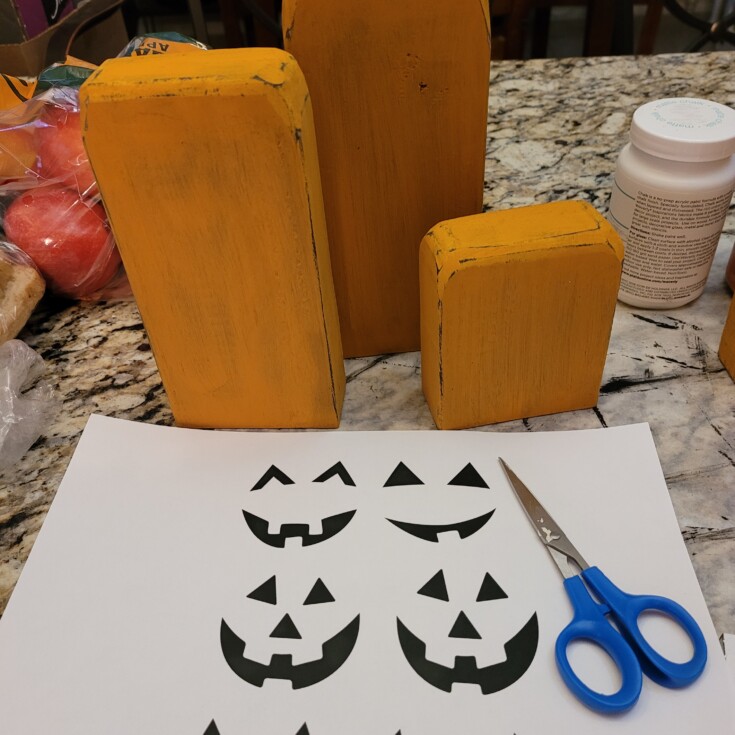
These I will be transferring to my wood, by painting a thin coat of Mod Podge to the graphic side of the paper.
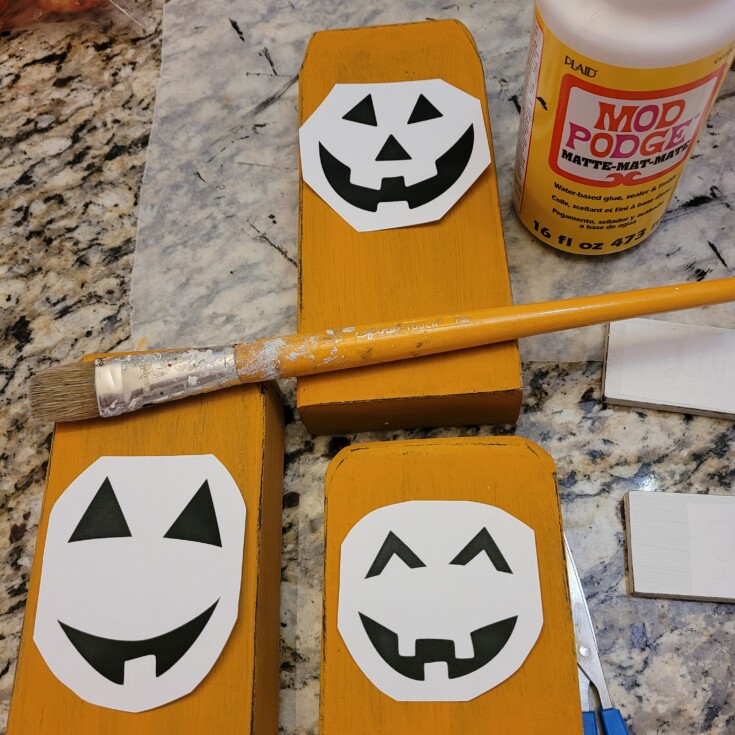
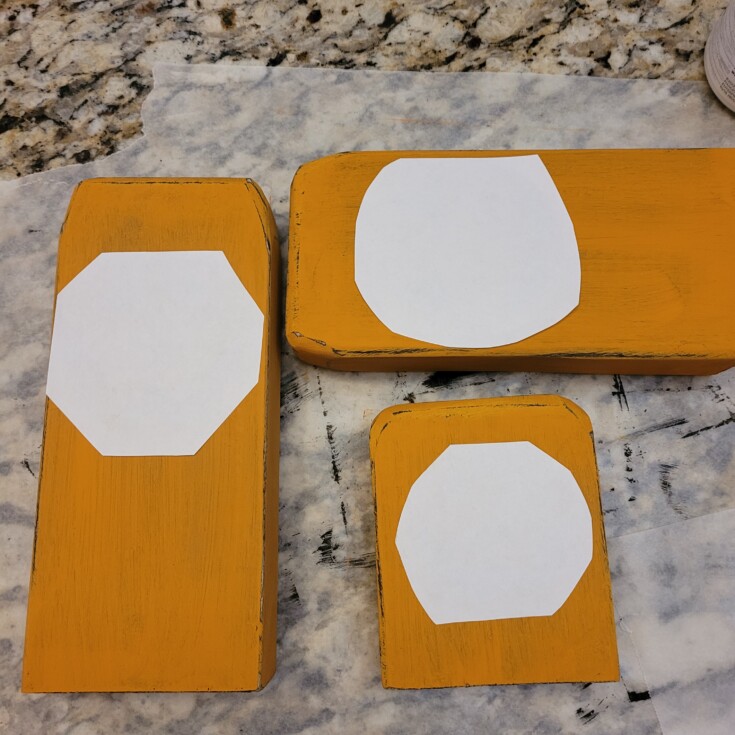
Then position it on the wood and let dry for 24 hours.
The next day I dampened the back of the graphics until I could see the faces through the paper. Then gently I started rubbing the back of the paper off leaving the faces. Don’t rub to hard or you will rub the transfer off. Here’s a how-to video from Our Upcycled Life.
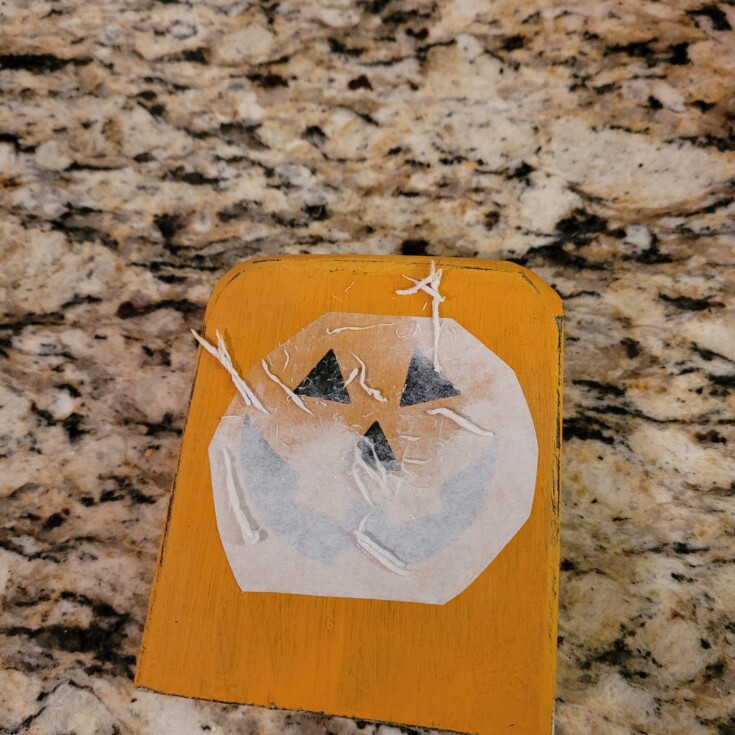
The wood around the faces were a little bit lighter but once I added the Mod Podge it wasn’t noticeable.
I found a bag of wood stems at the Dollar Tree so I bought them instead of cutting my own.
Using a drill, I drilled the holes in the top of my reversible fall décor. Then applied wood glue in the holes and added my stems.
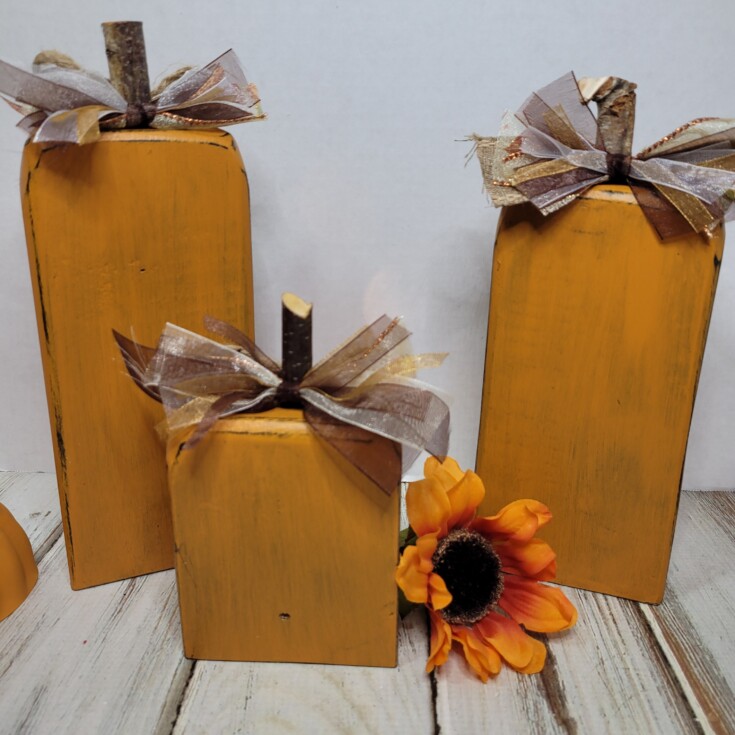
Next, came by bows. Twine bows for the Halloween side of my décor and a messy bow of mixed ribbons for the fall and Thanksgiving side of the pumpkins.
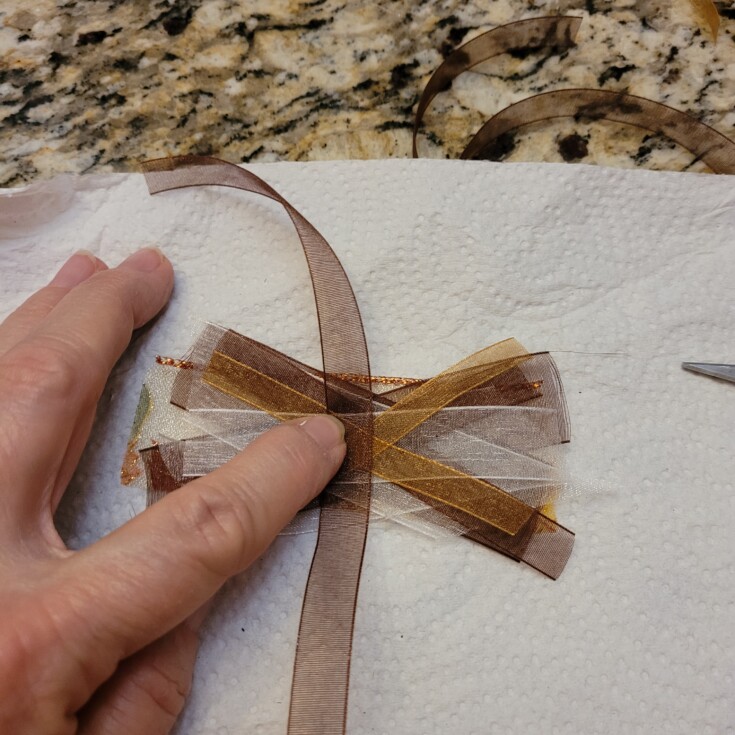
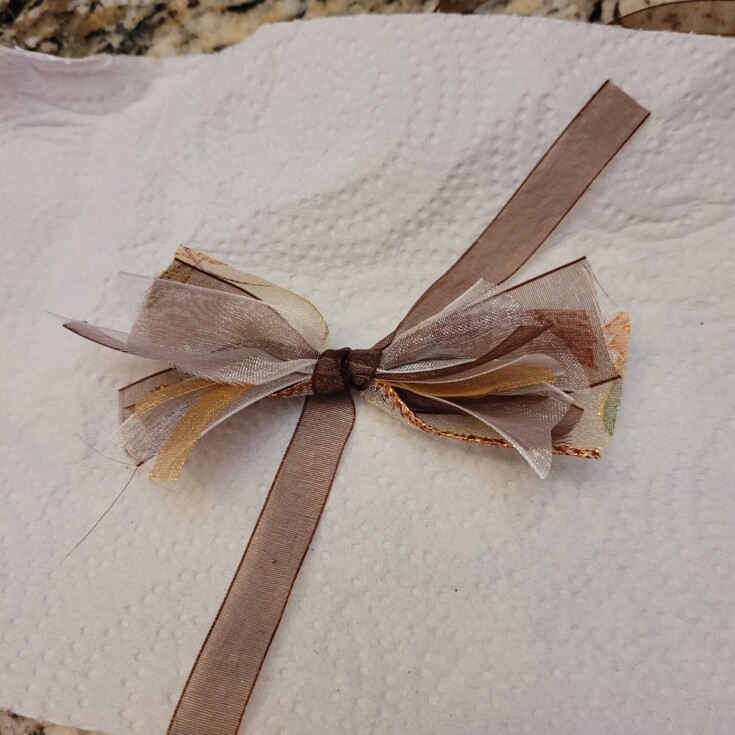
Leaving some ribbon ends to tie the messy bow on the fall side of my reversible fall décor.
The twine bows were hot glued on the other side.
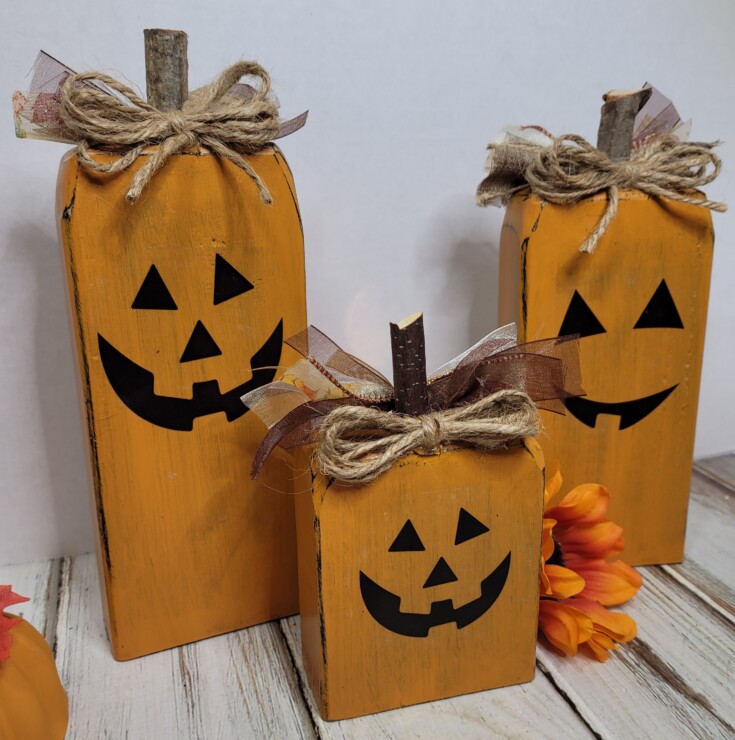
Now just turn them around for whichever side you would like to be showing. That’s it for these easily Reversible Fall Décor.
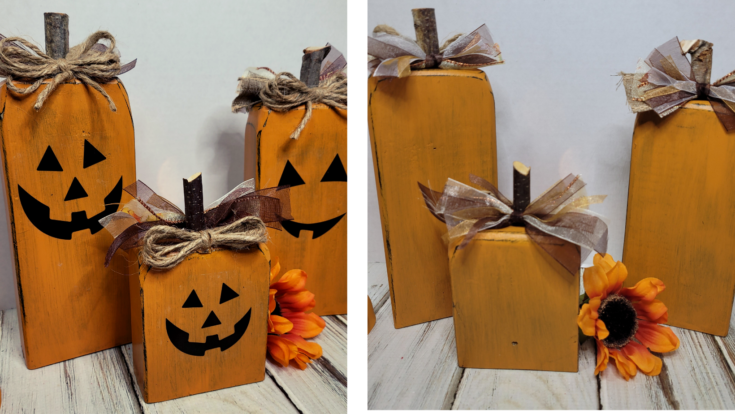
Reversible Fall Decor Supplies
Three lengths of two by four wood
Black and orange chalk paint
Ribbons
Twine
Paintbrush
Mod Podge
Graphics of Jack-o-lantern
Wood stems
Hot glue
Wood glue
Finger sander
Drill
More Fun Fall Projects!
Spooky Halloween blocks
Halloween garland from repurposed bulbs
Two-sided Halloween and Thanksgiving decor
5-minute Thanksgiving treat holder
I’m waiting for our old printer to give up the ghost so I can buy a laser printer too. They’re so much more craft-friendly.
P.S. I love your reversible pumpkins. It makes it so much easier.
Thank you Michelle! I am loving my laser printer! Wish I had know about the differences years ago. I would of bought one than. Would love to have one that printed color, but all they had when I was looking was ones that printed in black only. But that works for me! 😉