Mixed Kreations

The Creative Life & Journey Of A DIY'ER

  • Home
  • Diy Projects
    • Handmade Cross Projects
    • Holiday & Seasonal Projects
    • Mason Jars
    • Fun Upcyled Shutters & Spindles
    • Texas Projects
    • Upcycled Cans
    • Wood Projects
    • Jewelry Tutorials
  • Quick and Easy Recipes
  • Shop Mixed Kreations
    • Etsy Shop
    • Mixed Kreations Amazon Influencer
  • DISCLOSURES STATEMENT & PRIVACY POLICY
  • About Me
  • Recommendations
You are here: Home / DIY/Craft Projects / repurposed/upcycled / Decoupaged Tin Cans

Decoupaged Tin Cans

January 20, 2021 By: Linda @ Mixed Kreations2 Comments

If you enjoyed this post, don't forget to pin it for later!

6010 shares
  • Share
  • Tweet

Hi All! Today I am going to share a project that I have been wanting to try. But kept putting it off because I thought it would be somewhat difficult to do. To my surprise, it really wasn’t hard at all, as long as I went slowly and worked in small sections at a time. The project I am referring to is how to decoupage a napkin to a tin can. I will be decoupaging two tin cans. (For another fun decoupage project check out this Diy tile coaster). So without further ado let’s get started on the decoupaged tin cans.

Decoupaged tin can, repurposed tin can, how to decoupage a tin can

***This post contains affiliate links… We are a participant in the Amazon Services LLC Associates Program, and affiliate advertising program designed to provide a means for us to earn fees by linking to Amazon.com and affiliated sites at no extra charge to you. Please read my full advertising disclosure for more info. Thanks so much for your support!***
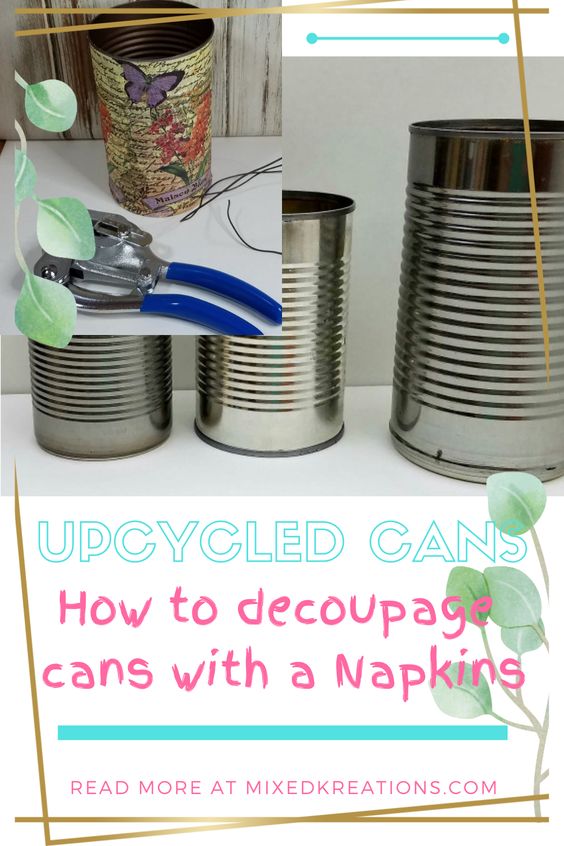
Decoupaged Tin Cans

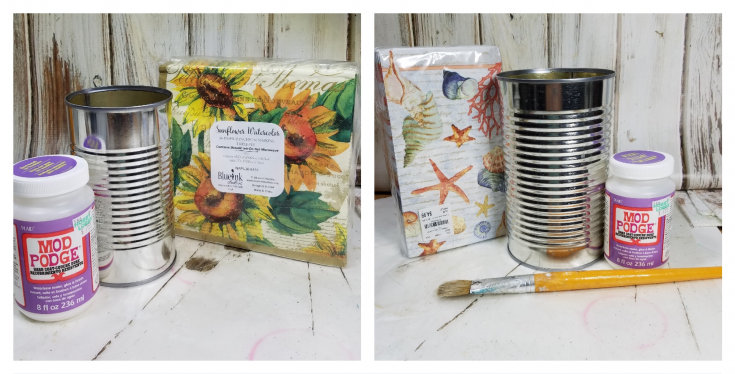
You will need to start off with clean cans, labels removed, and any stickiness from labels.

how to decoupage a tin can

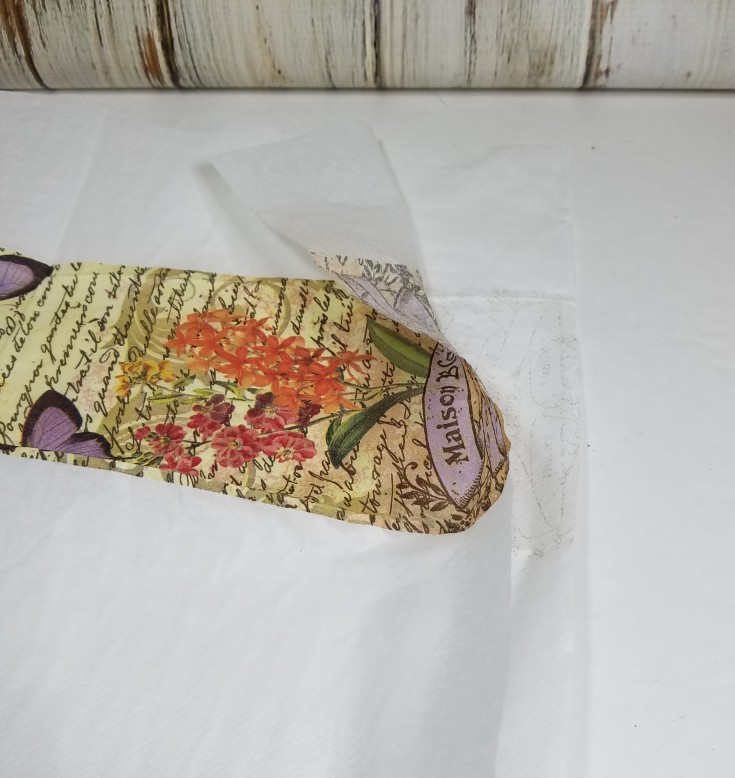
Then choose a two-ply napkin and remove the back layer of the napkin. You will be using the front layer with the design. Cut it down to only the design needed for the project. Two napkins may be needed to cover the can completely.

Start off by running about an inch-wide coat of Mod Podge down the side of the can.

Decoupaged tin can

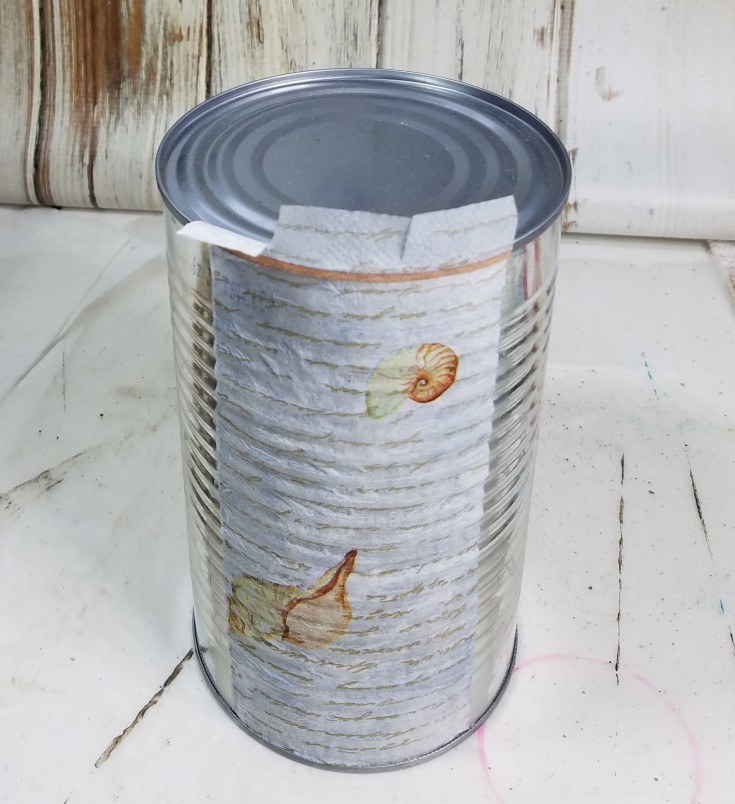
Then line up the napkin with the top edge of the can and work your way down the side gently pressing the napkin down. Leaving any overlaps at the bottom of the can. This will be tucked under and glued down later.

Decoupaged tin can

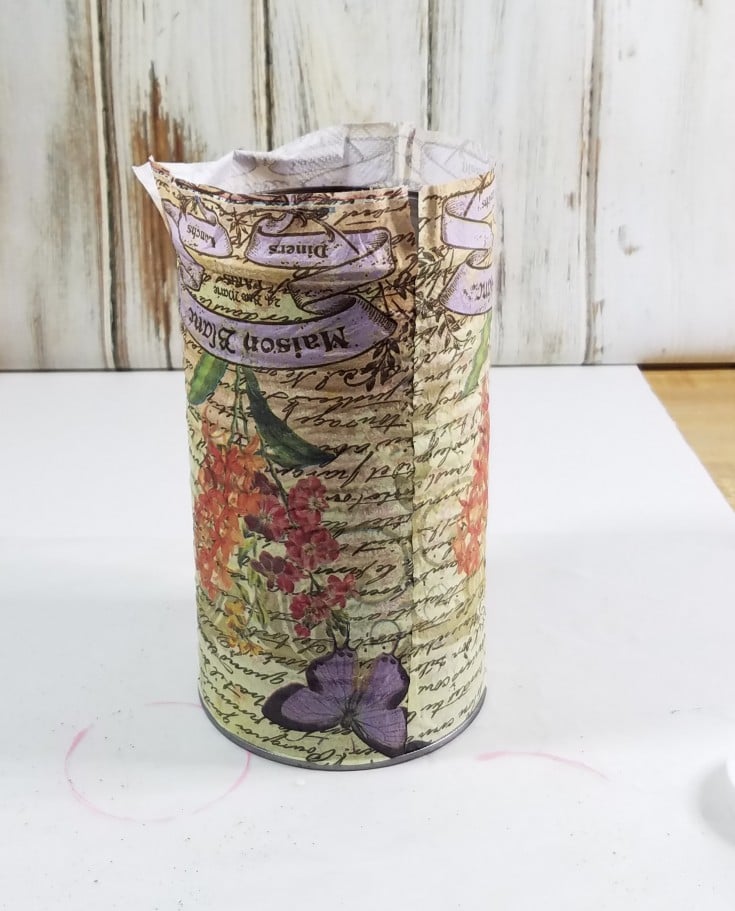
Keep adding a light coat of Mod Podge down the side working the napkin down and around the can, until the can is covered. If two napkins are needed just line the edge up with the other and glue down with Mod Podge working around in small sections until the decoupaged tin can is completely wrapped.

If you go slowly and work in small sections, it really isn’t difficult to get the napkin in place.

Decoupaged tin can

Tin can decoupage

Make one-inch cuts to the overlaps on the bottom then flip over and glue down with Mod Podge.

Leave sitting upside down until completely dry.

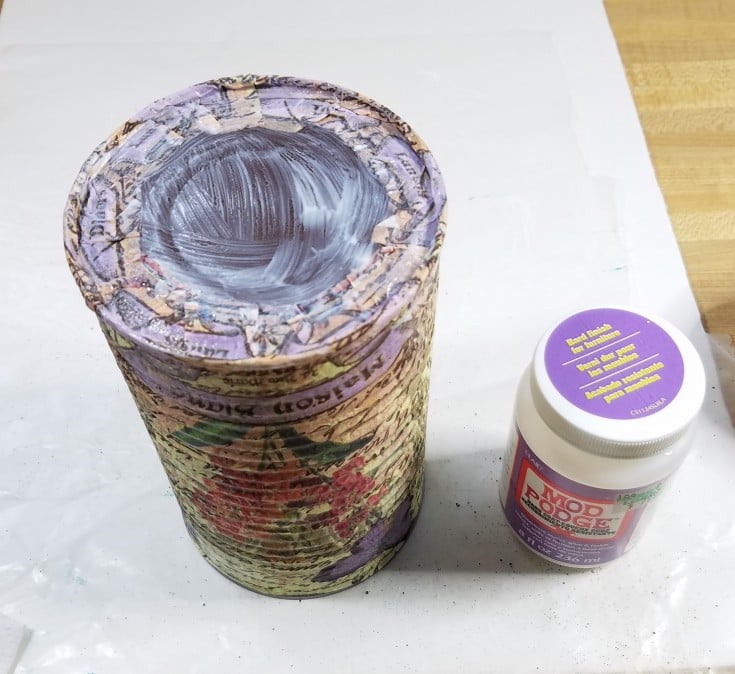
Next, apply a coat of Mod Podge over the can to seal and protect the decoupaged tin cans.

Decoupaged tin can diy

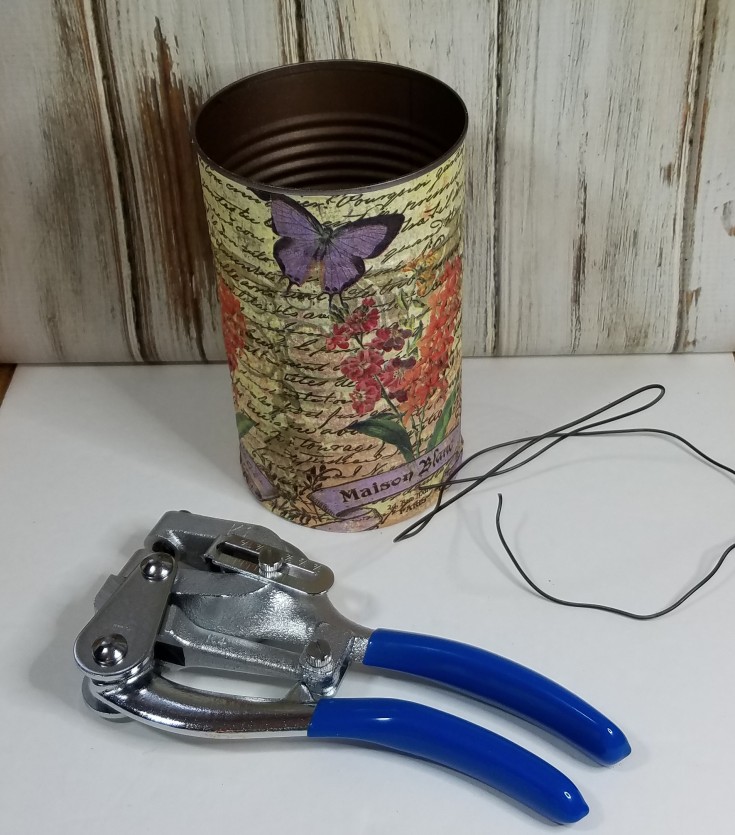
Once the tin cans were dry I used my nifty metal hole punch to punch a couple of holes to add wire handles to the decoupaged tin cans. (If you don’t have one of these metal punches you may want to check it out. I bought it for my jewelry making but it has come in handy for other projects as well).

how to decoupage a tin can

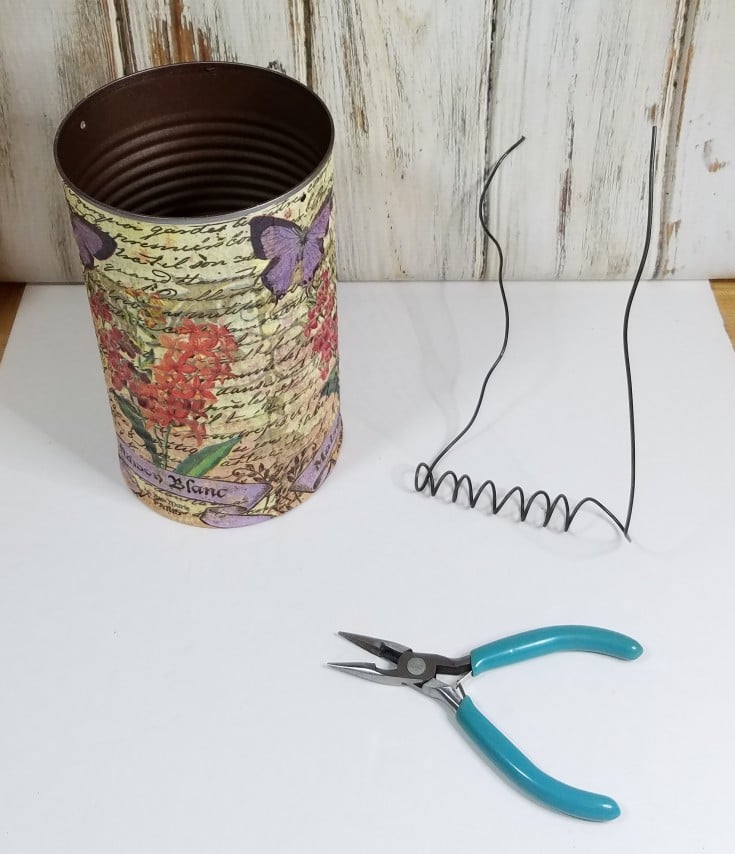
Using annealed wire for the handles, cut two pieces about 12-14” long then wrapped the middle section around the handle of a paintbrush.

Decoupaged tin can, repurposed tin can, how to decoupage a tin can

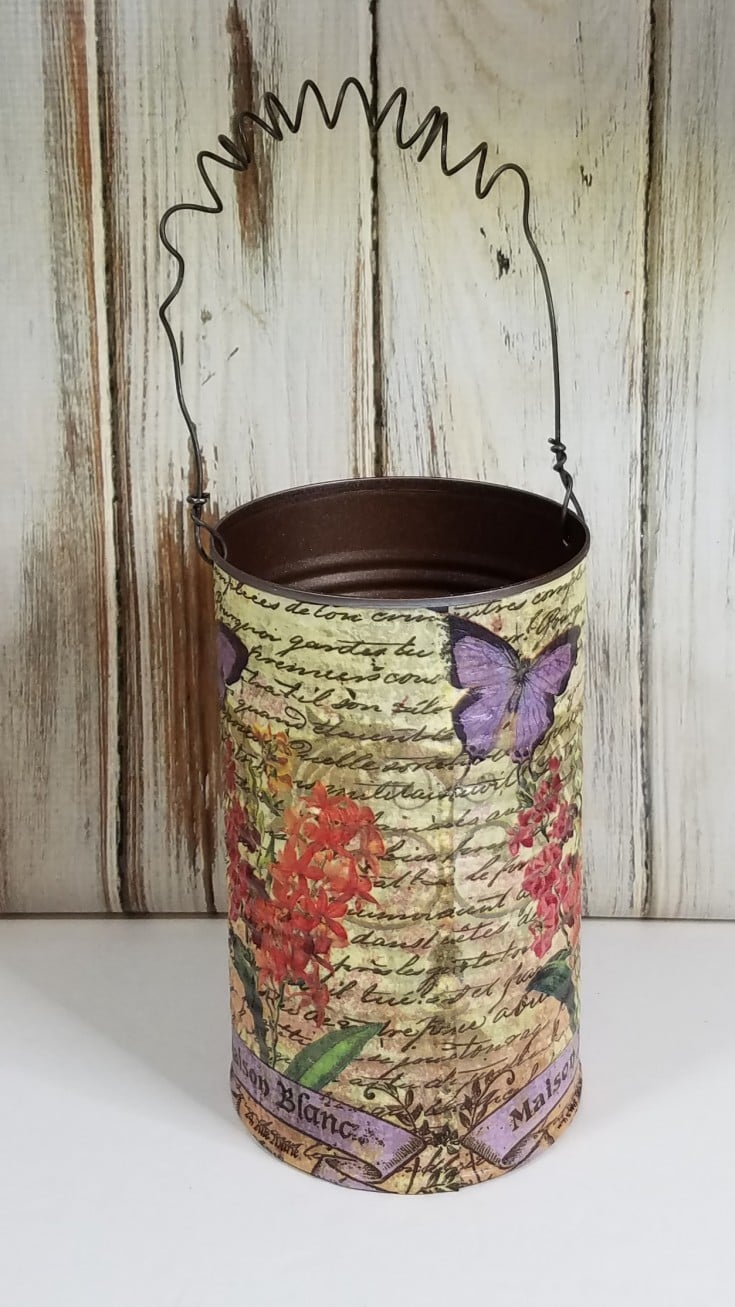
Each end of the wire was attached to the cans by running the wire through the holes then wrapped around the wire using needle-nose pliers.

how to decoupage a tin can

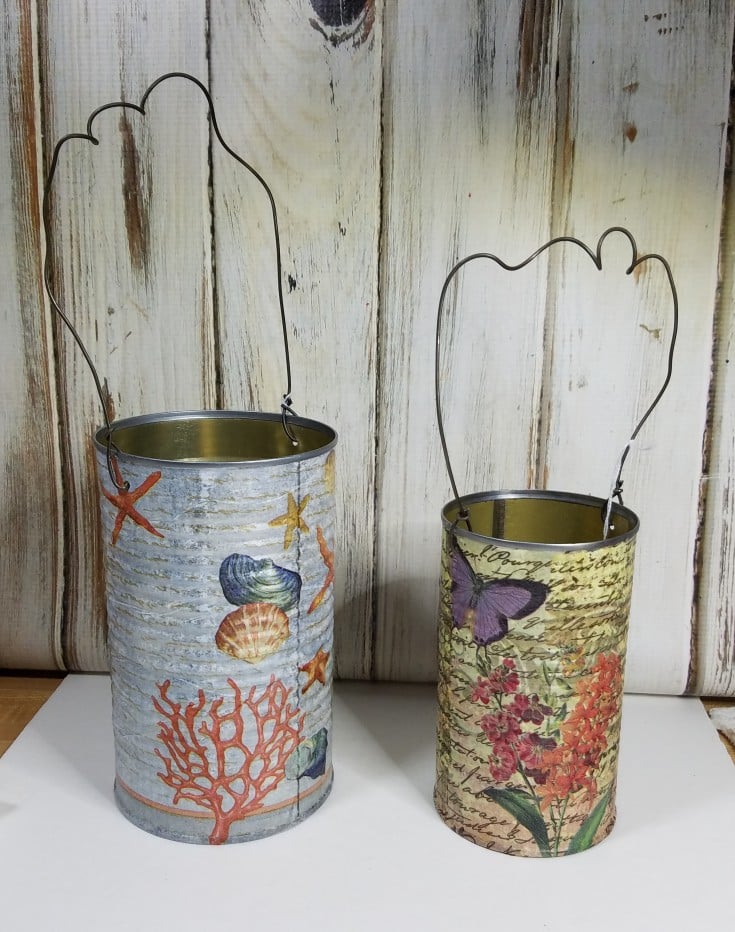
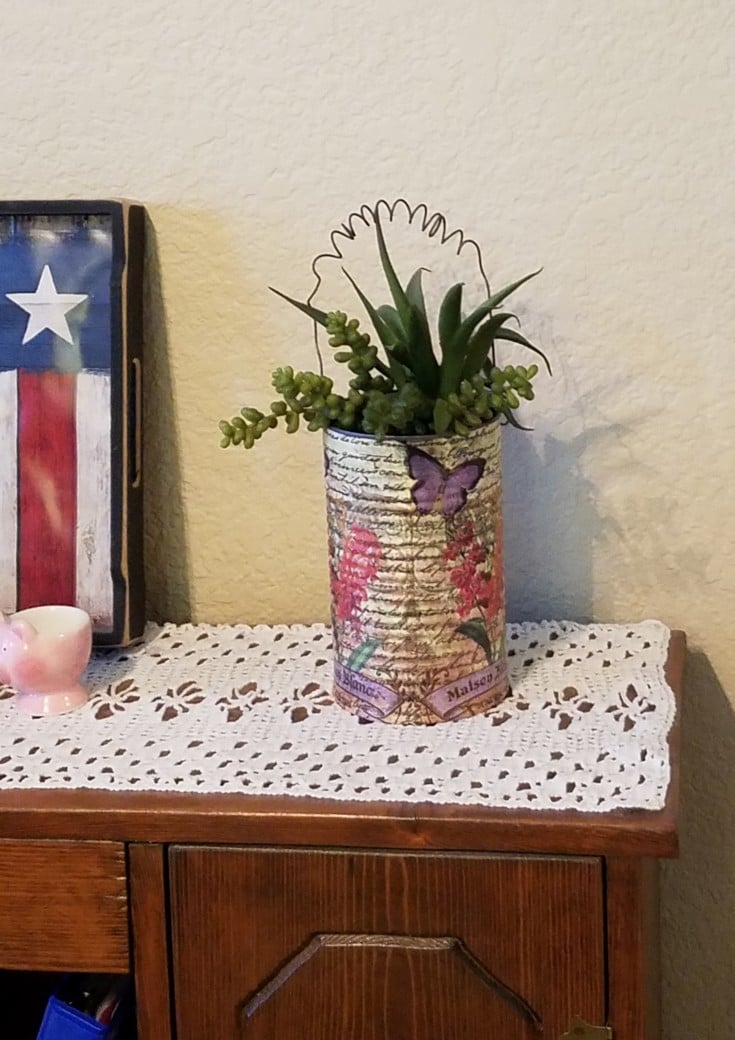
And that’s it for these decoupaged tin cans. They can be used as pretty planters for faux succulents, utensil holders, or storage.

Decoupaged tin can, repurposed tin can, how to decoupage a tin can

Have you ever tried decoupaging a napkin in a project?

Decoupaged Tin Can Supplies

Tin Cans
Two-ply paper napkins with a design
Mod Podge
Anneal wire
Metal hole punch
Paintbrush
Scissors
Round nose pliers

More Fun Tin Can Projects!

How to make rusty tin cans
Diy Grungy can
Easy diy tin can pumpkins
Texas tin can pencil holder


diy decoupage tin cans

Image

If you enjoyed this post, don't forget to pin it for later!

6010 shares
  • Share
  • Tweet

If you enjoyed this post, would you mind taking the time to:
  • Share, or Pin for later reference.
  • Follow me on Facebook, Twitter, Pinterest
  • Leave a comment
Thank you so much for taking the time to comment. I love hearing from my readers, and appreciate the kind words.

Comments

  1. Michelle says

    February 3, 2021 at 12:00 pm

    I don’t know what I like more; the curly wurly handle or the ripple effect of the mod podged napkin over the can. It creates so much interest and really looks like the picture was imprinted into the metal. I’ll be saving some more tin cans to give this one a try.
    Michelle recently posted…How to Cut a Wine Glass and Make Goblet LightsMy Profile

    Reply
    • Linda @ Mixed Kreations says

      February 18, 2021 at 3:04 pm

      I always like to give my wire a twirl. LOL. Think that it’s impossible to get it smooth, but I like it with the crinkles as well. Now I need to find more paper napkins that I like. 🙂

      Reply

Leave a Reply Cancel reply

Your email address will not be published. Required fields are marked *

CommentLuv badgeShow more posts

This site uses Akismet to reduce spam. Learn how your comment data is processed.

Thanks for sharing your thoughts and comments! I read and appreciate every single one!

Follow Mixed Kreations

Facebooktwitterpinterestyoutubeinstagram

My Favorites on Amazon

My Amazon Influencer Shop

Homemade Chalk Paint

diy chalk paint

How to Make Rusty Cans

how to make rusty cans

How to Make a Flag From a Wood Shutter

how to make a 2 sided american flag

Easter Egg Jar

How to make a Easter egg jar

Diy Texas Tile Coasters

Texas Tile Coasters

Update a Thrift Store Find

How to Update a Hanging Box in 4 easy steps

Categories

By Kelli & Crystal From Learn To Blog Hangouts

#LearntoBlog Hangouts

Dominate Course

LearntoBlog
Featured on Hometalk.com
Rakuten Affiliate Network Welcome Program
Grow and Make

Dollar Tree

Creative Fabrica Font Bundles

Font Banner - Free Fonts

Featured At

Featured At

Mixed Kreations featured in Country sampler

Featured at

mixed kreations is featured in Bella Crafts online magazine
The Pin Junkie

Canva Photo Editing

Amazon Affiliates

I am a participant in the Amazon Services LLC Associates Program, an affiliate advertising program designed to provide a means for sites to earn advertising fees by advertising and linking to Amazon.com.

Disclosures Statement

This policy is valid from 19 July 2013 This blog is a personal blog written and edited by me. For questions about this blog, please contact Linda @ ldkeesee@mixedkreations.com. This blog accepts forms of cash advertising, sponsorship, paid insertions or other forms of compensation. The compensation received will never influence the content, topics or posts made in this blog. All advertising is in the form of advertisements generated by a third party ad network. Those advertisements will be identified as paid advertisements. The owner(s) of this blog is compensated to provide opinion on products, services, websites and various other topics. Even though the owner(s) of this blog receives compensation for our posts or advertisements, we always give our honest opinions, findings, beliefs, or experiences on those topics or products. The views and opinions expressed on this blog are purely the bloggers' own. Any product claim, statistic, quote or other representation about a product or service should be verified with the manufacturer, provider or party in question. This blog does not contain any content which might present a conflict of interest. To get your own policy, go to http://www.disclosurepolicy.org

Copyright © 2023 · Modern Blogger Pro Theme By, Pretty Darn Cute Design