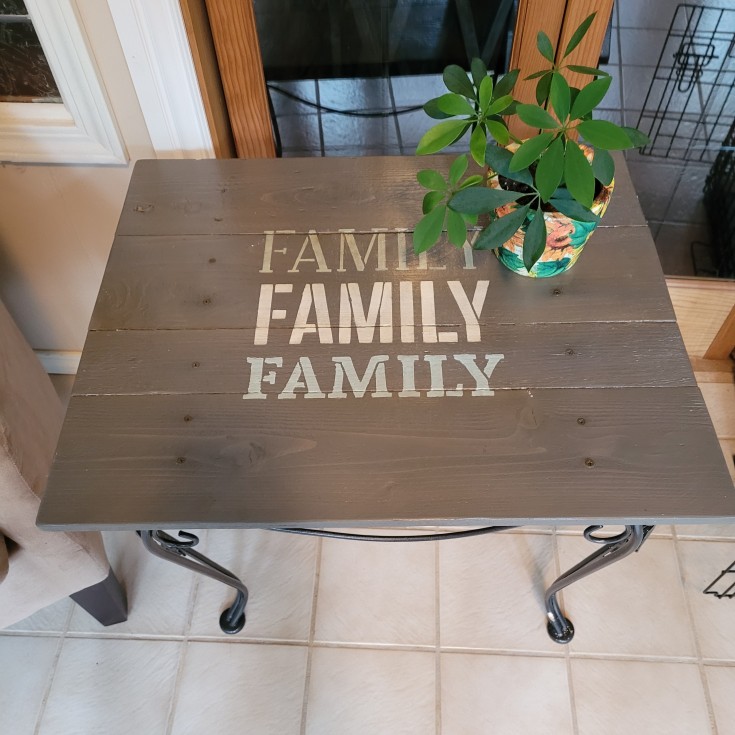
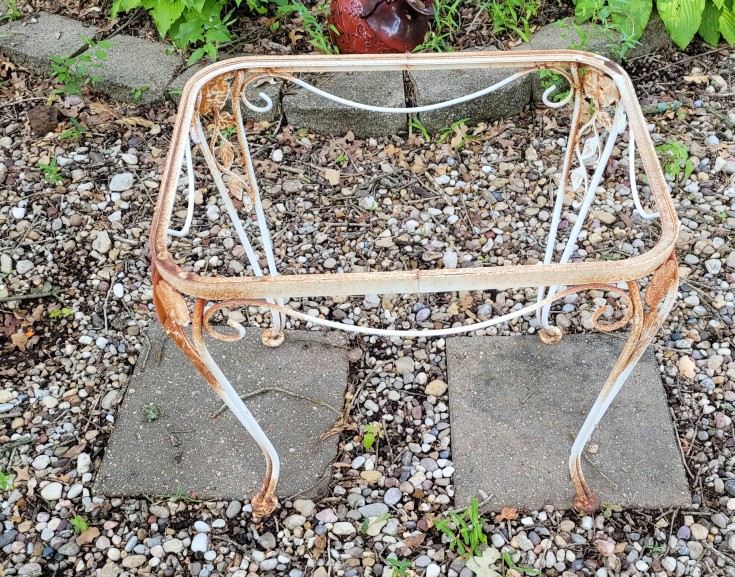
Hi all! Today I want to share a diy patio side table that I made from a curbside rescue, and some fence pickets for the table top. I had found this small metal table frame on the curb several years back and had been meaning to make a top for it and just keep putting it off. Since we been updating our yard ornaments as I mentioned in the post Life After Retirement, I decided to pull the metal frame out and give it a coat of spray paint as well as making a top for it. When making it my plan was to make it so that I can remove the top and storage it when not using it. But I found a place in our sun room for it.
***This post contains affiliate links… We are a participant in the Amazon Services LLC Associates Program, and affiliate advertising program designed to provide a means for us to earn fees by linking to Amazon.com and affiliated sites at no extra charge to you. Please read my full advertising disclosure for more info. Thanks so much for your support!***
Diy Patio Side Table
I started out by scrubbing the metal frame then washing it down before spaying with black spray paint.
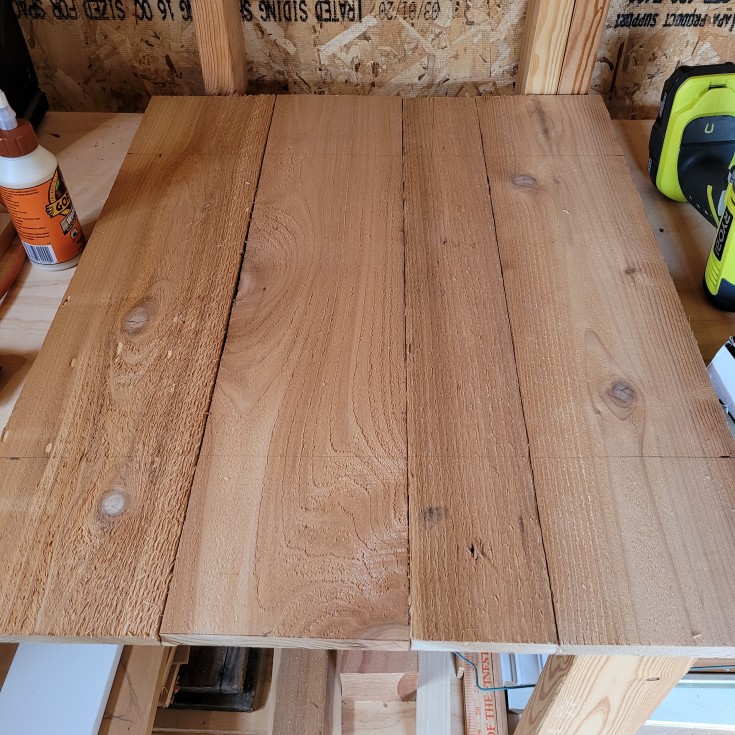
Next, I went to making the diy patio side table top out of fence pickets. I had to use three pieces of wood that were 6” wide and one at 3 ½” wide, all cut at 26” in length using a miter saw.
Then I used my cordless sander to sand the wood down smooth enough so that I could add a stencil.
To hold the table top together and in place I cut two pieces of 1 ½”x ¾” wood 18” in length. This will fit down inside of the metal frame to keep the top from moving around.
The wood strips were glued down where I needed them to be to hold the top in place.
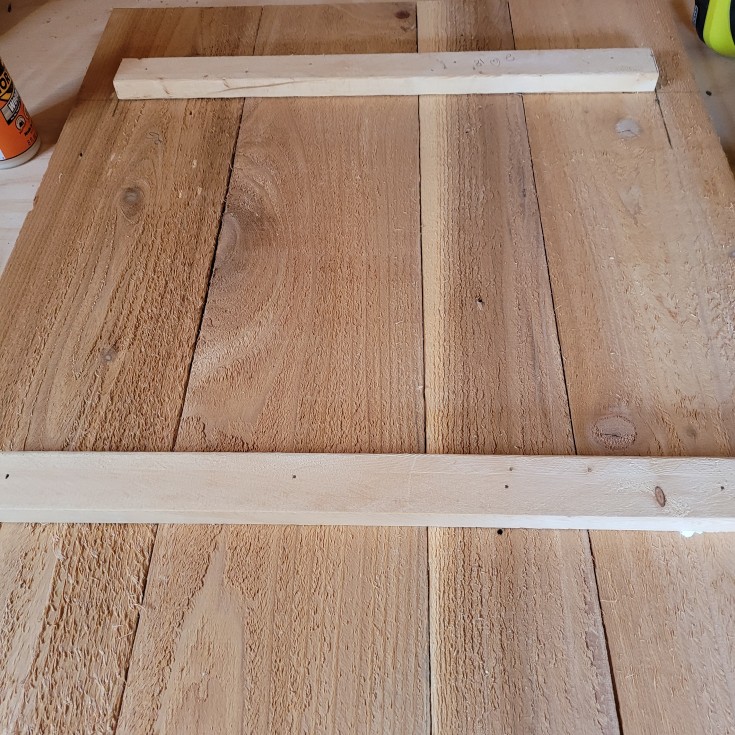
Once dry I flipped the top over marked the spot with a line and predrilled the holes, then add some wood screws to secure the wooden top.
Using grey chalk paint and water I add a grey wash to the side table top.
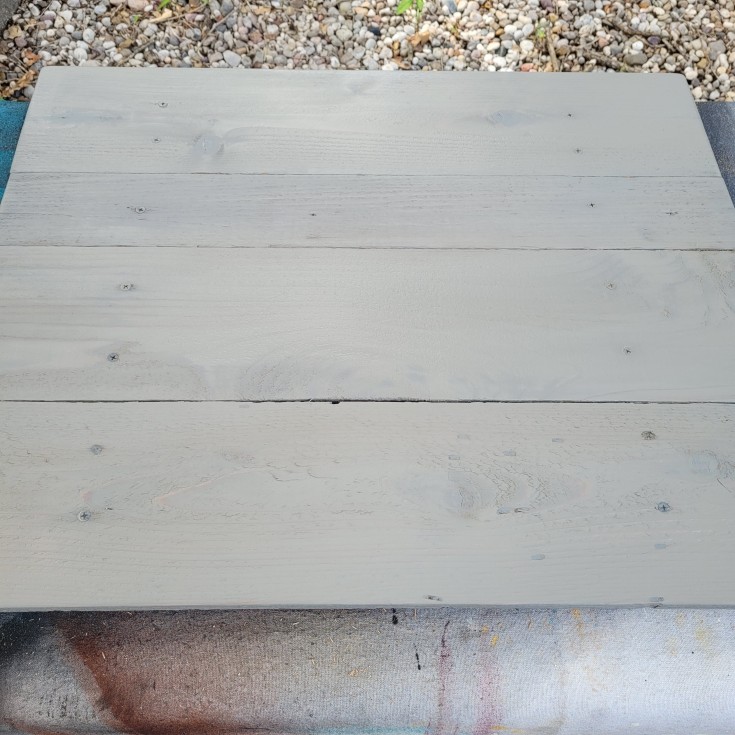
Once dry the stencil was added using three different colors of chalk paint.
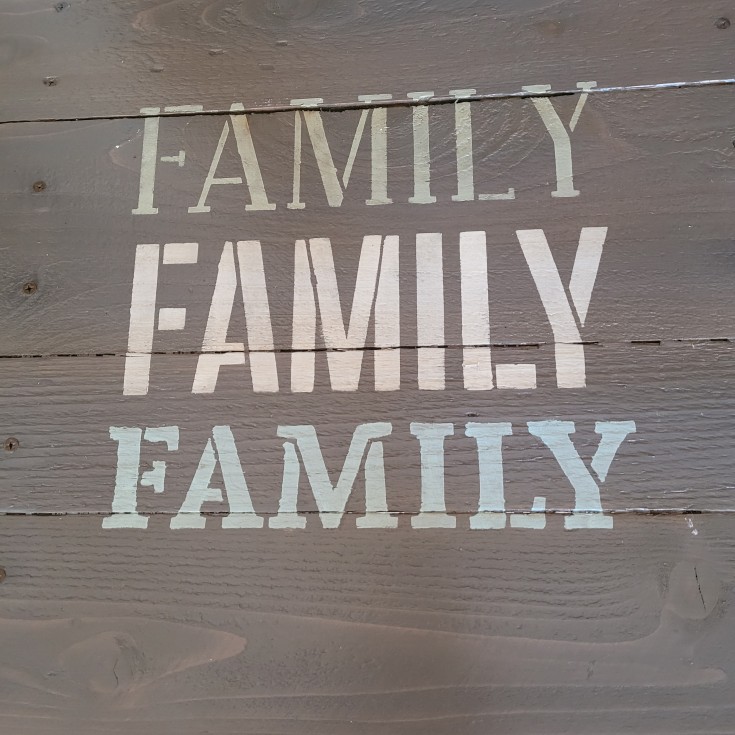
Lastly, I added three coats of Mod Podge to seal and protect the diy patio side table.
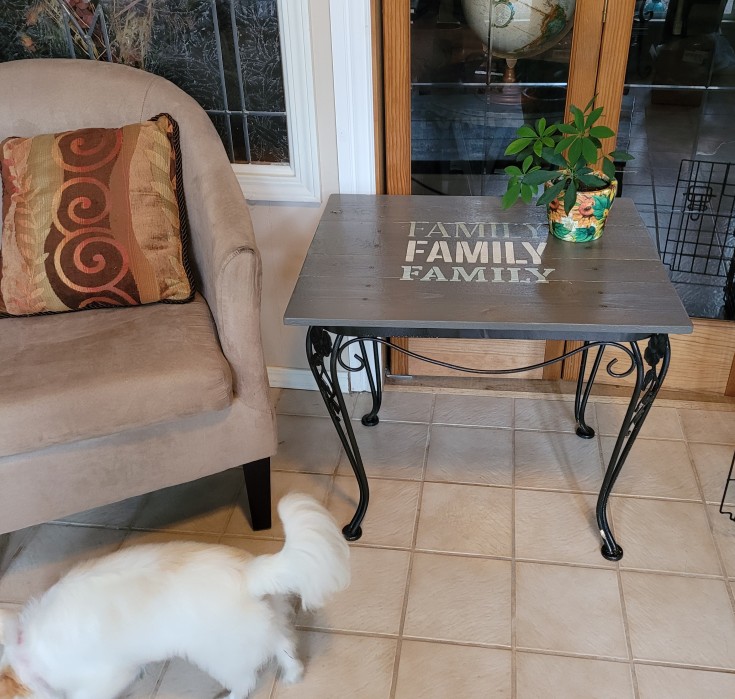
Supplies for Patio Side Table
Elephant Grey Chalk paint for the wash
Celery, Ivory, and Agave chalk paint for the stenciling
Disposable bowl for the wash
Paintbrush
Stencil brush
Miter saw
Cordless drill
Wood screws
Wood glue
Cordless sander
Metal table frame
Mod Podge
Black spray paint Rust-0-leum Hammered
2 pieces of wood strips 1 ½”x ¾” wood 18” in length
Fence pickets 26″ length
More Diy Side Tables!
Super easy side table makeover
Upcycle a table with paint and a napkin
Diy wood crate side table
You had me a fence pickets!! I love using them too! Linda, this is so cute!! And such a great way to use all the wrought iron we find while our thrifting and junking!! Pinned!
Thanks Cindy! I do love pickets, less expensive then buying pine and works great for a lot of projects. I had this iron frame for quite a while and so happy I finely made the top for it.
It always surprises me how a little bit of paint and creativity can transform a throwaway thing into something that’s so useful, unique, and budget-friendly. One would never say it’s the same rusty frame and the sunroom is the perfect spot for the little sde table
I know right! Just wish that I would of got around to making the table top sooner. Wasn’t hard at all, and loving how it turned out.
Nice table. I also enjoy making projects out of wood. Wrote a short article on my personal DIY project planning approach https://ismart.life/articles/planning_goal_project_task . There are some examples of mine. The planning approach itself is quite interesting and helps to make various projects with fewer mistakes. Hope this will be helpful. Thanks, Linda.
Thanks for stopping by!