Mixed Kreations

The Creative Life & Journey Of A DIY'ER

  • Home
  • Diy Projects
    • Handmade Cross Projects
    • Holiday & Seasonal Projects
    • Mason Jars
    • Fun Upcyled Shutters & Spindles
    • Texas Projects
    • Upcycled Cans
    • Wood Projects
    • Jewelry Tutorials
  • Quick and Easy Recipes
  • Shop Mixed Kreations
    • Etsy Shop
    • Mixed Kreations Amazon Influencer
  • DISCLOSURES STATEMENT & PRIVACY POLICY
  • About Me
  • Recommendations
You are here: Home / DIY/Craft Projects / repurposed/upcycled / DIY Reversible Holiday Décor – Fan Blade

DIY Reversible Holiday Décor – Fan Blade

March 17, 2020 By: Linda @ Mixed Kreations5 Comments

If you enjoyed this post, don't forget to pin it for later!

7 shares
  • Share
  • Tweet

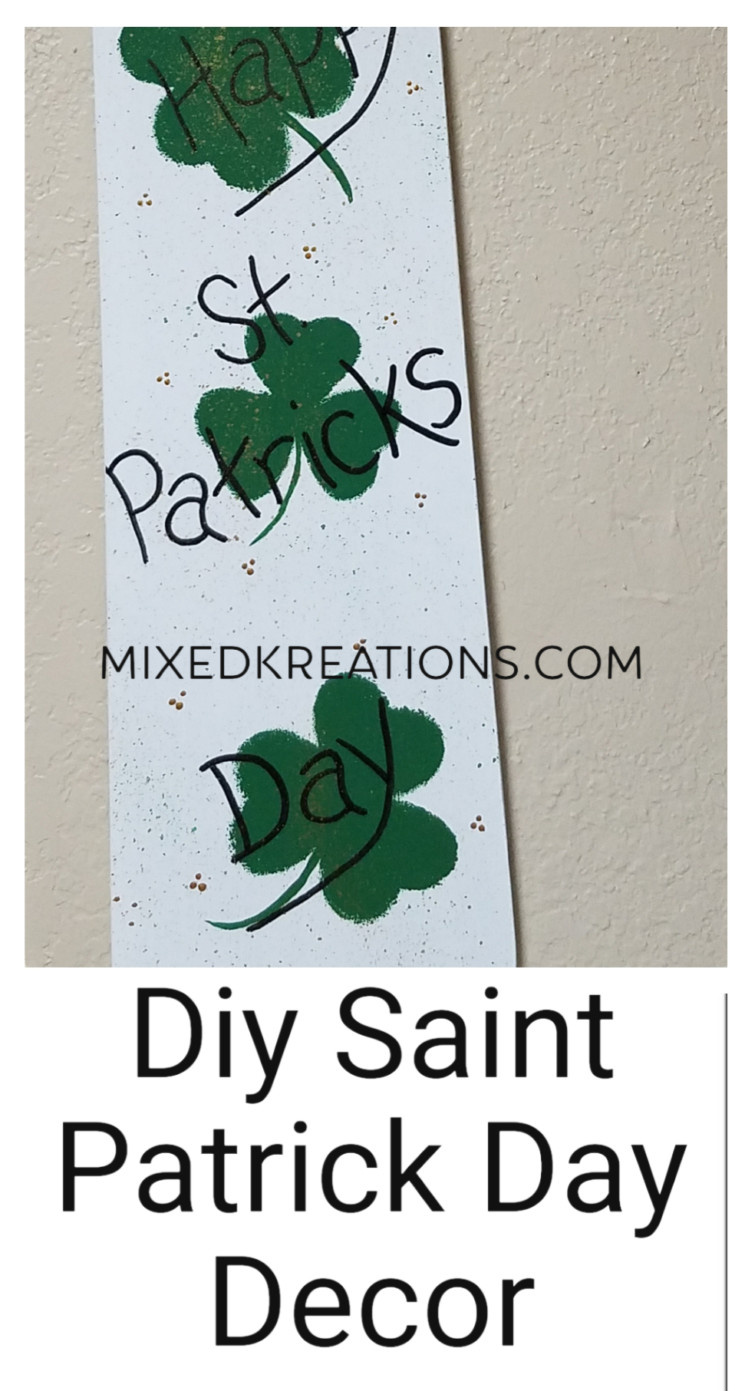
Hi All! Today’s project is going to be a two-part project where I take an old ceiling fan blade and upcycle it into a reversible holiday décor sign. That can be reversed for two different holidays’.

The first part I’m going to show you how to paint an easy St. Patrick’s day sign on one side of the wood fan blade. Then I will flip the fan blade over and made an Easter sign and share that tutorial in a couple of weeks.

I bought this fan blade at ReStore for only $1 and I’m going to get two-holiday decorations out of one. Woo Hoo can’t beat that.

Reversible Holiday Décor Saint Patricks day

DIY Reversible Holiday Décor

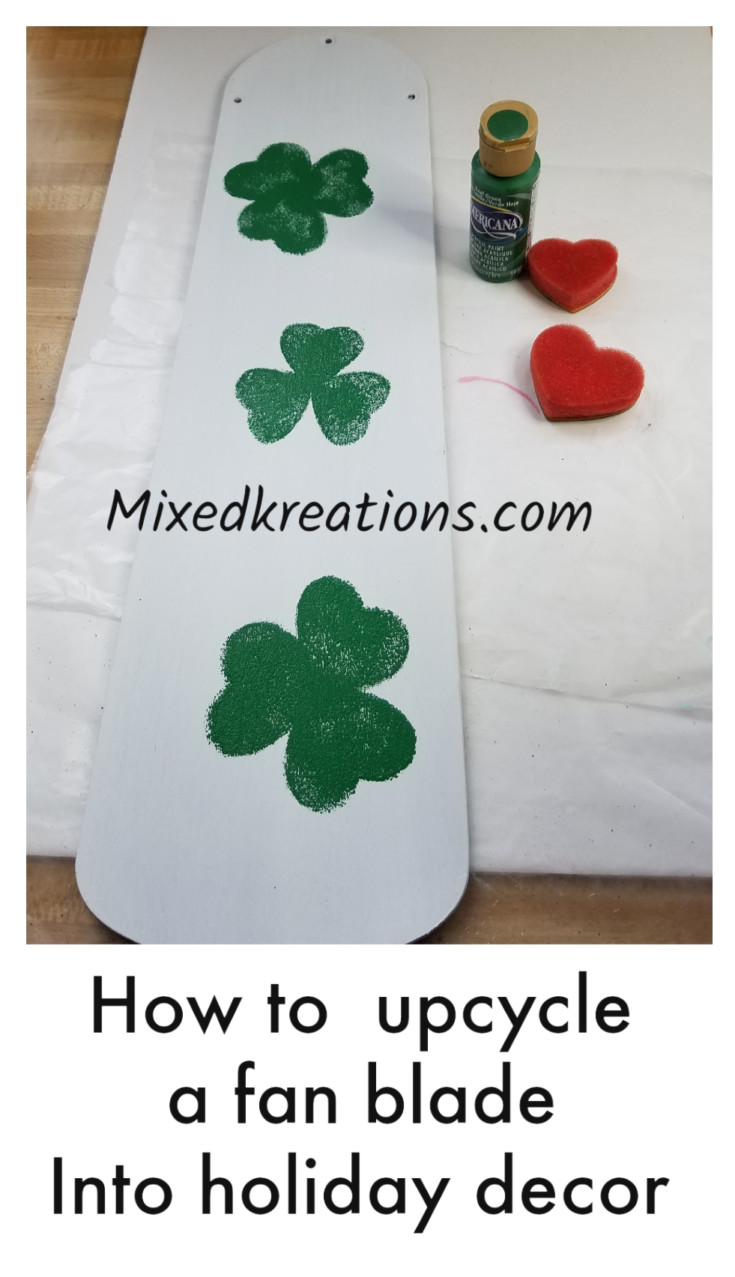
Start by giving the blade two coats of chalk paint. I went ahead and painted both sides.

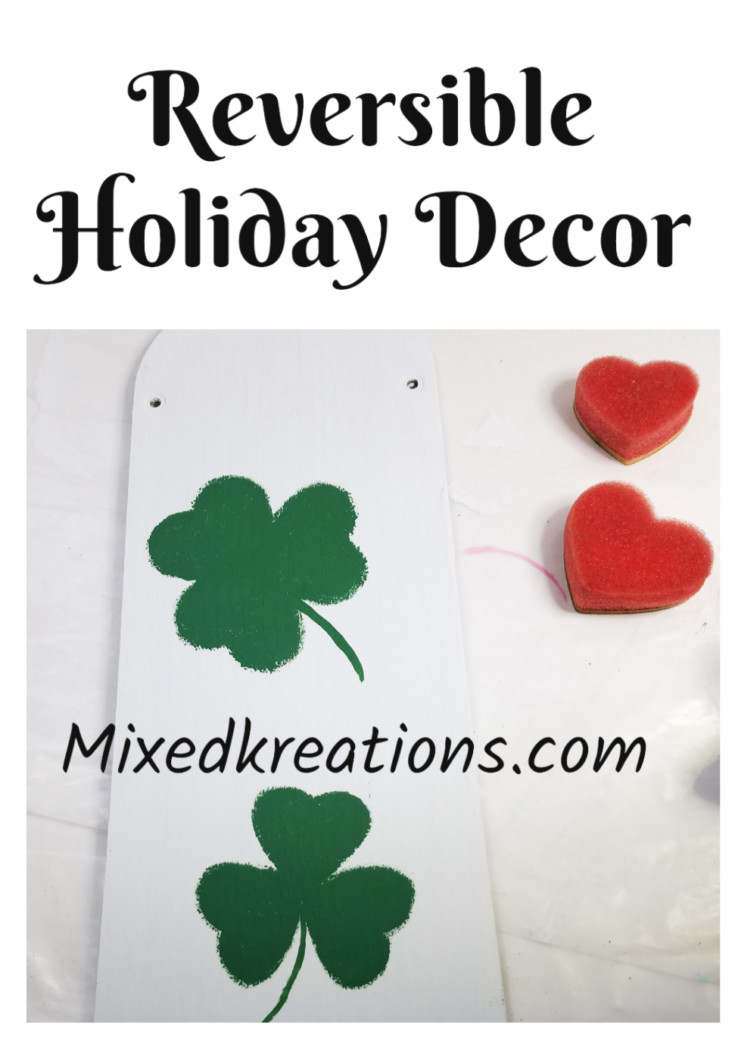
For the shamrocks, I used two different sizes of heart sponges.

Reversible Holiday Décor , Diy Saint Patricks day

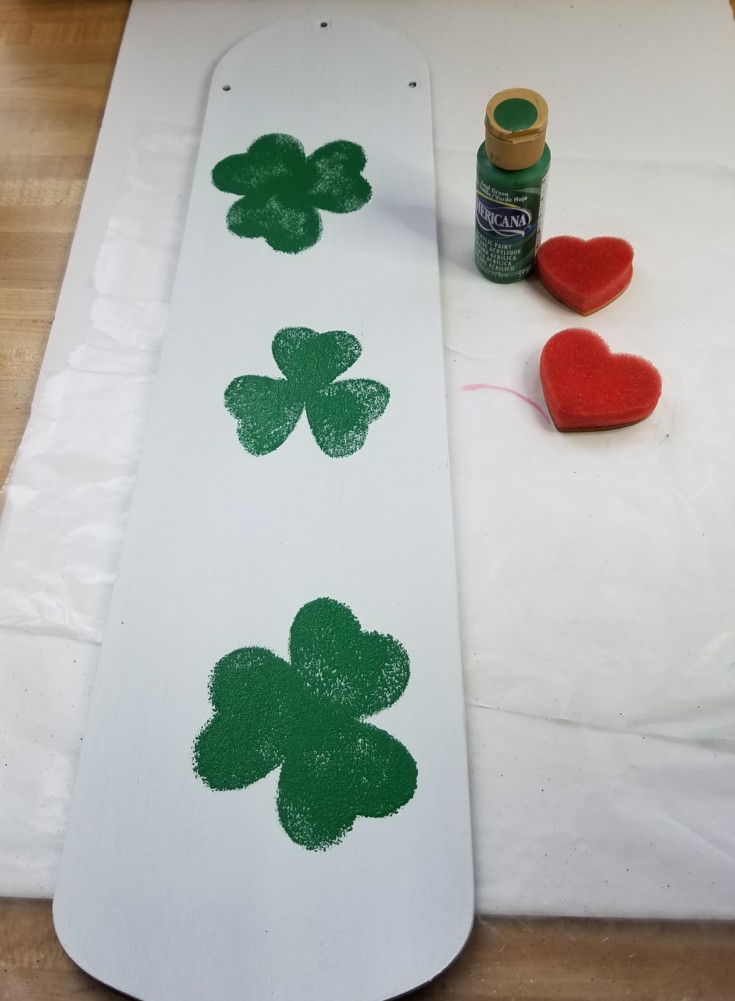
Using leaf green acrylic paint, I squirted out some in a paper plate then dipped my heart sponge in the paint till the whole bottom was covered with the paint.

Starting with the larger heart I then formed my shamrock by turning the sponge three different directions and pressing down evenly to form the three parts of the leaf.

I made to of the larger shamrocks one at the top and the other at the bottom of the blade. The smaller heart sponge was used for the middle shamrock.

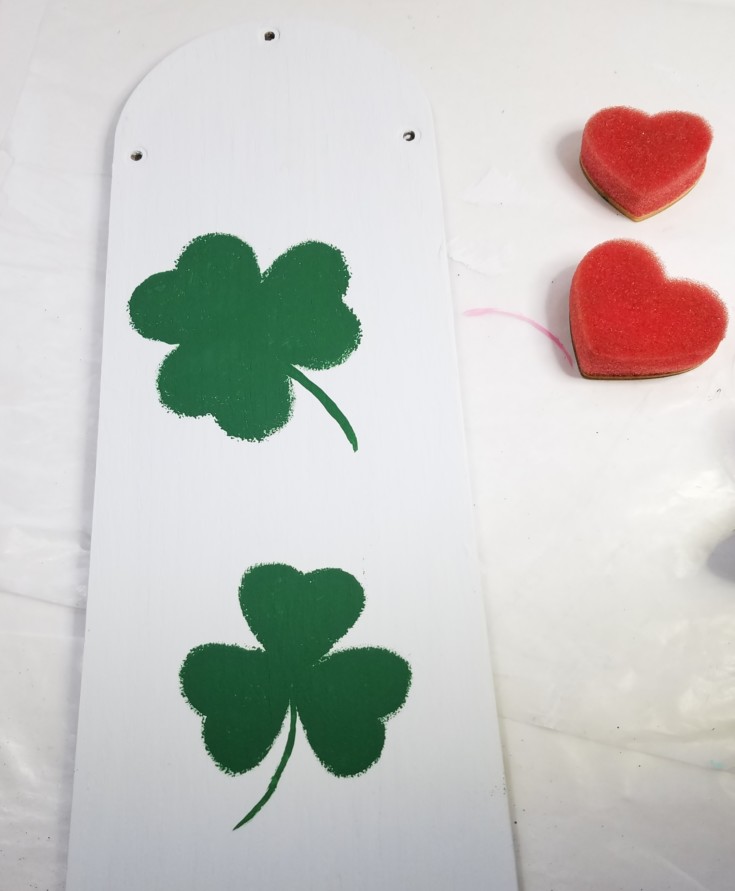
A detail brush was used to form the stems.

I went back over the shamrocks with a paintbrush to darken them up.

Reversible Holiday Décor , Diy Saint Patricks day

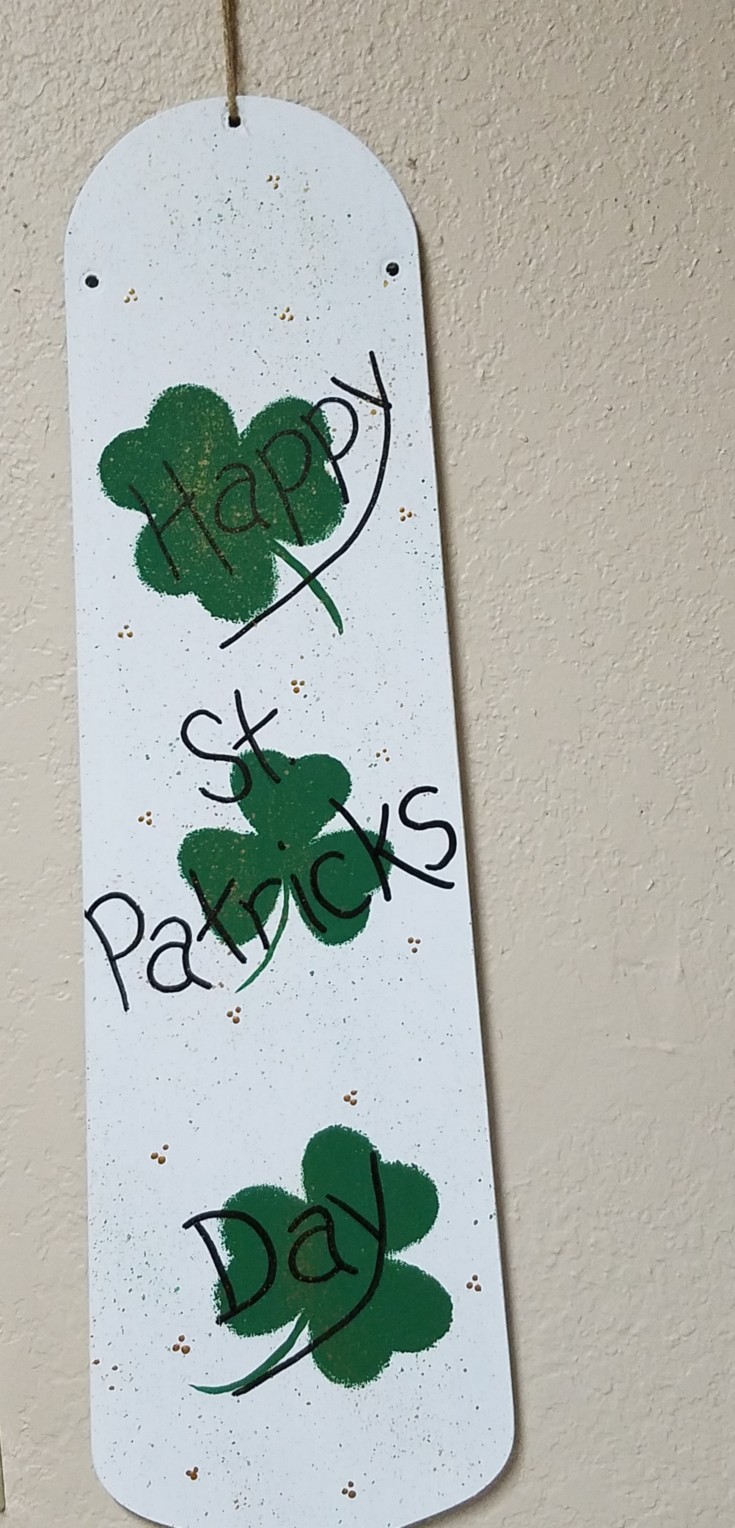
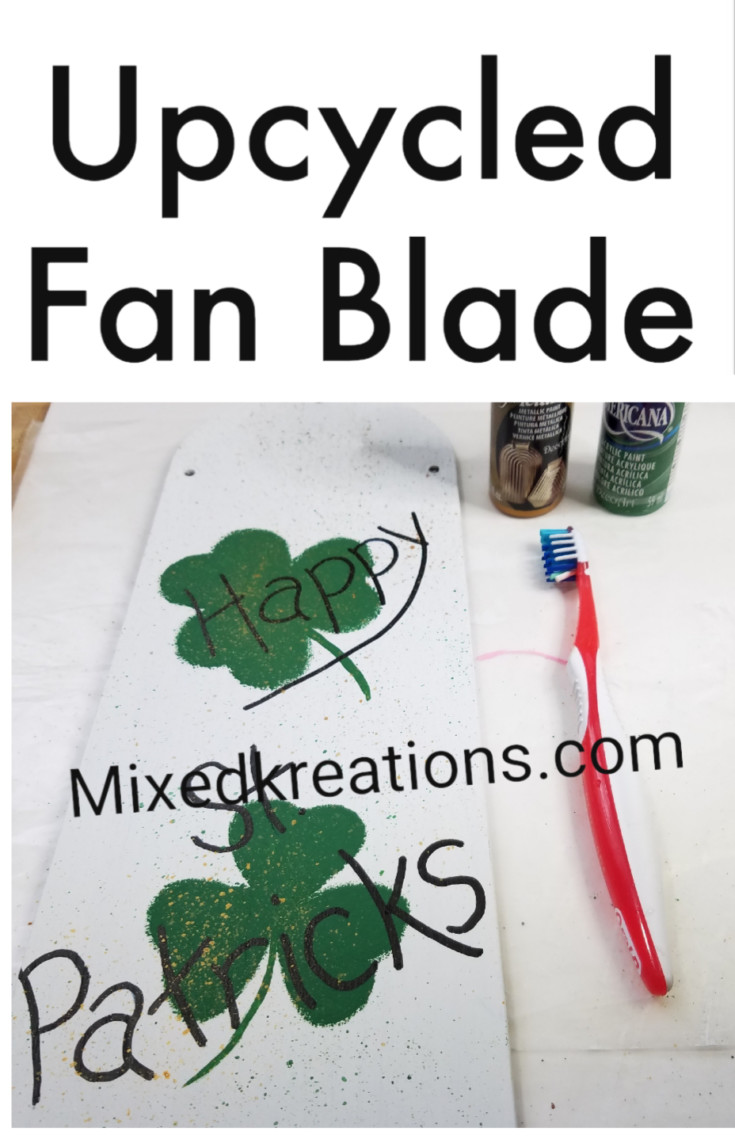
Once dry I used carbon paper to add my Happy St. Patrick’s day lettering. Then I went over that with a paint marker.

upcycled fan blade, diy holiday decor

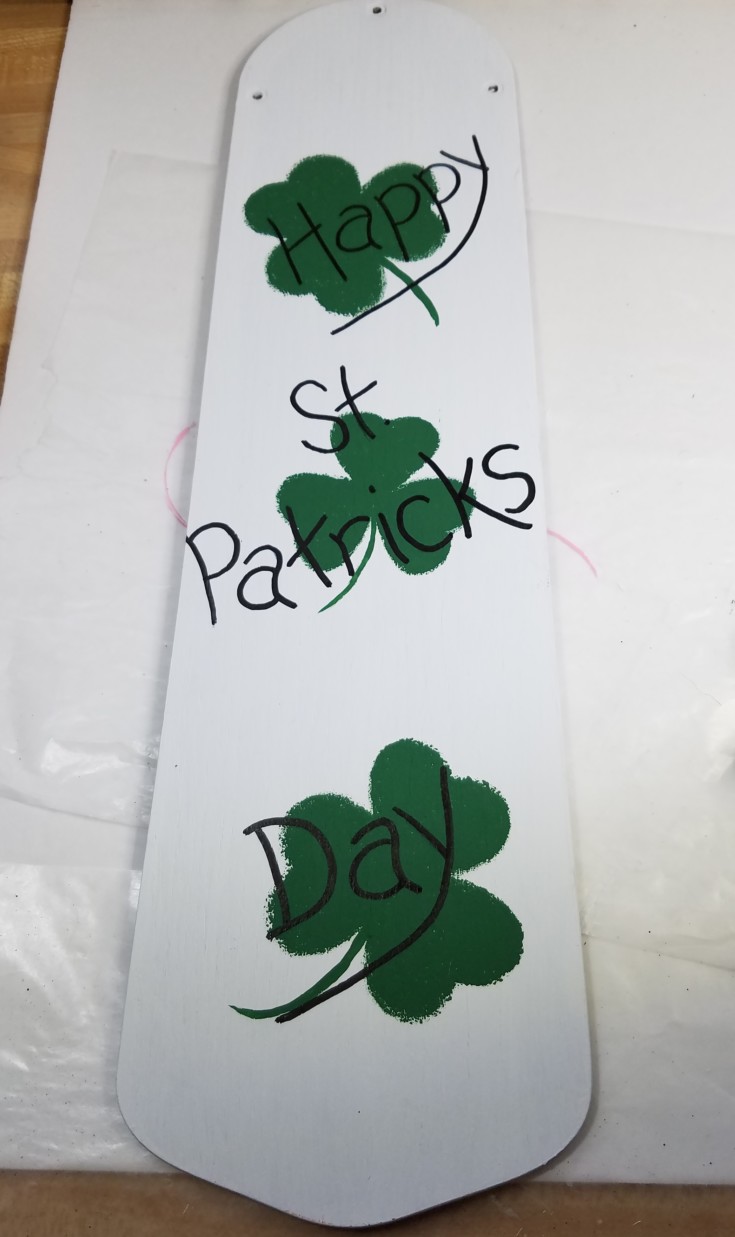
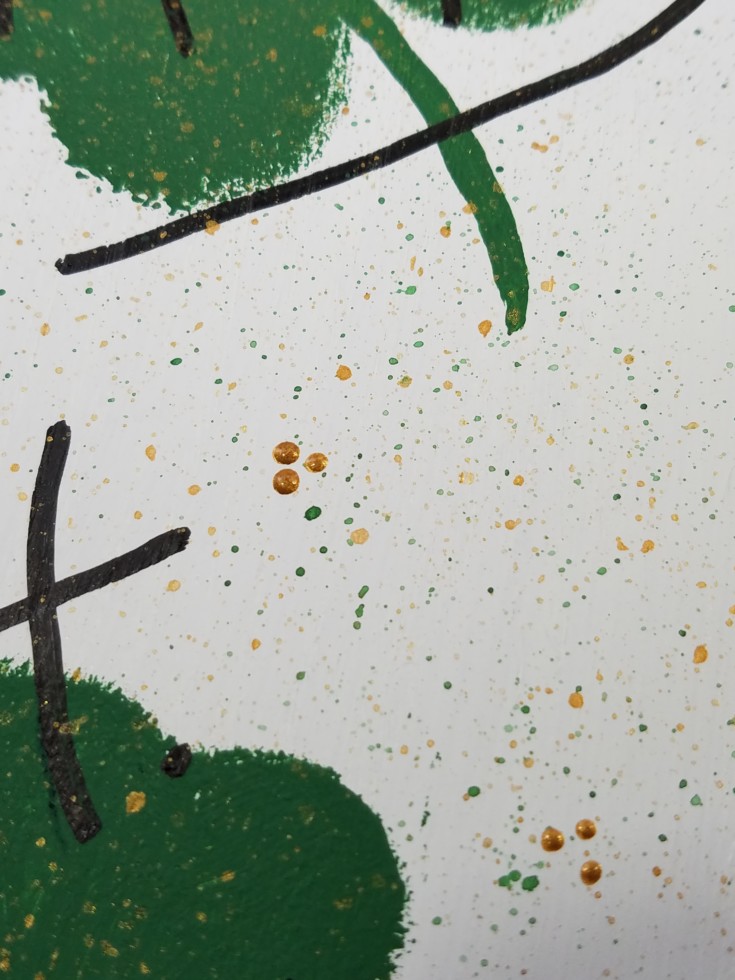
Deciding that my reversible holiday décor needed a little more I decided to splatter on some green and gold using an old toothbrush.

upcycled fan blade, diy holiday decor

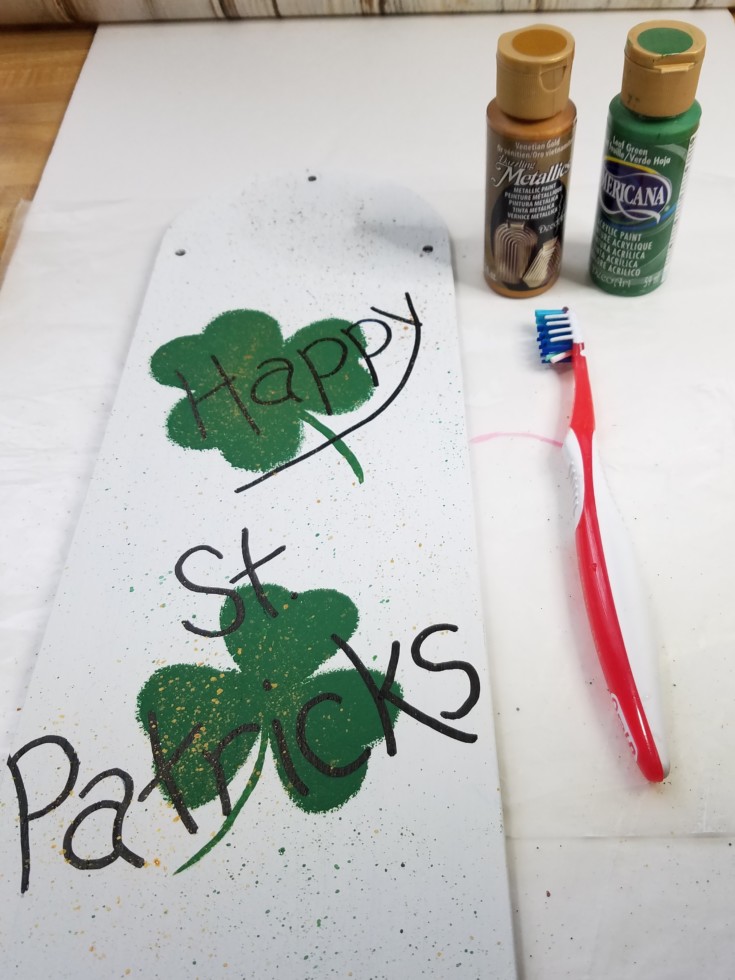
After that dried, I went back with my stylus pen and added a few dots of gold grouped in three’s.

upcycled fan blade, diy holiday decor

And that’s it for the first part of my reversible holiday décor made from a ceiling fan blade. Have you upcycled any ceiling fan blades lately?

***This post contains affiliate links… We are a participant in the Amazon Services LLC Associates Program, and affiliate advertising program designed to provide a means for us to earn fees by linking to Amazon.com and affiliated sites at no extra charge to you. Please read my full advertising disclosure for more info. Thanks so much for your support!***

Supplies Needed – DIY Reversible Holiday Décor

Wooden fan blade
heart sponges or shamrock stencil
Green acrylic paint
White chalk paint
Gold metallic paint
Paintbrush
Black paint marker
Old toothbrush
Twine

More Fun Upcycle Projects!

Patriotic sign made out of a fan blade
Two-tier faux galvanized tray
Diy wood crate side table

DIY Reversible Holiday Décor – Fan Blade

If you enjoyed this post, don't forget to pin it for later!

7 shares
  • Share
  • Tweet

If you enjoyed this post, would you mind taking the time to:
  • Share, or Pin for later reference.
  • Follow me on Facebook, Twitter, Pinterest
  • Leave a comment
Thank you so much for taking the time to comment. I love hearing from my readers, and appreciate the kind words.

Comments

  1. Michelle Leslie says

    March 19, 2020 at 12:03 am

    So easy and so effective . I need to see if I can find some of those heart sponges or maybe make them? Do you think a normal household sponge would work and soak up enough paint?
    Michelle Leslie recently posted…How to Make Translucent Dragonfly WingsMy Profile

    Reply
    • Linda @ Mixed Kreations says

      March 30, 2020 at 11:22 am

      I’m sure you could make them out of a household sponge. You are super crafter, I believe you can do anything! 🙂

      Reply
  2. Jill Everson says

    October 7, 2020 at 10:48 am

    This looks incredible and something adds the personal touch needed, thanks for sharing…

    Reply
    • Linda @ Mixed Kreations says

      October 16, 2020 at 8:19 am

      Thank you Jill! Glad you enjoyed the post.

      Reply

Trackbacks

  1. Easter Holiday Décor Fan Blade – Part Two - Mixed Kreations says:
    October 30, 2020 at 2:54 pm

    […] some weeds. Now it’s time to get back to crafting. Today’s project is the second part of the reversible holiday décor fan blade. This side of the fan blade will be an Easter holiday décor sign. Part one was of this […]

    Reply

Leave a Reply Cancel reply

Your email address will not be published. Required fields are marked *

CommentLuv badgeShow more posts

This site uses Akismet to reduce spam. Learn how your comment data is processed.

Thanks for sharing your thoughts and comments! I read and appreciate every single one!

Follow Mixed Kreations

Facebooktwitterpinterestyoutubeinstagram

My Favorites on Amazon

My Amazon Influencer Shop

Homemade Chalk Paint

diy chalk paint

How to Make Rusty Cans

how to make rusty cans

How to Make a Flag From a Wood Shutter

how to make a 2 sided american flag

Easter Egg Jar

How to make a Easter egg jar

Diy Texas Tile Coasters

Texas Tile Coasters

Update a Thrift Store Find

How to Update a Hanging Box in 4 easy steps

Categories

By Kelli & Crystal From Learn To Blog Hangouts

#LearntoBlog Hangouts

Dominate Course

LearntoBlog
Featured on Hometalk.com
Rakuten Affiliate Network Welcome Program
Grow and Make

Dollar Tree

Creative Fabrica Font Bundles

Font Banner - Free Fonts

Featured At

Featured At

Mixed Kreations featured in Country sampler

Featured at

mixed kreations is featured in Bella Crafts online magazine
The Pin Junkie

Canva Photo Editing

Amazon Affiliates

I am a participant in the Amazon Services LLC Associates Program, an affiliate advertising program designed to provide a means for sites to earn advertising fees by advertising and linking to Amazon.com.

Disclosures Statement

This policy is valid from 19 July 2013 This blog is a personal blog written and edited by me. For questions about this blog, please contact Linda @ ldkeesee@mixedkreations.com. This blog accepts forms of cash advertising, sponsorship, paid insertions or other forms of compensation. The compensation received will never influence the content, topics or posts made in this blog. All advertising is in the form of advertisements generated by a third party ad network. Those advertisements will be identified as paid advertisements. The owner(s) of this blog is compensated to provide opinion on products, services, websites and various other topics. Even though the owner(s) of this blog receives compensation for our posts or advertisements, we always give our honest opinions, findings, beliefs, or experiences on those topics or products. The views and opinions expressed on this blog are purely the bloggers' own. Any product claim, statistic, quote or other representation about a product or service should be verified with the manufacturer, provider or party in question. This blog does not contain any content which might present a conflict of interest. To get your own policy, go to http://www.disclosurepolicy.org

Copyright © 2023 · Modern Blogger Pro Theme By, Pretty Darn Cute Design