Hi all! Today I am sharing a couple Dollar Tree Fall Garland ideas. I found these wood cut-outs, beaded wire pumpkin, and a string of black and white beads with a tassel on one end. Keep on reading to see how I turned these items into two different garlands for Halloween. All of these items were purchased at the Dollar Tree.

***This post contains affiliate links… We are a participant in the Amazon Services LLC Associates Program, and affiliate advertising program designed to provide a means for us to earn fees by linking to Amazon.com and affiliated sites at no extra charge to you. Please read my full advertising disclosure for more info. Thanks so much for your support!***
Dollar Tree Garland Supplies
Wood pumpkin cut-out
Wood ghost cut-out
Black and white beads with tassel
Wire bead pumpkin
Orange, white, black, grey, burnt sienna, and green paint.
Twine
Paintbrush
Toothbrush
Scissors
Mod Podge
Quick tip: adding some Mod Podge to the ends of the twine makes it a little easier to thread the beads.
Dollar Tree Fall Garland
Start off by giving the wood pumpkin two coats of orange paint on both sides, and the ghost two coats of white.
Paint the stem green.
Once dry use a flat brush and float around the edges of the ghost with grey.
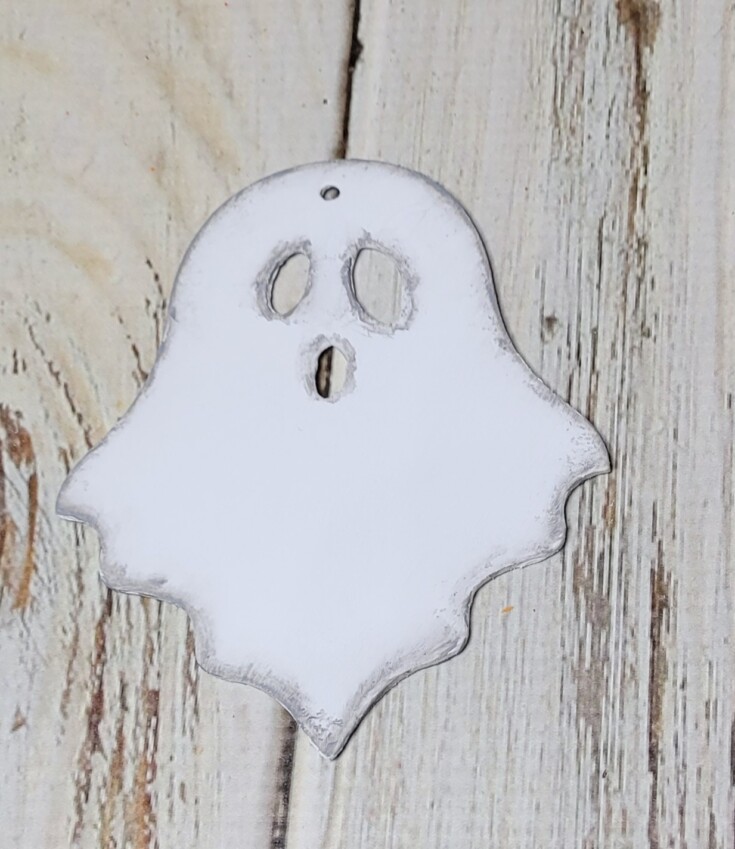
Use burnt sienna to float around the edges of the pumpkin.
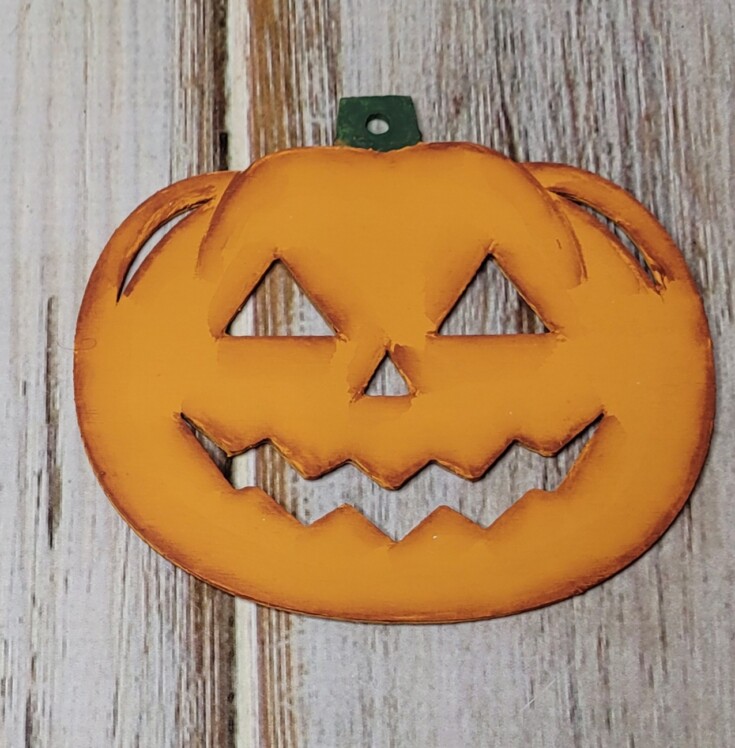
Then use an old toothbrush to splatter black on both pieces.
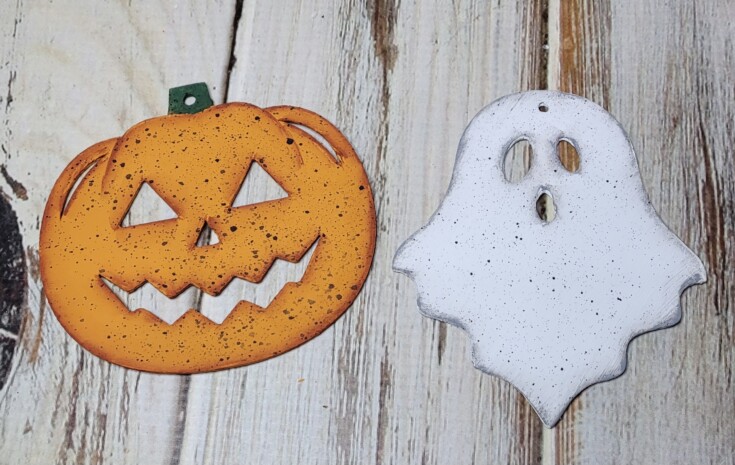
Afterwards seal with Mod Podge.
Next, I took the black and white string of beads apart and saved the tassel.
Wanting to make the garland a little longer I added a few more black beads that I had left from another projects.
Cut the desired length of twine you need and attach the tassel to one end.
Figure out the bead pattern and start stringing the beads onto the twine for the ghost garland.
Run the loose end of twine up through a couple of beads then snip the end and continue stringing the rest of the beads.

Attach the ghost to the other end and run the loose end of twine back up through a couple of beads to hide the end.
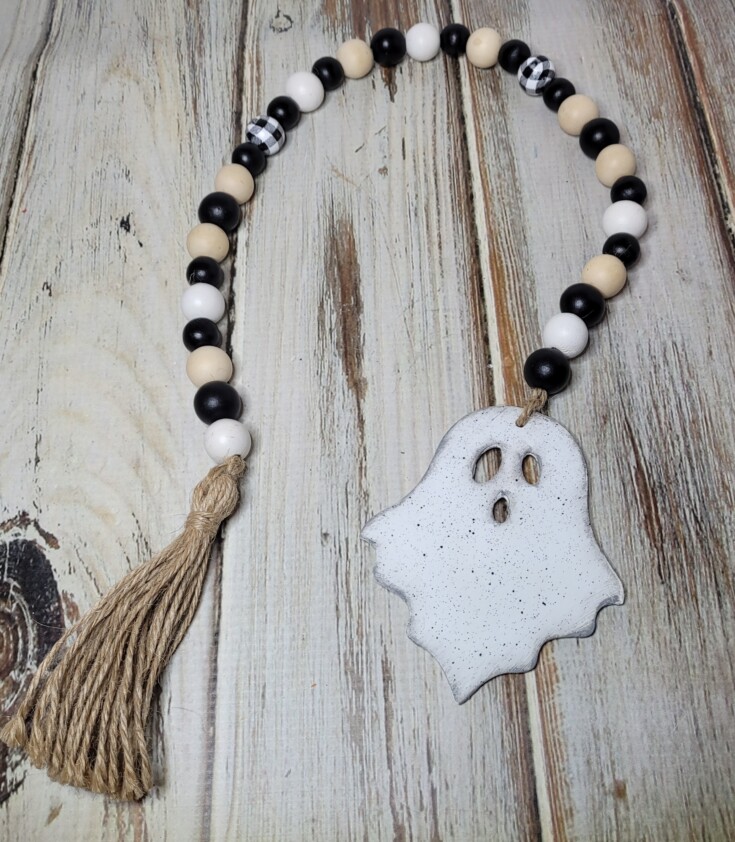
For the pumpkin garland I had to make my own tassel. Then I attached it to the desired length of twine.
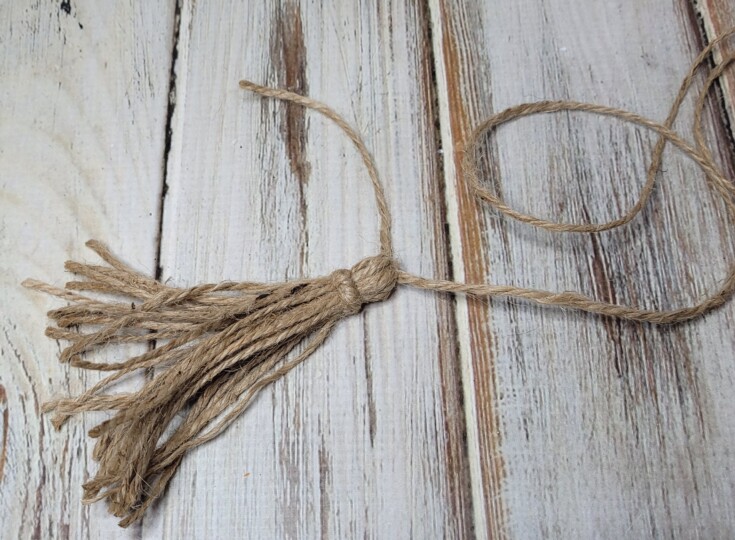
For the beads I took apart the Dollar Tree wire pumpkin and strung them on the twine.
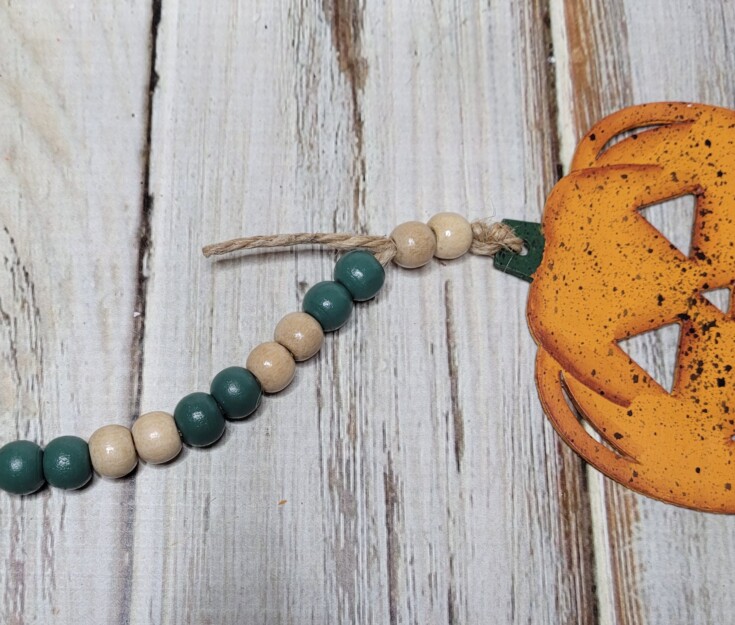
Next, attach the pumpkin and run the loose end of twine back up through a couple of beads like you did on the ghost. This helps to hide the ends.
That’s it for these two super easy Dollar Tree Fall Garland Ideas! Which is your favorite?

More Fun Garland
Primitive Easter garland
Happy shabby yellow garland
Snowman garland on wire
St. Patrick lucky beaded garland

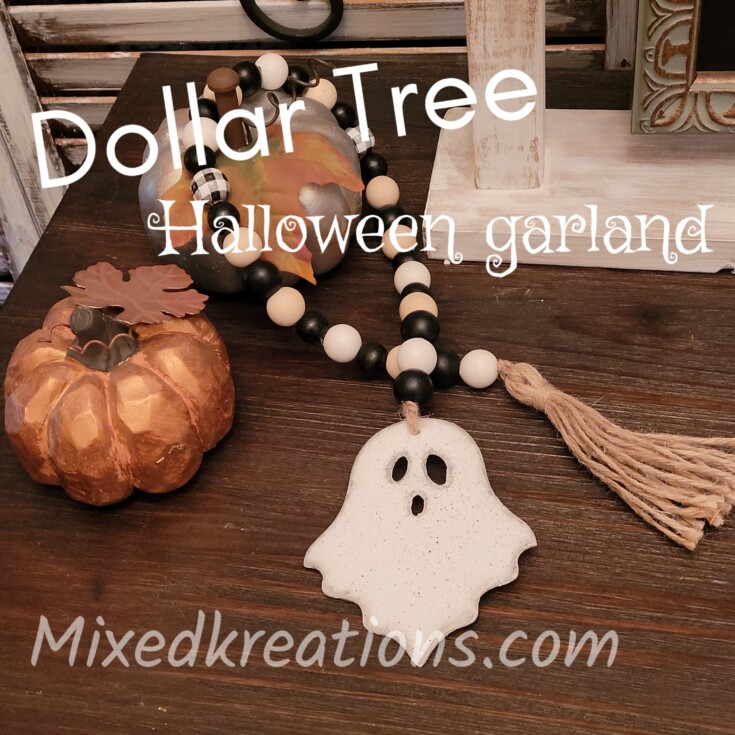

They’re both cute, but if I had to choose, I’d go for the little ghost. I’m partial to those little floating creatures 🙂
Thanks Michelle! You do seem to like the spooky things.