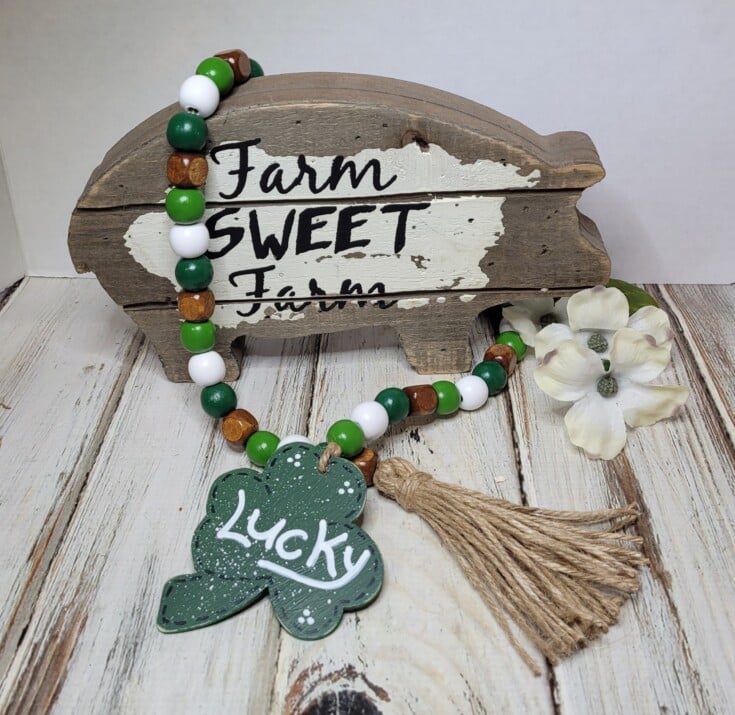
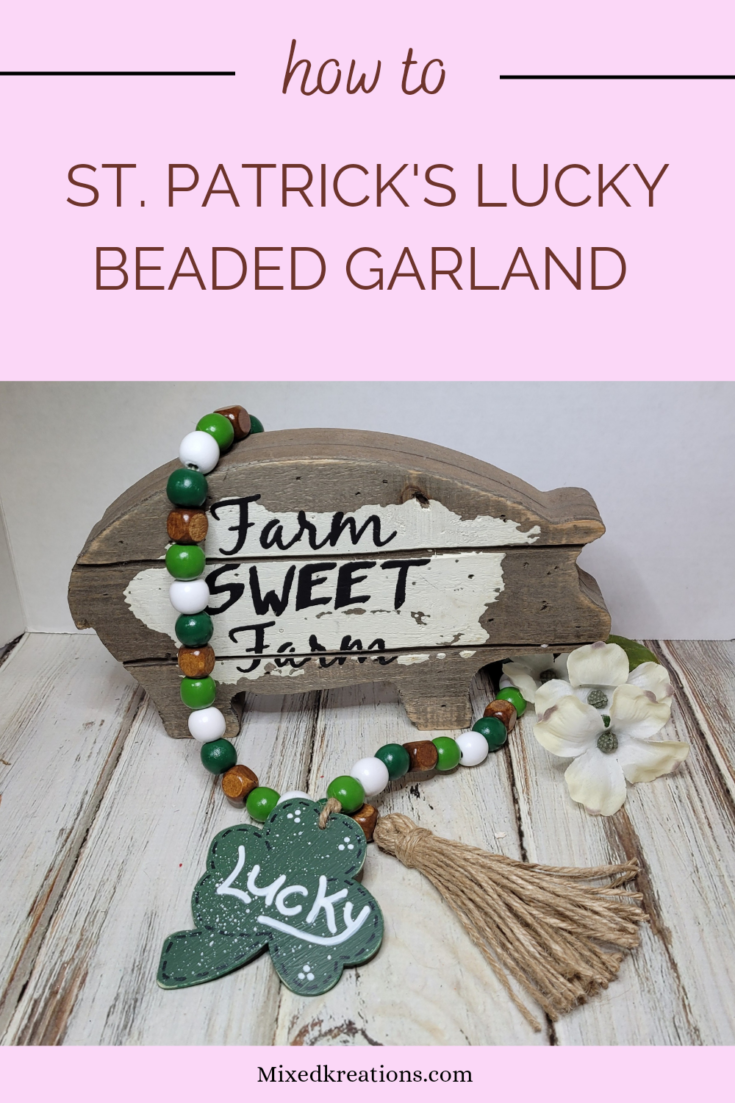
Hi all! Today’s project is an easy St. Patrick’s Lucky Beaded Garland made from Dollar Tree wood beads and a wood shamrock. Perfect for a tier-tray or combined with other St. Patrick’s Day décor.
***This post contains affiliate links… We are a participant in the Amazon Services LLC Associates Program, and affiliate advertising program designed to provide a means for us to earn fees by linking to Amazon.com and affiliated sites at no extra charge to you. Please read my full advertising disclosure for more info. Thanks so much for your support!***
Supplies for St. Patrick’s Lucky Beaded Garland
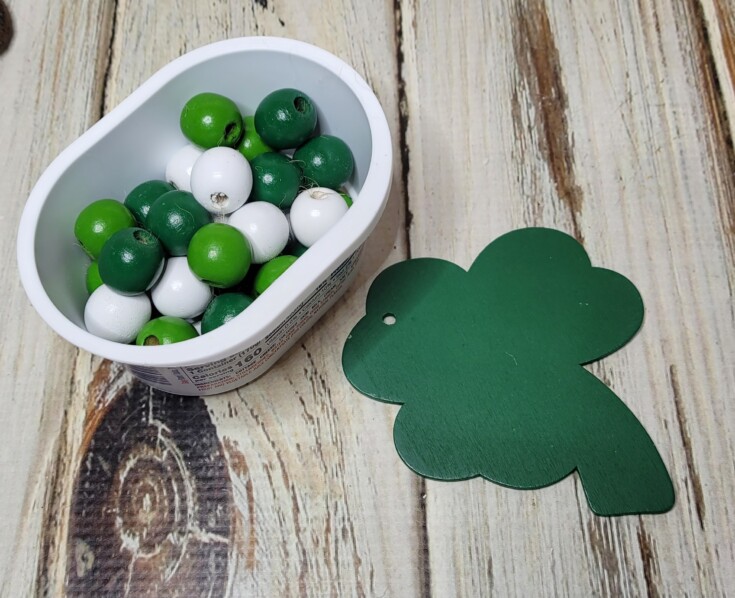
Green wood beads
White wood beads
Brown-stained square wood beads
Wood shamrock
Black paint marker
White paint marker
Green acrylic paint
White acrylic paint
Paint brush
Mod Podge
Craft sander
Twine
Scissors
Toothbrush
Craft stylus tool
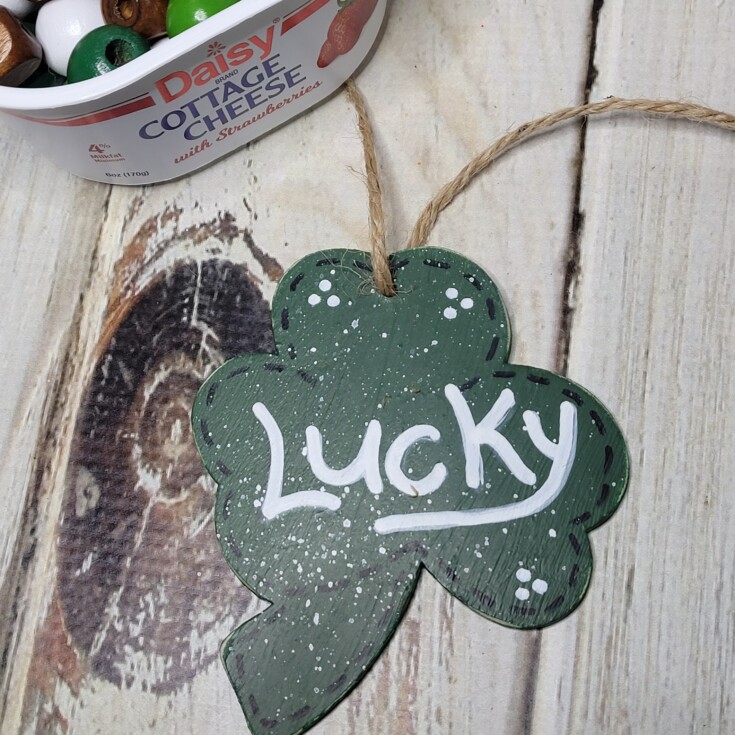
St. Patrick’s Lucky Beaded Garland
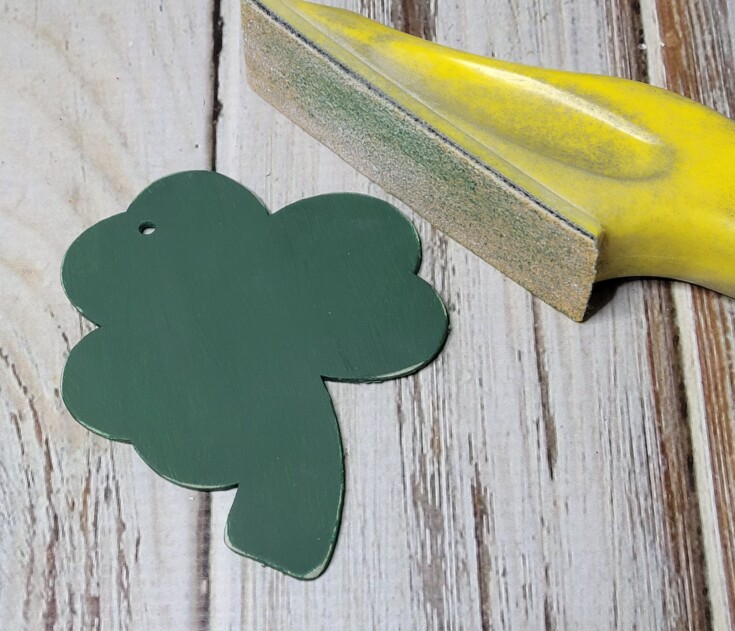
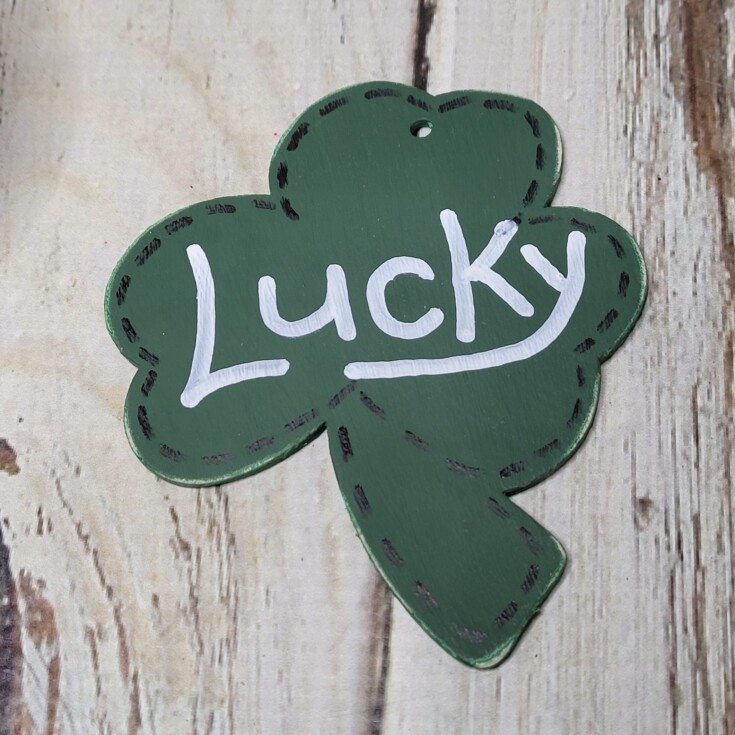
Start off by painting the wood shamrock with two coats of green paint, both sides and edges.
Once dry use a craft sander to distress the edges.
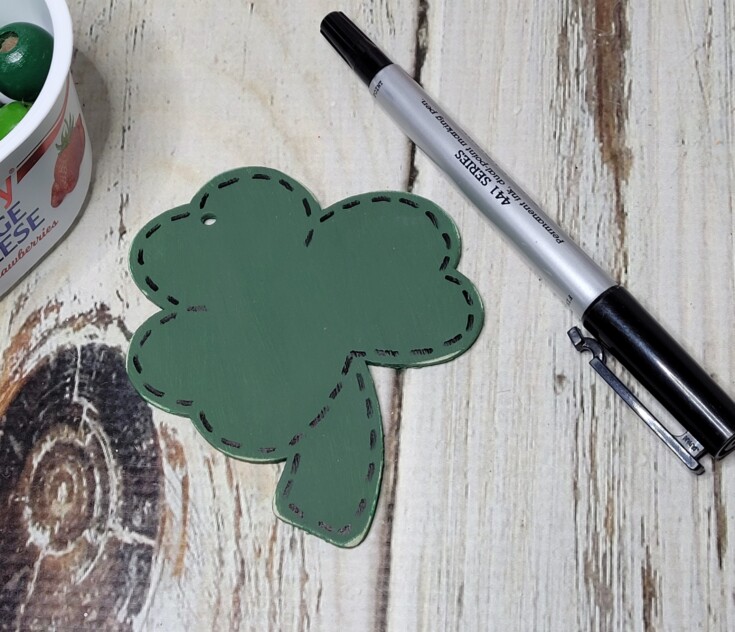
Next, use a black paint marker and add a dotted line around the edges of the shamrock, both sides.
Now add the word Lucky to both sides using a white paint marker.
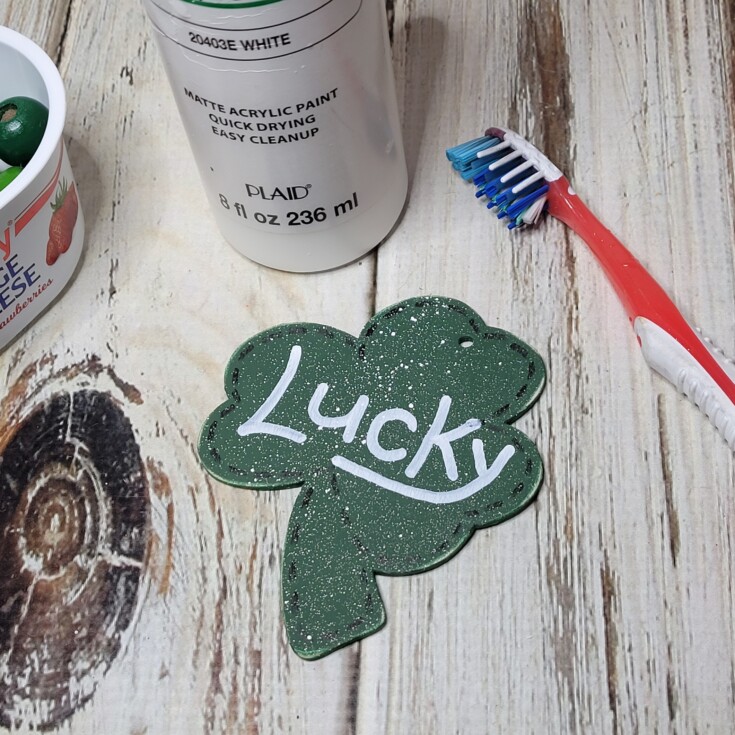
Once dry give both sides a splattering of white acrylic paint with a toothbrush.
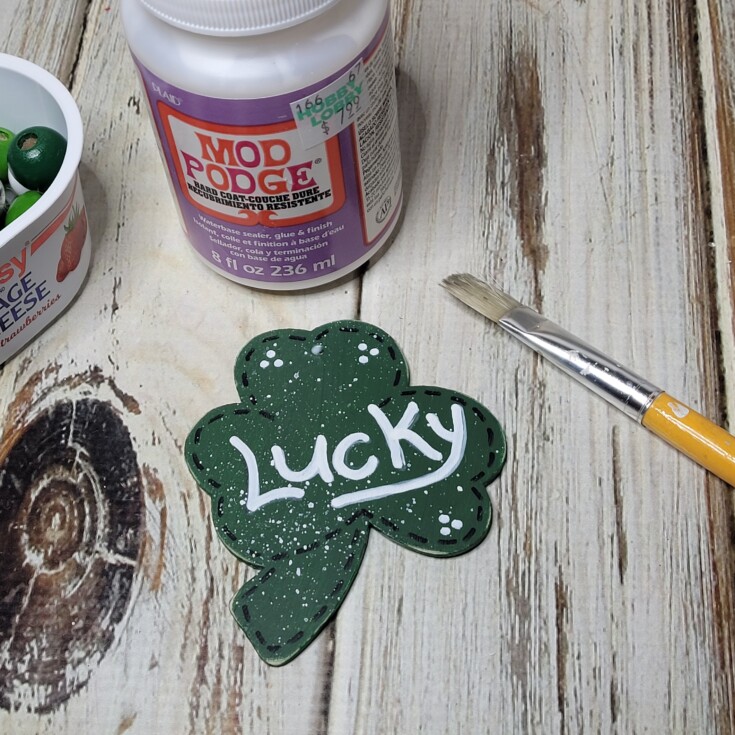
Use a craft stylus tool to add a few sets of white dots. Then add a coat of Mod Podge when dry to seal and protect.
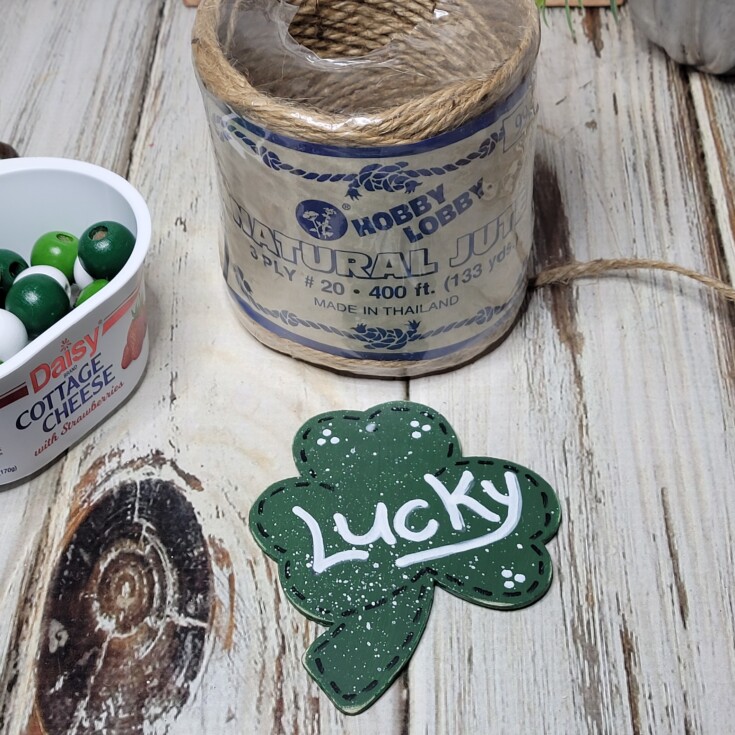
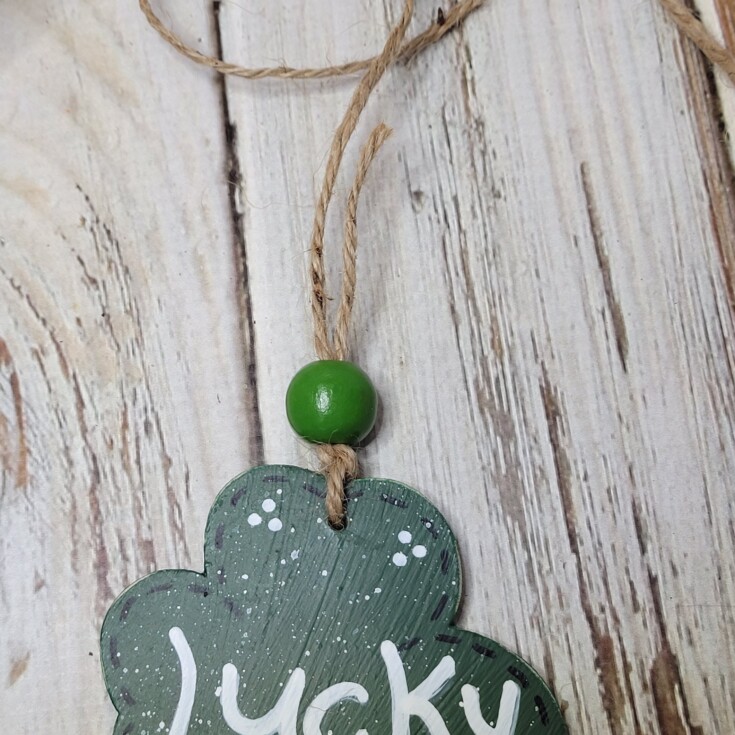
Cut a piece of twine approximately 32” long, and tie the shamrock on one end leaving about a two-inch tail.
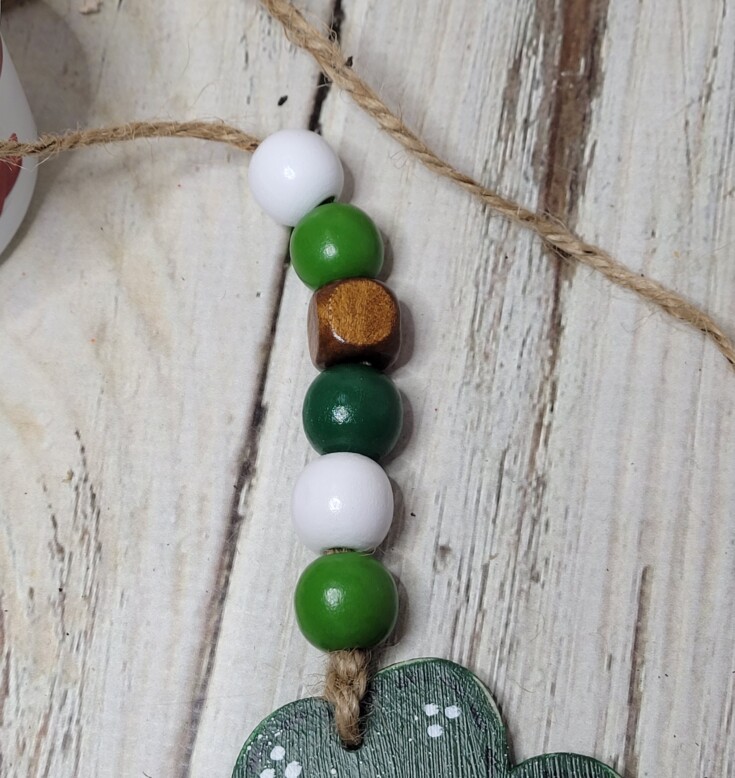
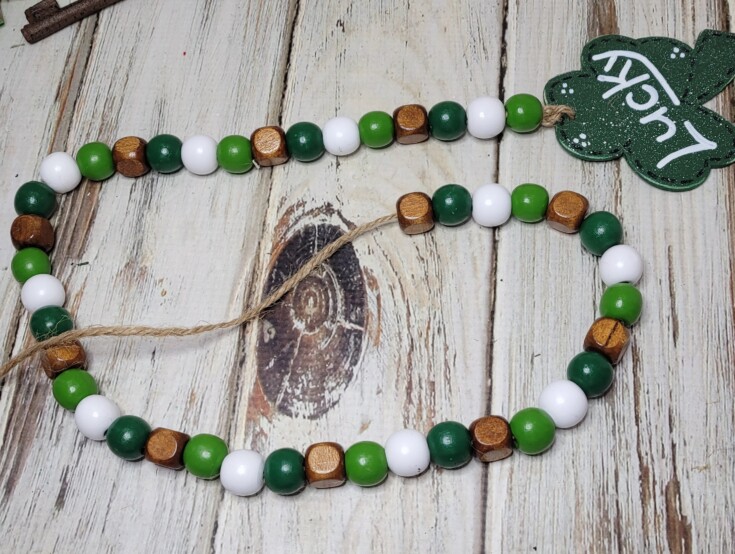
Start string the Dollar Tree wood beads in the pattern of you choosing.
As you add the beads run the loose tail through the beads as well. This will hide the tail.
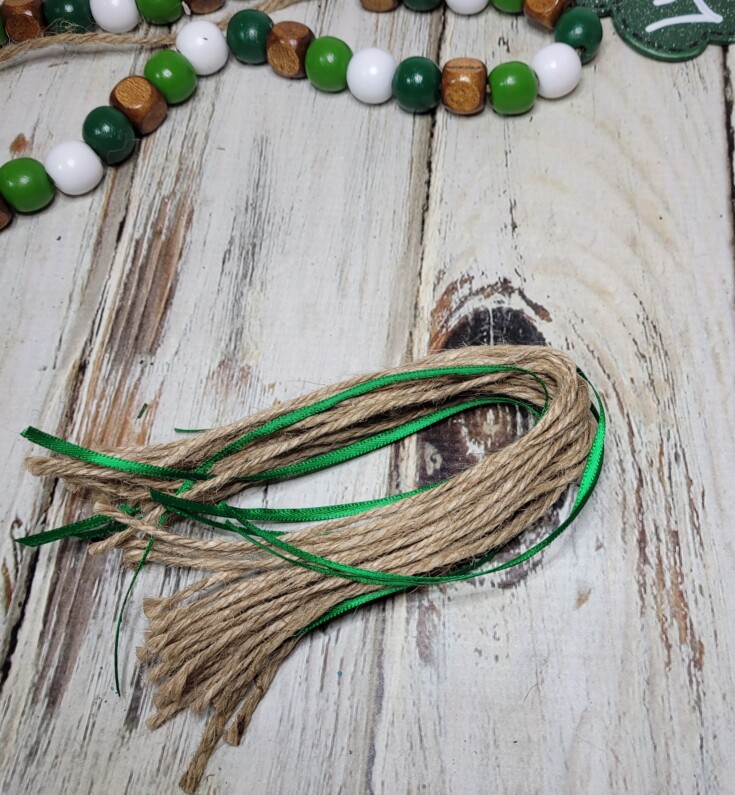
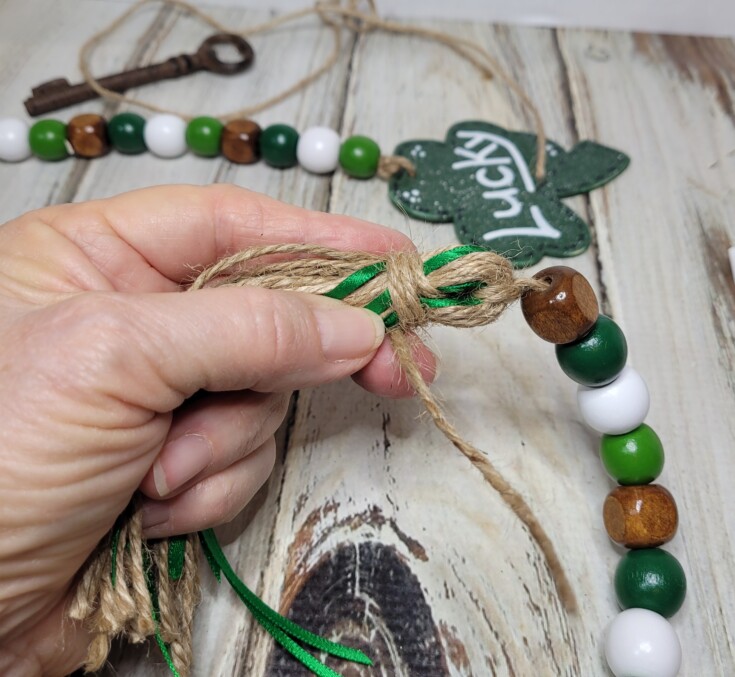
For the tassel I cut twenty pieces of twine about 9” long. I was going to add some ribbon to the tassel but later removed it because I didn’t like the way it looked.
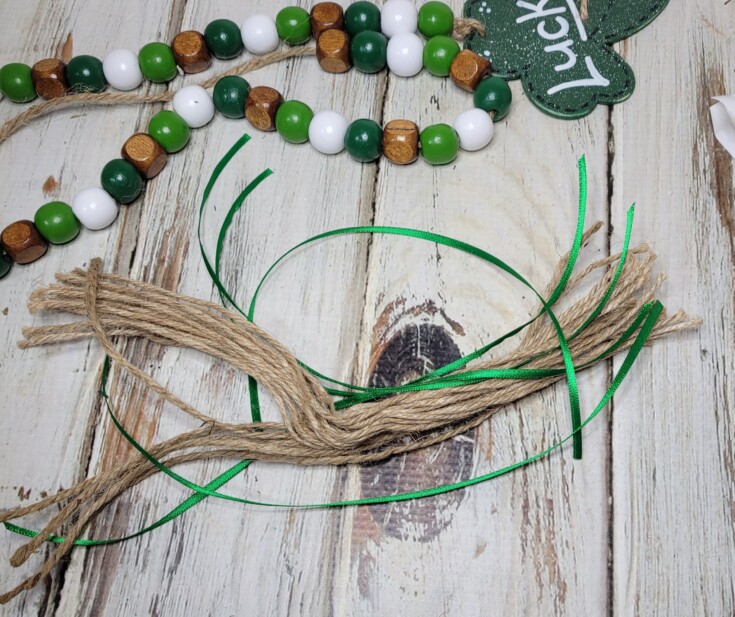
Fold the twine pieces in half, then tie the loose end of twine around the middle and pull up tight to the beads.
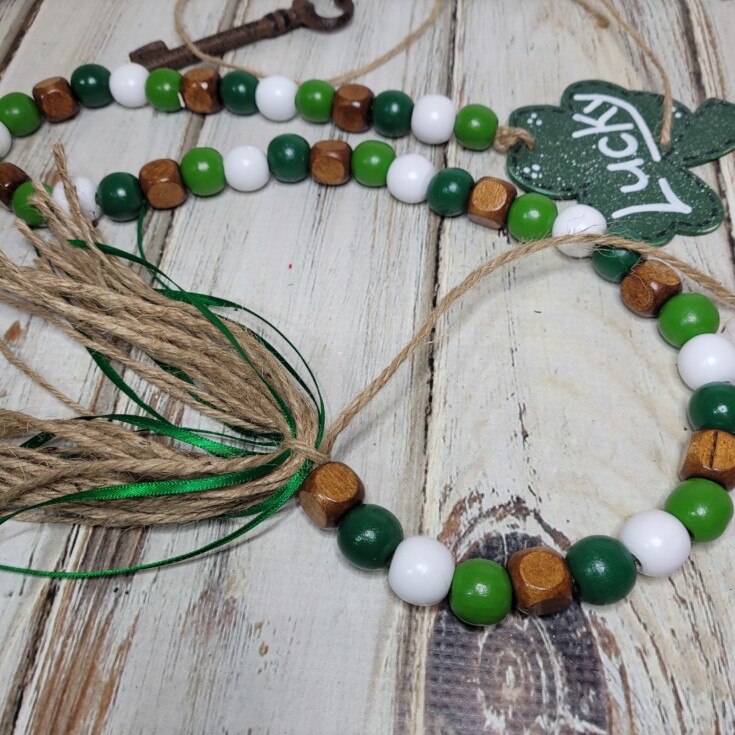
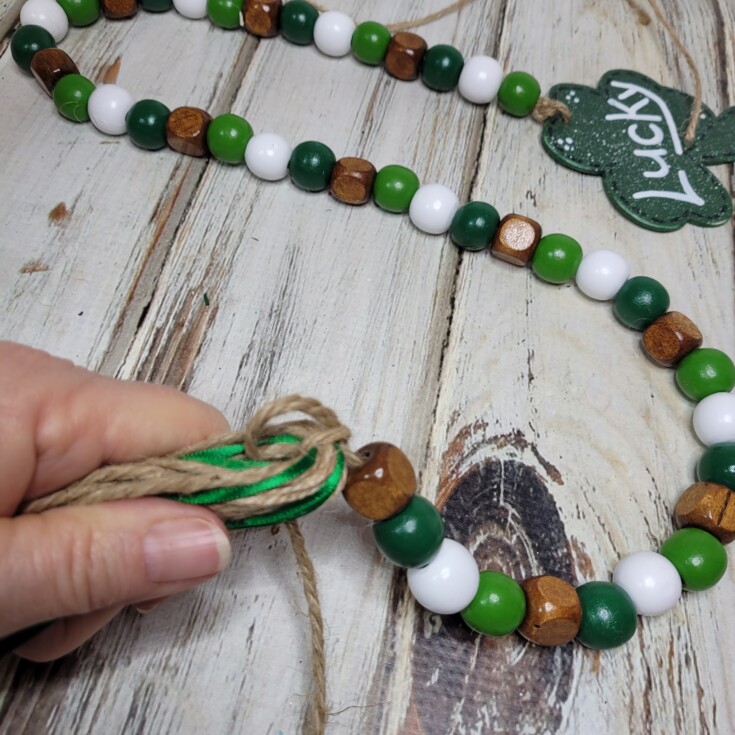
Keep the tassel folded in half and run the loose tail through the center fold, and start wrapping around the tassel of the St. Patrick’s Lucky Beaded Garland.
Then go back over the wrap and run the loose tail down through the center of the tassel to hold it in place.
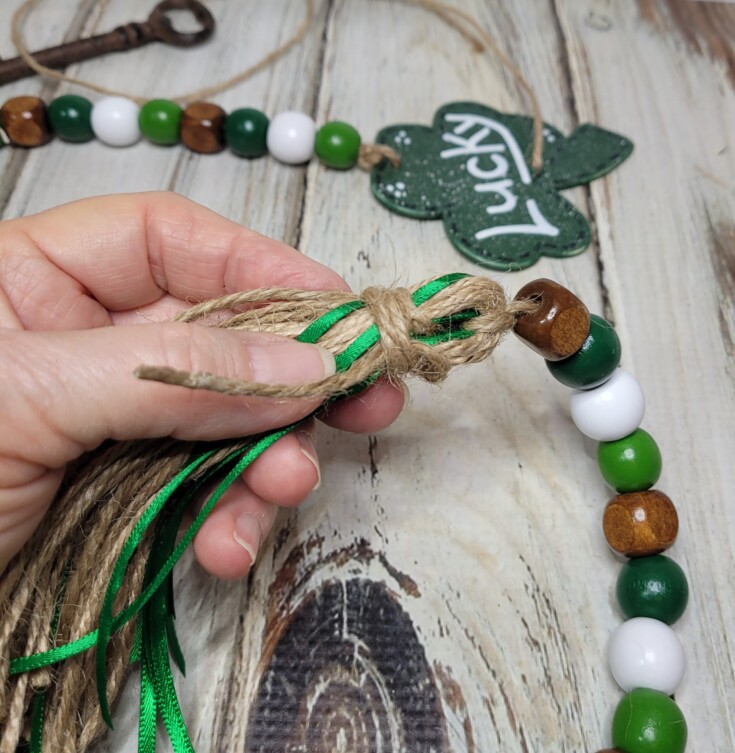
Not liking the ribbon I pulled them out at this time. Much better don’t you think?
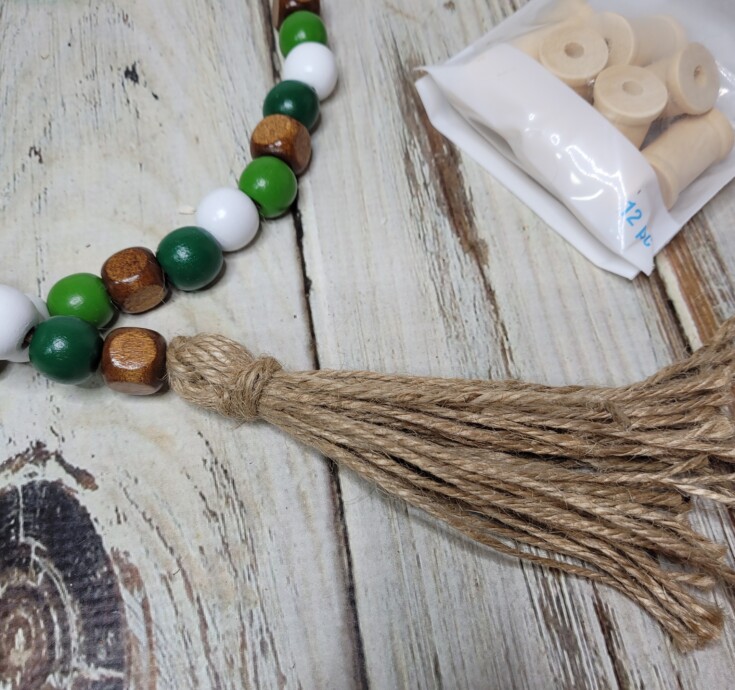
Lastly, I went back and trimmed the ends of the tassel, and that was it for this easy St. Patrick’s Lucky Beaded Garland.


More Fun St. Patrick’s Day Projects!
Upcycled Saint Patrick’s day Jars
Reversible holiday decor – St. Patrick’s day
Easy Saint Patrick’s day decor

Leave a Reply