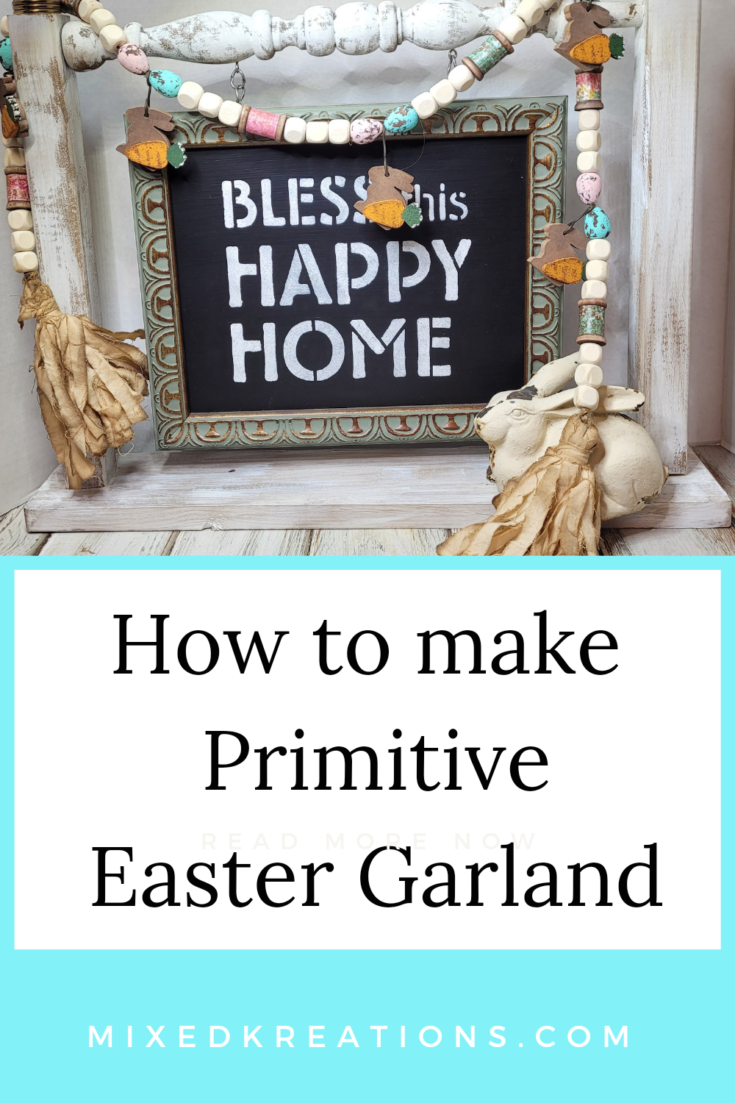
Hi all! Today I am sharing a Primitive Easter Garland project. I had so much fun making the St. Patrick’s Lucky Beaded Garland, with things made from the Dollar Tree that I decided to make some garland for Easter as well. The items used for this Easter garland is a mixture of things from the Dollar Tree and some that I had on hand.
***This post contains affiliate links… We are a participant in the Amazon Services LLC Associates Program, and affiliate advertising program designed to provide a means for us to earn fees by linking to Amazon.com and affiliated sites at no extra charge to you. Please read my full advertising disclosure for more info. Thanks so much for your support!***
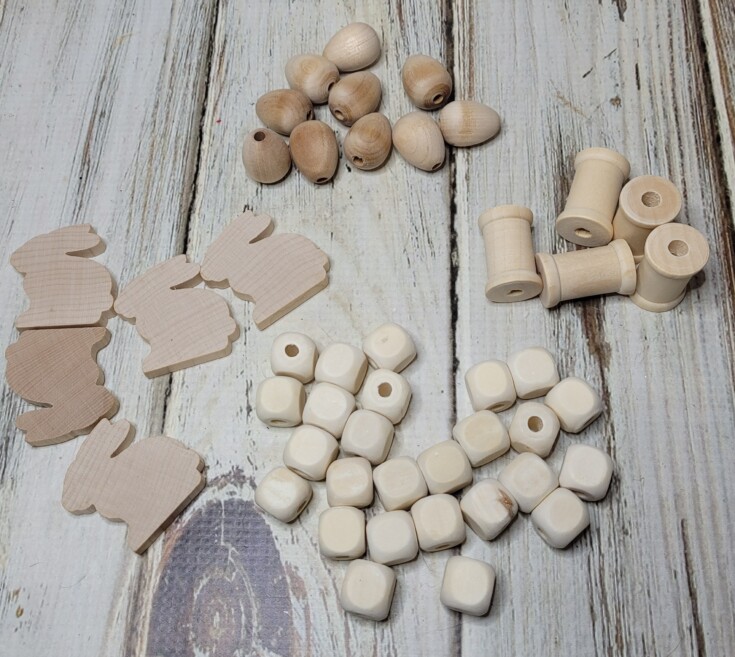
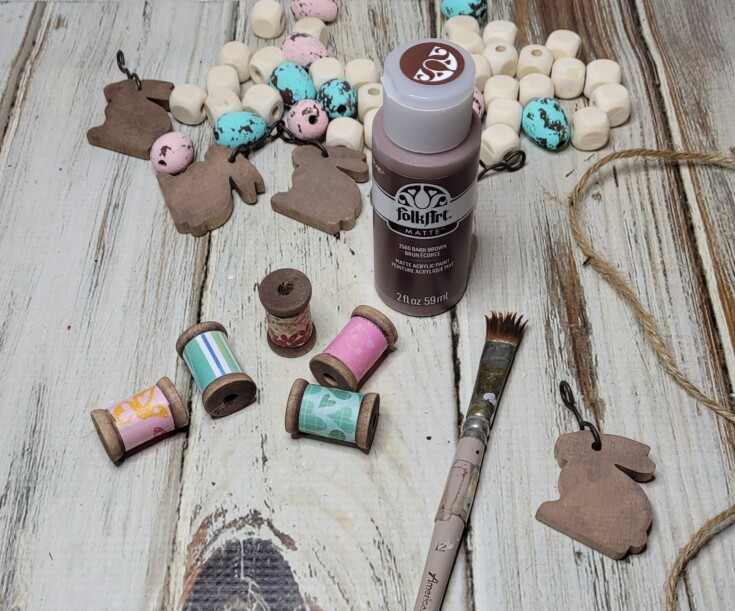
Supplies for Easter Garland
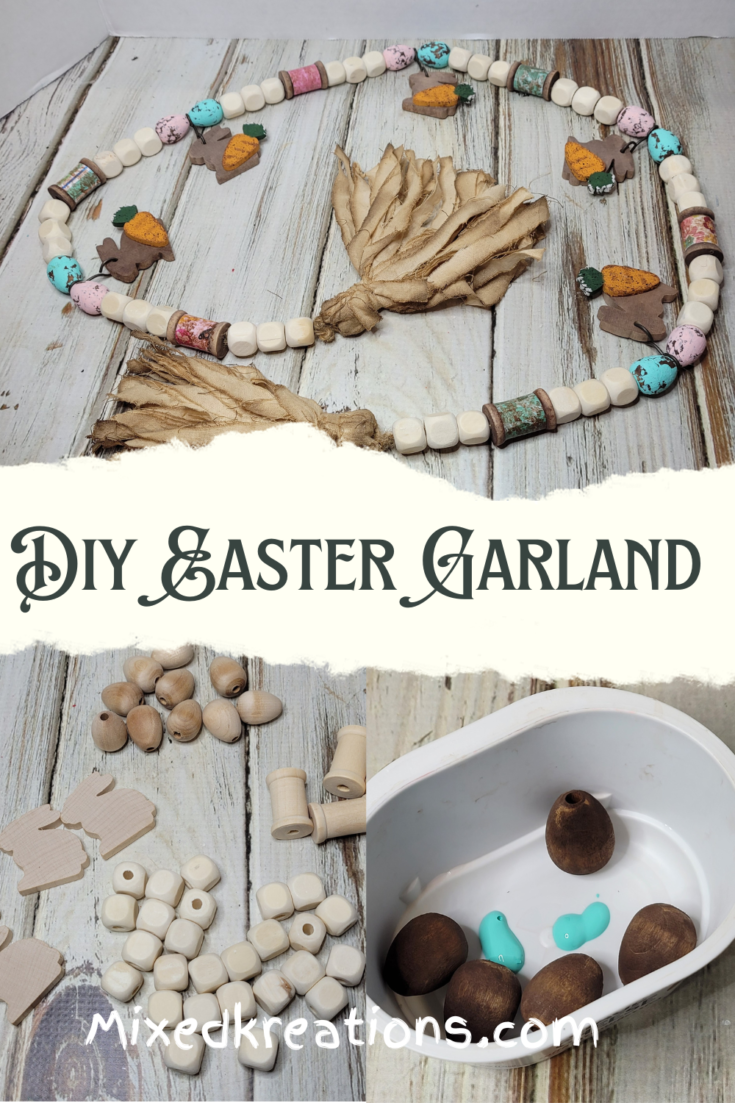
36 square wood beads
5 wood carrots
5 wood bunnies
6 wooden spools
6 strips of scrapbook paper
Acrylic paint – pink, blue, orange, green, burnt umber, white, black, and dark brown
Mod Podge
Paint brush
Twine
Muslin fabric
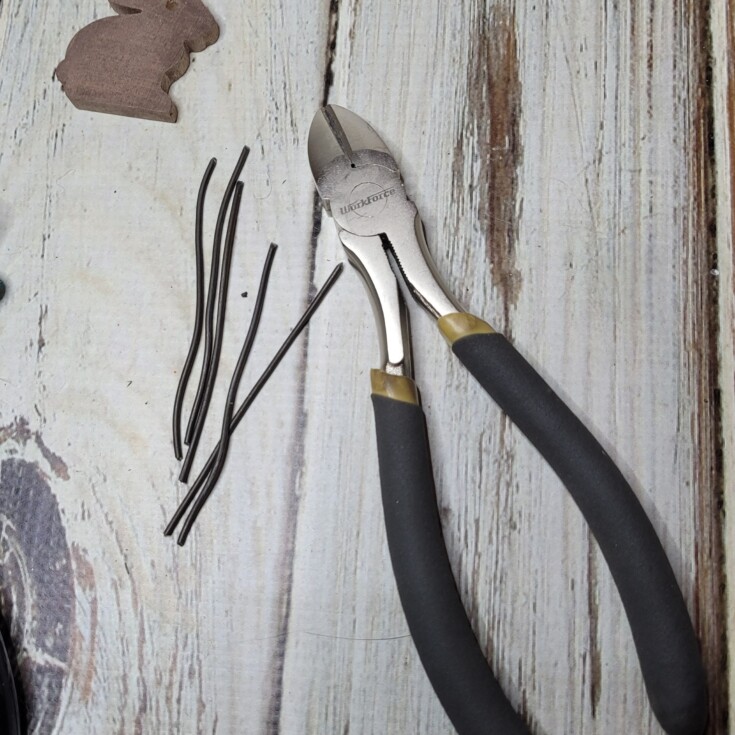
Annealed wire
Wire cutters
Toothbrush for splattering
Small tub with lid
Wood glue
Scissors
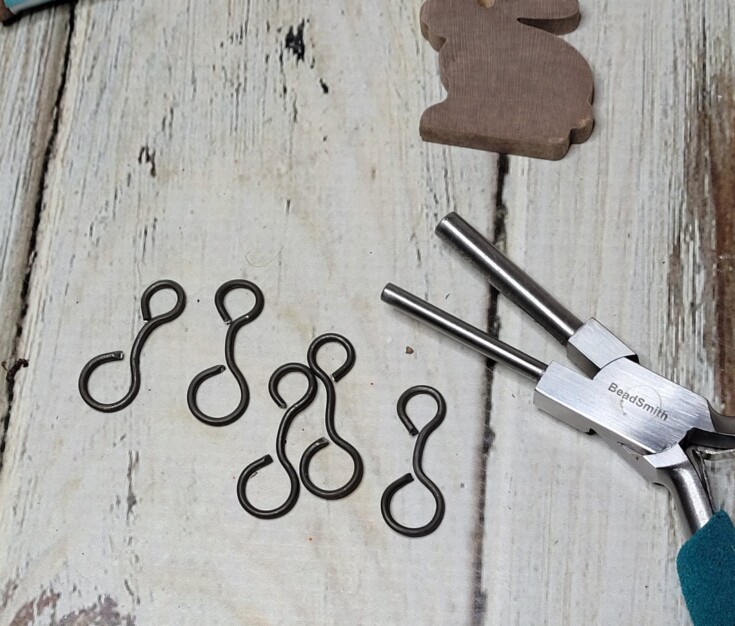
Bail making pliers
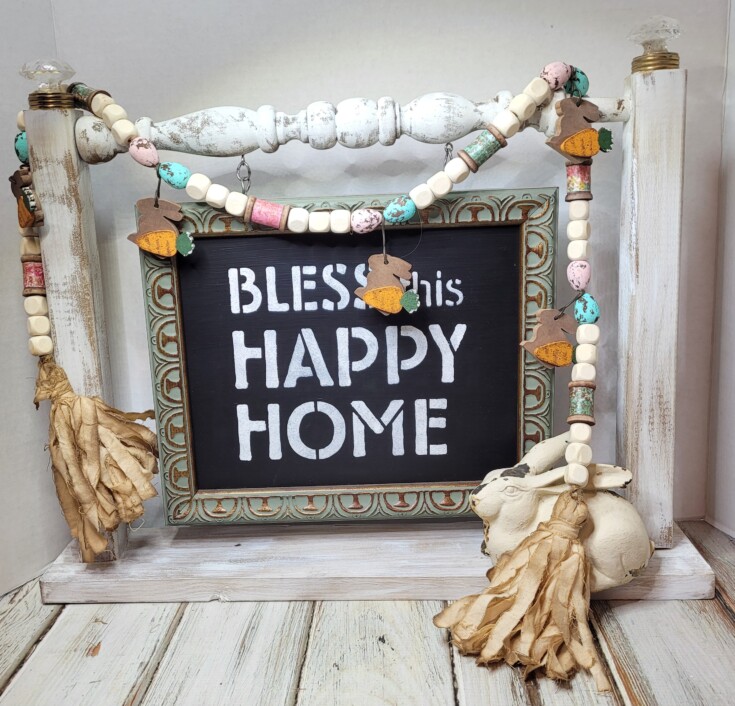
Primitive Easter Garland
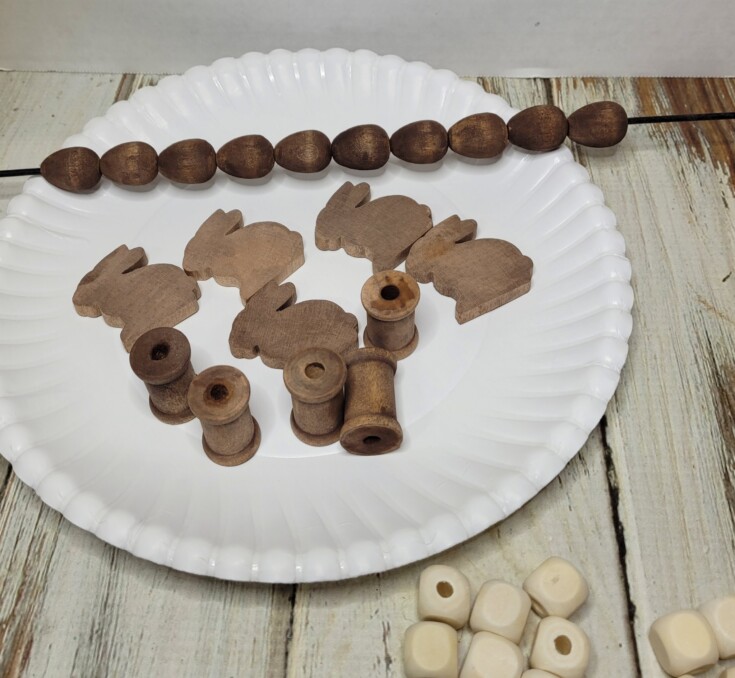
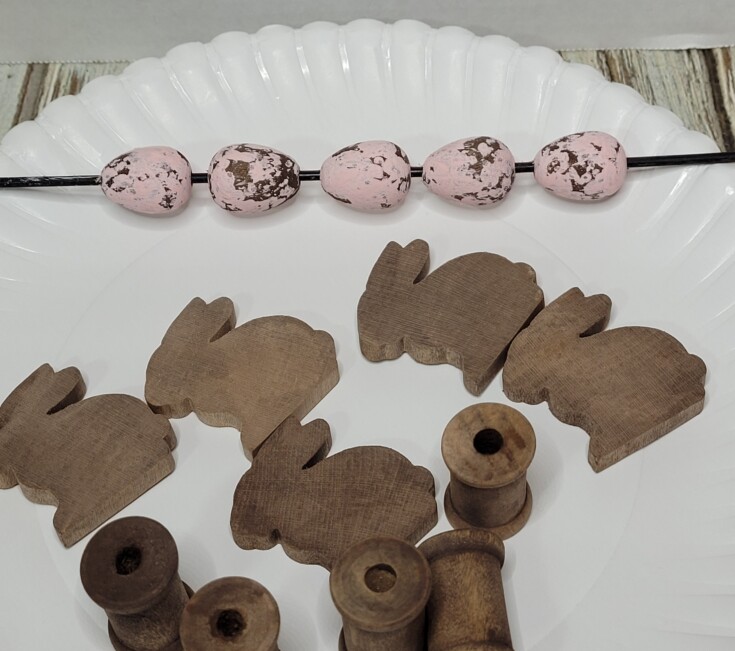
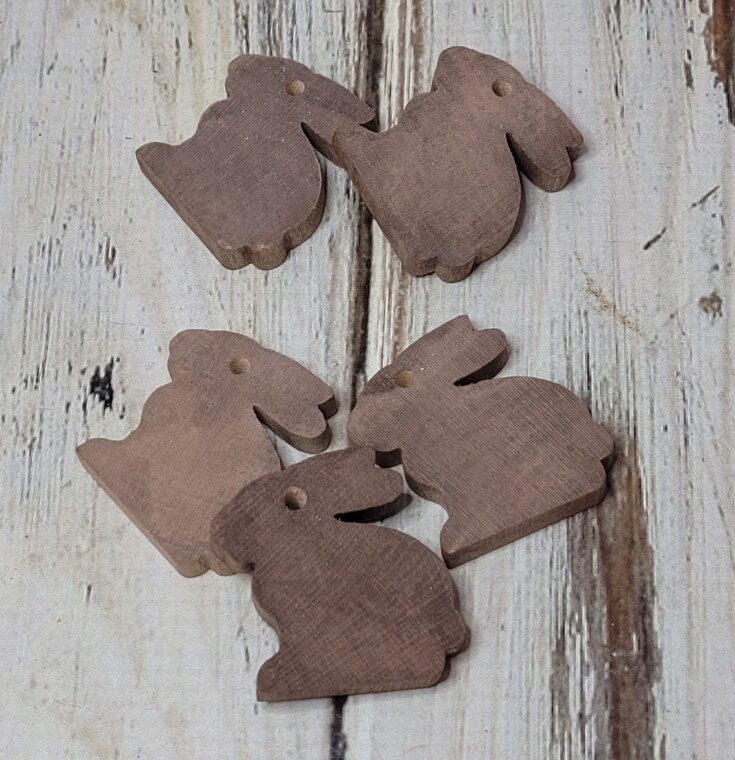
Start off by staining the bunnies, spools, and Easter eggs with watered down brown paint.
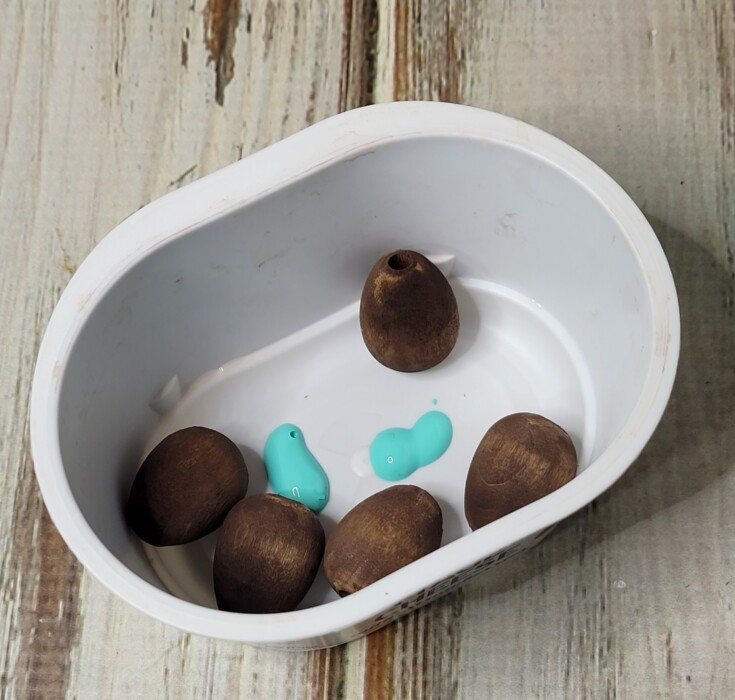
Once dry take five Easter eggs and put them in a small tub with a lid and add a couple drops of pink paint. Put the lid on and shake. You don’t want them completely covered so check on them and remove them when some of the brown stain is still showing.
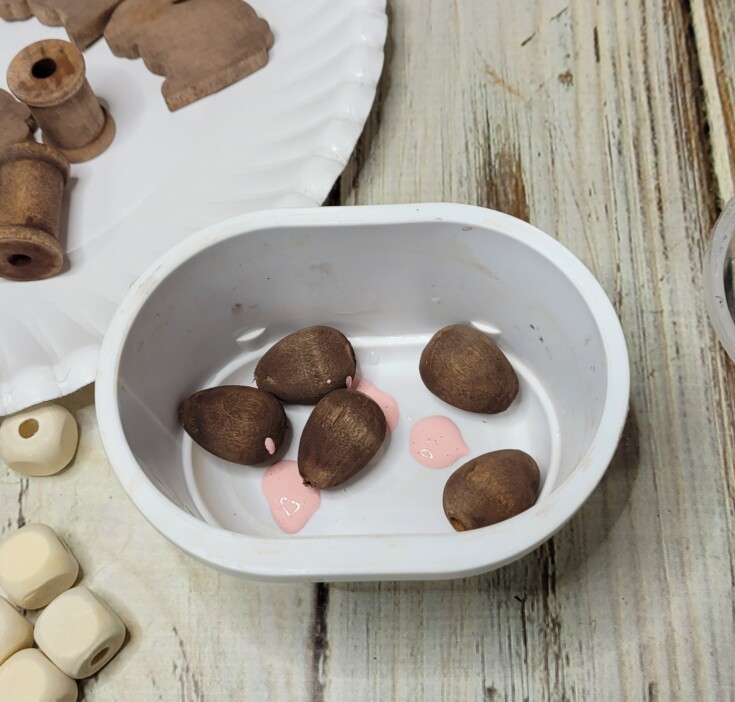
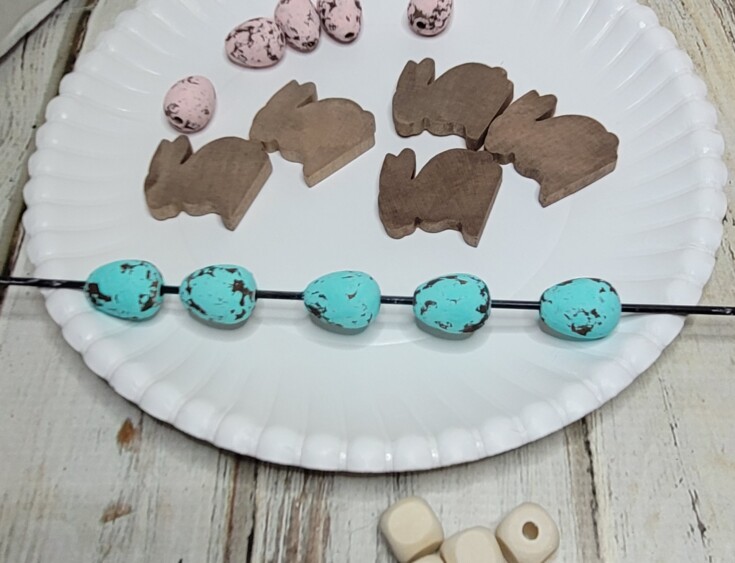
Take the other five eggs for the primitive Easter garland and do the same as above except use the light blue paint on these.
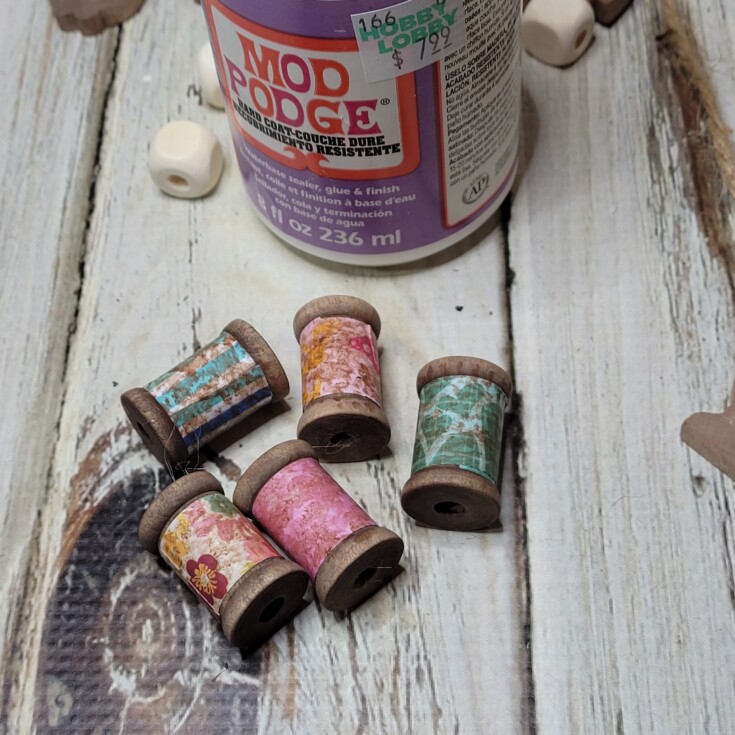
Take strips of scrapbook paper and Mod Podge and attach to the center of the wood spools.
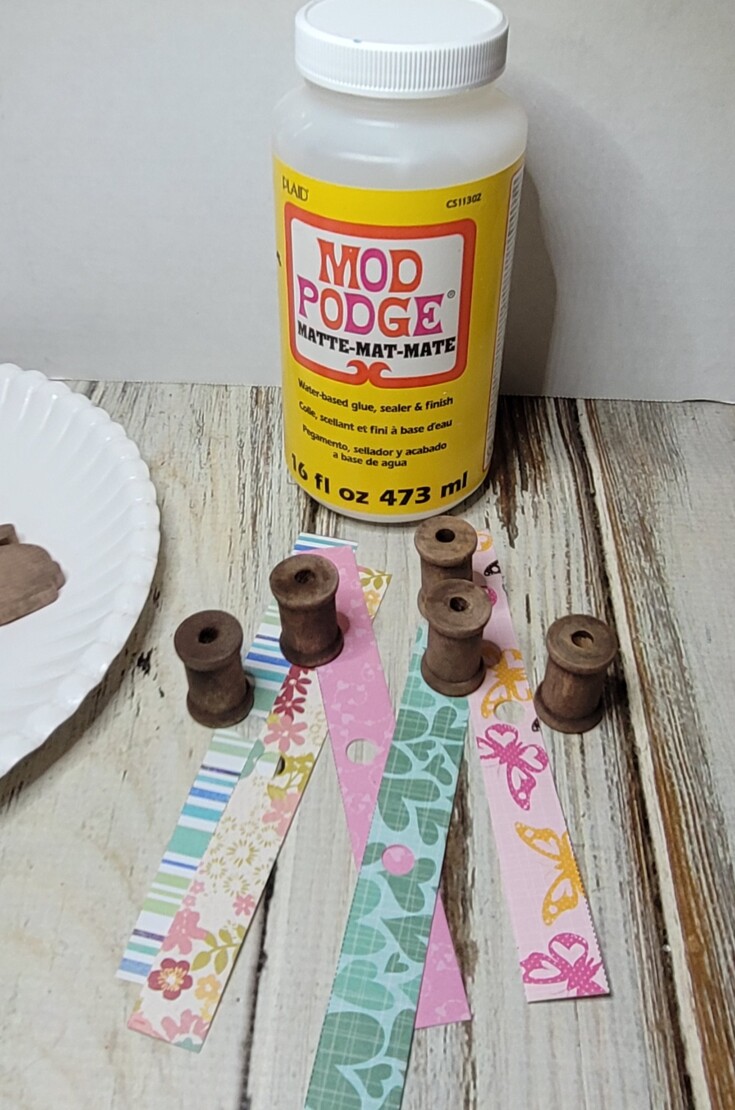
After the paper dries go back with and old paint brush or sponge and dab on some brown paint to tone down the bright colors of the scrapbook paper.
Seal with a coat of Mod Podge and set aside.
Paint the carrots orange and the tops green. Use burnt umber for the detailing on the carrots. Add a dab of white paint to the tops of the carrots.

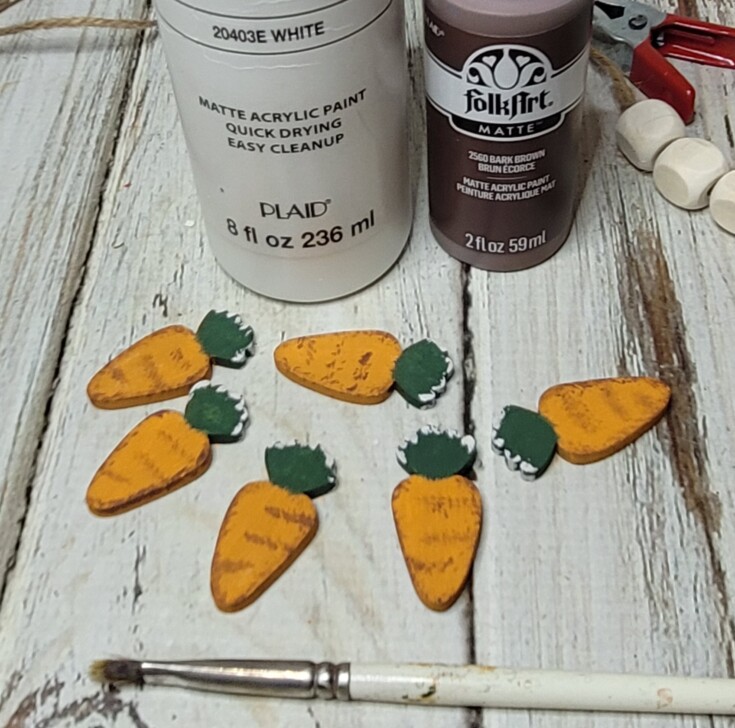
Splatter with black paint and an old toothbrush.

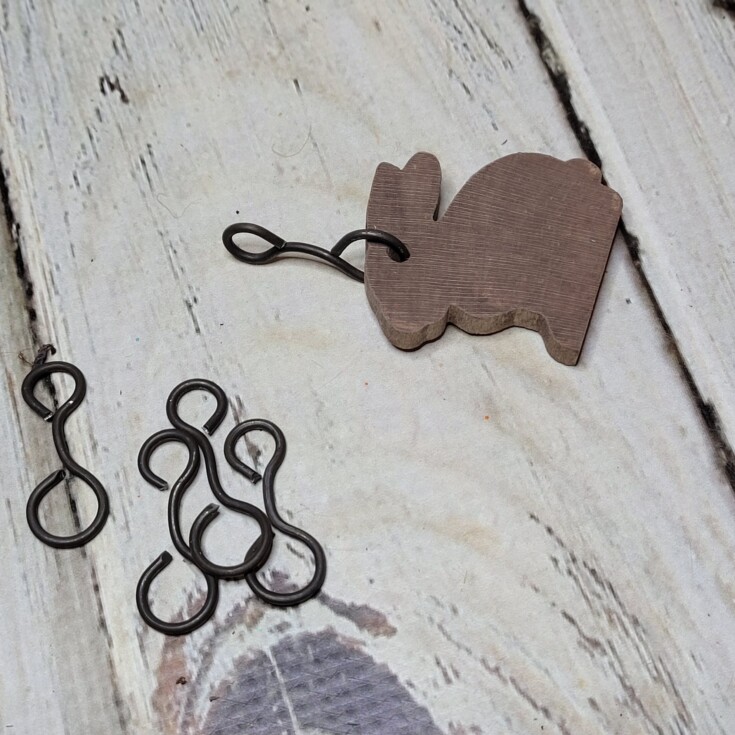
Drill holes in the top of the bunnies.
To attach the Easter bunnies cut five pieces of annealed wire approximately 2 ½” and form a loop at each end with bail making pliers. Make one loop larger than the other then attaching the bunnies to the larger loop.

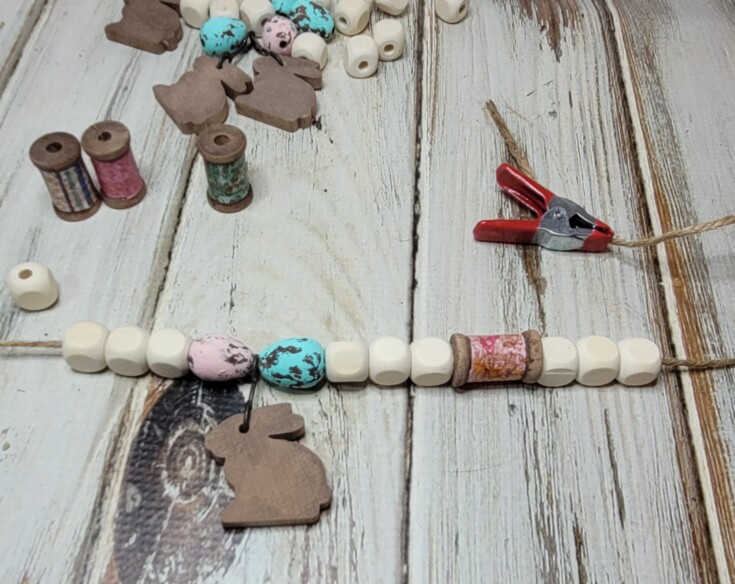
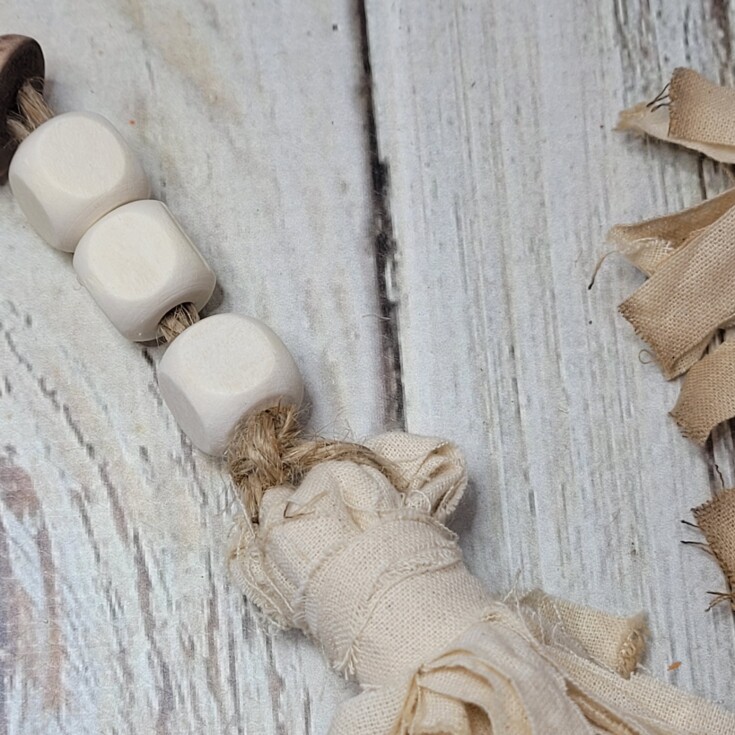
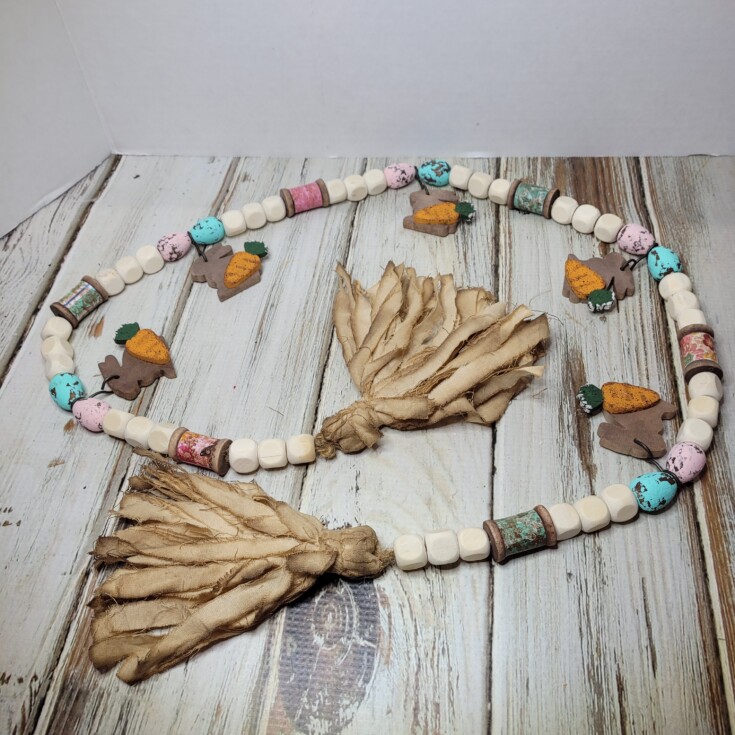
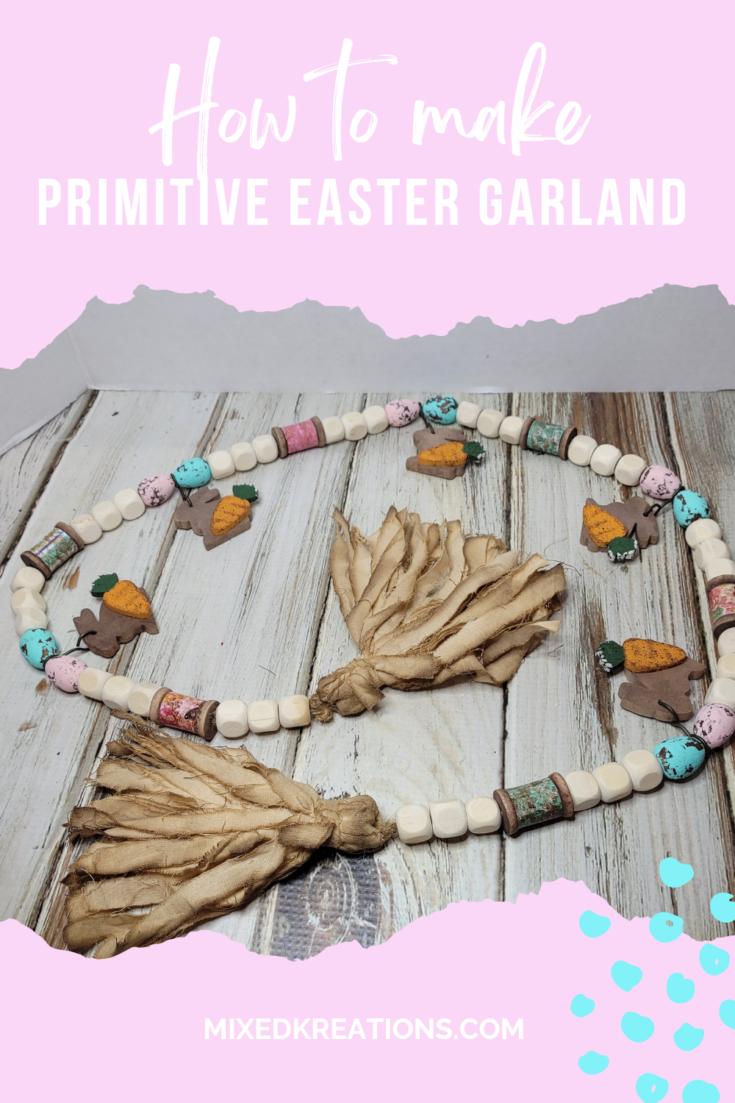
Let’s start stringing the primitive Easter garland. Cut a piece of twine 55” in length then start stringing the beads, spools, eggs, and bunnies onto the twine in the same order. Leave the same length in loose ends, and set aside.
Making the Tassels
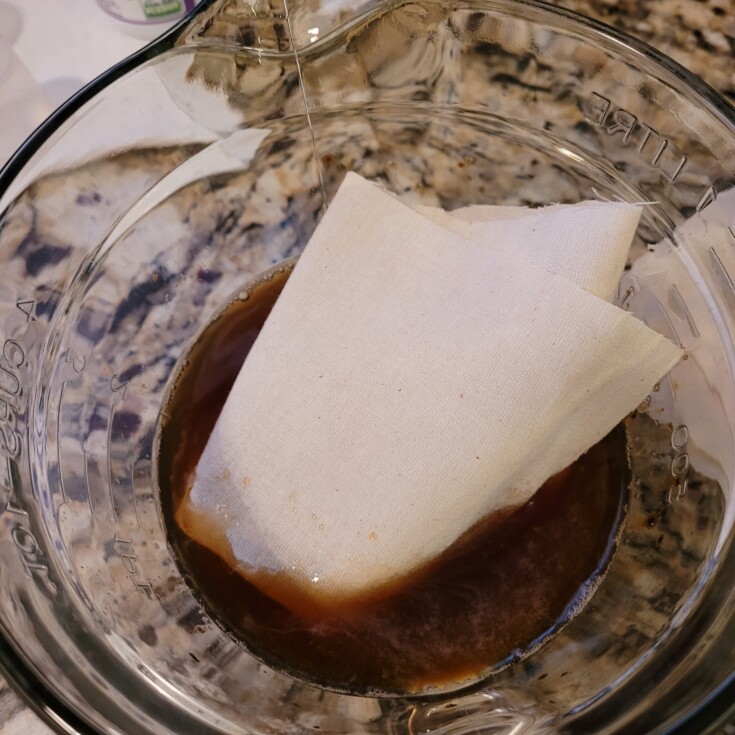
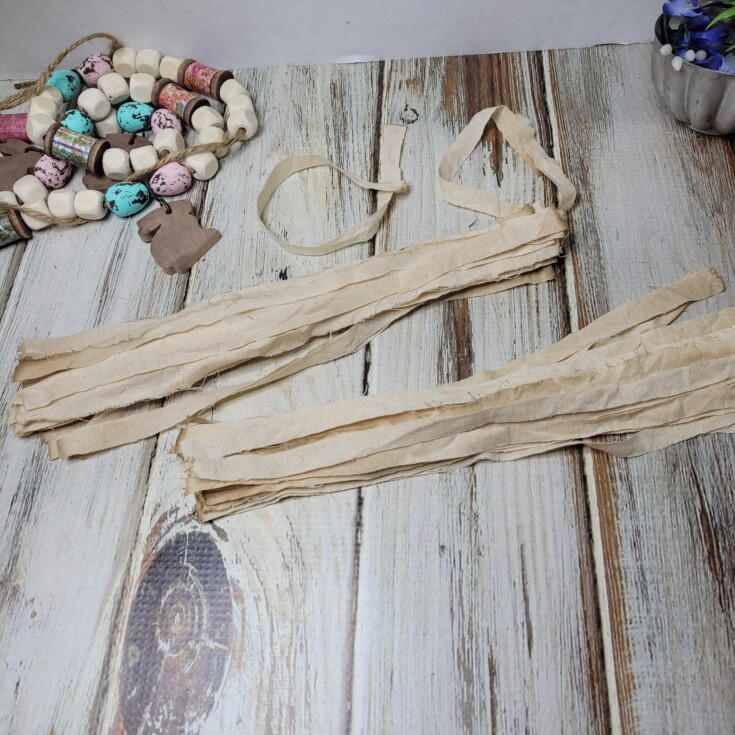
For the tassels cut some pieces of muslin fabric about 10” long and 4 or 5 inches wide.

Then dip the fabric in a watered down coffee mixture, and let dry.
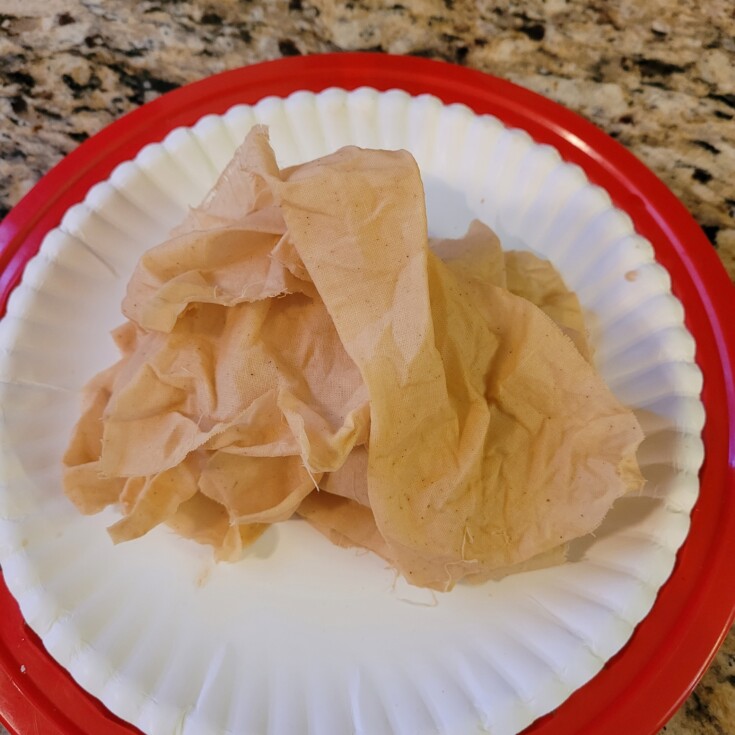
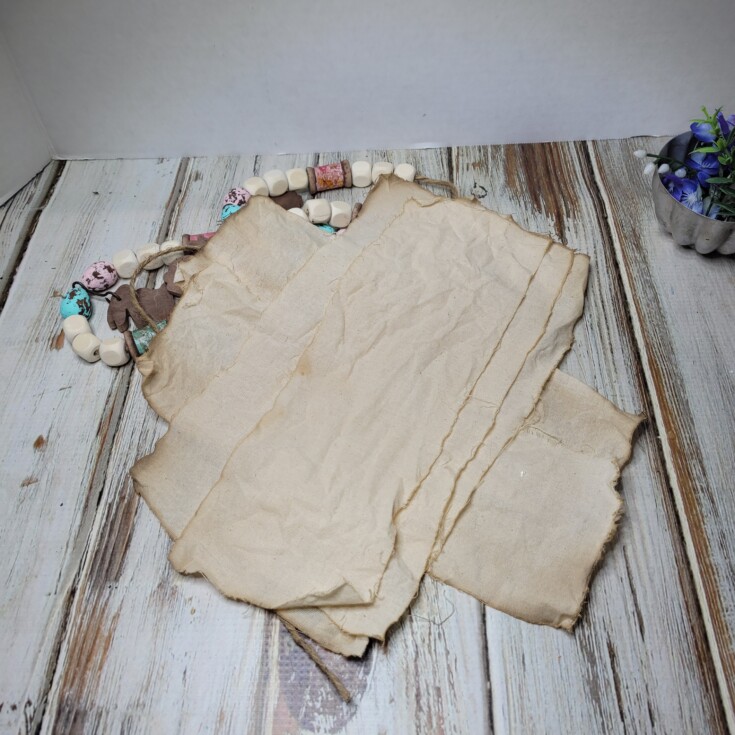
Once dry start cutting the 10” pieces of stained muslin into ¼’ to ½” strips.
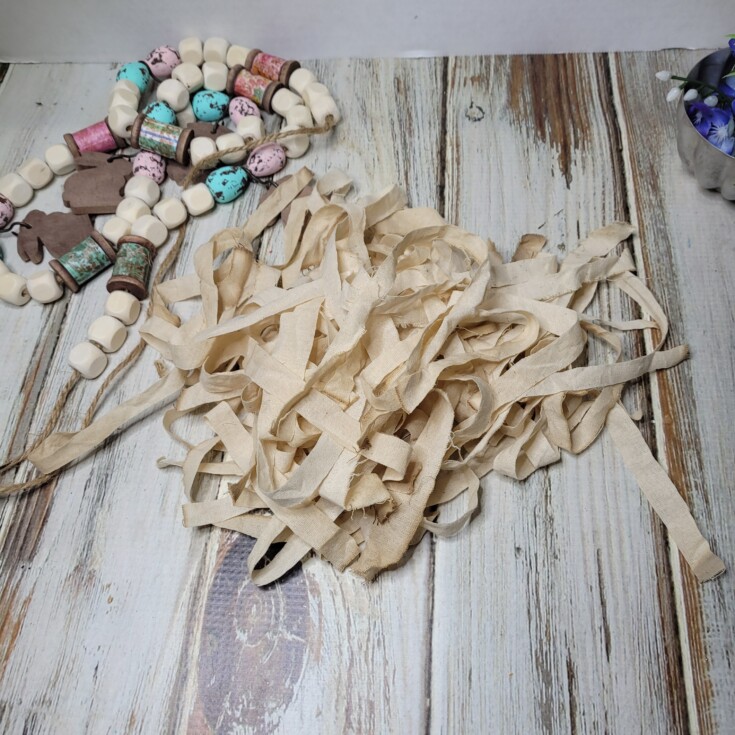
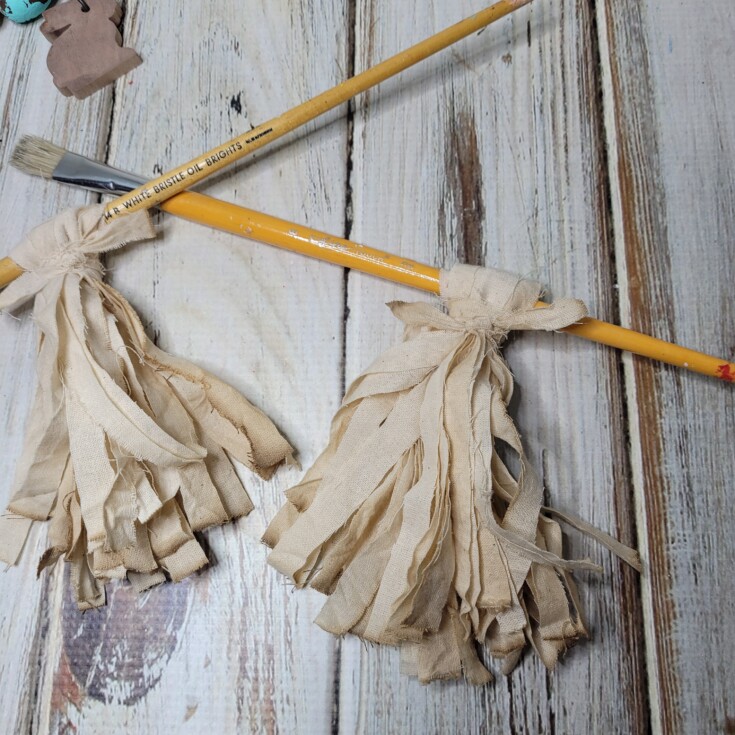
Make two piles of the strips stacked together, and leave to strips set aside for tying the tassels.
Now fold one pile of fabric strips over a paintbrush or pencil then use one of the strips that was set aside to tie around the top of the tassel just under the paintbrush that was used to form the tassel. Wrap around a couple times before tying. Do the same for the other pile of fabric strips to form the second tassel.
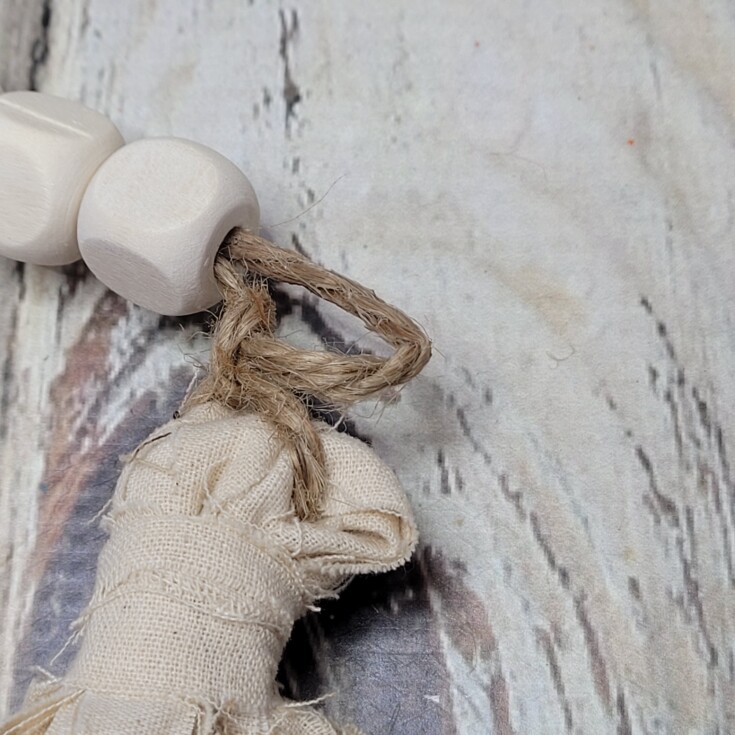
Pull the paintbrushes out and insert the loose ends of the twine from the primitive Easter garland. One on each end of the garland.

Pull tassel up tight to the bead ends and tie a knot.
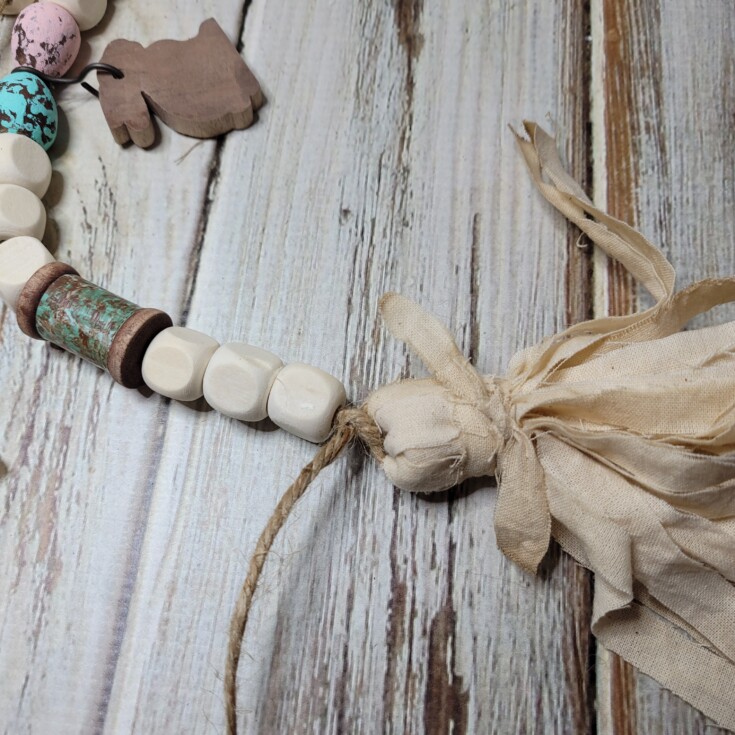
Cut the twine off to about 1 ½” and add some Mod Podge or glue to the ends of the twine and let dry. This will make it easier to hide the ends.
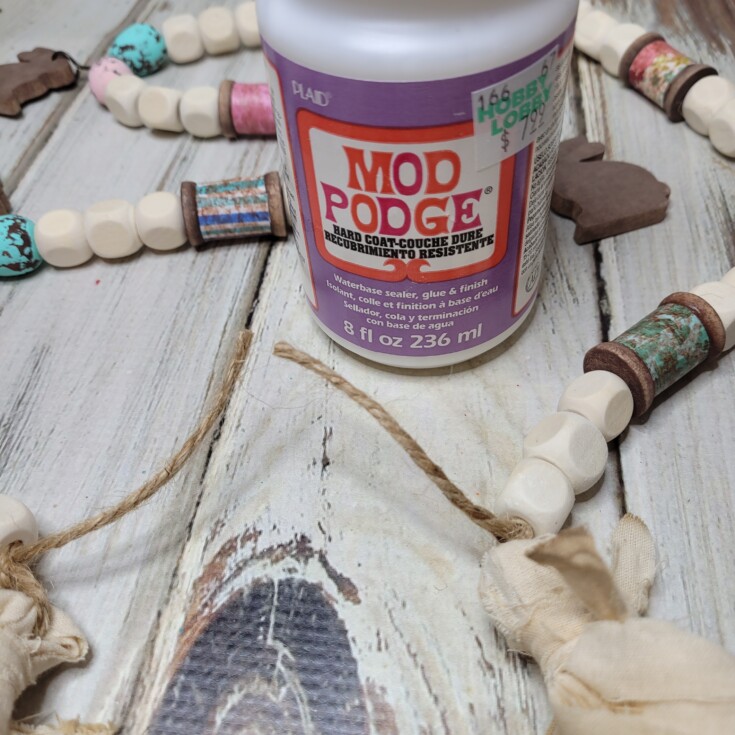
Run the stiffen ends of twine up through the first, second and third beads until it is all hidden.
Next, lay the bunnies down flat and glue the carrots onto the sides of the wood bunnies and let dry thoroughly.

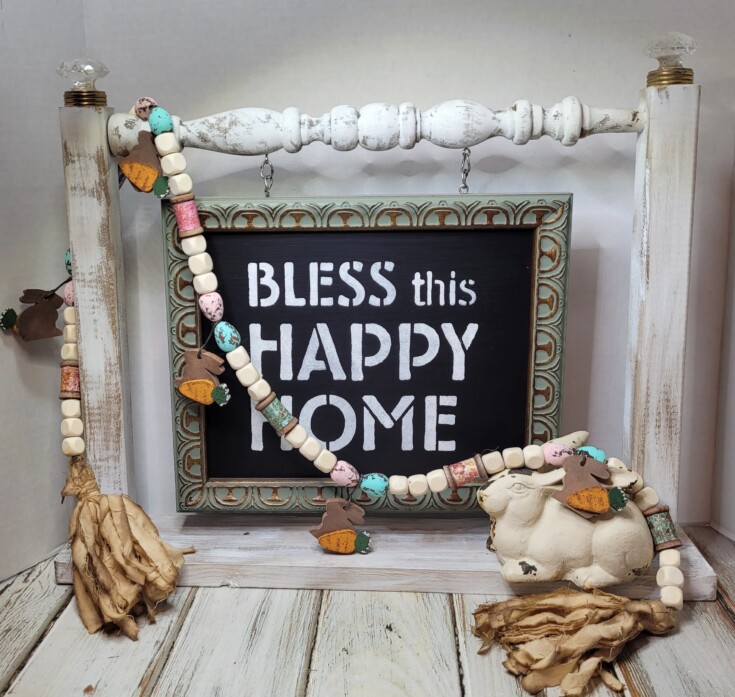
Deciding that I wanted the primitive tassels darker I dipped them into some more of the watered-down instant coffee.
That’s it for this primitive Easter garland project, and I am loving how it turned out! Comment below and let me know how you like my Easter garland.
More Fun Diy Garland
Happy shabby yellow garland
Halloween garland from repurposed bulbs
Snowman garland on wire
Buy Your Crafting Supplies Now at Dollar Tree starting at $1.25!


Would it sound completely crazy if I said I could see myself wearing something like this as a necklace, without those cute bunnies, of course 😉 I’ve always had this thing for prim decor, and this garland is one of the most interesting examples I’ve seen, Linda. All the attention to detail and the ageing methods you used work so beautifully together.
Typo alert… I meant bunnies, not bubbies
LOL I will correct it.
No your not crazy, I think it would be a cool necklace as well. I was a little worried that I had made the tassels a little to dark.