Found this recipe at Lucy Designs and it works great. Depending on how rusty you want your can, how many times you have to repeat the process.
*This post contains affiliate links for your convenience. Please read my disclosure for more info. Thanks so much for your support!*
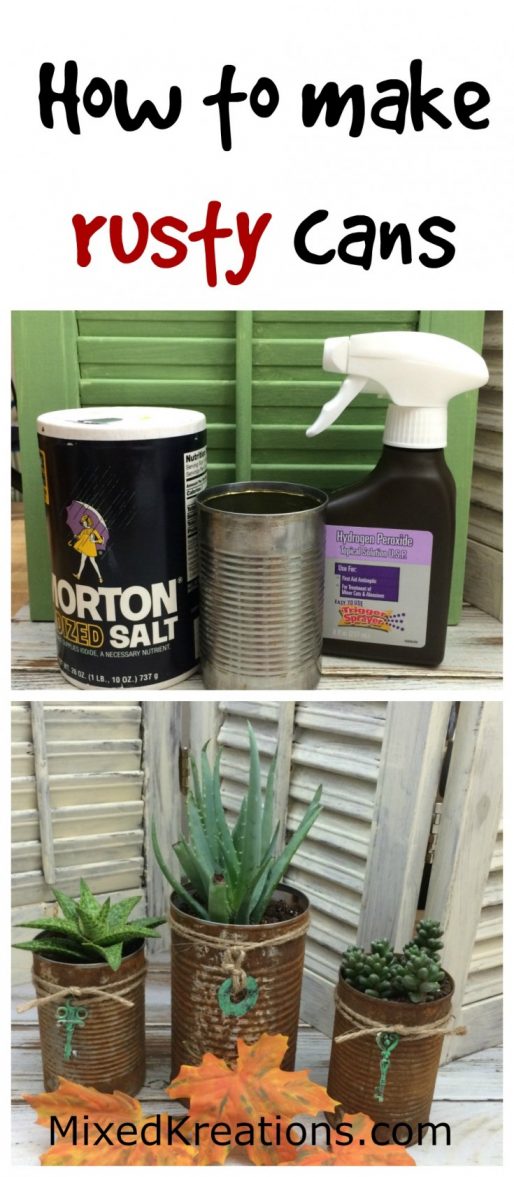
Supply List For Rusty Cans
Tin cans
Washer
Jute
Key Charm
Hydrogen Peroxide
Salt
Patina
Coarse sandpaper
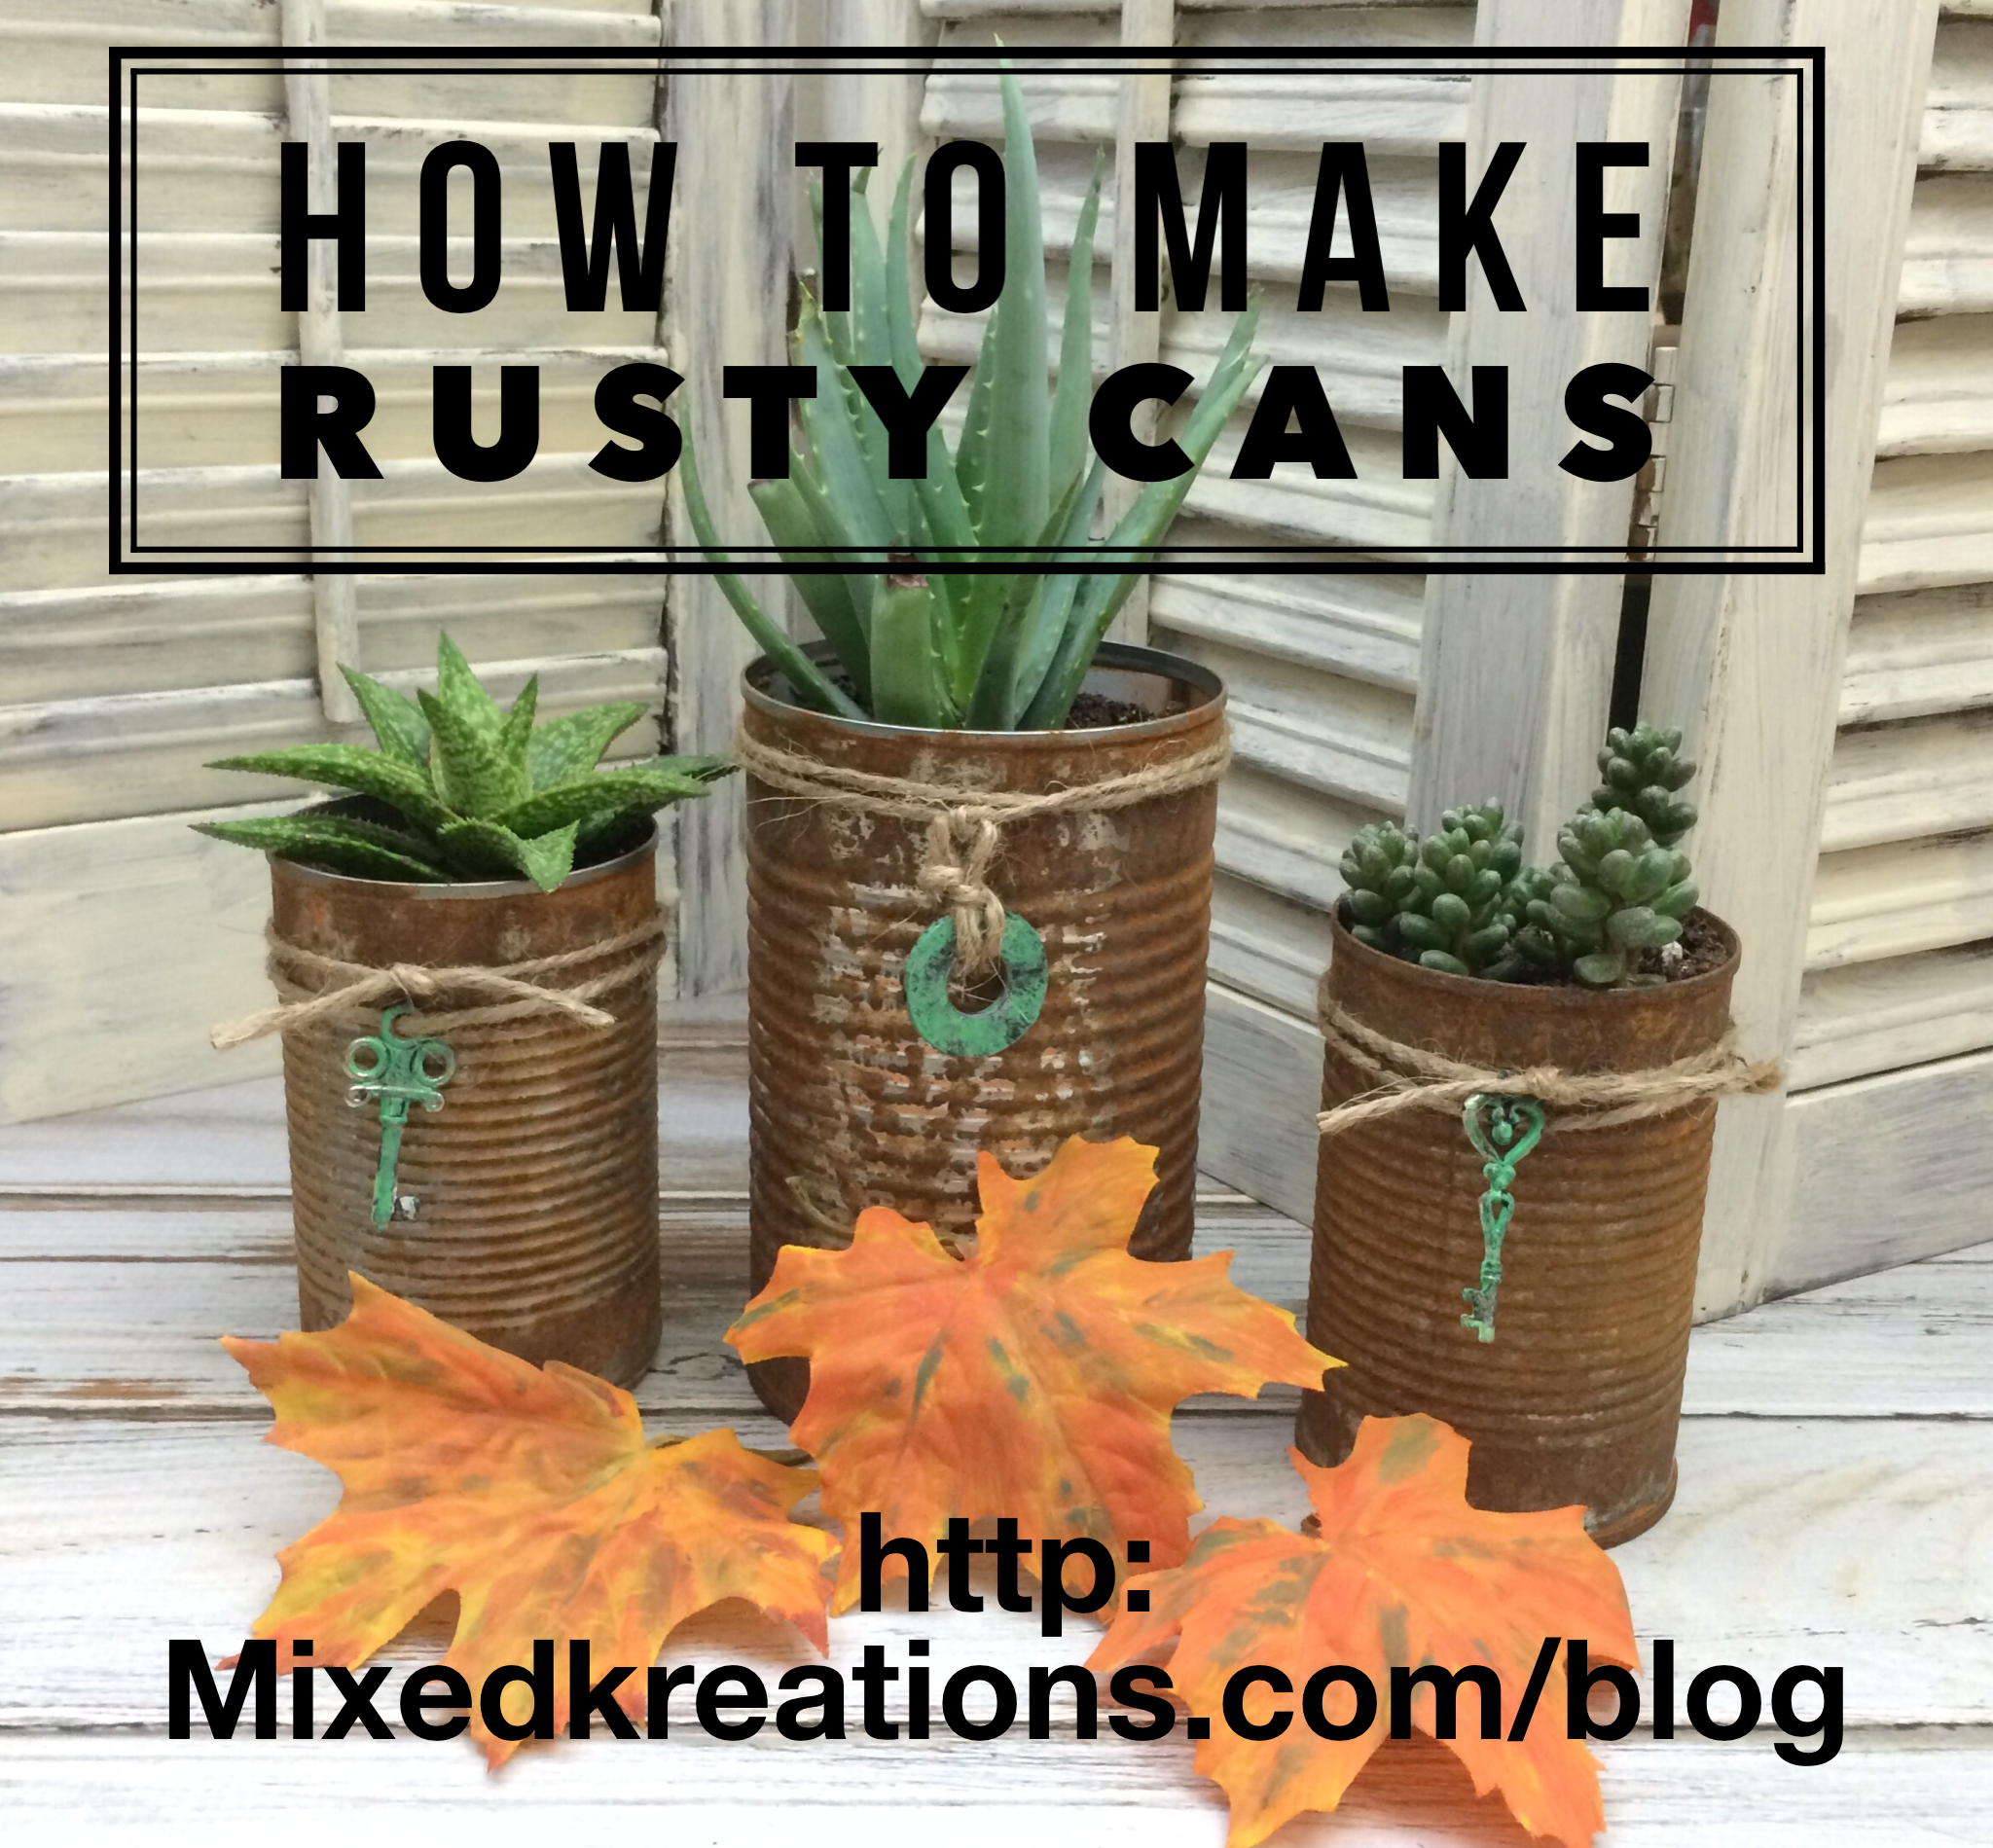
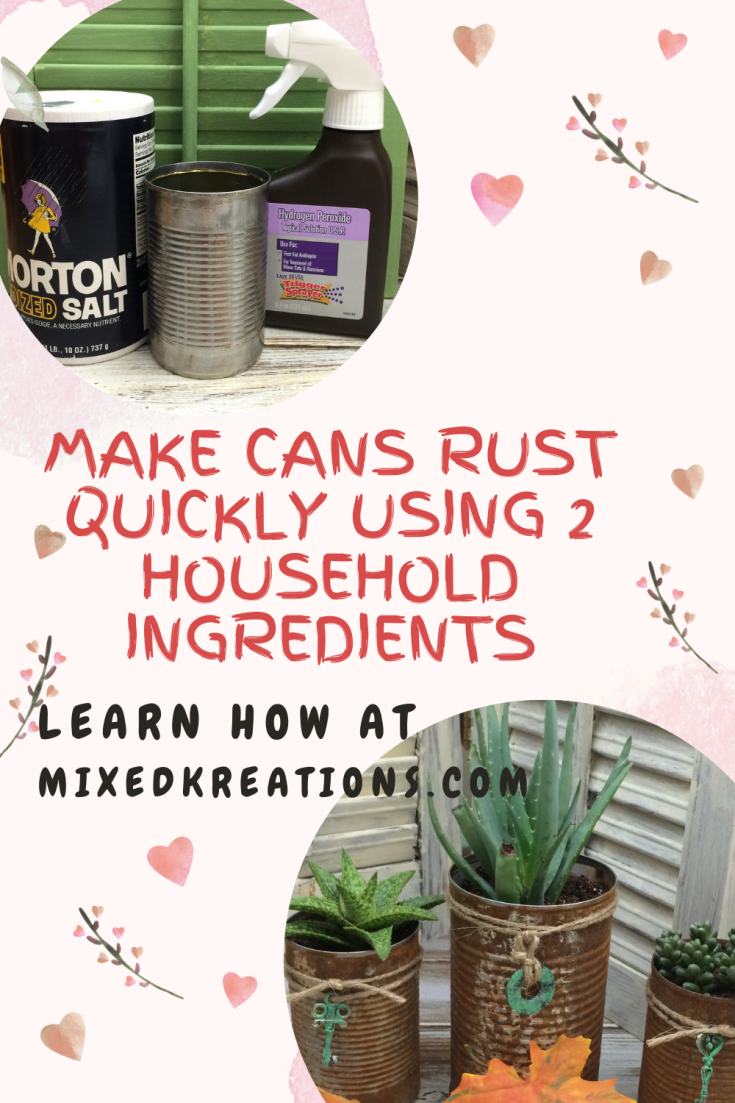
How To Make Rusty Cans
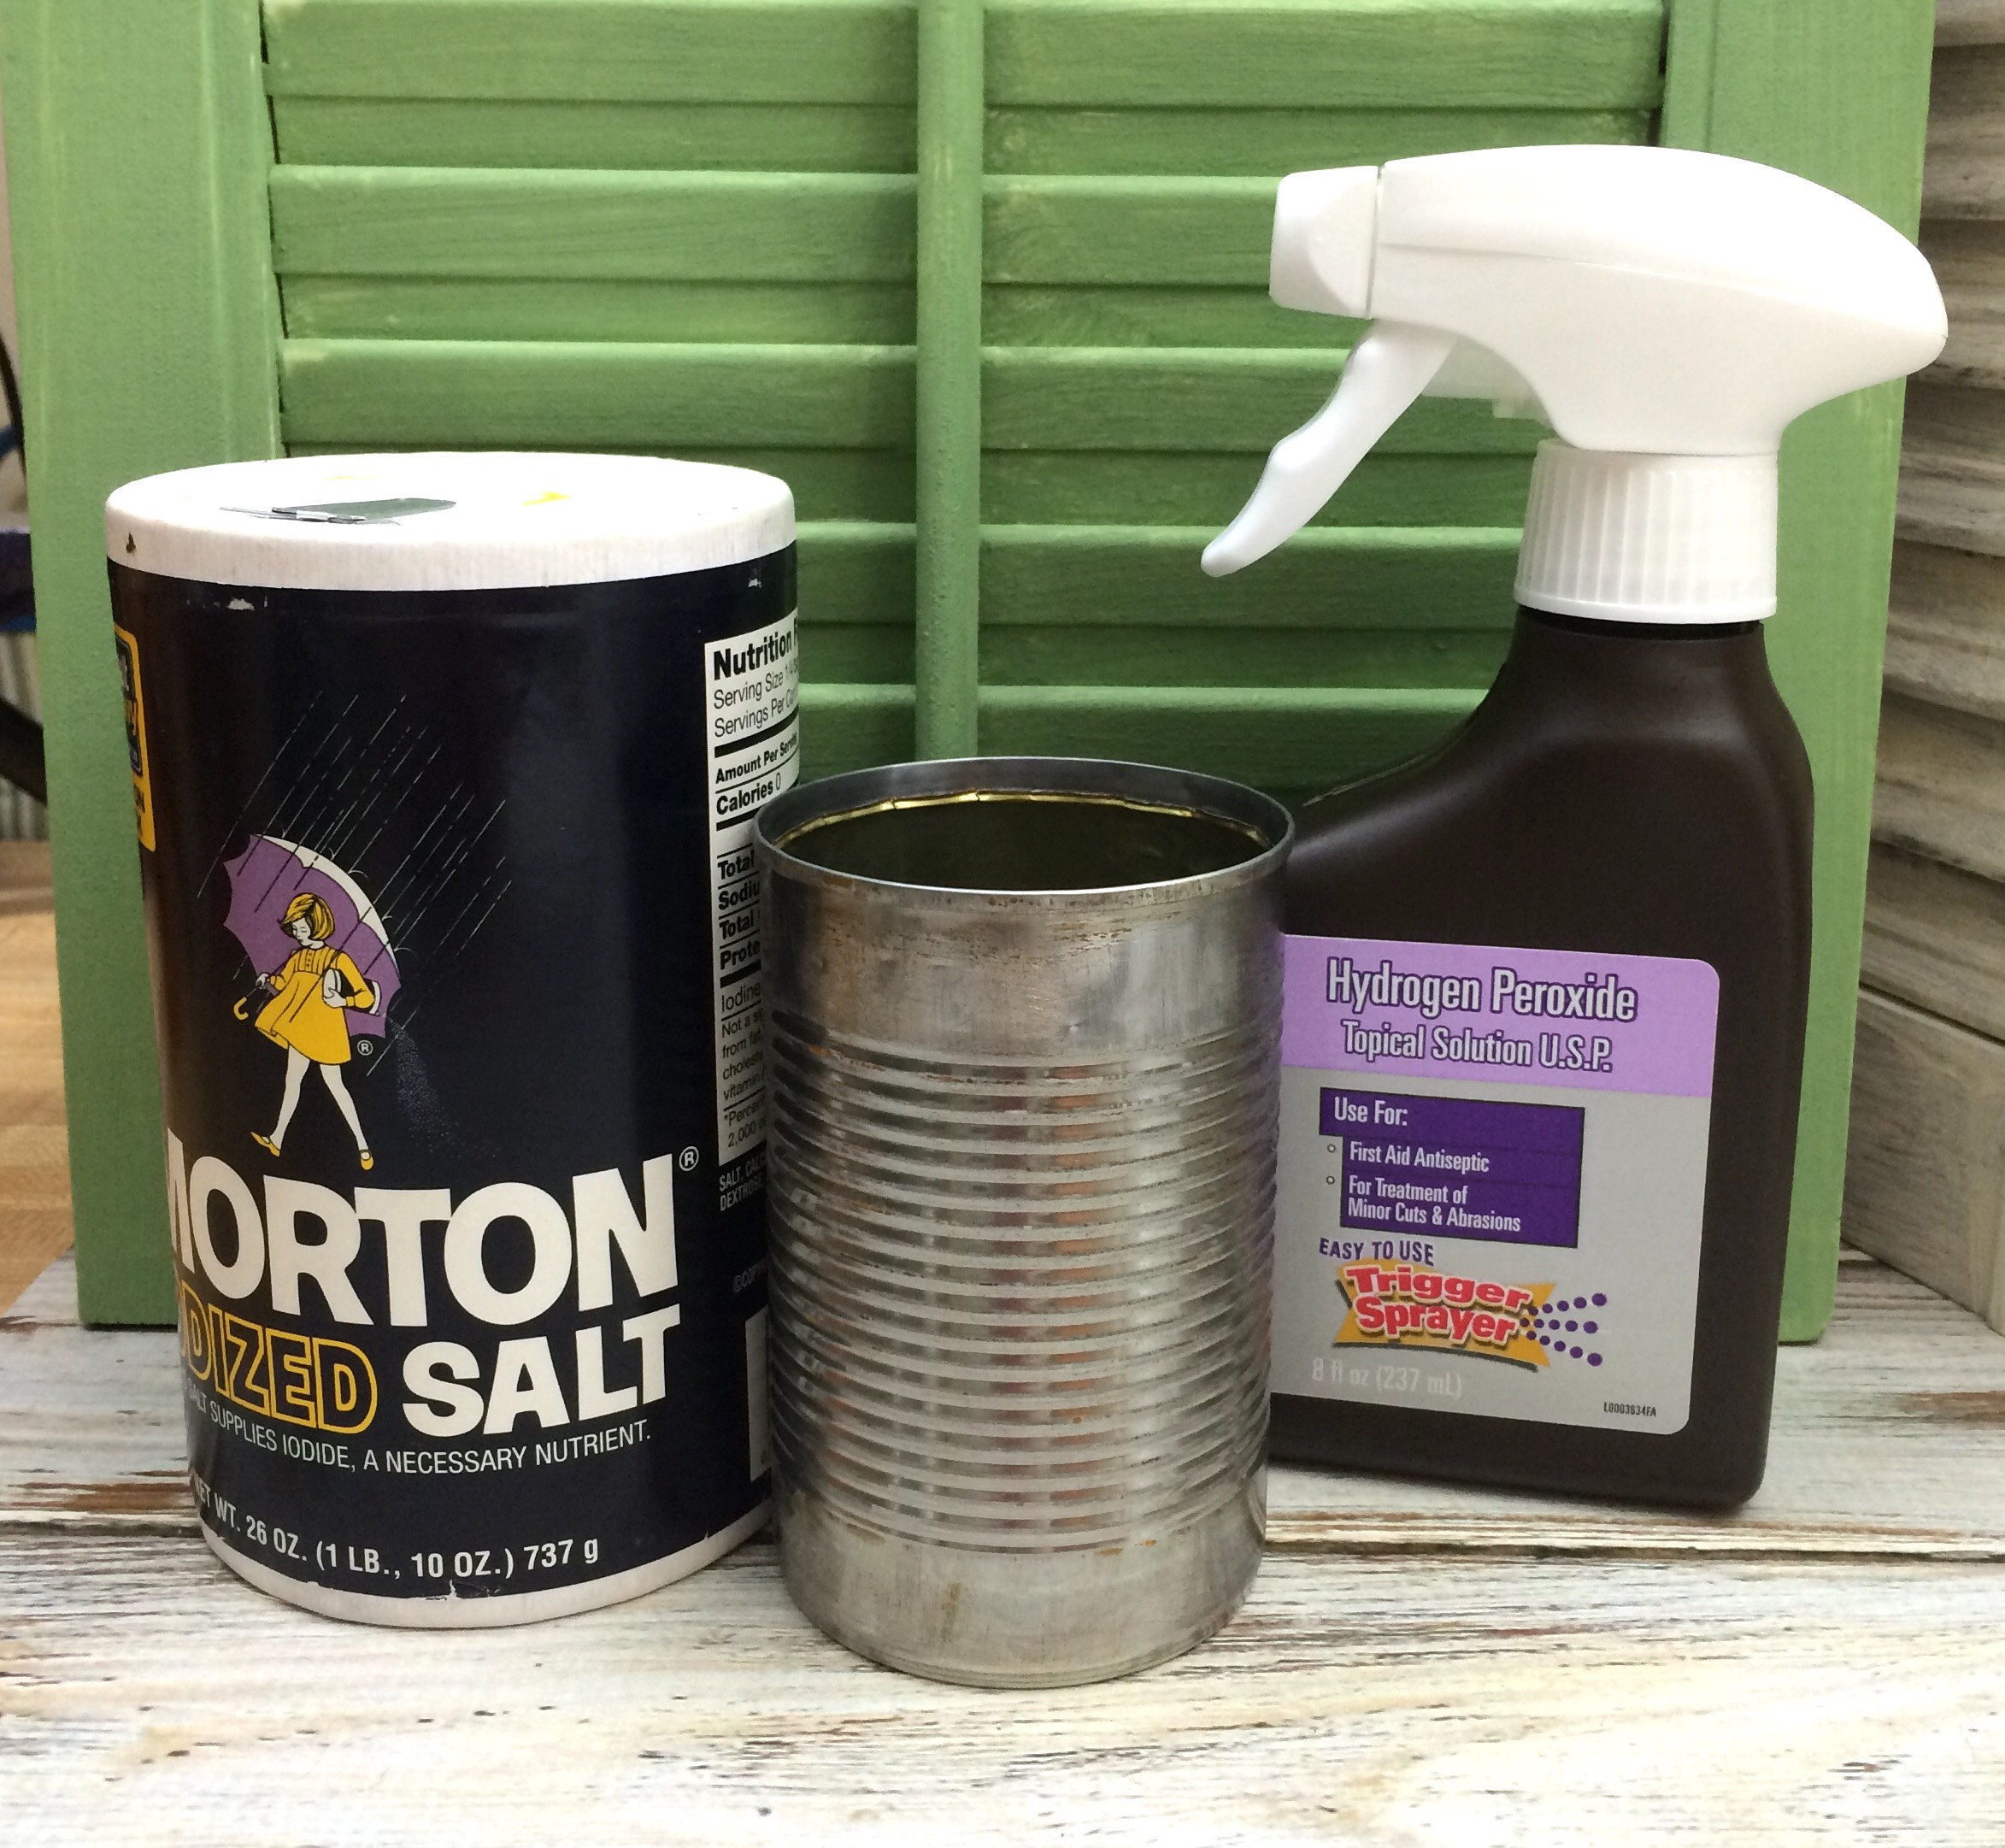
You will need a tin can, salt, and Hydrogen Peroxide to make your own rusty can.
First scratch up the surface of your can with coarse sandpaper, then spray the can with Hydrogen Peroxide and sprinkle salt over the can.

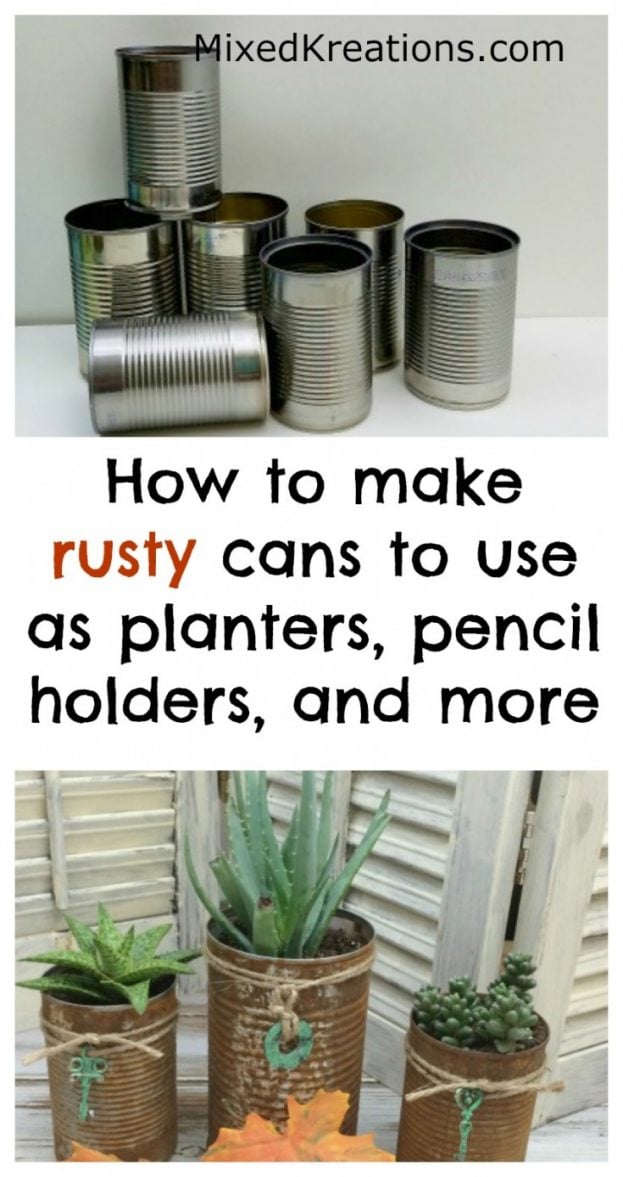
The cans above are going through the second process. Lucy said that it works better if you let it sit outside in direct sunlight, but I haven’t tried it that way yet.
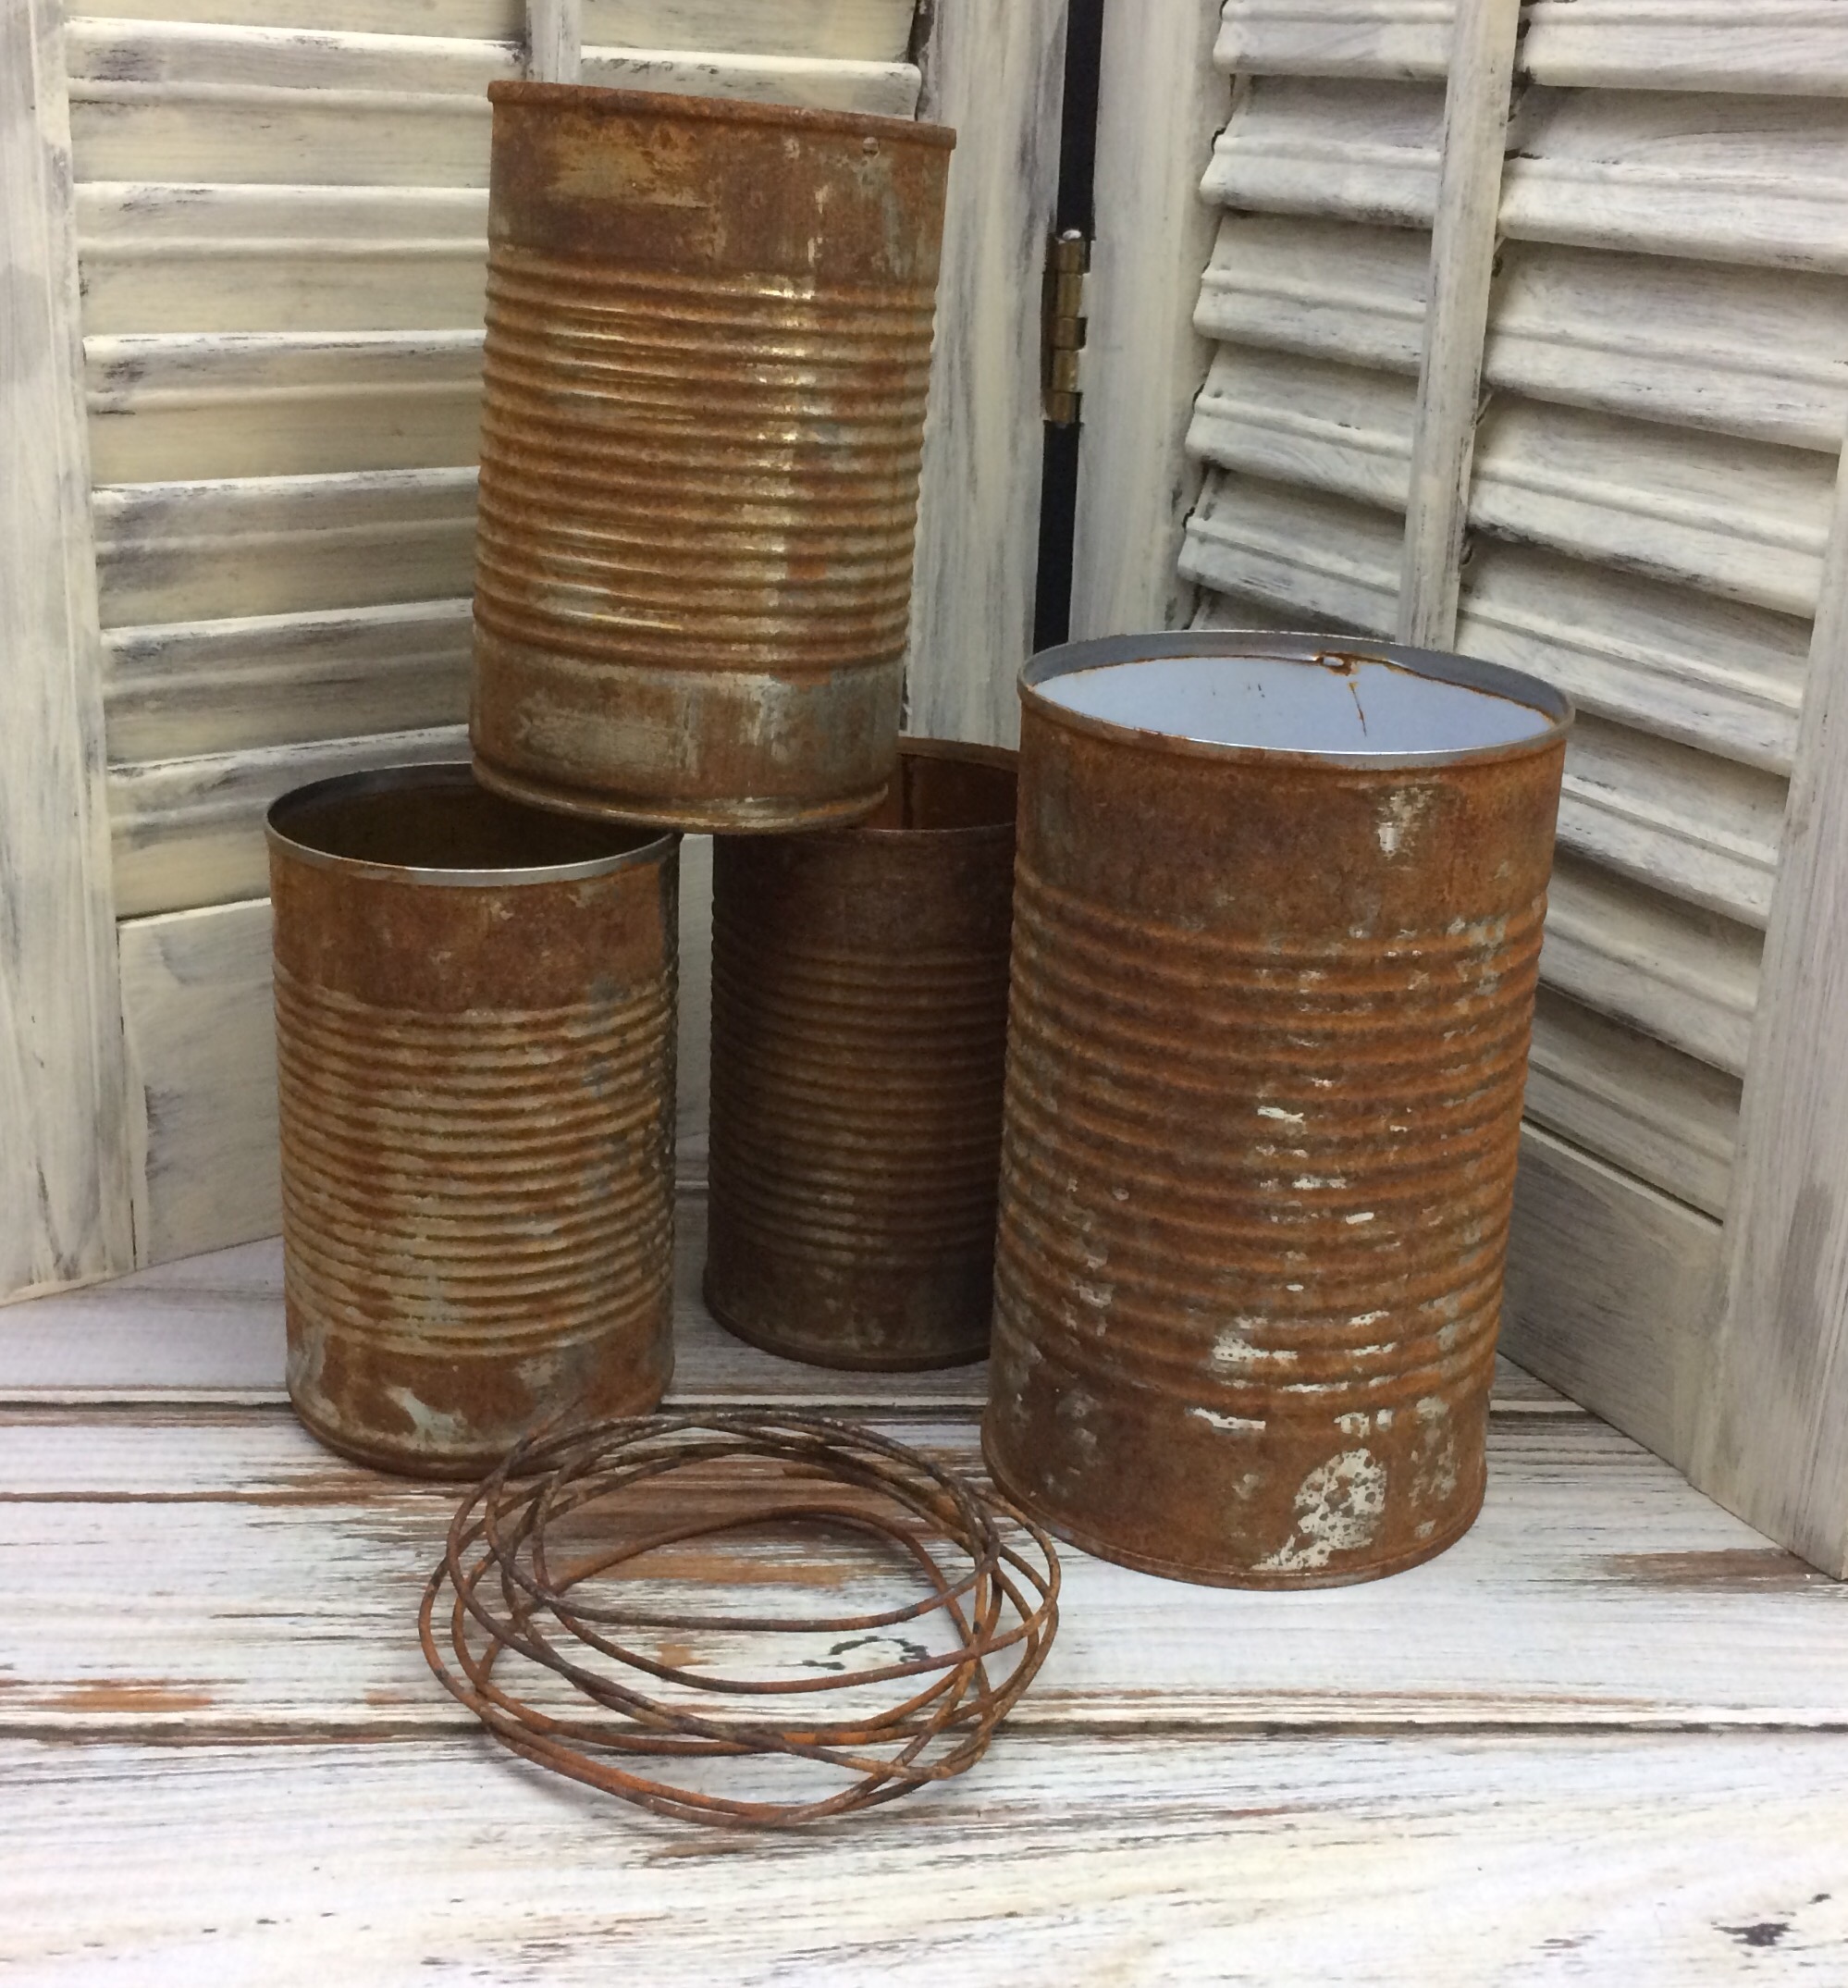
Having to go through the process about 5-6 times to get my cans this rusty.
The rusty wire is for another project so don’t forget to come back later to see what it’s for.
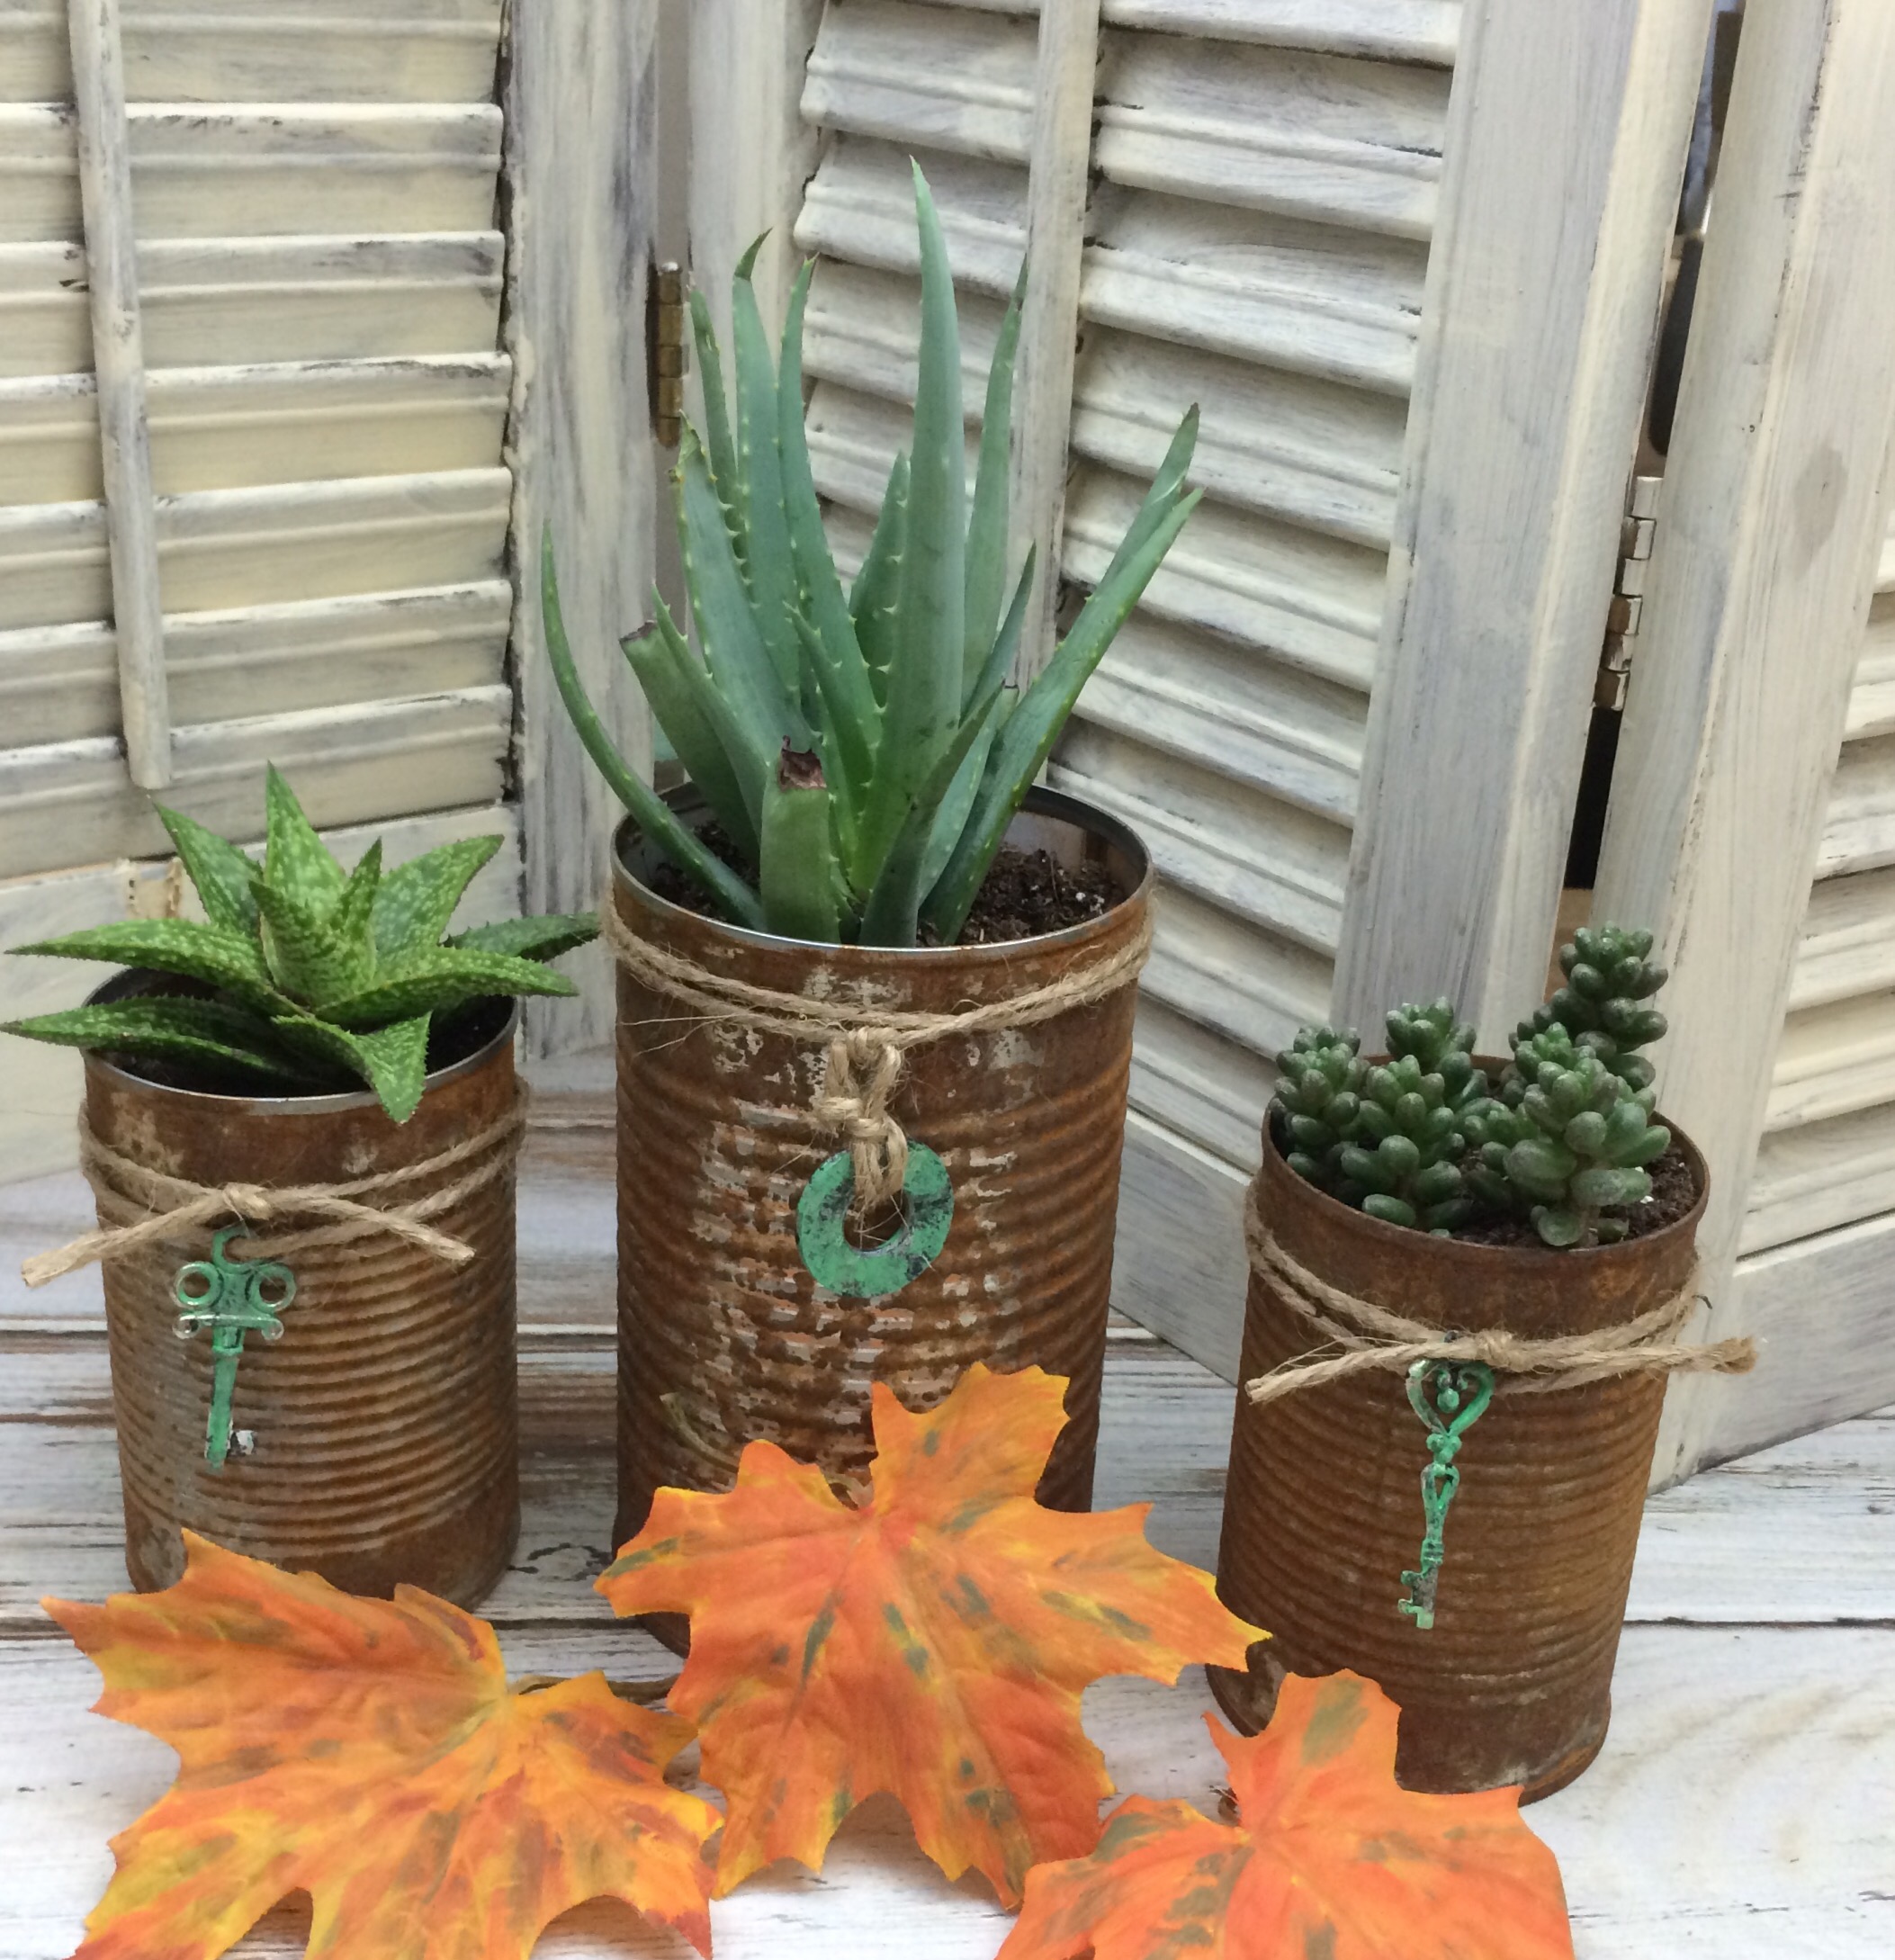
I added a patina to two keys and one washer to give my cans some color and used some twine to attach them onto the cans.
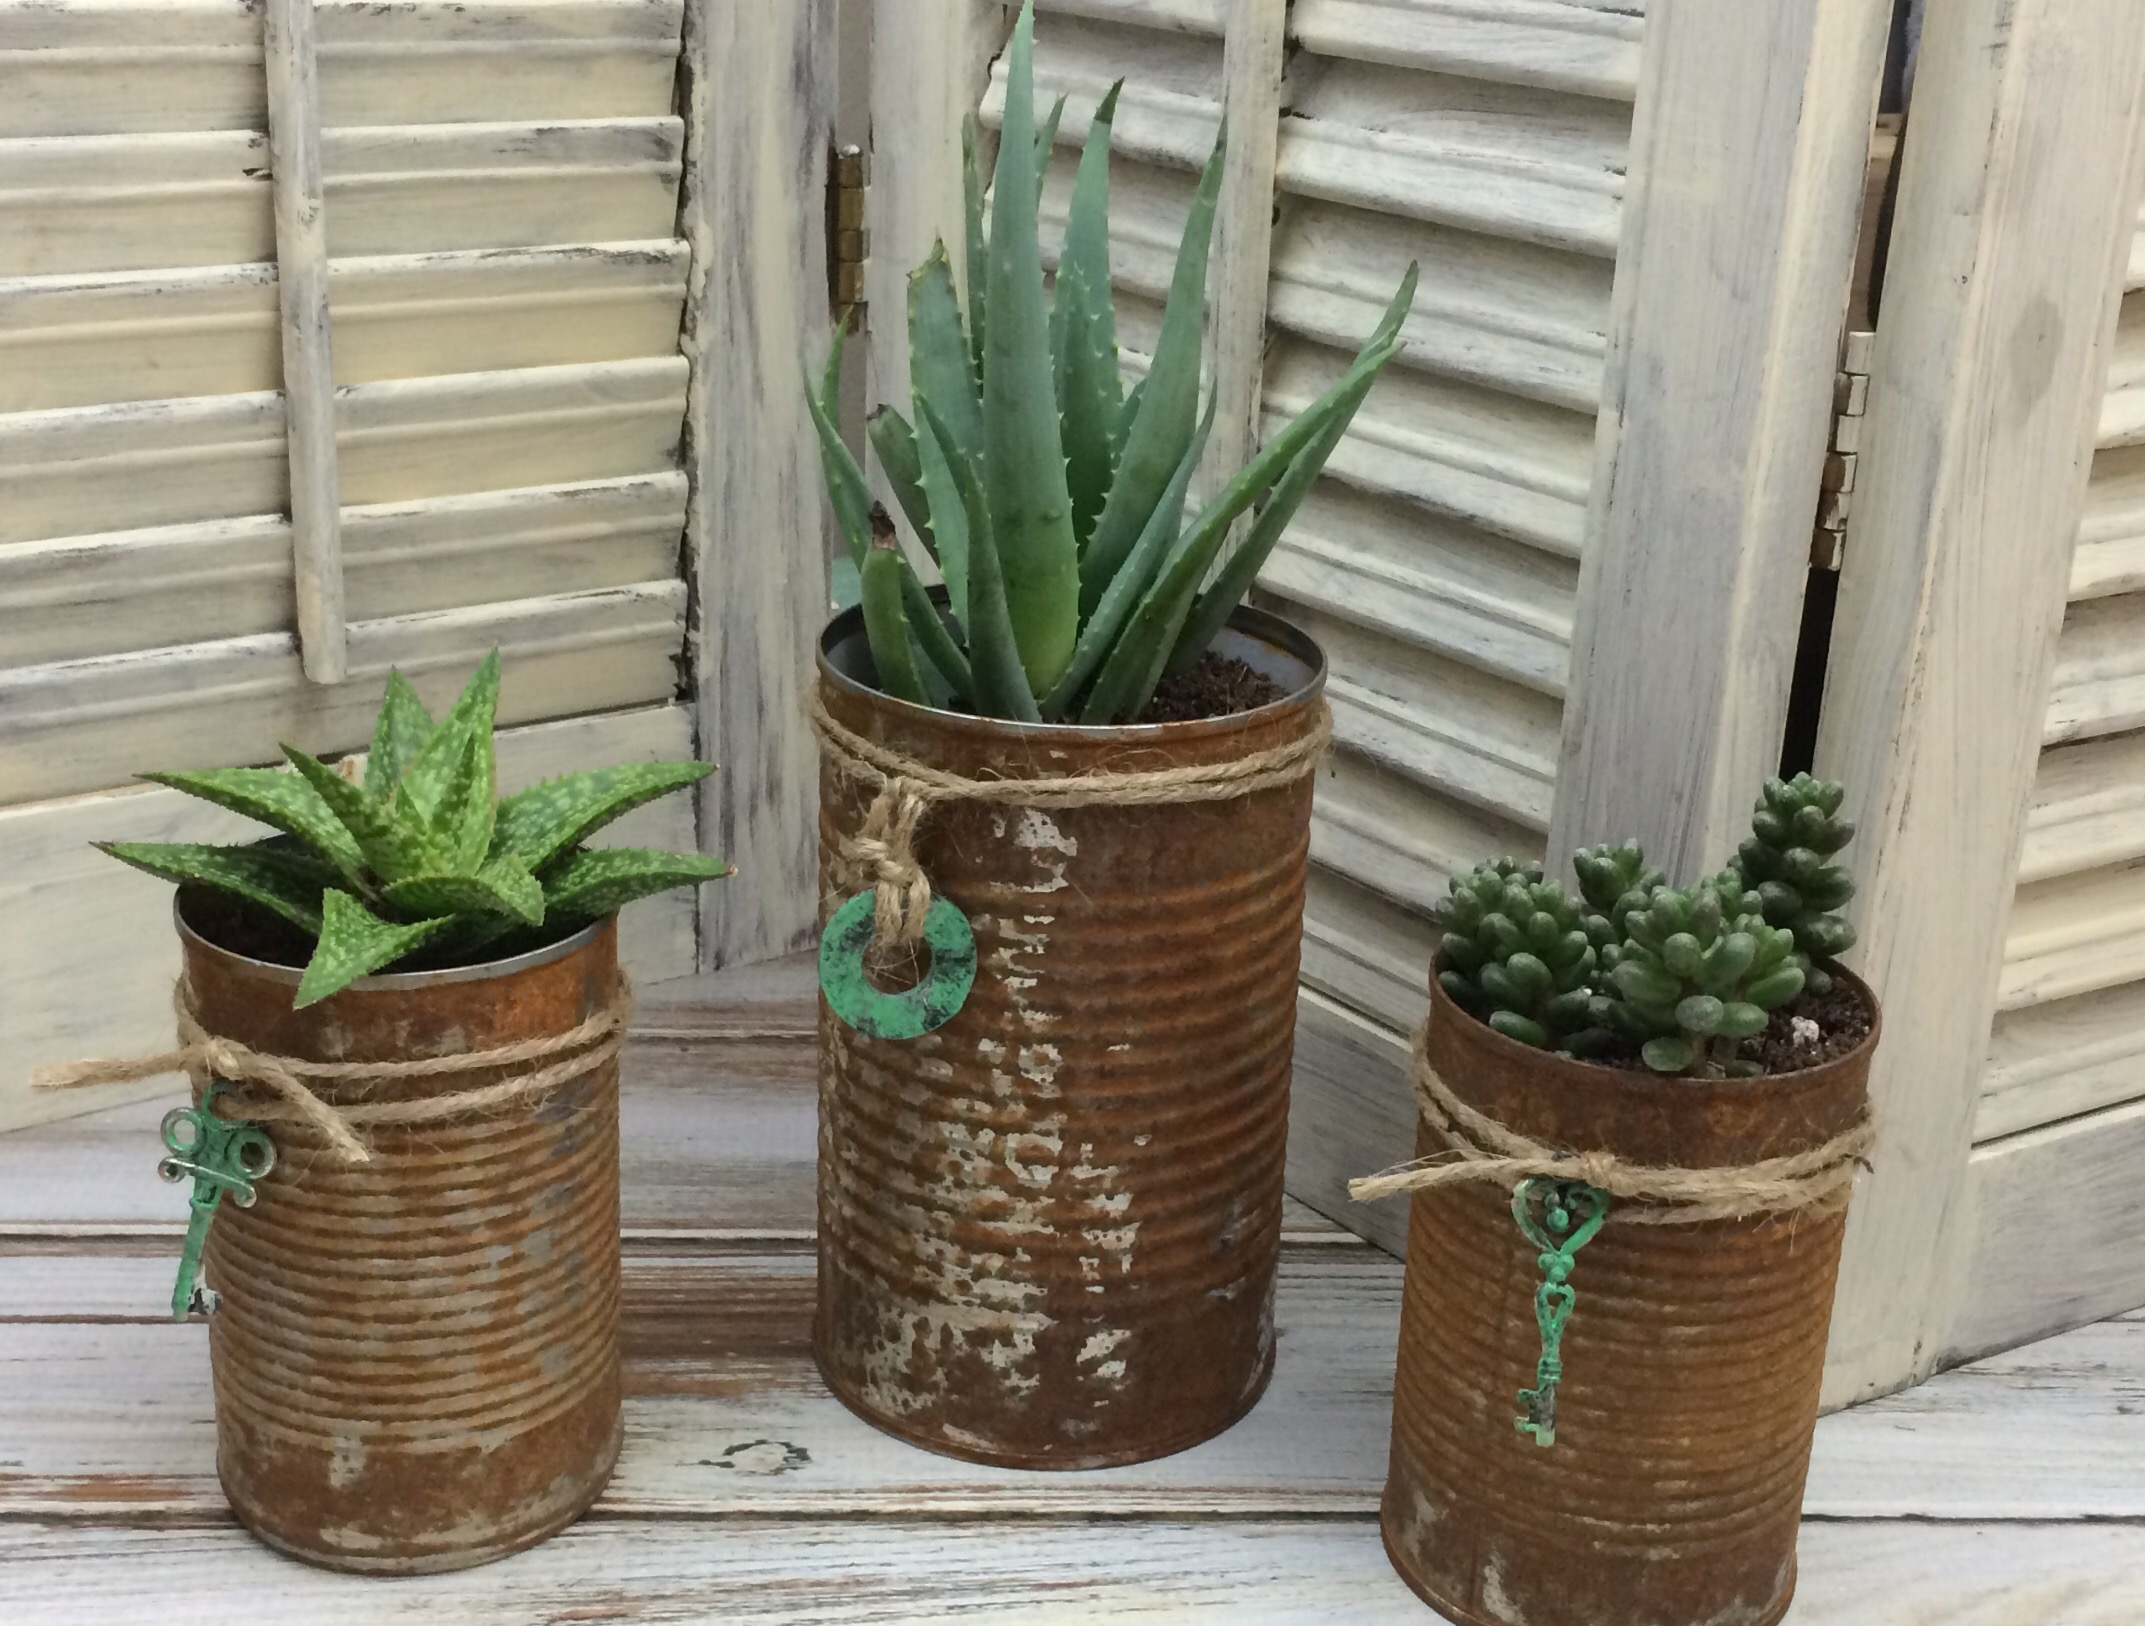
I’ve been wanting a small succulent for a while now but everywhere I went they were out of the small succulents. When I finally found them I couldn’t make up my mine which one to buy so I bought all three.
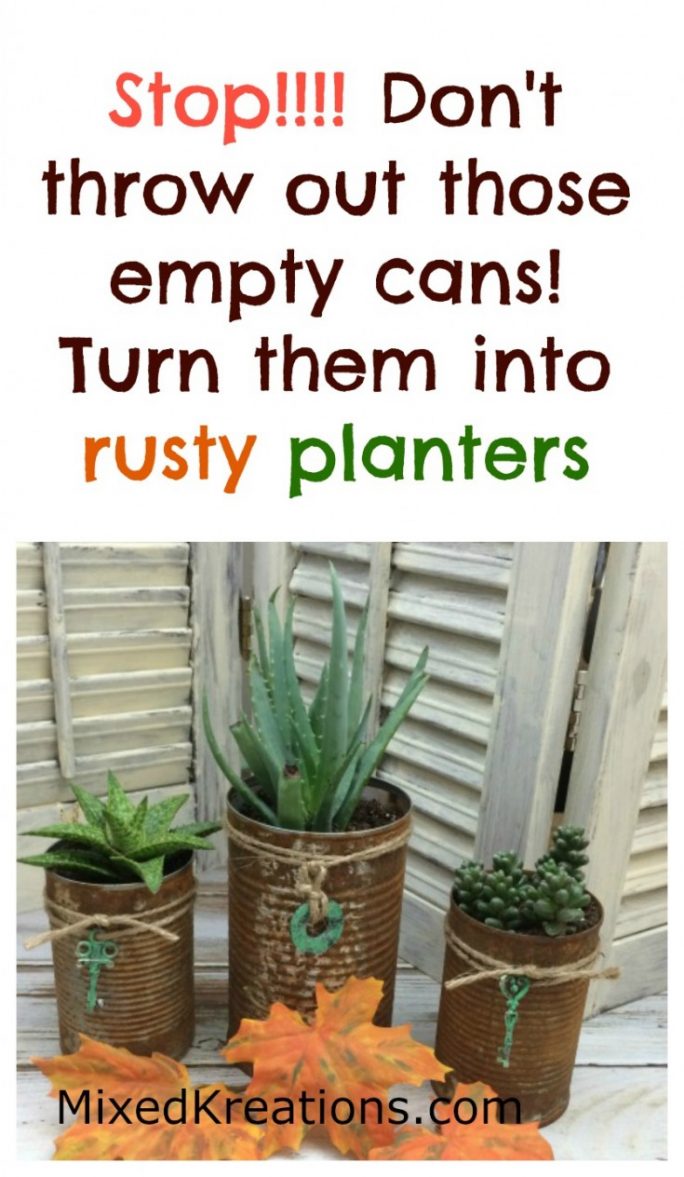
Don’t you think they look great in my new rusty cans?
More Fun Repurposed Tin Can Projects
Quick and easy repurposed tin cans
Texas Flag tin can
Santa Suit tin can
 How to make rusty tin cans.


Those turned out really cute! It is funny the lengths we go to in order to make things look old sometimes. The results are worth the effort in this case!
Carlee recently posted…Honeyed Pecans – A Guest Post by MiMi
I know what you mean, but I was wanting real rust not faux (-; So I think it was worth it too. Thanks for stopping by and have a great day!
How long do you wait between each time of peroxide and salt?
Hi Carolyn! I probably waited about 30 minutes in between each time. Then I would just spray over it and sprinkle more salt on top of the other coats.
This is such a useful tutorial! Love that it so easy and I can get rust without chemicals! I am so pinning nd sharing this! Have a fantatsic day! – Wendi@H2OBungalow
Wendi @ H2OBungalow recently posted…DIY Coastal Drilled Pumpkin
Thank you Wendi, and Thanks for stopping by! Have a wonderful day!
I love turning trash into treasures!
carol recently posted…Chicken Pot Pie – Cinnamon Apple & Pear Salad – Easy Fall Meal
Yep me too! Glad to finally be able to rust my own things, so expensive to buy cans already rusted.
Like the look you achieved…but is it permanent? I tried a couple of “rust recipes” where the rust was totally on top and washed off along with the gritty salt residue. I haven’t tried using the hydrogen peroxide But sure like how your cans look. Popped over from My Salvaged Treasure Vintage Inspiration Party, Mickie
Hi Mickie! Yes it worked but took 4-5 times to get it like this. I’m happy how it turned out. Thanks for stopping by!
I love this Rusty luck they are ideal for succ u l e n t plants the rusty cans set the plants are so nice. Thank you Nancy
Thank you Nancy! I am glad that you enjoyed the project!
This is such a great idea, Linda! Love this.
Designing Vibes recently posted…Q & A with Jenna from Rain on a Tin Roof
Thanks you Erica! I think they turned out pretty neat for little planters.
So cool. I love that rusty and rustic look.
Hollie recently posted…How to Have a Super Frugal Thanksgiving
Thanks Hollie! I love my little planters! (-;
I love your rusty cans…beautiful touch with the turquoise embellishment!!!
Michelle Marttila – Happy Heart Made recently posted…RUST-IC SIGN
Thanks Michelle! I love how they turned out, and turquoise is my newest favorite color. I use it a lot.
Hi, Linda! This is so cool!! I have a huge amount of tins, I am going to try it for sure!
And I would love if you could share this next Tuesday at our link party, TwoUsesTuesday
Enjoy the weekend!
Pili recently posted…How to Weather Wood
Thanks Pili! I need to make me some more, I really love how they came out. Thanks for the invite! Have a great day!
Good Morning!! I wanted to stop by and let you know your post has been selected as a feature for the Welcome Home Wednesdays Link Party!! Stop by to see your post lined up and grab your Featured Button too!!
Thank you Lisa for the feature! I just got back from linking up. Thanks!
I LOVE all things rusty, and your can’s are perfection! Can’t wait to try this out! Thank you so much for the inspiration!
Thanks CD Loken! I’m glad you enjoyed it. Let me know how it works for you.
Super cute! My best friend and I are going to make some rusty cans to be used as vases in her wedding! I just love how simple this recipe is and also how you chose to add those turquoise looking keys and washer! How did you add patina to them to get them to look like that?! Thanks for a great recipe!
Thank you Noelle! I used a liquid patina that I bought at Hobby Lobby, in the jewelry department I believe.
Hello-
Question- how long between process should you wait before repeating to get the “more” rusty look like yours? I love this idea and I hope it works for me and my $1 tin containers.
Hi Karen! I probably waited about 30 minutes to 1 hour then sprayed them down and did the process again through out the day. Hope this helps!
This is awesome Linda! I can’t wait to try it! I have tried various ways using yucky chemicals!! Your tutorial is perfect! Pinning and sharing all over the world!!! 🙂
Hi Sam! I’ve been wanting some rusty cans, but when I run across them. They want to much, so I researched it until I found a way. I don’t like chemicals either, so this one is perfect. Thanks for sharing! 🙂
does it have to be a certain kind of can? I am on the second day of spraying the cans every hour or so and it’s no where near as rusty as these.
Hi Maresa! I just used regular vegetable cans. That’s strange I have rusted quit a few using this technique. You are sprinkling the salt on after you spray with Hydrogen Peroxide? I went back and read my post, and I’m so sorry I forgot to mention to scratch up the surface of the can with coarse sandpaper. I’m sorry that’s probably why it’s not rusting easily. Please let me know if this helps!
Now this is great to know. I have been saving some cans to do somethings with. I love the rusty look for sure. Love the look you gave yours. Nicely done.
Thank you Pam! We do love the rust 🙂
How long do you allow the peroxide and salt to sit on the can before you reapply it?
Hi Brandi! I let it sit about 20-30 minutes till dry then I just spray more and add more salt. Hope this helps!
Oh my gosh I love these little rusty cans. I’m saving this and pinning!
Thank you, Susan, I’m glad that you liked them. Thanks for pinning! 🙂
Excellent tip! I pinned it and plan to use it soon! Thanks!!
Thanks Kim, can’t wait to see what you come up with. Thanks for pinning! 🙂
This is lovely and what a great idea.
Thank you Maria! 🙂
Do you use any type of sealer afterwards to keep the rust from flaking off?
Hi Kellie! I have used sealer and some I did not. So that would be your choice. But the sealer would help the rust from flaking.