Mixed Kreations

The Creative Life & Journey Of A DIY'ER

  • Home
  • Diy Projects
    • Handmade Cross Projects
    • Holiday & Seasonal Projects
    • Mason Jars
    • Fun Upcyled Shutters & Spindles
    • Texas Projects
    • Upcycled Cans
    • Wood Projects
    • Jewelry Tutorials
  • Quick and Easy Recipes
  • Shop Mixed Kreations
    • Etsy Shop
    • Mixed Kreations Amazon Influencer
  • DISCLOSURES STATEMENT & PRIVACY POLICY
  • About Me
  • Recommendations
You are here: Home / DIY/Craft Projects / How To Make Wire Hanging Hardware

How To Make Wire Hanging Hardware

October 16, 2015 By: Linda @ Mixed Kreations8 Comments

If you enjoyed this post, don't forget to pin it for later!

16 shares
  • Share4
  • Tweet

I like to make my own wire hanging hardware because it’s sturdy, and can hold heavy wall art.

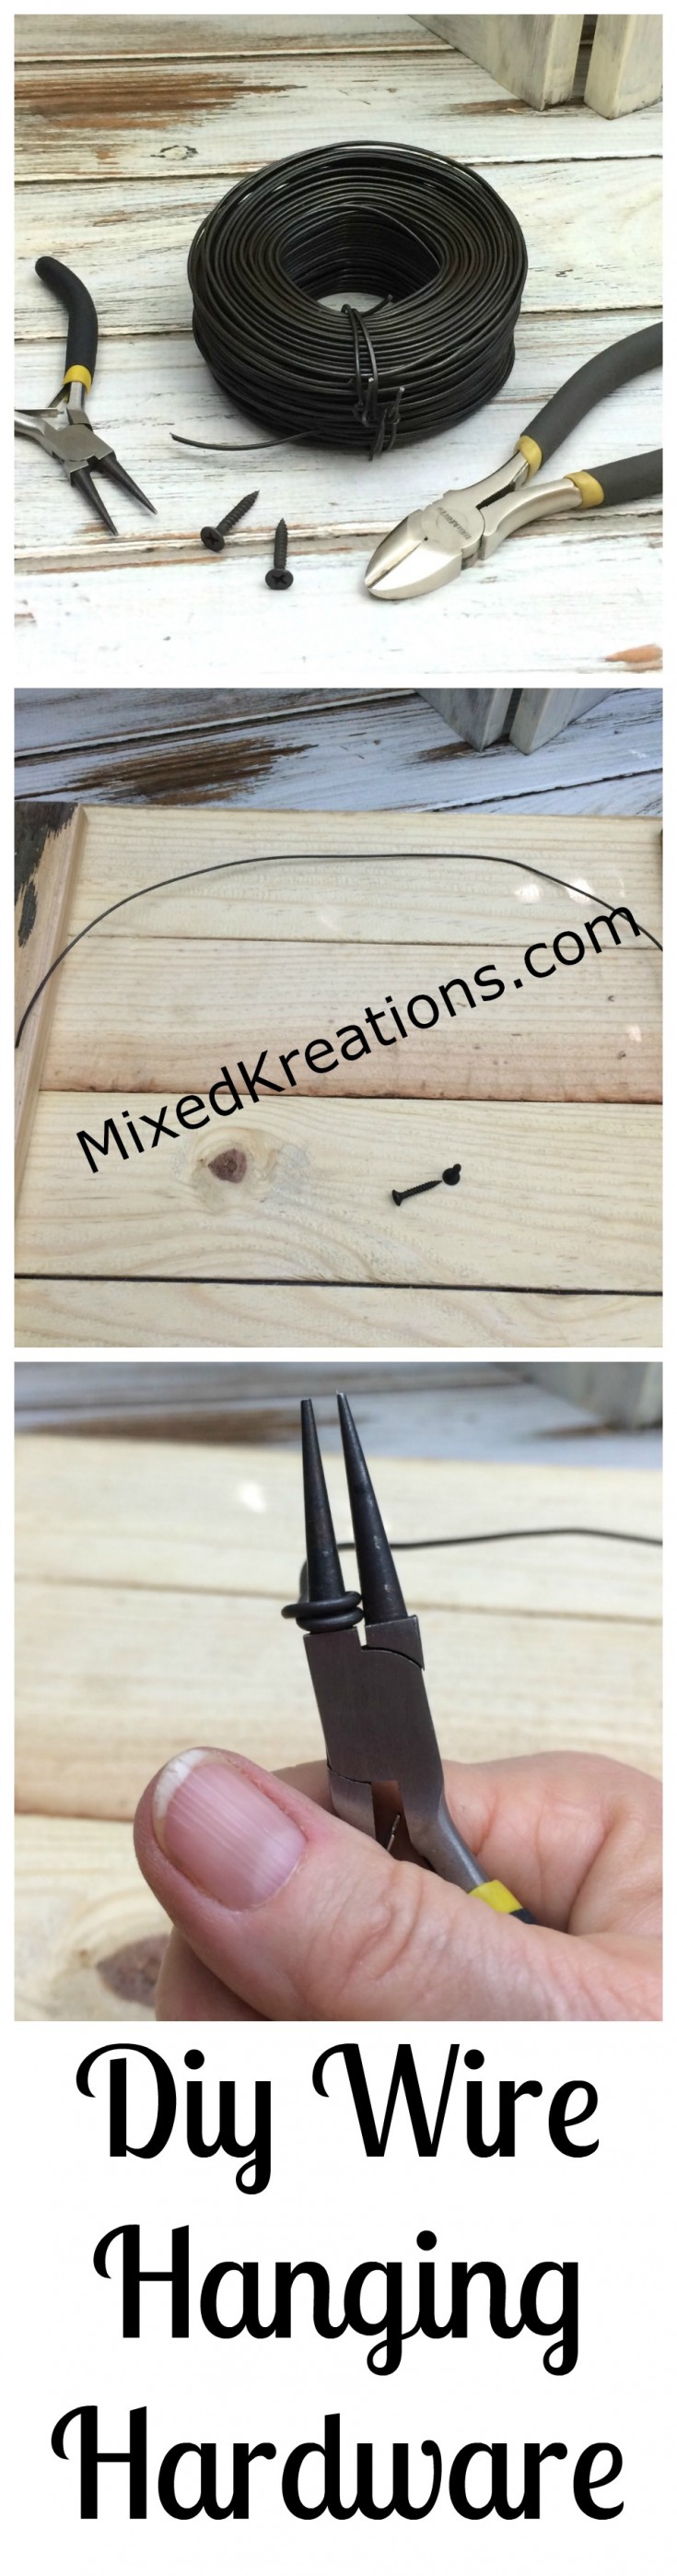
Diy Wire Hanging Hardware

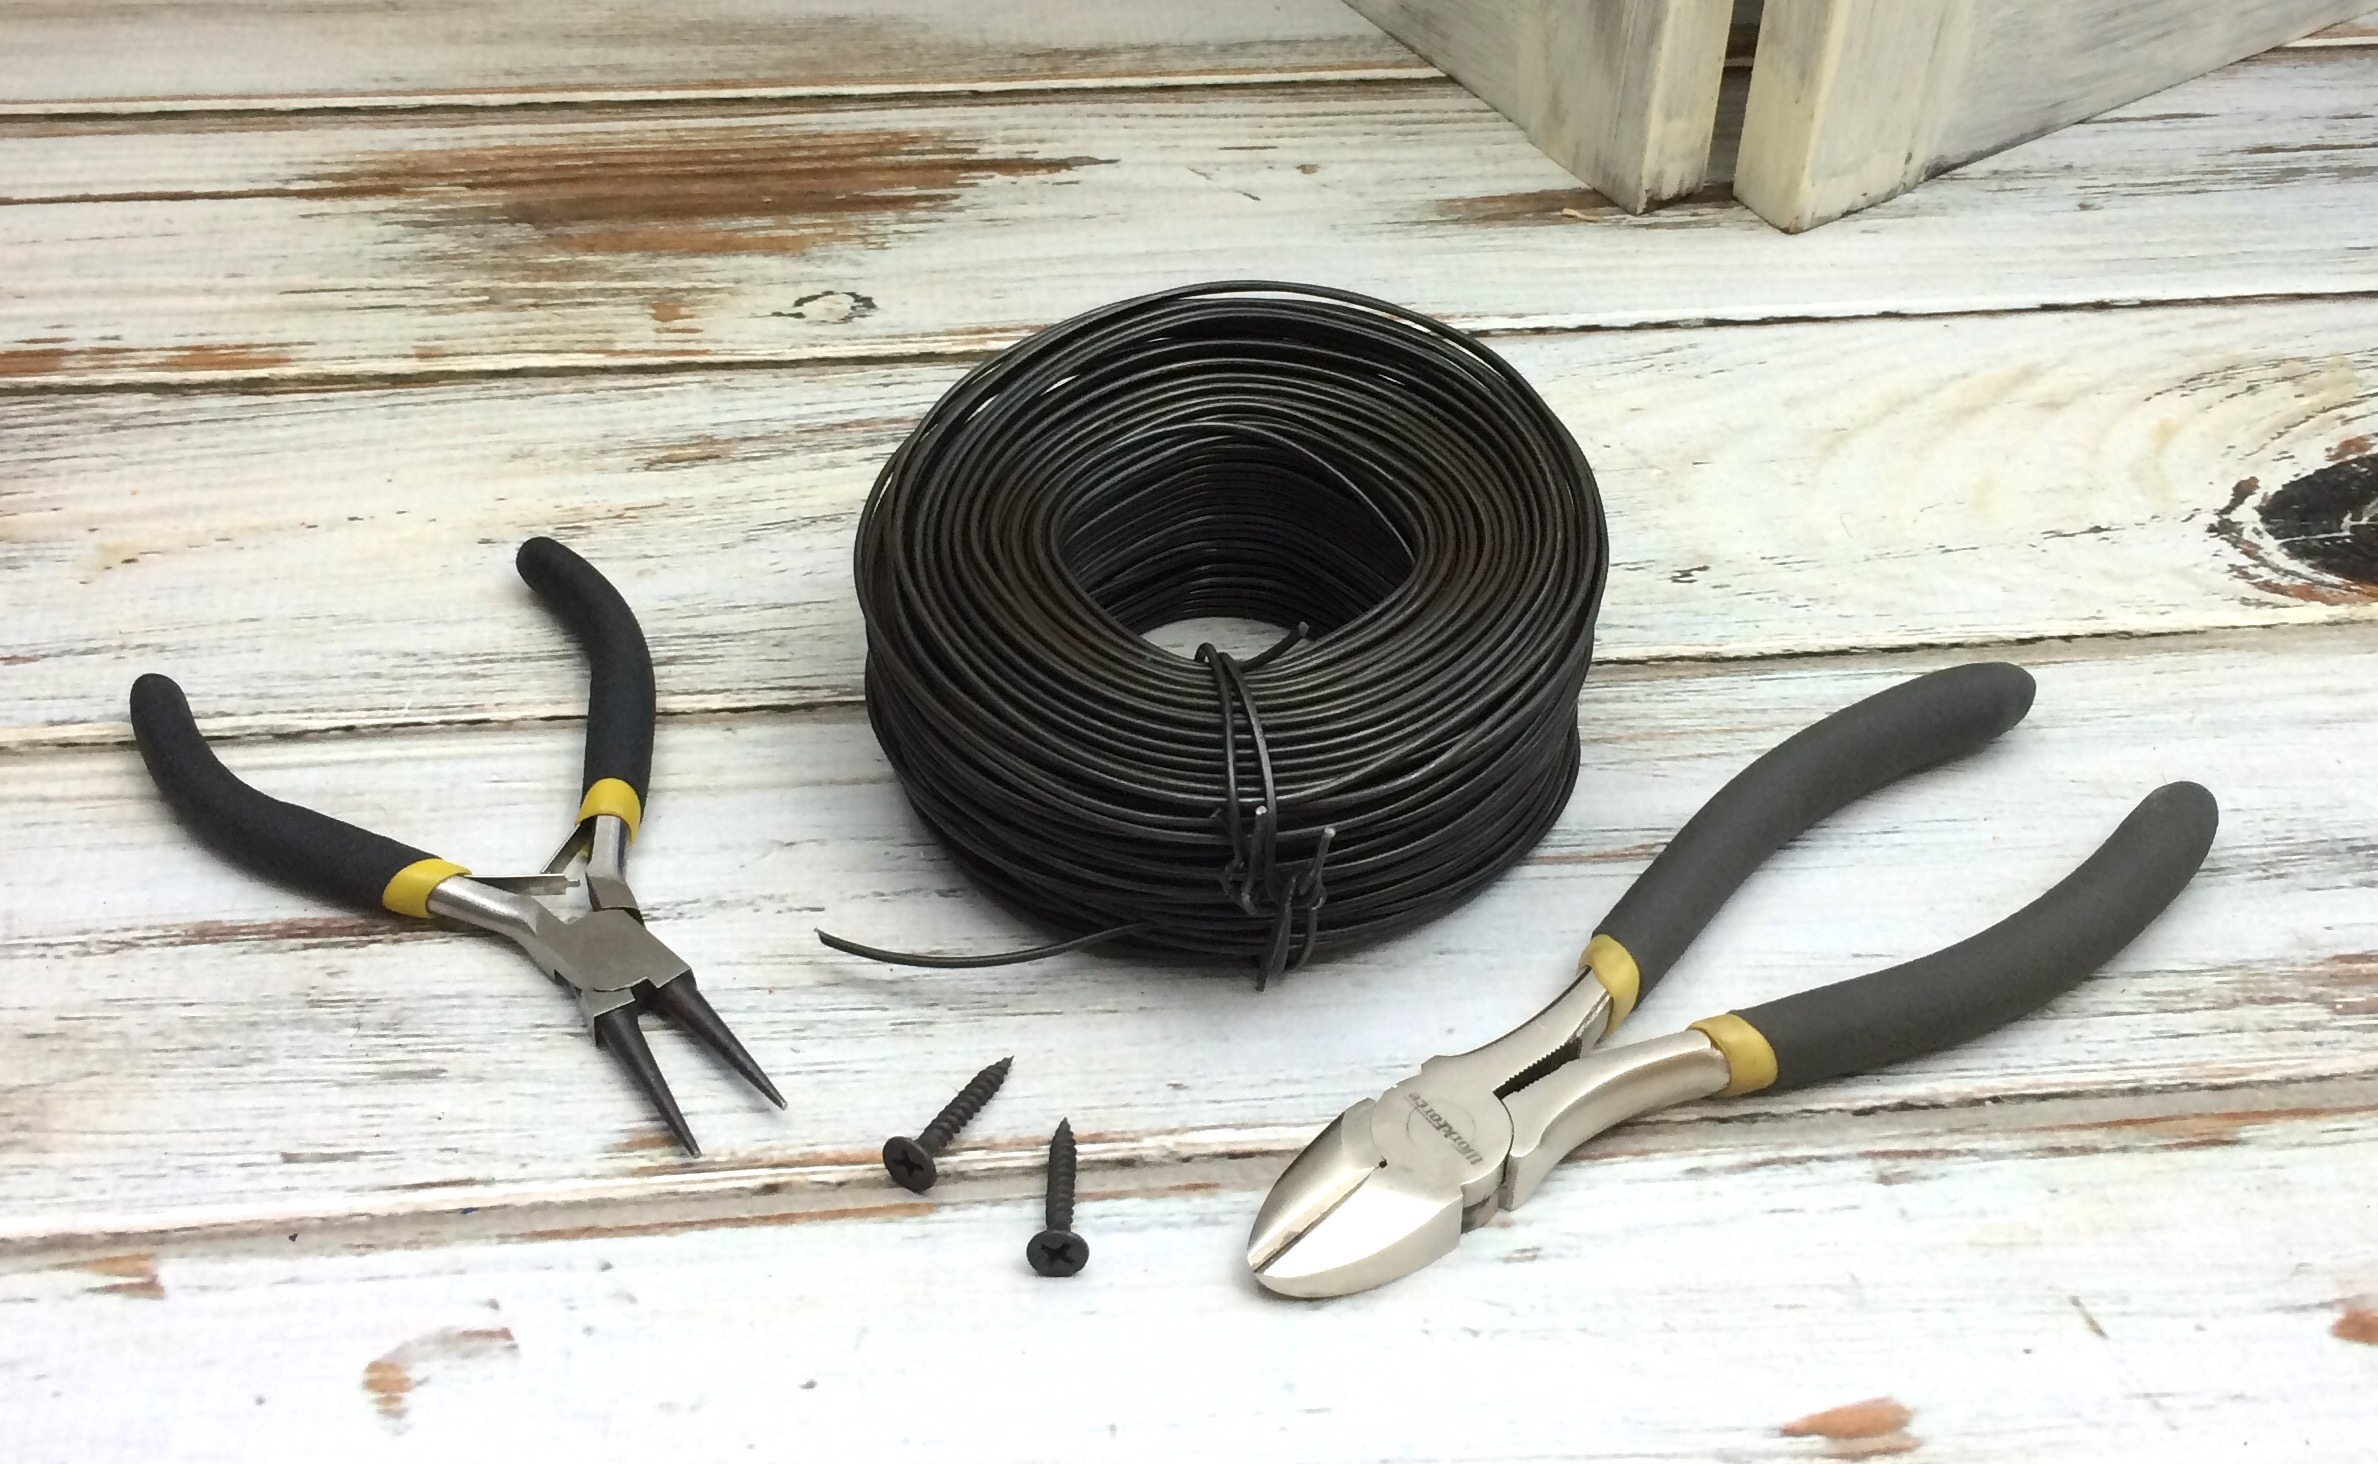
You can make your own wire hanging hardware to use for all of your craft projects that will hang.

It’s very easy to make, inexpensive, and really strong so you can hang heavy objects like this scarecrow wall hanging with no problem.

How to make your own hardware to hang heavy wall art.
Powered By the Tweet This Plugin
Tweet This

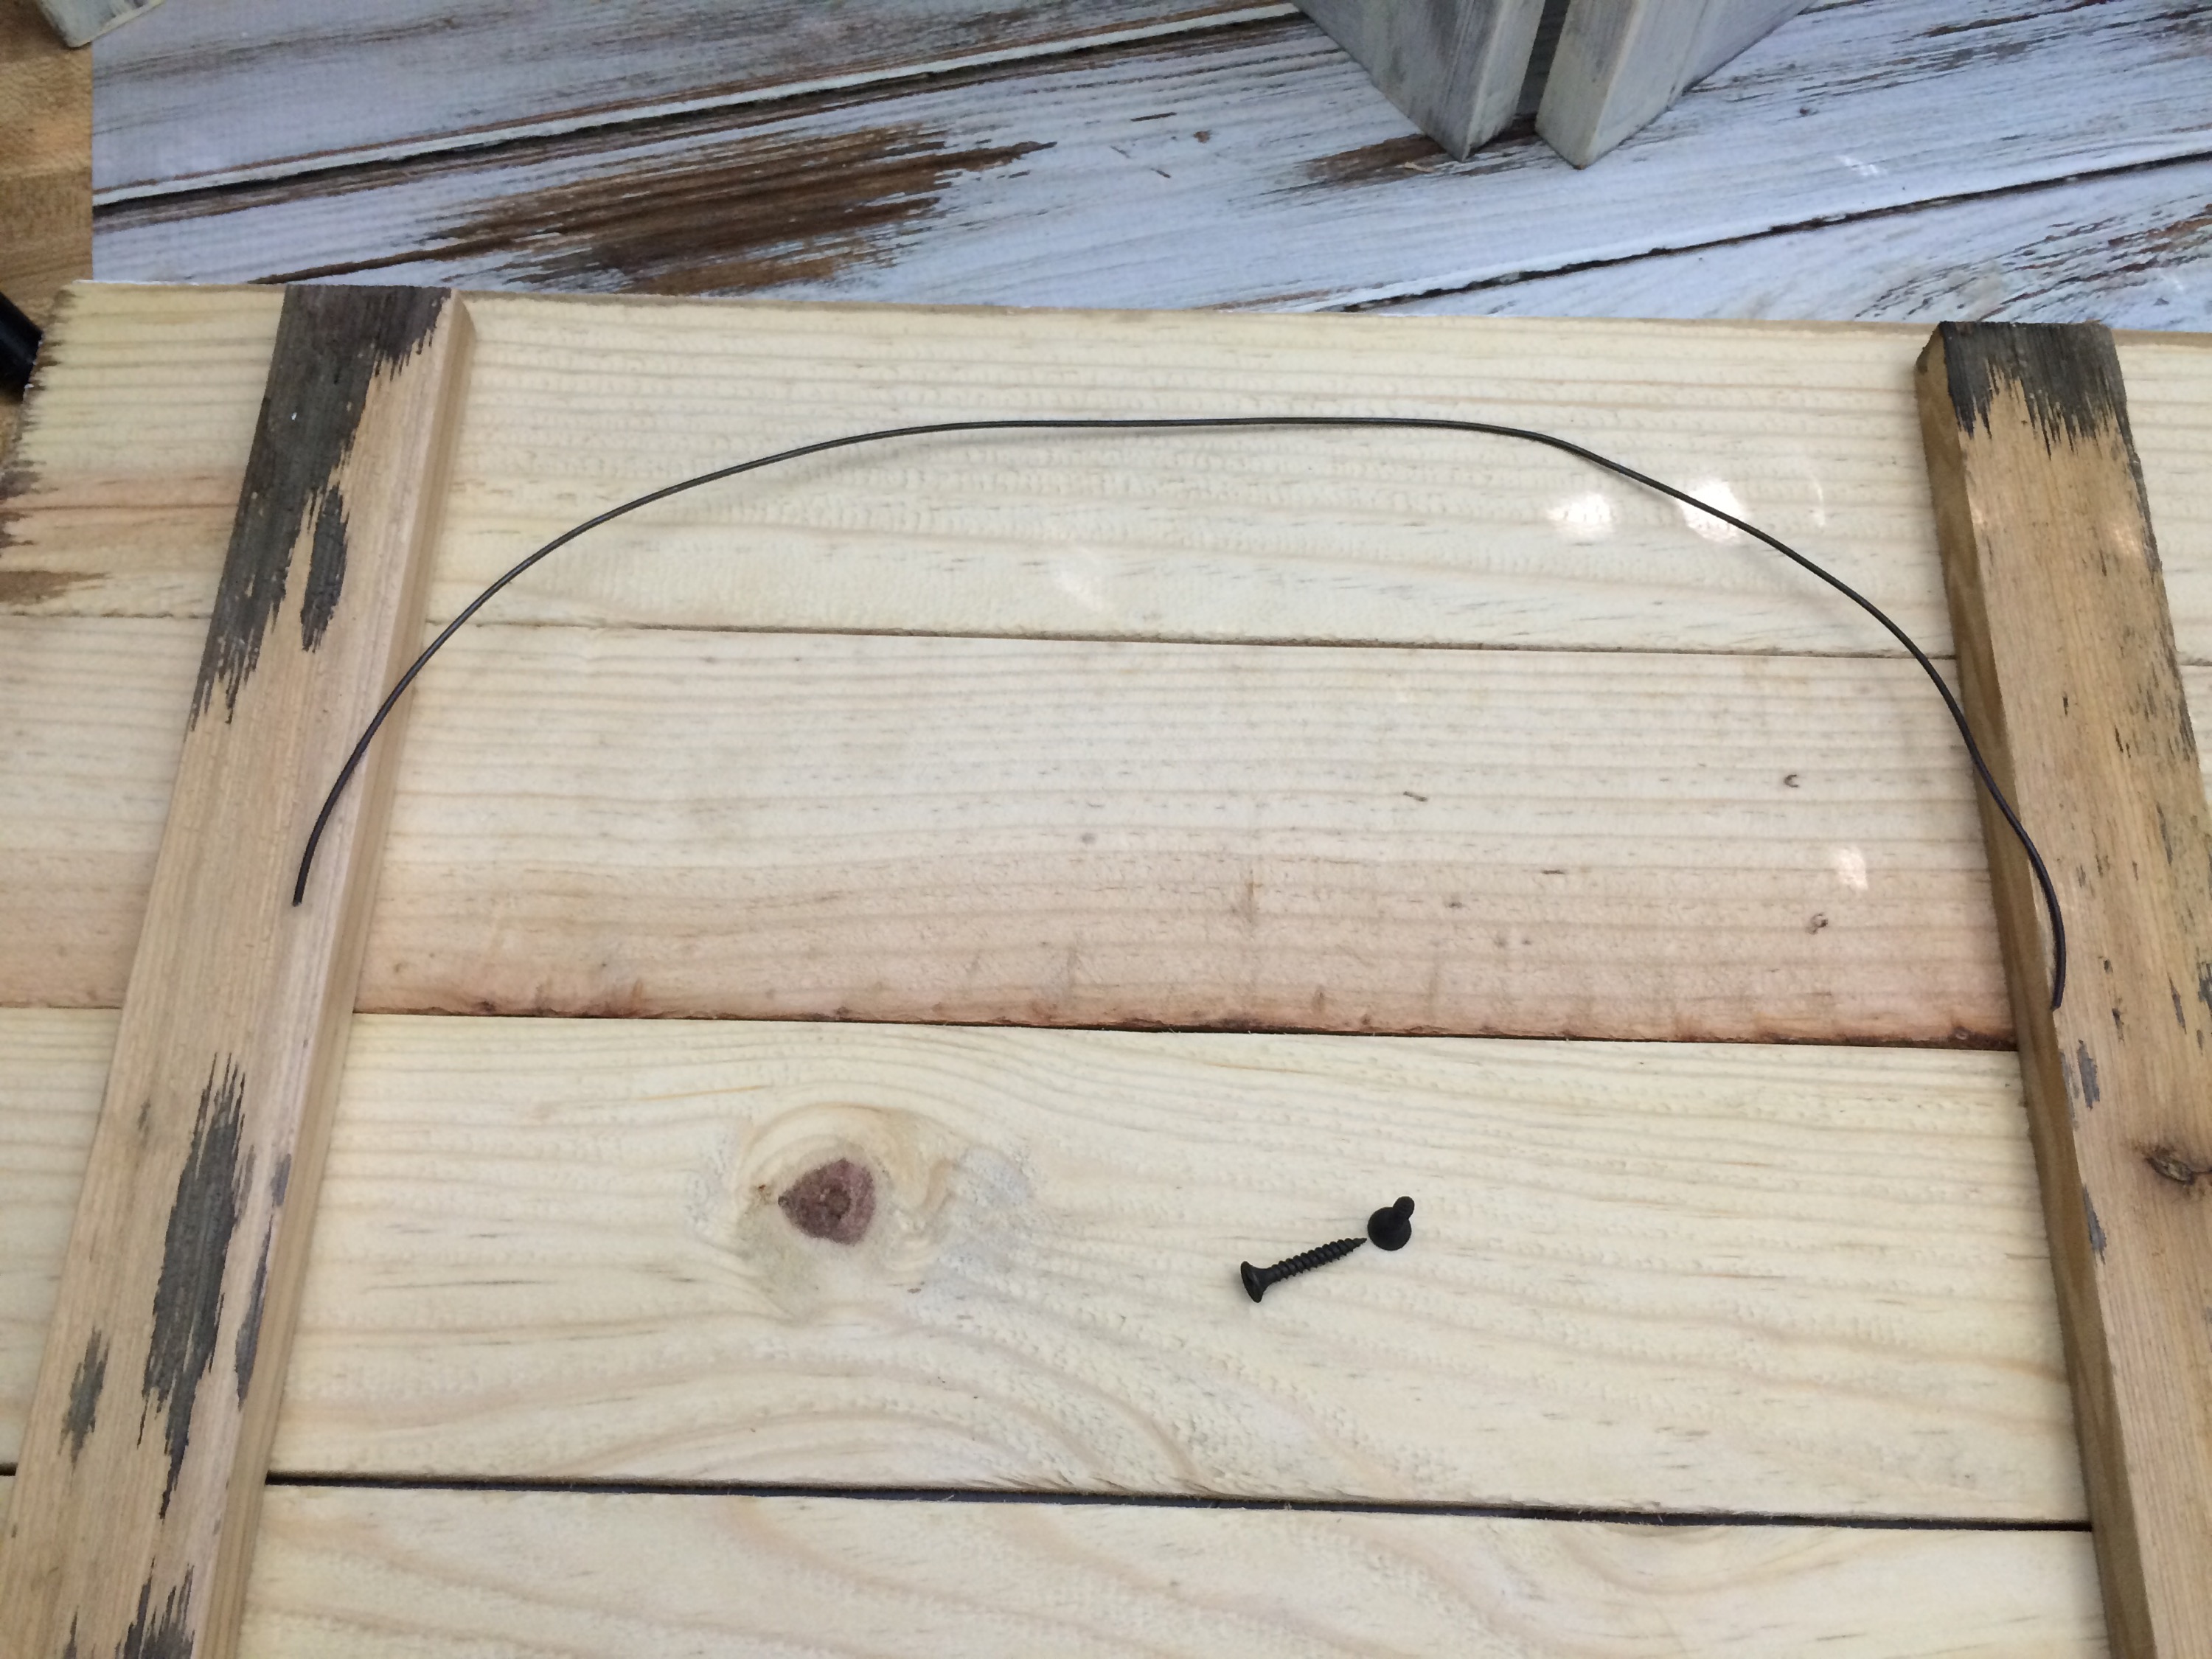
Get the object that you want to hang and flip it over. Decide where you want to connect your wire hanging hardware, then measure off and cut a piece of wire.

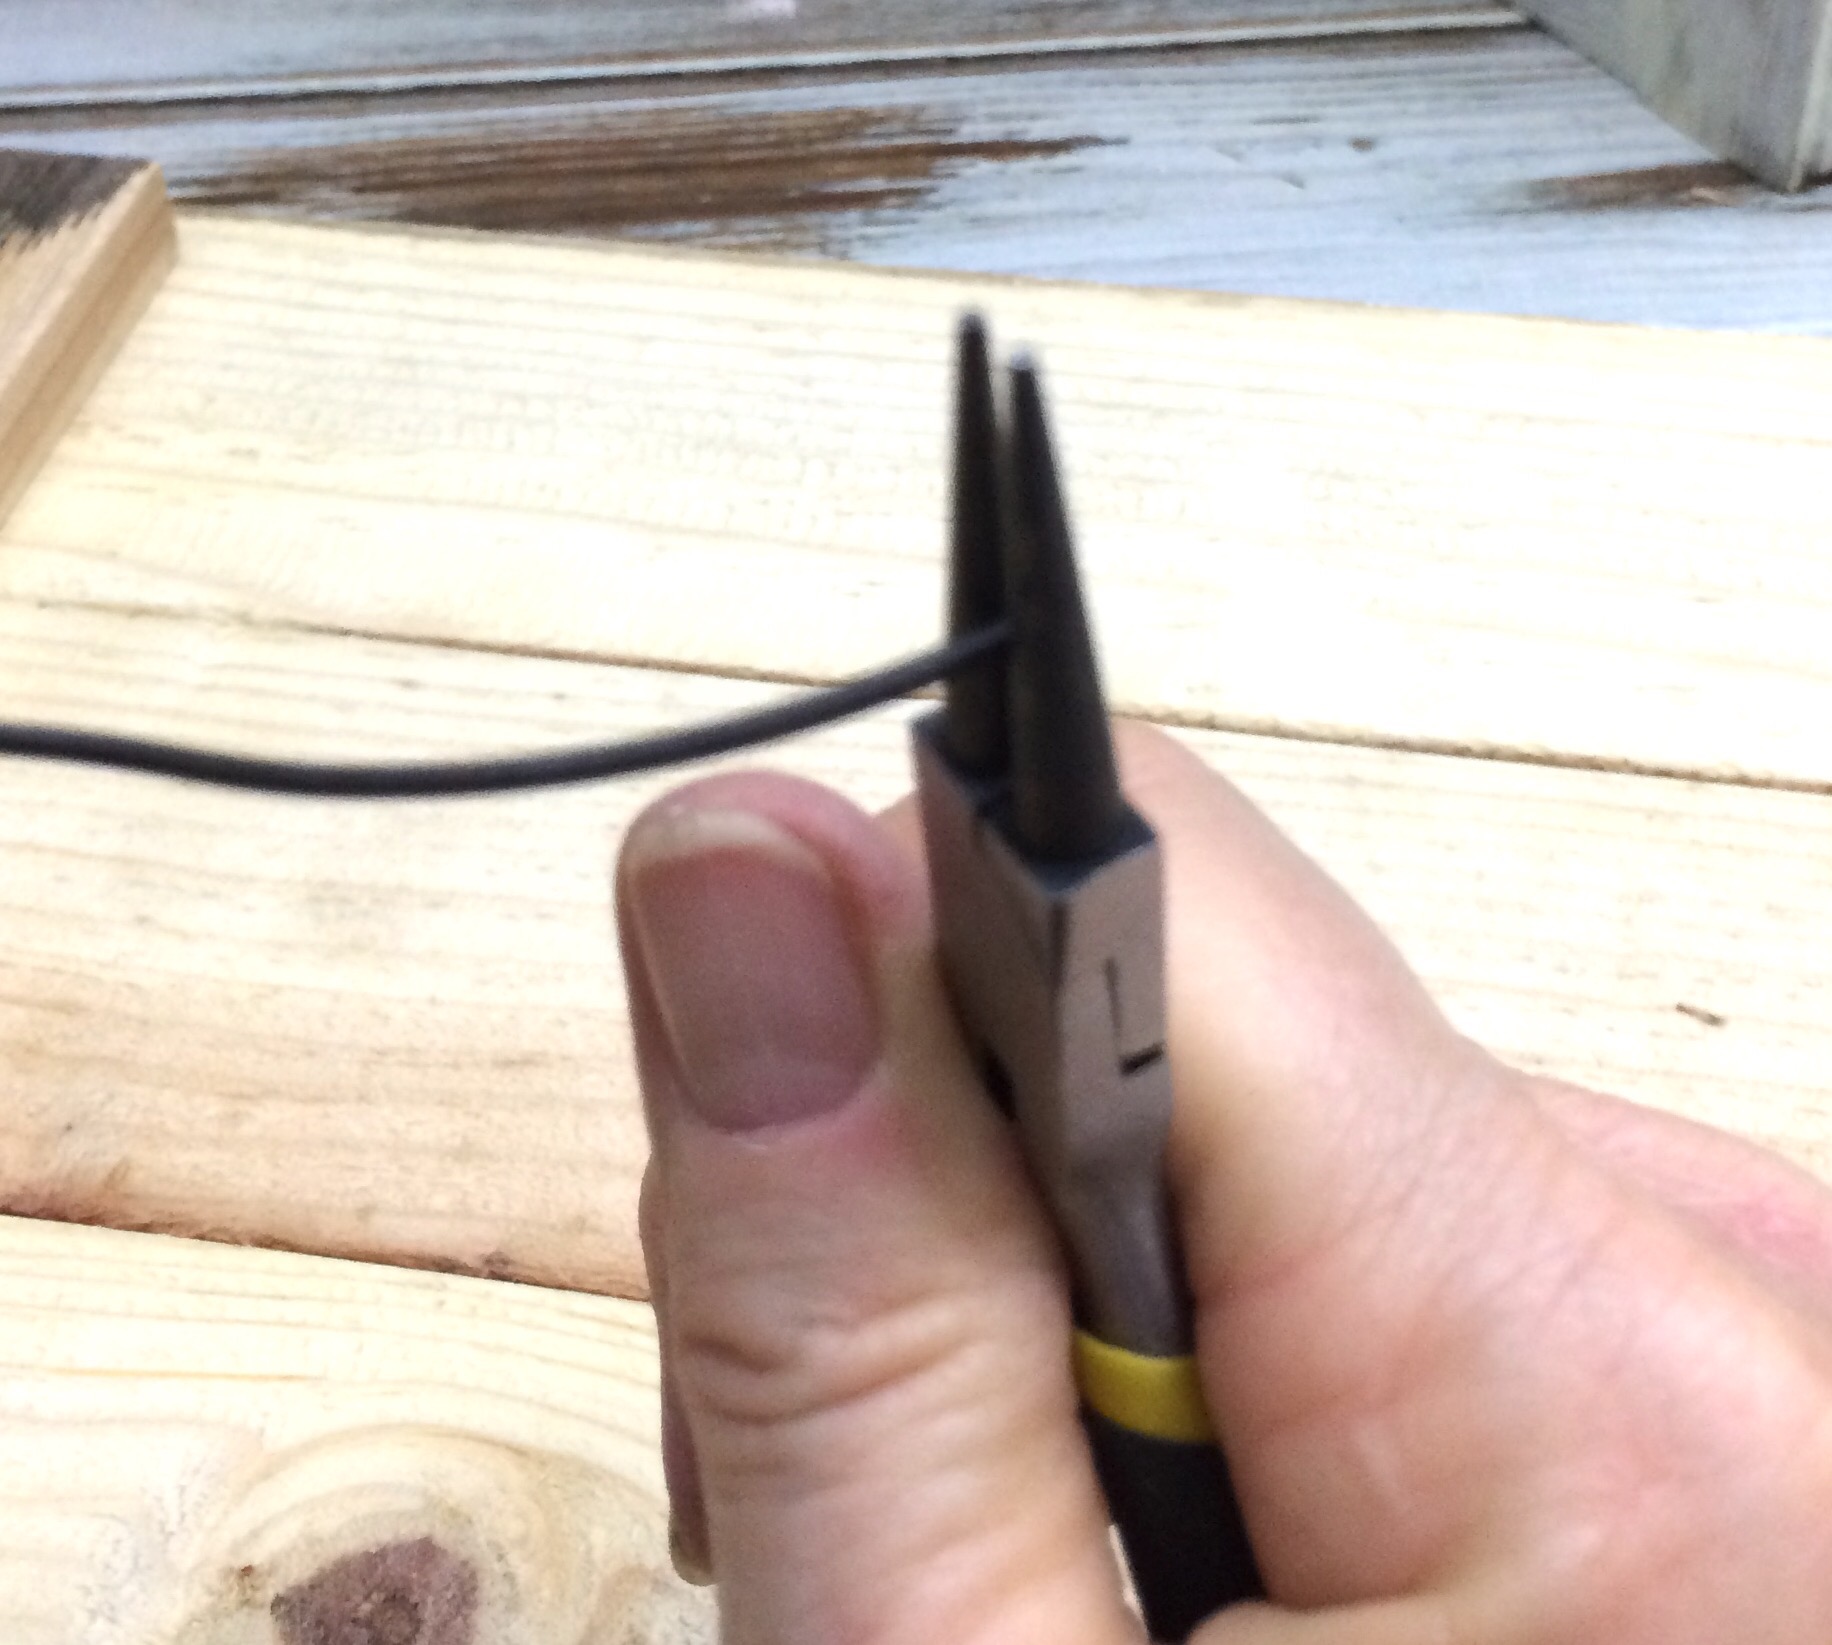
Grip one end of your wire with some round nose pliers.

Start turning to form a loop.

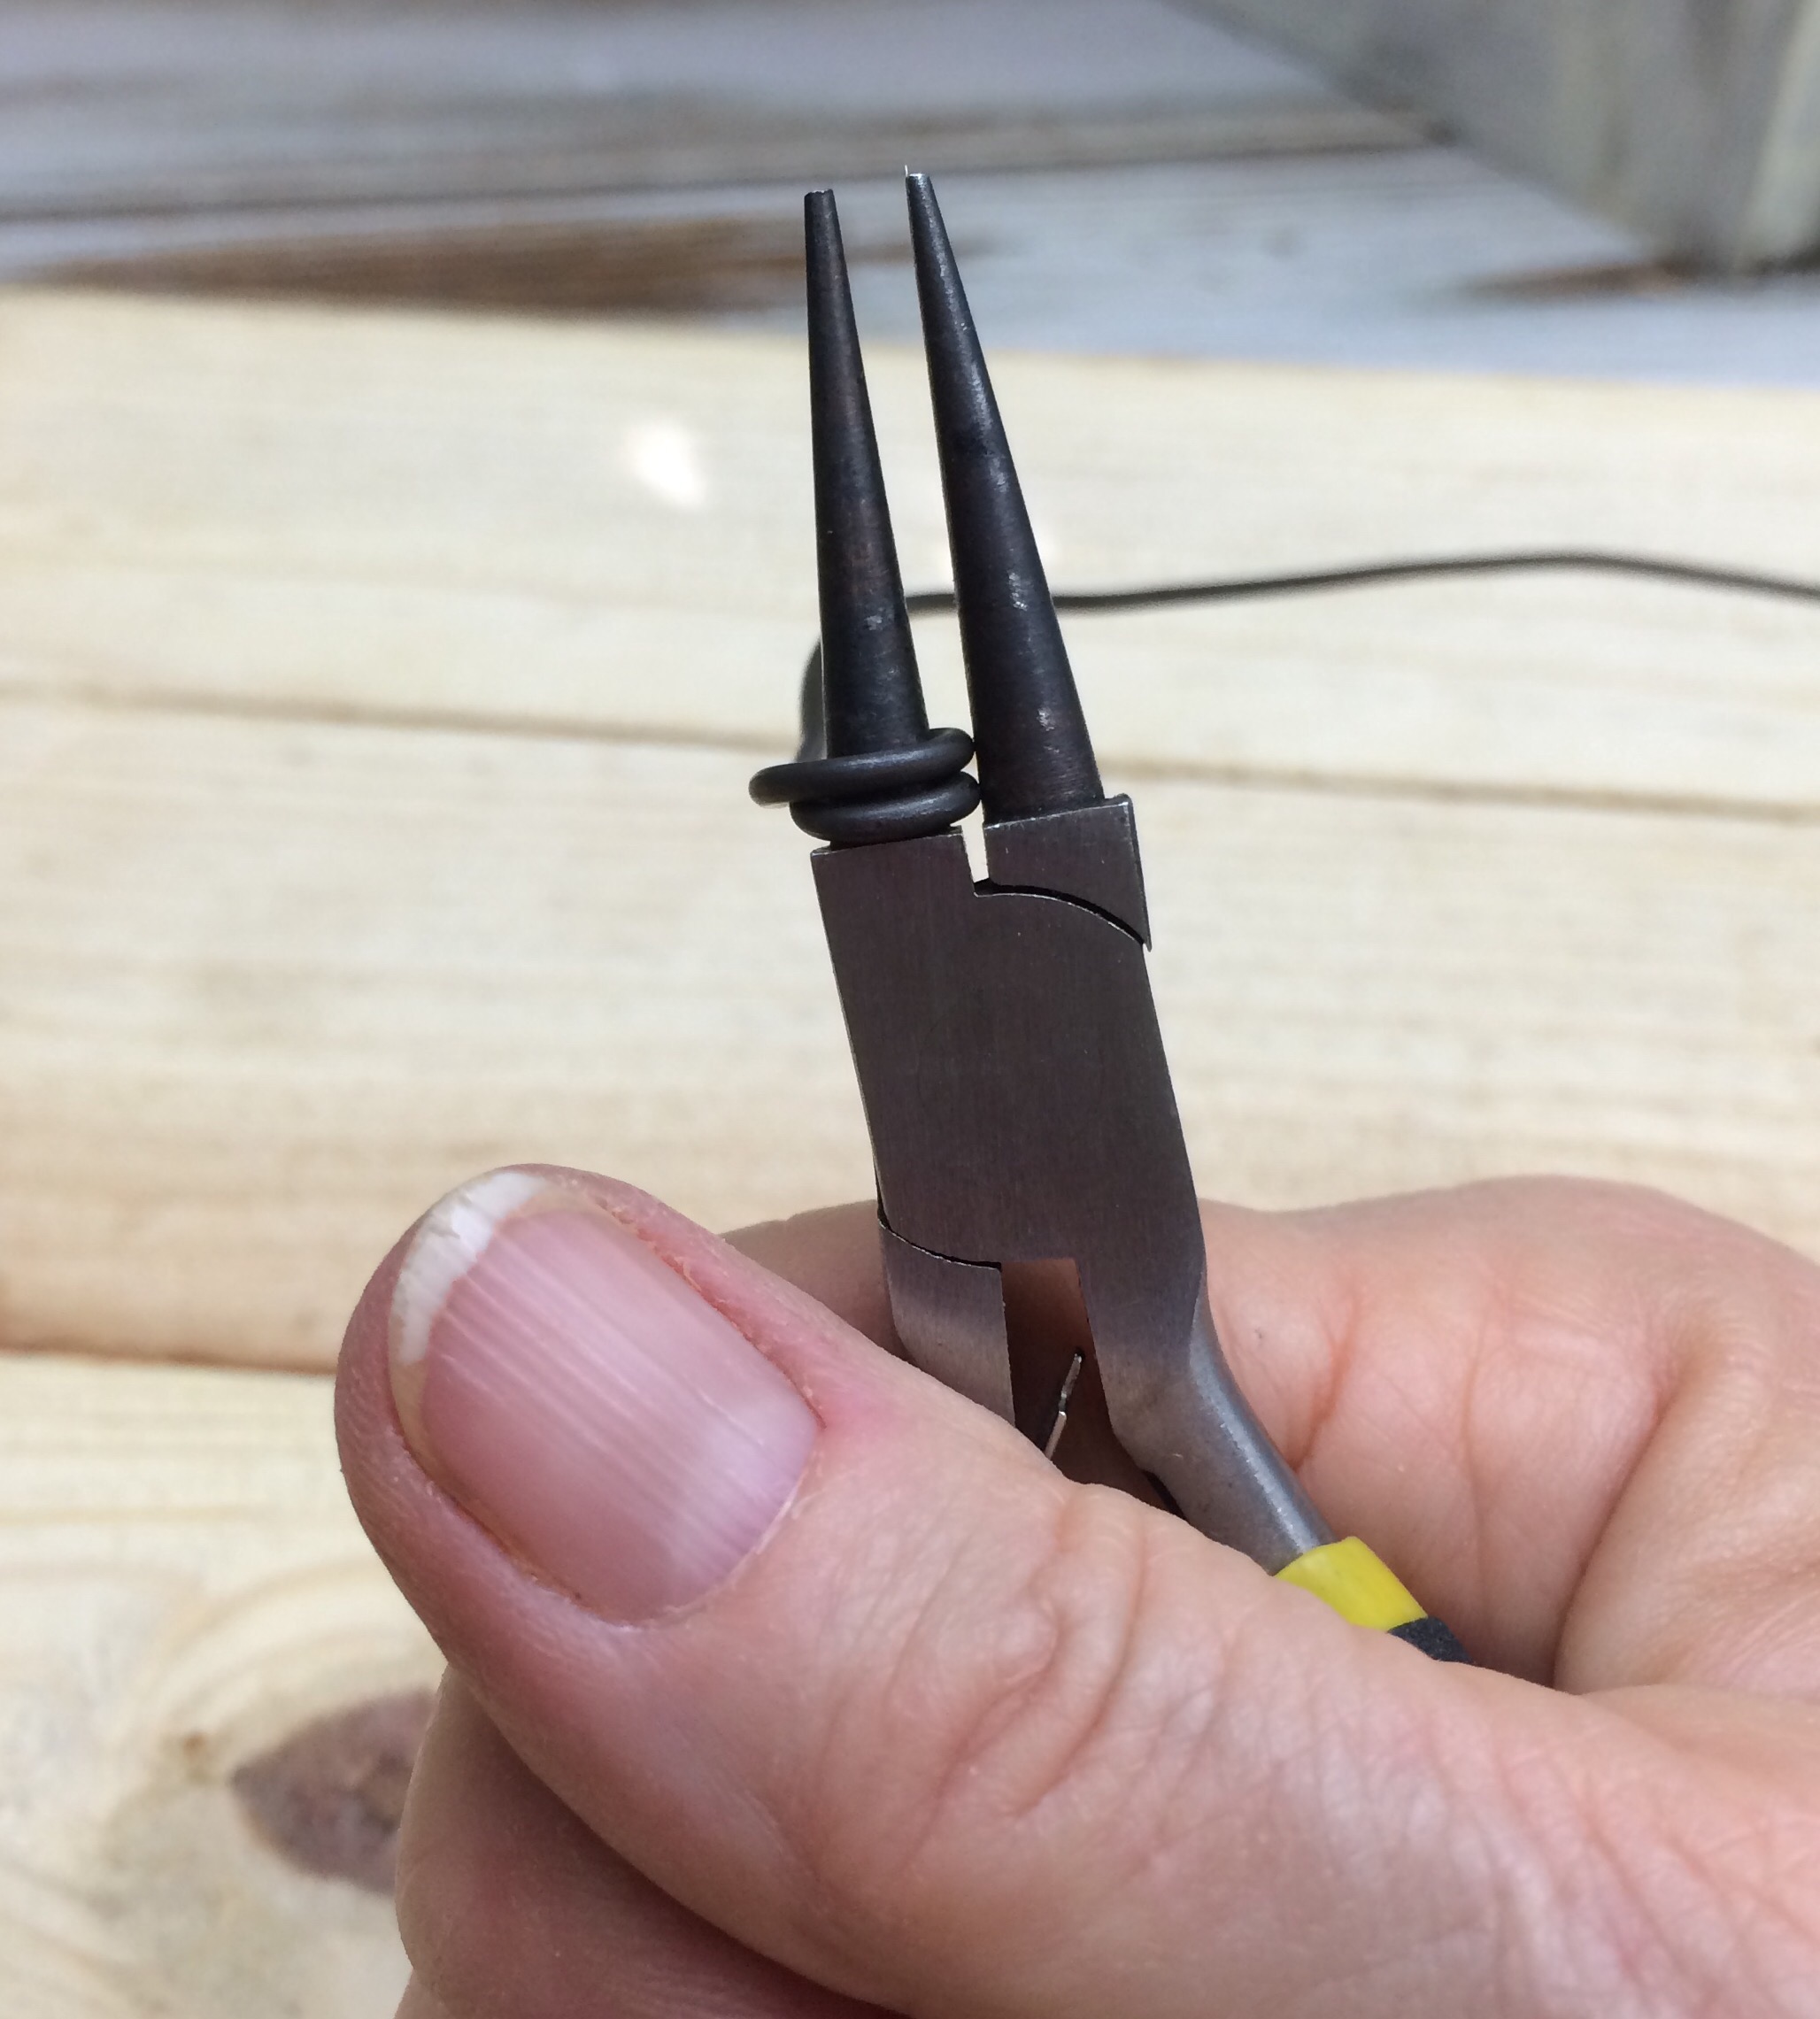
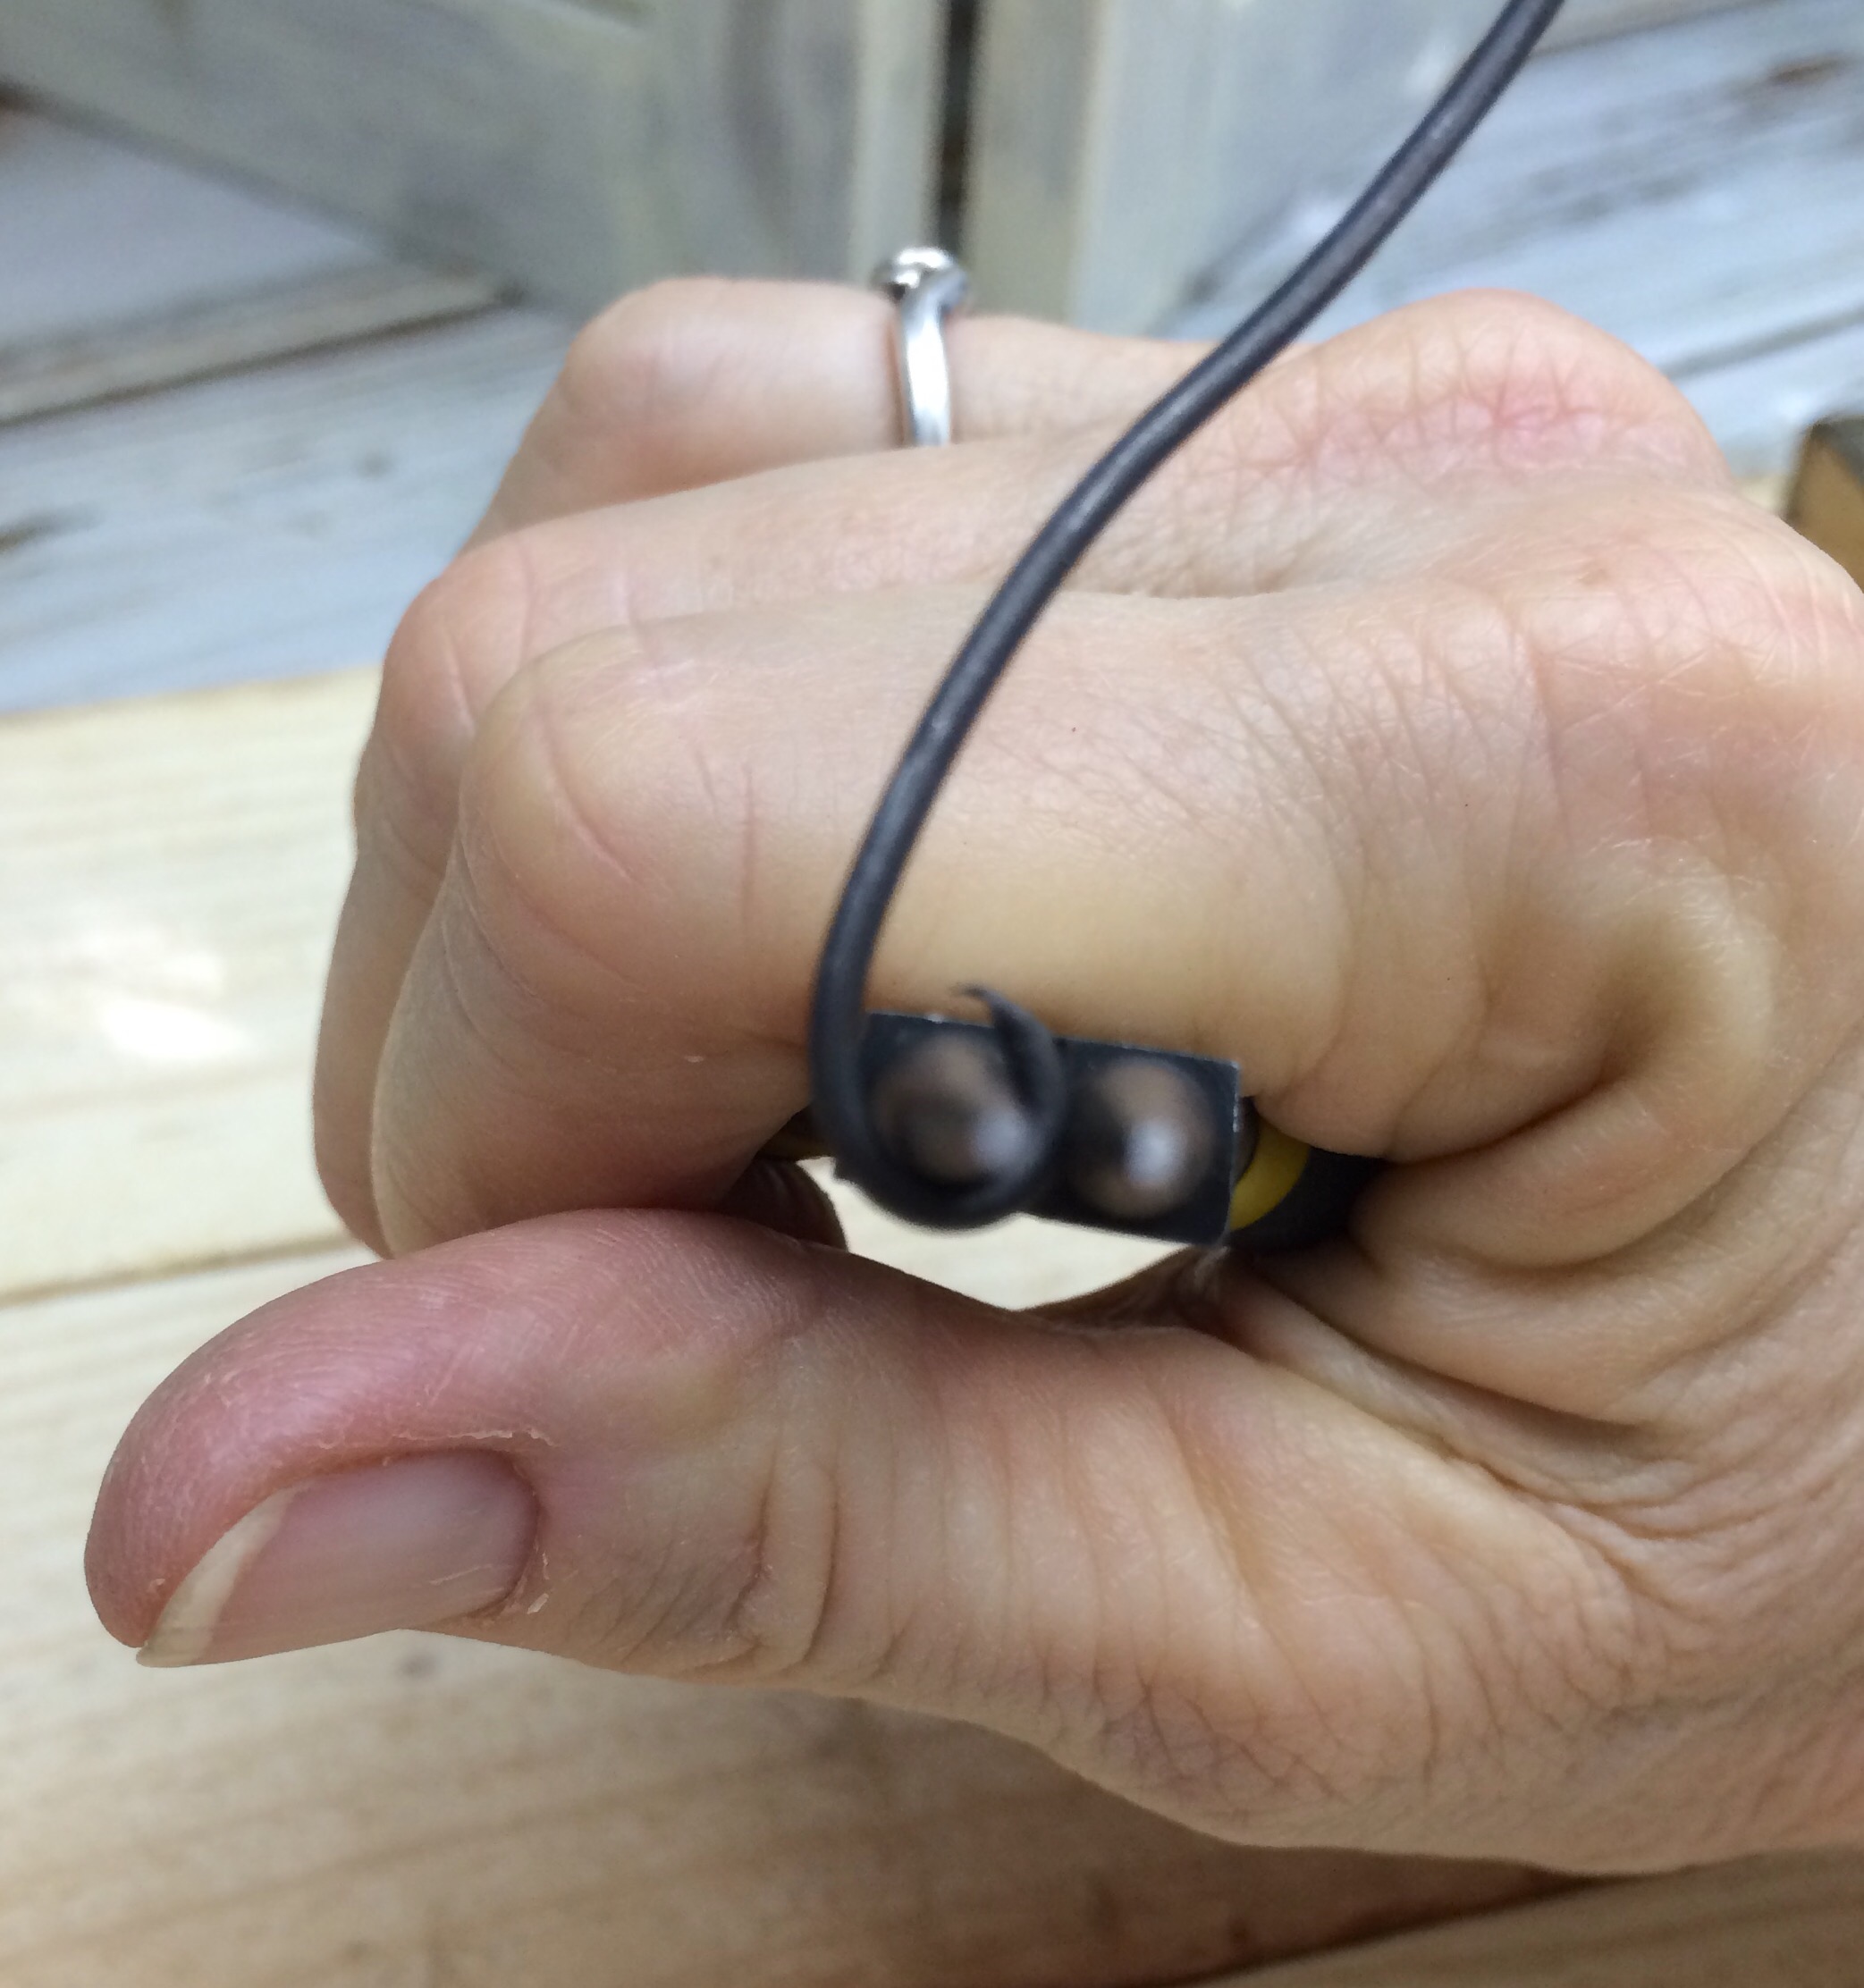
Turn once more for a double loop. Repeat with the other end of wire.

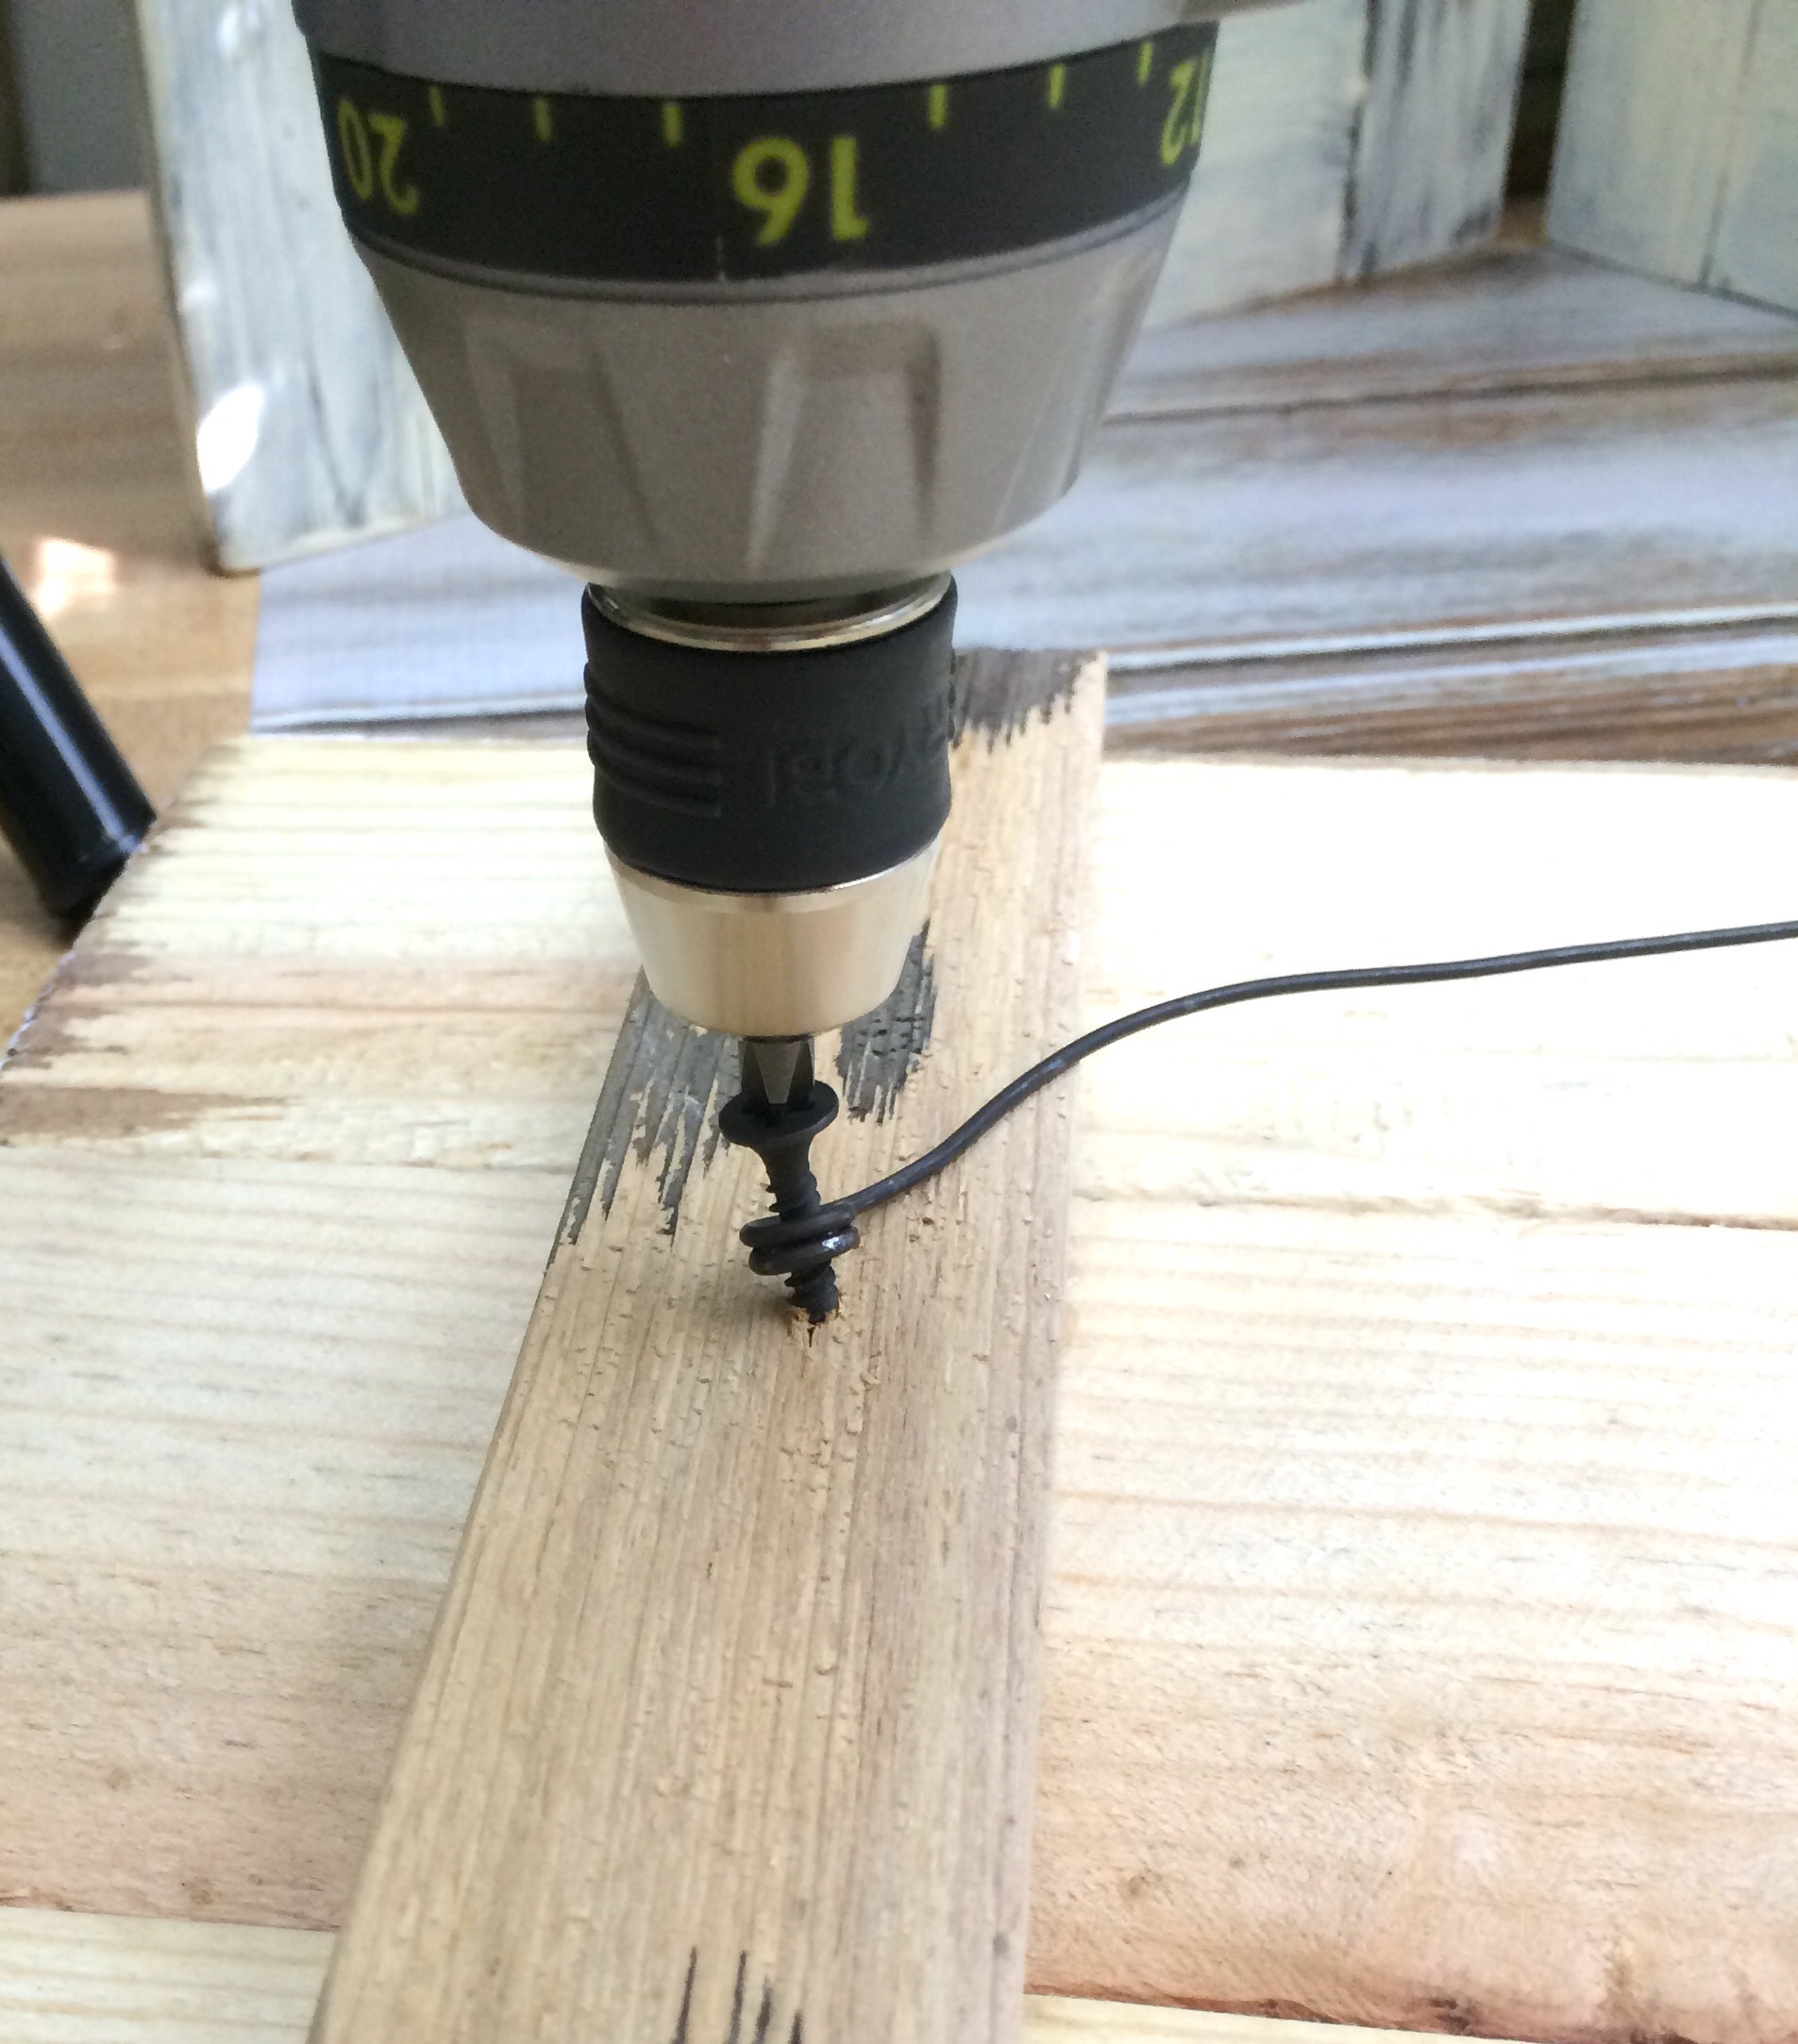
Insert into the loop then screw down.

Insert screw in the other end of your wire and screw down.

Now you can can get to hanging!

More Wall Art You May Enjoy!

You are loved wood sign
Wooden shutters family photo displays
Repurposed shutter message board

***This post contains affiliate links, if you click on an affiliate link & buy something I may receive a small commission at no extra charge to you. The affiliate money I earn helps pay the expenses to keep this site running. Please read my full advertising disclosure for more info. Thanks so much for your support!***


How to make wire hanging hardware

If you enjoyed this post, don't forget to pin it for later!

16 shares
  • Share4
  • Tweet

If you enjoyed this post, would you mind taking the time to:
  • Share, or Pin for later reference.
  • Follow me on Facebook, Twitter, Pinterest
  • Leave a comment
Thank you so much for taking the time to comment. I love hearing from my readers, and appreciate the kind words.

Comments

  1. Laurie says

    November 14, 2015 at 7:13 pm

    This is sure to come in handy sometime. Pinning!
    Thank you for sharing with us at Snickerdoodle Sunday!
    ~Laurie
    Laurie recently posted…Snickerdoodle Sunday #107My Profile

    Reply
    • Linda @ Mixed Kreations says

      November 14, 2015 at 7:25 pm

      Hi Laurie! It’s a great way to hang heavy things. Thanks for stopping by!

      Reply
  2. michelle says

    April 5, 2017 at 6:45 am

    This is such a great idea Linda. I often to find the right size D rings to hung some of my art work. Your idea is going to save me a lots of money and stress. Thanks so much my friend

    Reply
    • Linda @ Mixed Kreations says

      April 5, 2017 at 3:08 pm

      Thanks Michelle! This does work great and you can make it whatever size that you need. I’m glad you found it helpful! 🙂

      Reply

Trackbacks

  1. Easy Diy Layered Rustic Cross - Mixed Kreations says:
    May 2, 2016 at 3:43 pm

    […] 13. Make your wire hanging hardware.  […]

    Reply
  2. Repurposed Wood Chair Turned Shelf - Mixed Kreations says:
    April 4, 2018 at 7:00 am

    […] Now comes a coat of mod podge to seal and protect my repurposed wood chair turned shelf. To hang the shelf I added a wire hanging hardware. […]

    Reply
  3. How to Make an OU Home Sign - Gift for OU Fan - Mixed Kreations says:
    July 11, 2018 at 3:15 pm

    […] a sawtooth hook to the back of your OU home sign, or homemade wire hanging hardware, and that’s […]

    Reply
  4. How to Make a Farm Fresh Eggs Sign on a Cabinet Door - Mixed Kreations says:
    August 15, 2018 at 7:00 am

    […] Next, I dusted it off then took it back inside of the house and added a saw-tooth hook for hanging. For heavier pieces I use my diy hanging hardware. […]

    Reply

Leave a Reply Cancel reply

Your email address will not be published. Required fields are marked *

CommentLuv badgeShow more posts

This site uses Akismet to reduce spam. Learn how your comment data is processed.

Thanks for sharing your thoughts and comments! I read and appreciate every single one!

Follow Mixed Kreations

Facebooktwitterpinterestyoutubeinstagram

My Favorites on Amazon

My Amazon Influencer Shop

Homemade Chalk Paint

diy chalk paint

How to Make Rusty Cans

how to make rusty cans

How to Make a Flag From a Wood Shutter

how to make a 2 sided american flag

Easter Egg Jar

How to make a Easter egg jar

Diy Texas Tile Coasters

Texas Tile Coasters

Update a Thrift Store Find

How to Update a Hanging Box in 4 easy steps

Categories

By Kelli & Crystal From Learn To Blog Hangouts

#LearntoBlog Hangouts

Dominate Course

LearntoBlog
Featured on Hometalk.com
Rakuten Affiliate Network Welcome Program
Grow and Make

Dollar Tree

Creative Fabrica Font Bundles

Font Banner - Free Fonts

Featured At

Featured At

Mixed Kreations featured in Country sampler

Featured at

mixed kreations is featured in Bella Crafts online magazine
The Pin Junkie

Canva Photo Editing

Amazon Affiliates

I am a participant in the Amazon Services LLC Associates Program, an affiliate advertising program designed to provide a means for sites to earn advertising fees by advertising and linking to Amazon.com.

Disclosures Statement

This policy is valid from 19 July 2013 This blog is a personal blog written and edited by me. For questions about this blog, please contact Linda @ ldkeesee@mixedkreations.com. This blog accepts forms of cash advertising, sponsorship, paid insertions or other forms of compensation. The compensation received will never influence the content, topics or posts made in this blog. All advertising is in the form of advertisements generated by a third party ad network. Those advertisements will be identified as paid advertisements. The owner(s) of this blog is compensated to provide opinion on products, services, websites and various other topics. Even though the owner(s) of this blog receives compensation for our posts or advertisements, we always give our honest opinions, findings, beliefs, or experiences on those topics or products. The views and opinions expressed on this blog are purely the bloggers' own. Any product claim, statistic, quote or other representation about a product or service should be verified with the manufacturer, provider or party in question. This blog does not contain any content which might present a conflict of interest. To get your own policy, go to http://www.disclosurepolicy.org

Copyright © 2023 · Modern Blogger Pro Theme By, Pretty Darn Cute Design