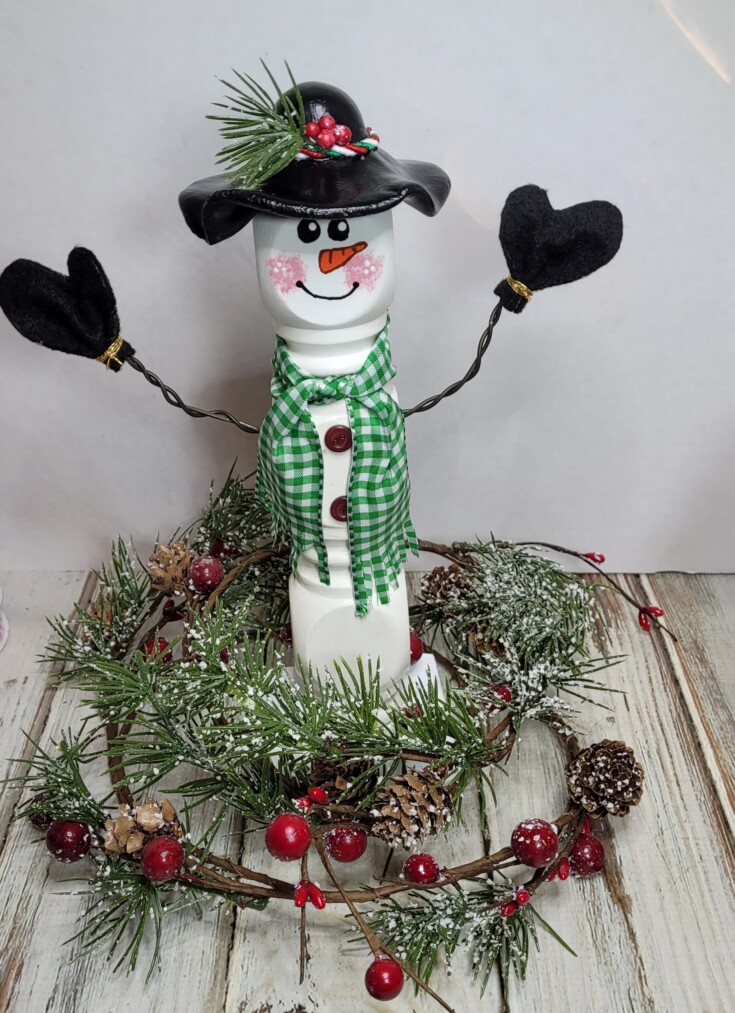
Hi all! Today’s project is a wood spindle snowman. But first some good news for us finally. This has been a tough year for us with the loss of my grandson, then my mother. Then having to go through foundation work, and the plumbing test that followed failed. They found two breaks in the pipes. Thank God the breaks could be fixed from outside of the house instead of more holes in the house. Just had the last plumbing test and everything passed. YAY! It’s all over with and now we can start working on a new floor for our laundry room. One of the rooms they had to bust the tile floor to fix the foundation. Not looking forward to getting on my hands and knee to put new flooring in, but happy to get our house back in order. Well enough of that, let’s get on with this adorable wooden spindle snowman.
***This post contains affiliate links… We are a participant in the Amazon Services LLC Associates Program, and affiliate advertising program designed to provide a means for us to earn fees by linking to Amazon.com and affiliated sites at no extra charge to you. Please read my full advertising disclosure for more info. Thanks so much for your support!***
Diy Wood Spindle Snowman
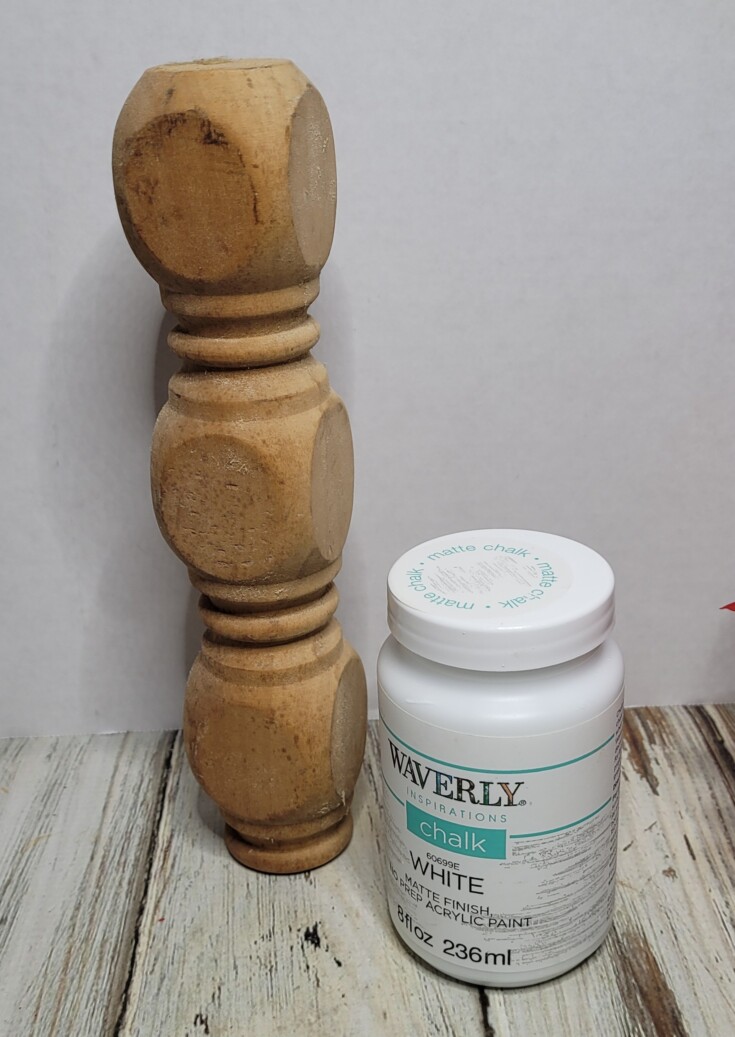
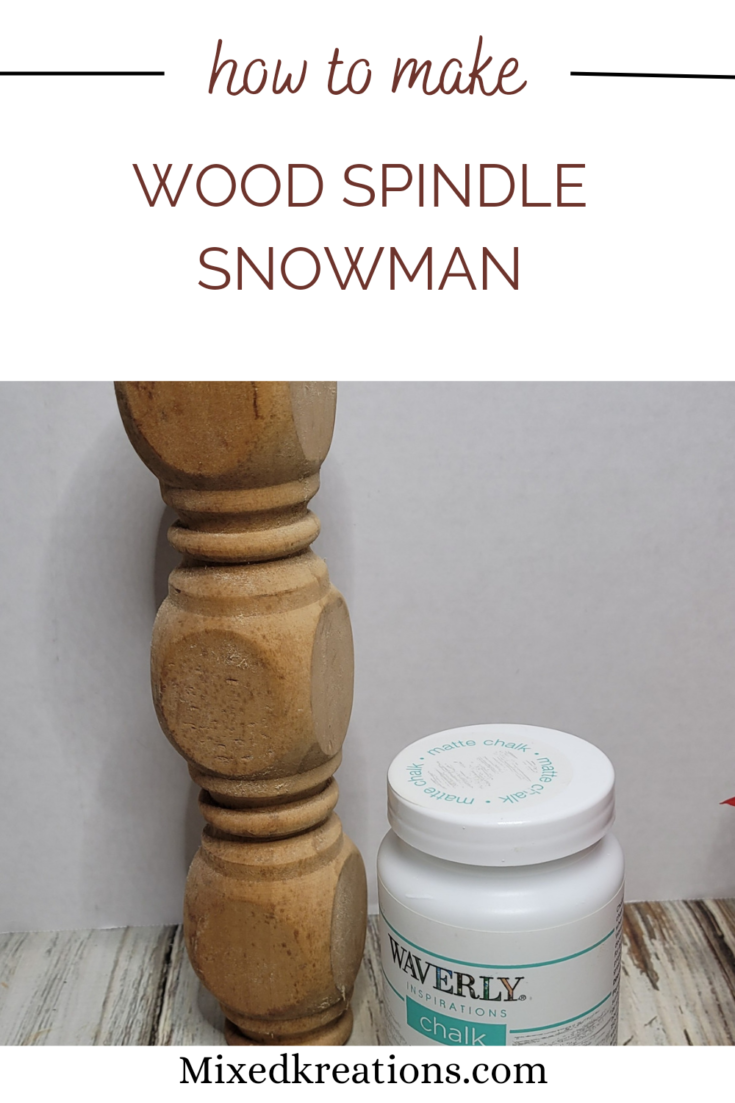
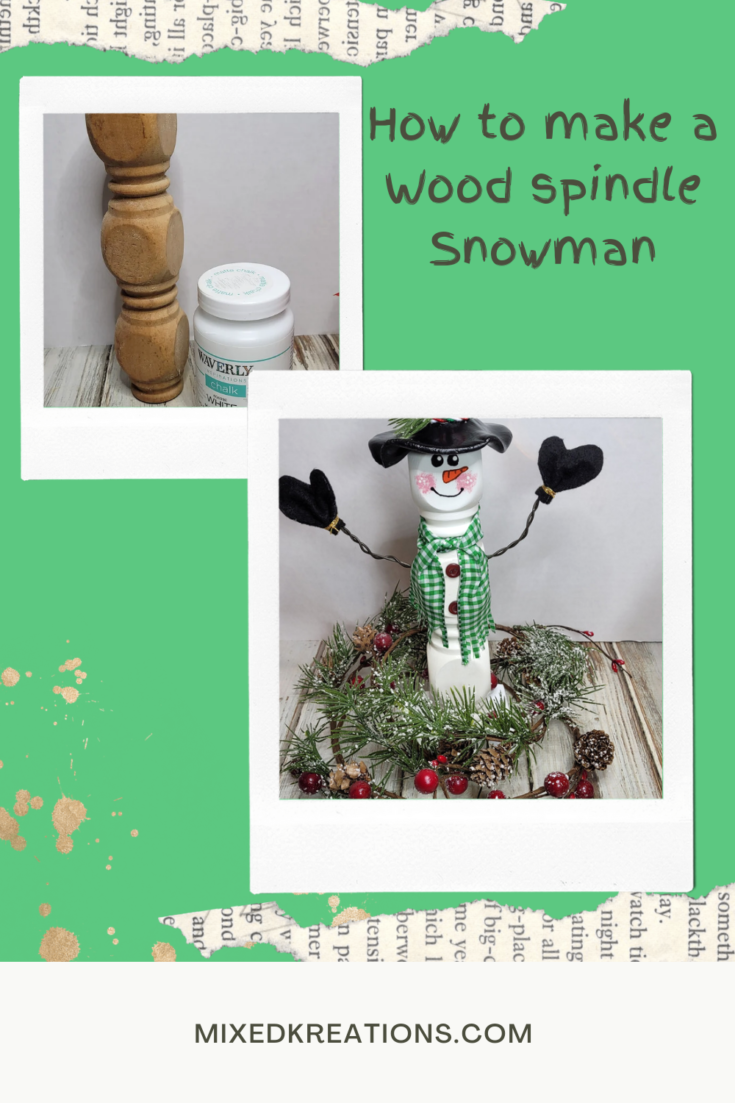
I started out giving my spindle two coats of white chalk paint.
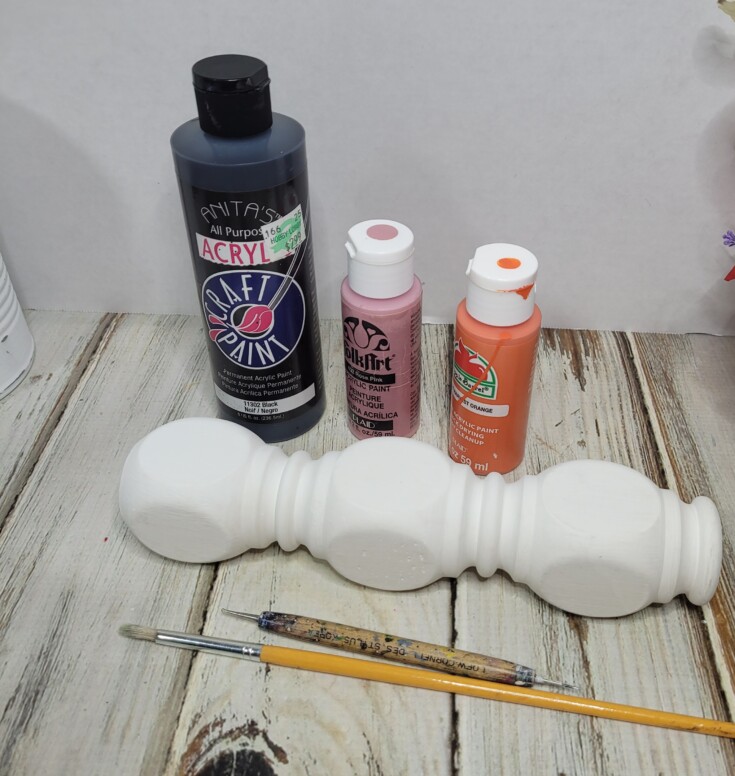
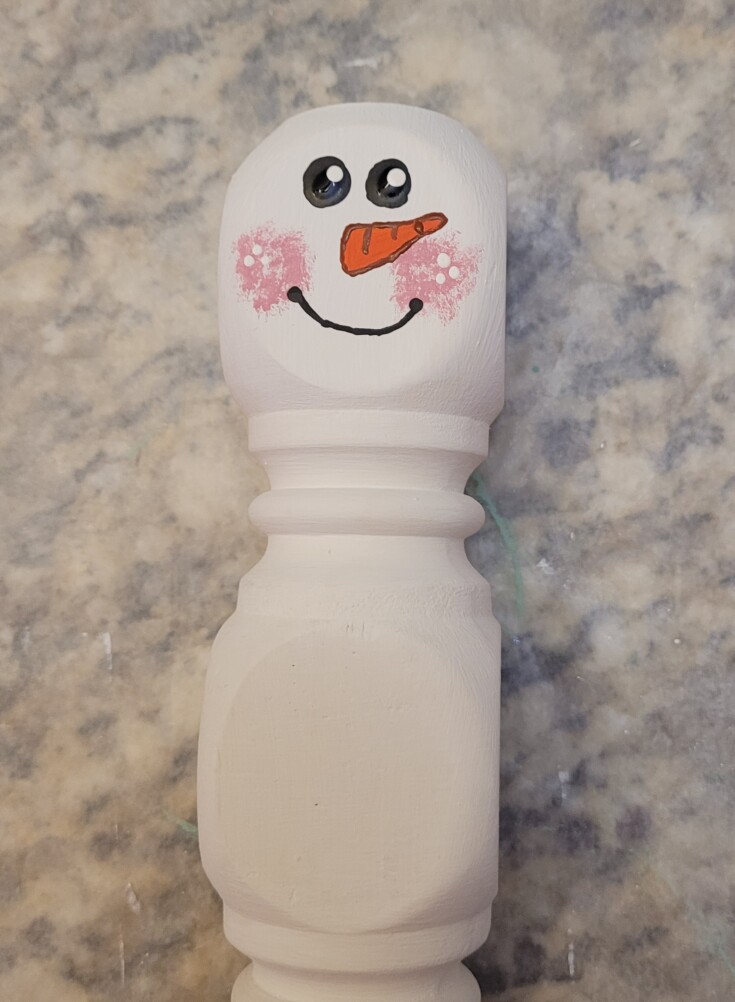
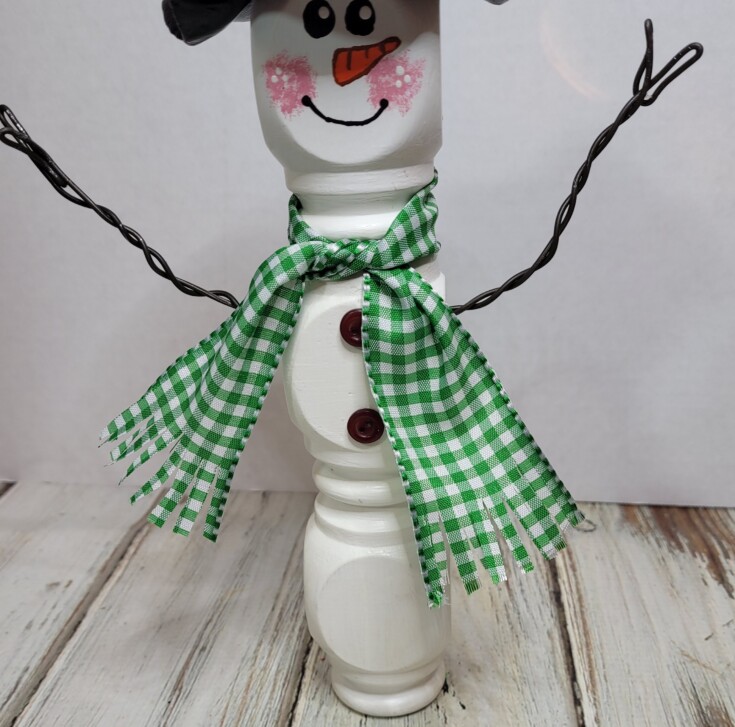
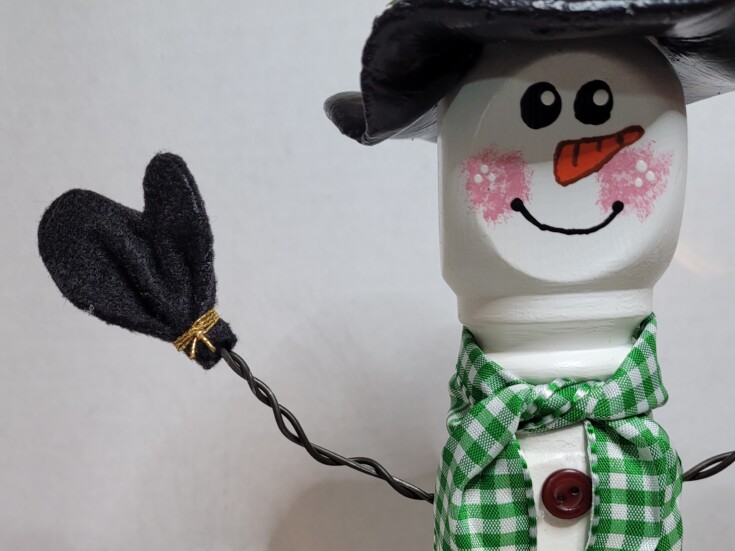
For the snowman’s face I used black for the eyes and mouth, rose pink for the cheeks, orange and burnt sienna for the carrot nose. Two white dots were added to the eyes and three to each cheek using my stylus tool.
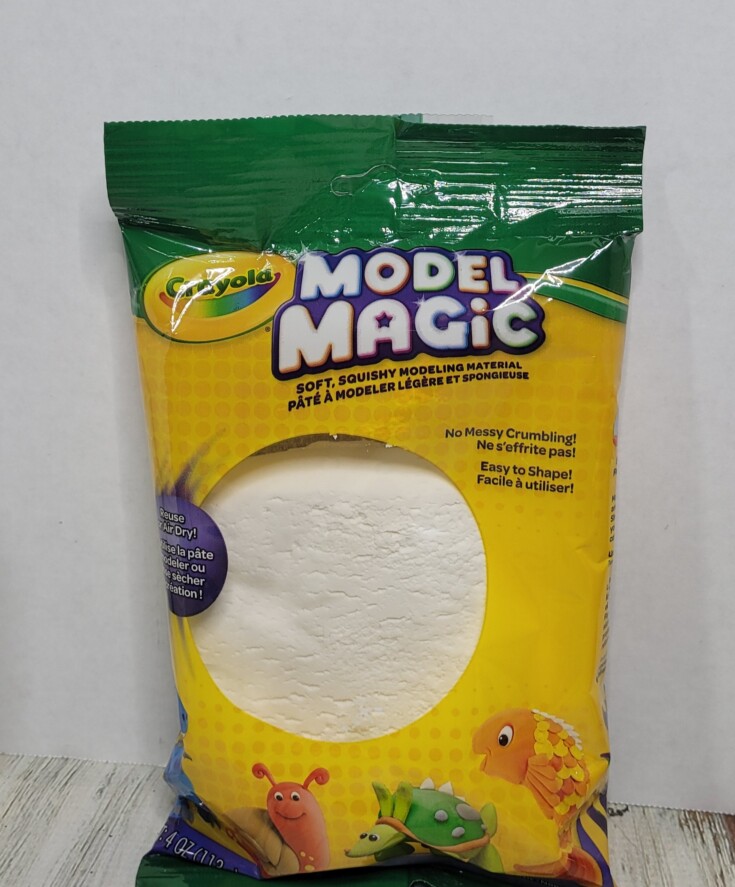
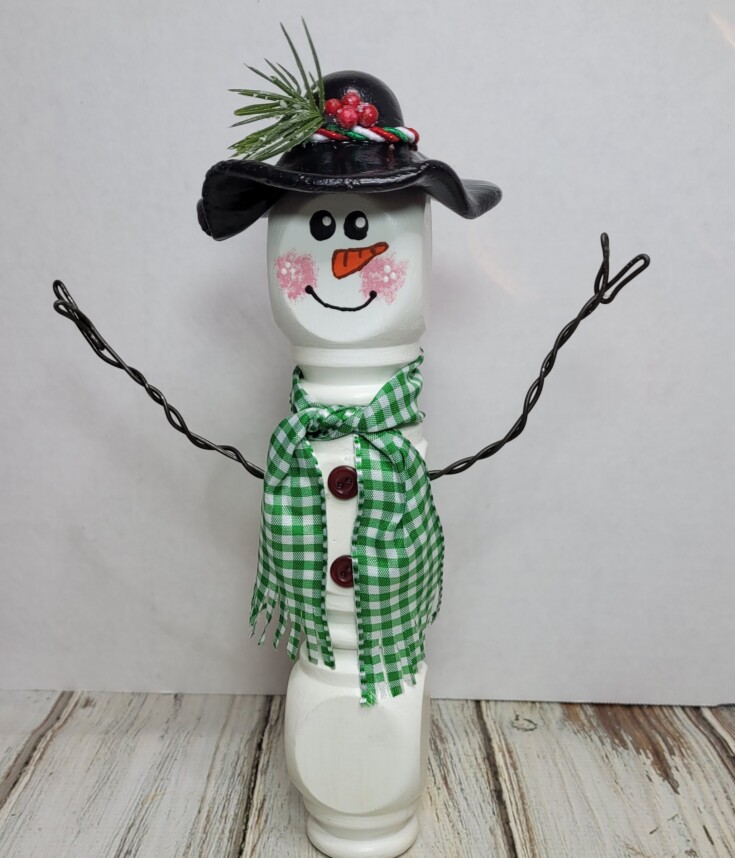
The hat was made out of air-dry clay using the snowman’s head to form the hat. Once I got the hat formed it wouldn’t come off the wood spindle snowman so I just left it there to dry.
After two days of drying I then wrapped some plastic wrap around the face of the snowman so I could paint the hat with black acrylic paint without getting it on the face. Add two coats.
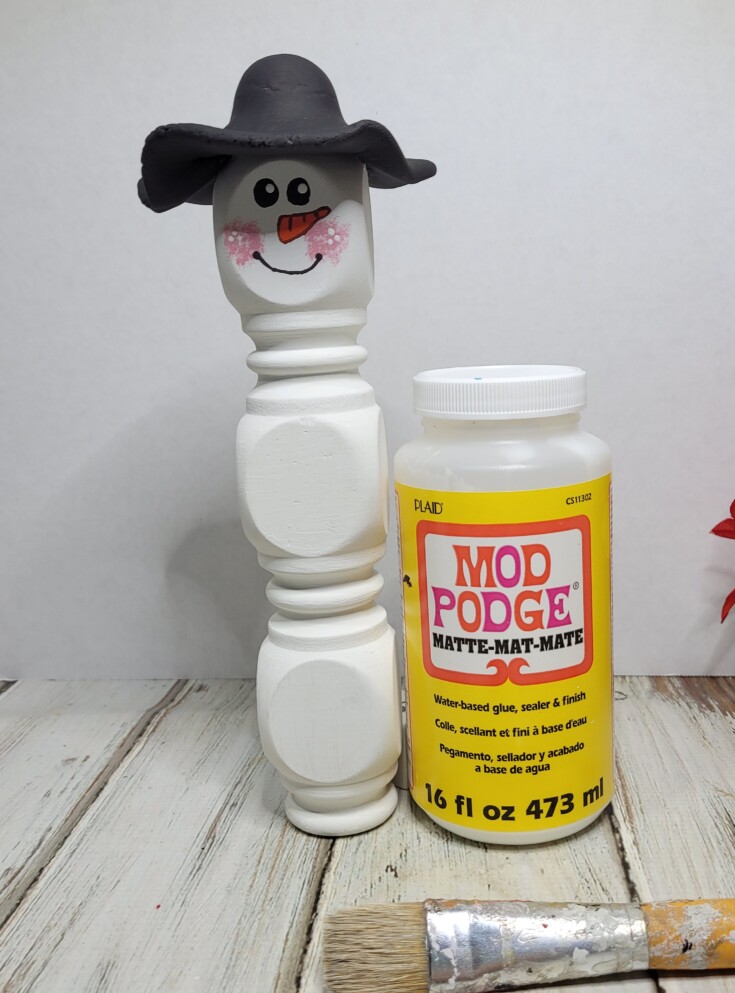
Once that was dry I removed the plastic and added two coats of Mod Podge to the wood spindle snowman and his hat.
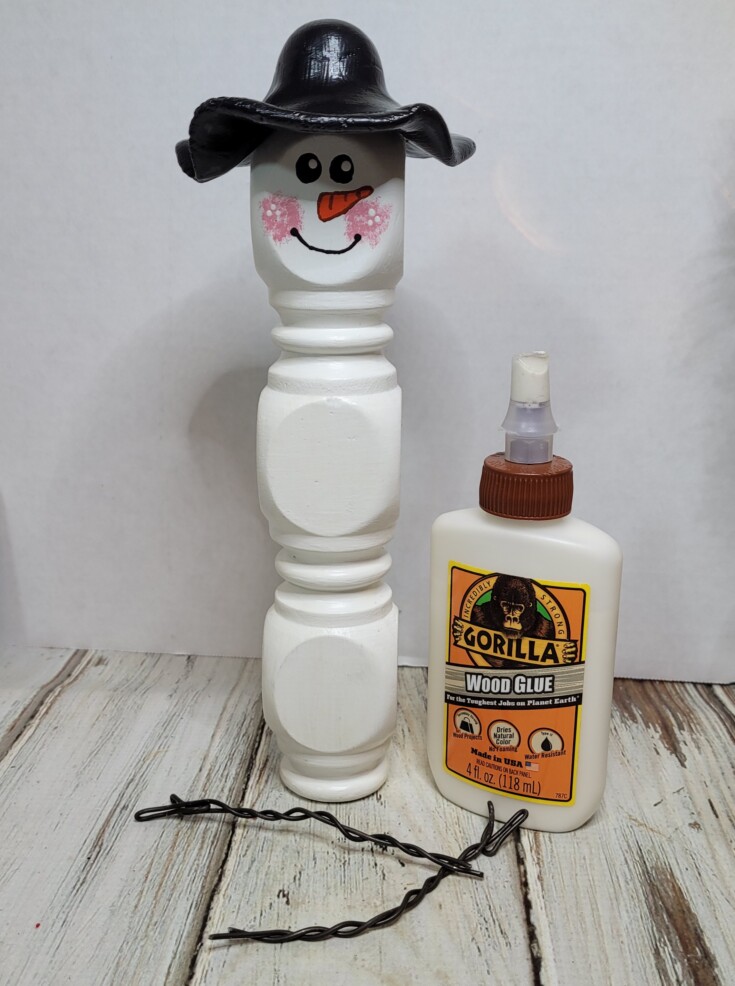
For the arms I cut two pieces of wire about 10” long then bend it in half, formed some hands then twisted the rest of the wire together.
Two holes were drilled in the sides of the snowman and the arms were attached using wood glue.
Buttons were added to the front of the wooden snowman using wood glue.
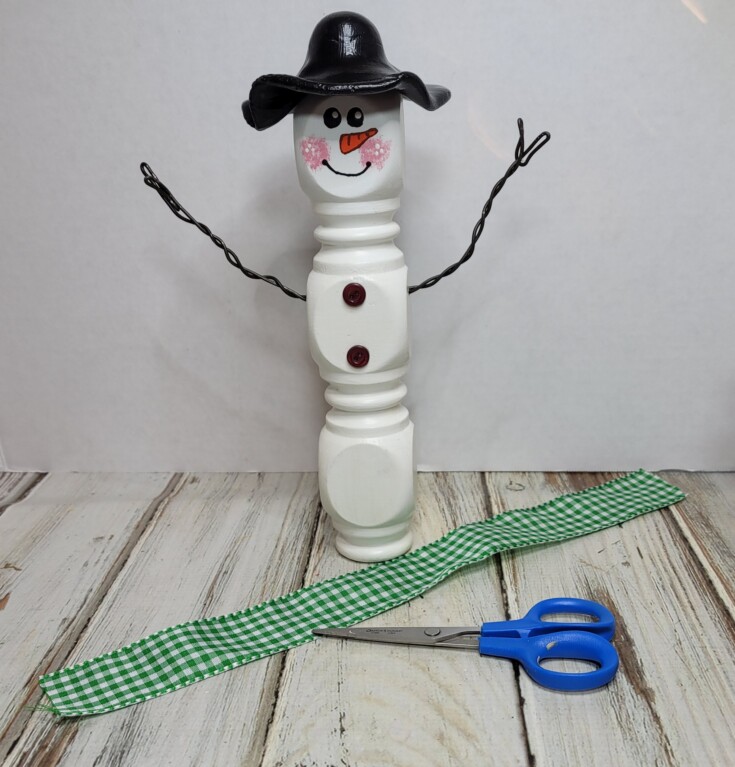
Then the neck scarf was made from a piece of green and white checkered ribbon and tied around his neck. The ends were cut to form a fringe.
A piece of Christmas twine was hot glued around the top of the hat and a piece of greenery and berries were added to the brim.
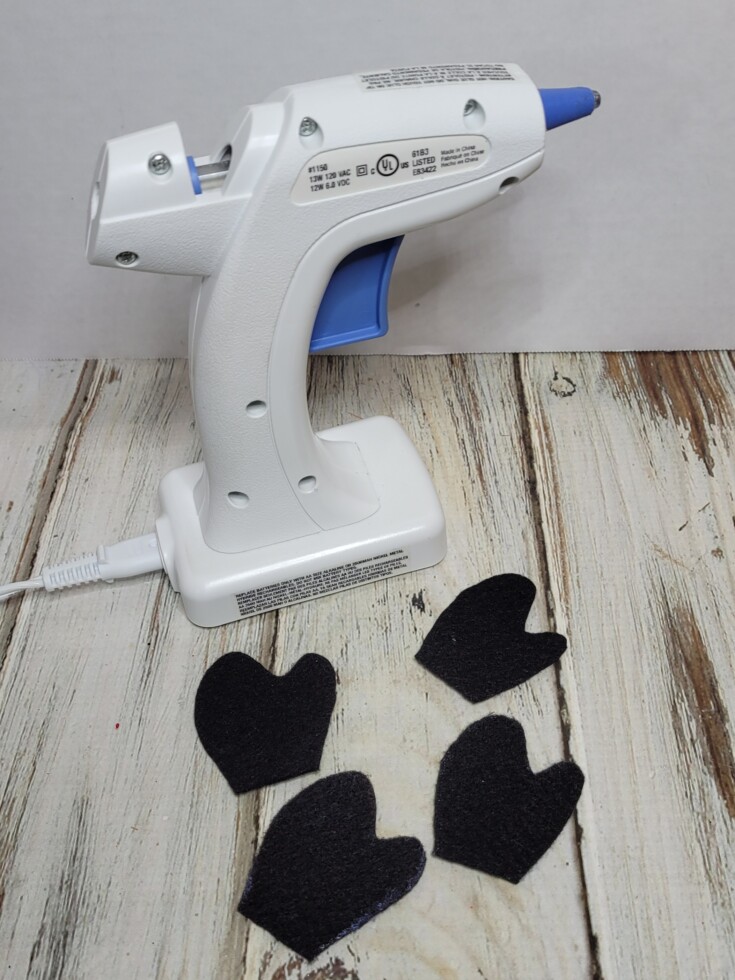
Mittens were made from black felt and hot glued together then slipped onto the hands of the wood spindle snowman.
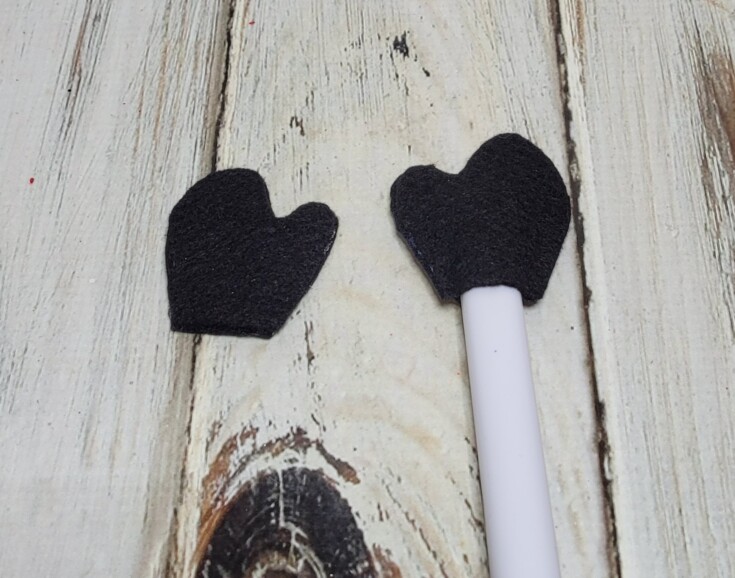
Some gold thread was wrapped around the wrist area of the mittens and tied off to hold them in place.
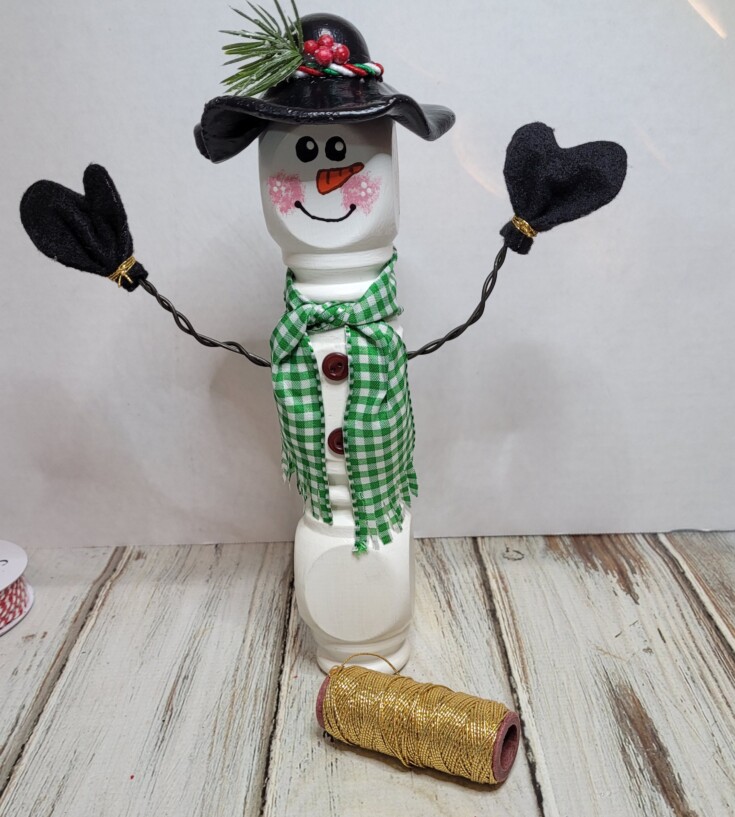
To keep the snowman from toppling over I glued a block of wood that I already had painted to the bottom of the snowman using wood glue.
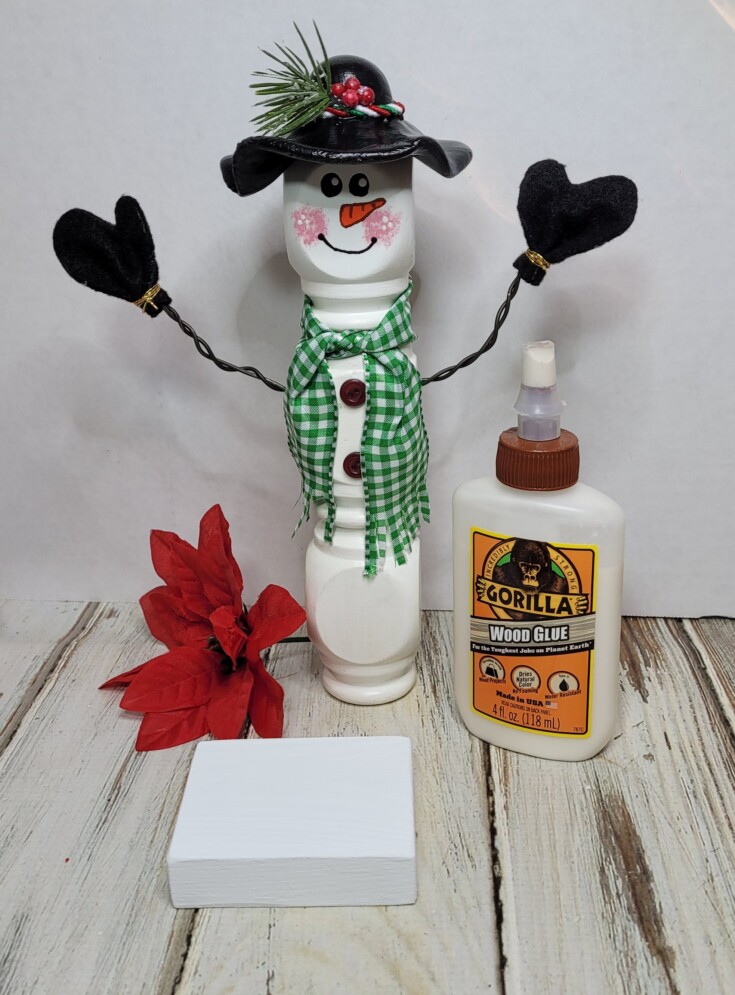
Once the glue was dry, I added a couple coats of Mod Podge to the base.
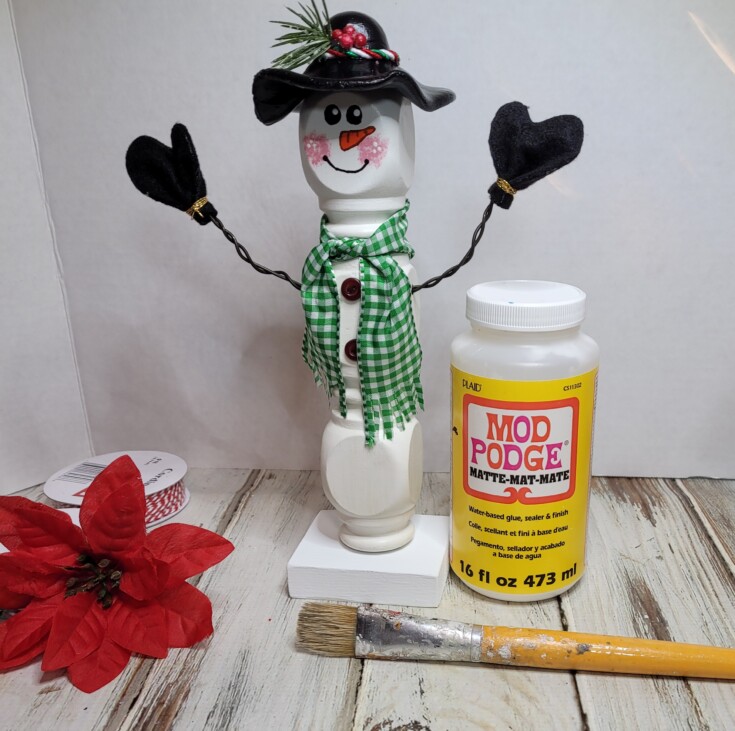
That’s it for this cute wood spindle snowman. Isn’t he adorable?
Supplies for Wood Spindle Snowman
Wood spindle
White chalk paint
Black, orange, rose pink, burnt sienna acrylic paint
Paintbrushes
Annealed wire
Wire Cutters
Pliers
Ribbon
Hot glue
2 buttons
Air-dry clap
Gold thread
Greenery with berries
Scissors
Christmas twine
Wood Base
Black felt
Mod Podge
Drill
More Fun Snowmen!
How to paint a easy snowman on a picket
Diy snowman lantern
Snowman garland on wire
Rustic wood snowman block
Scrap wood snowman ornaments
Linda, he’s adorable, and that wonky little hat is the best. Good thing he’s made from a spindle. That way, he can stay up all year. Oh, and I’m really happy to hear that the plumbing has been sorted out too.
Thank you Michelle! He is a cutie! Thumbs up with the plumbing, now we have the job of redoing our laundry room, and I am not looking for to the work. It’s hard getting up and down since getting old. Old age really Sux! LOL