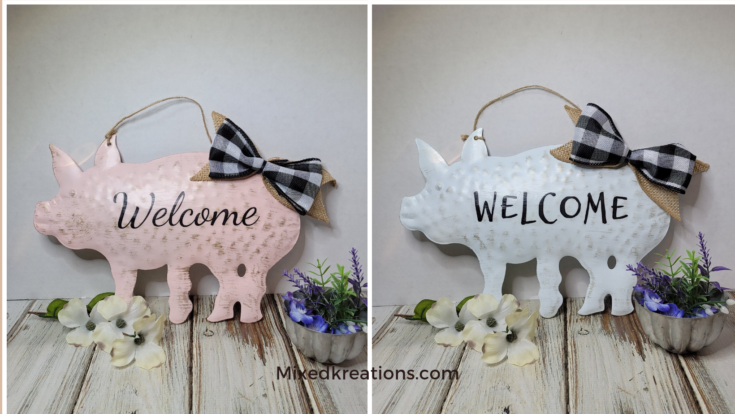
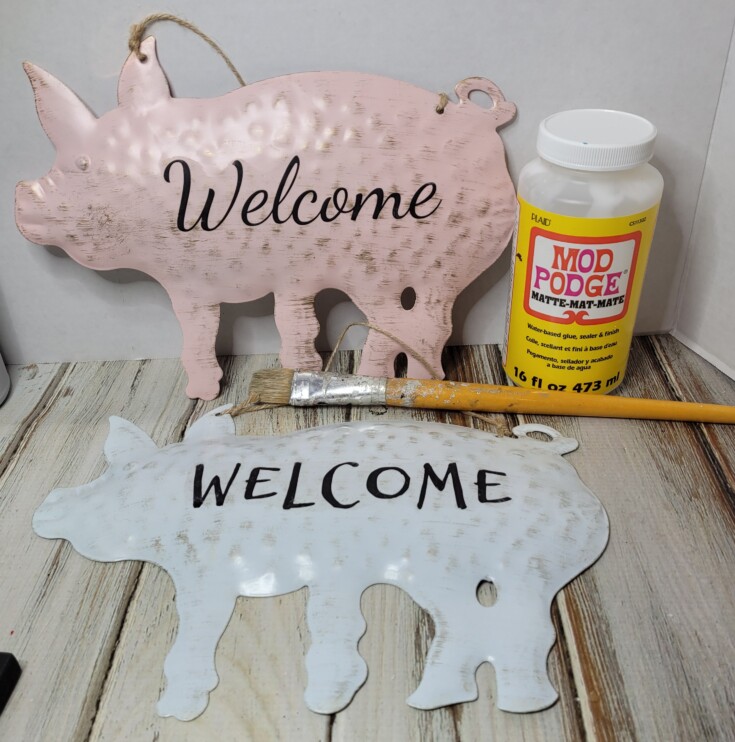
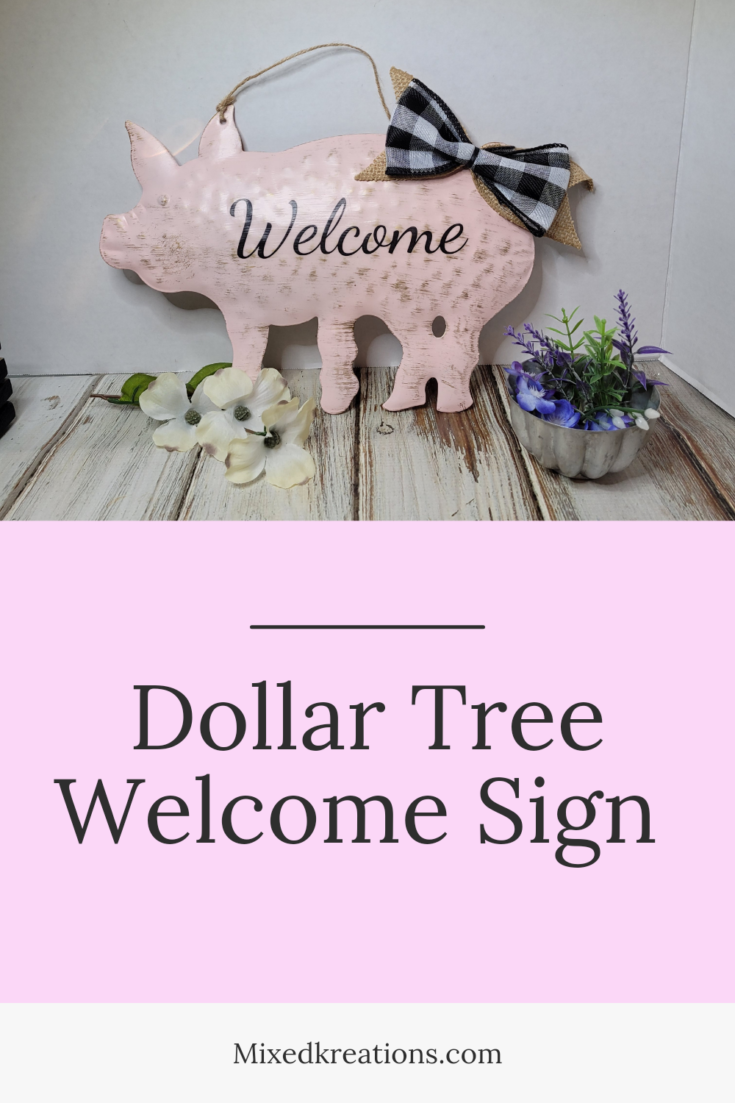
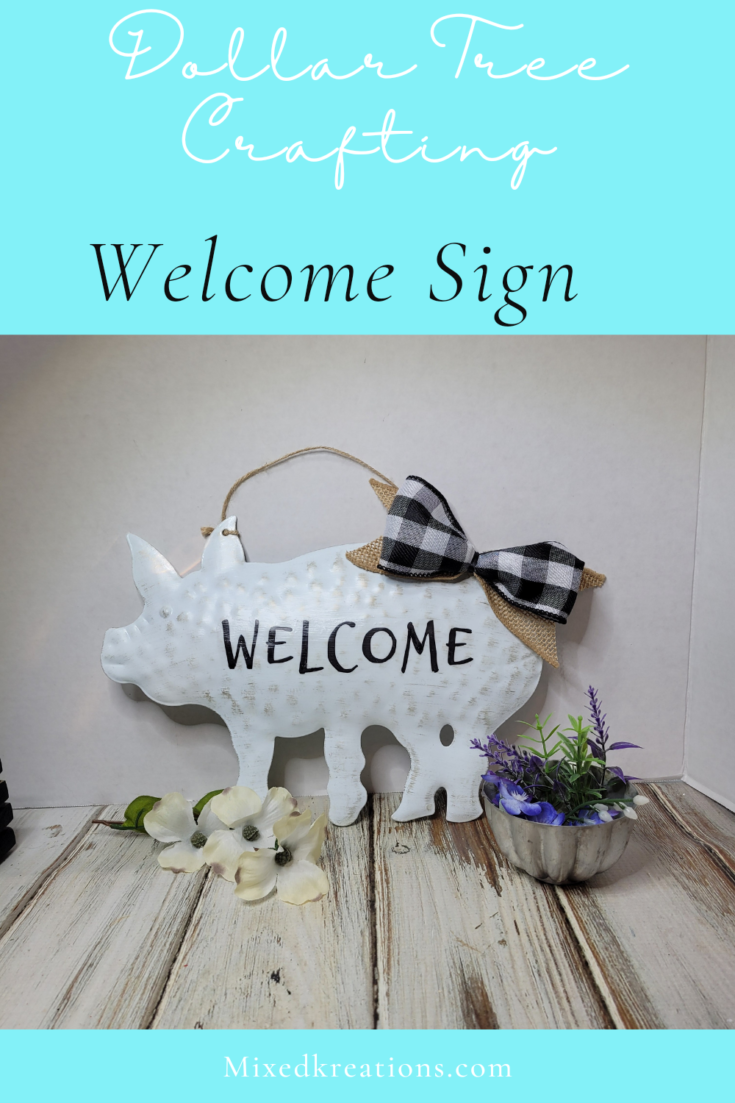
Hi all! Today I am sharing two diy Dollar Tree Welcome Signs. Super quick welcome signs made from two different colored metal pigs that I purchased from the Dollar Tree, and two different welcome fonts.
***This post contains affiliate links… We are a participant in the Amazon Services LLC Associates Program, and affiliate advertising program designed to provide a means for us to earn fees by linking to Amazon.com and affiliated sites at no extra charge to you. Please read my full advertising disclosure for more info. Thanks so much for your support!***
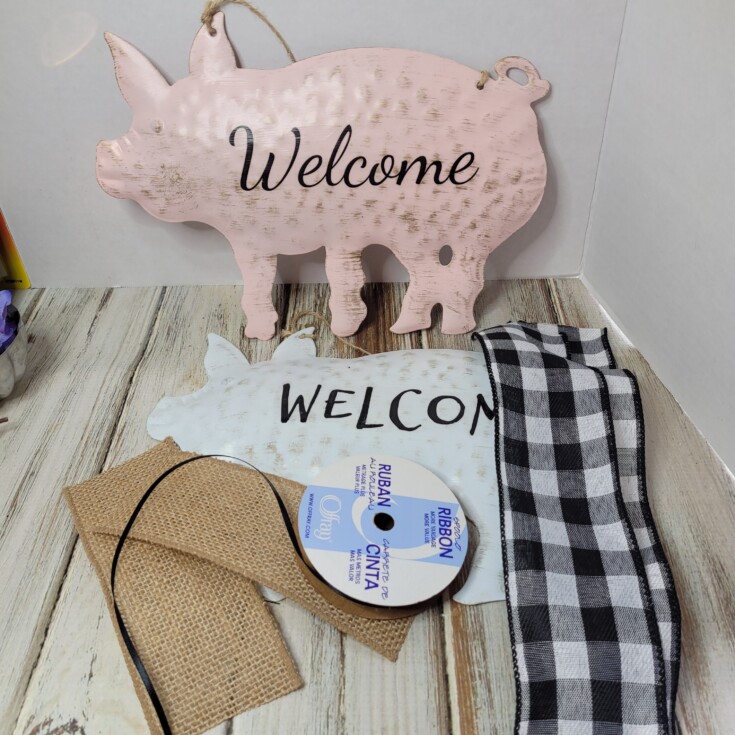
Supplies for Welcome Signs
Metal Pigs
Reverse prints or stencils
Mod Podge
Paint Brush
Wide burlap ribbon
Buffalo plaid ribbon
Dollar Tree Signs
First, I went to Pic Monkey and made two different welcome fonts, reversed them, then printed them out.
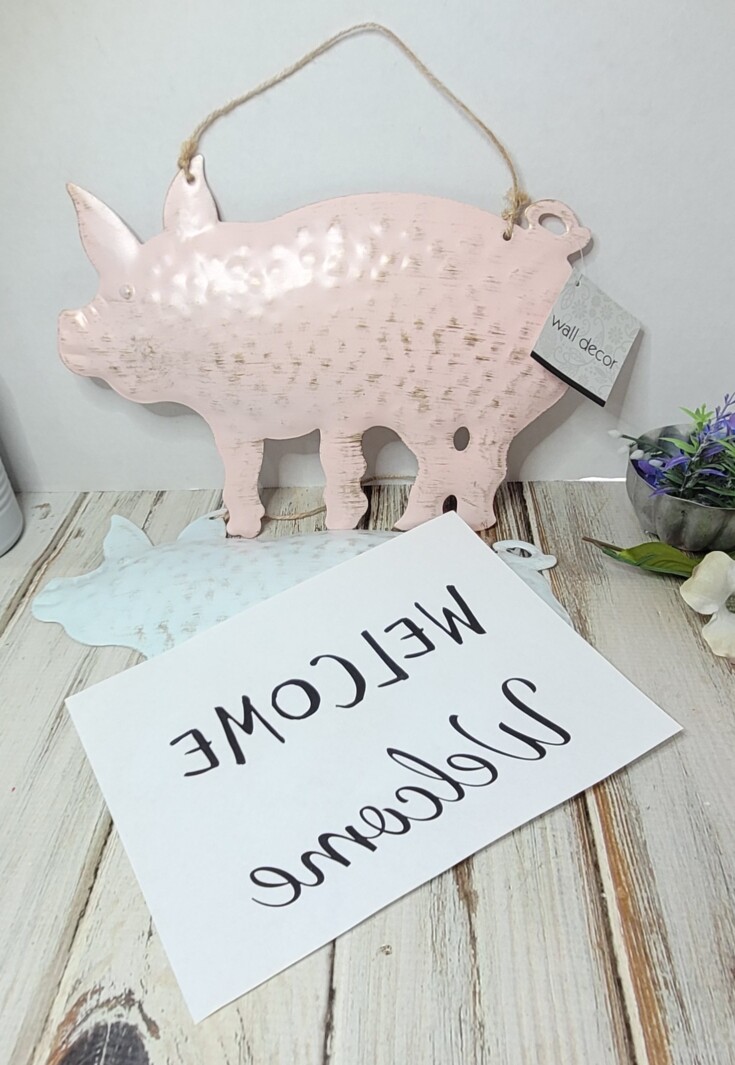
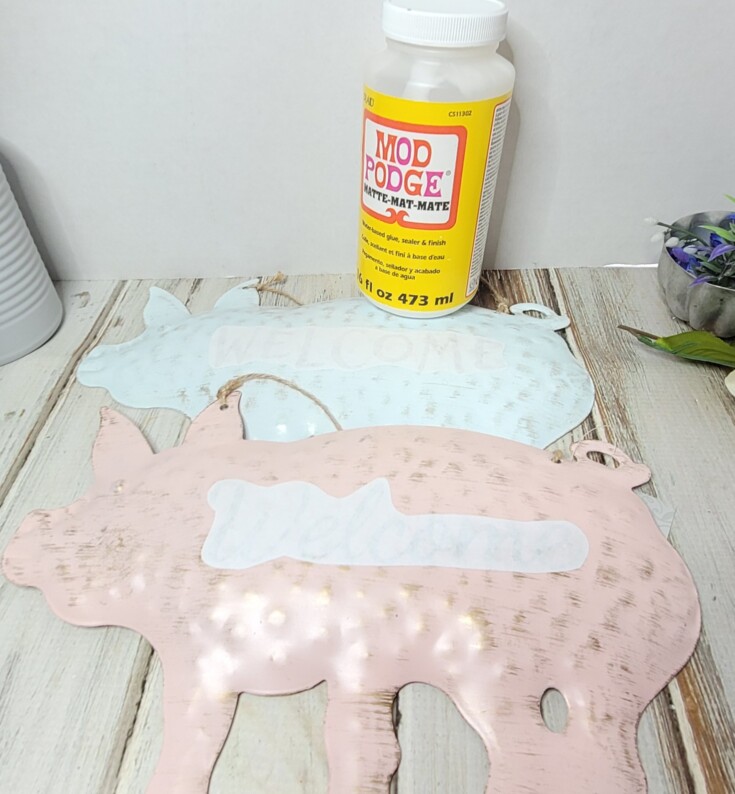
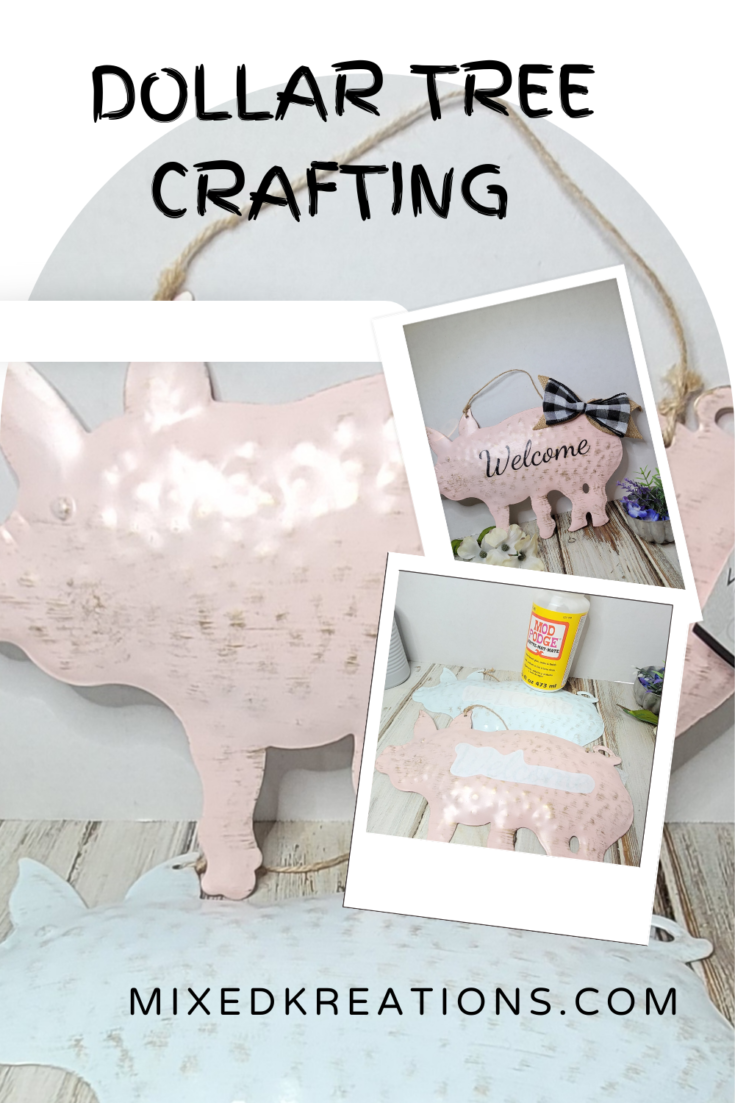
Then cut out each welcome print, and add a light coat of Mod Podge to the inked sides and placed them onto the Dollar Tree metal pigs, pressing them down and working out any bubbles or wrinkles.
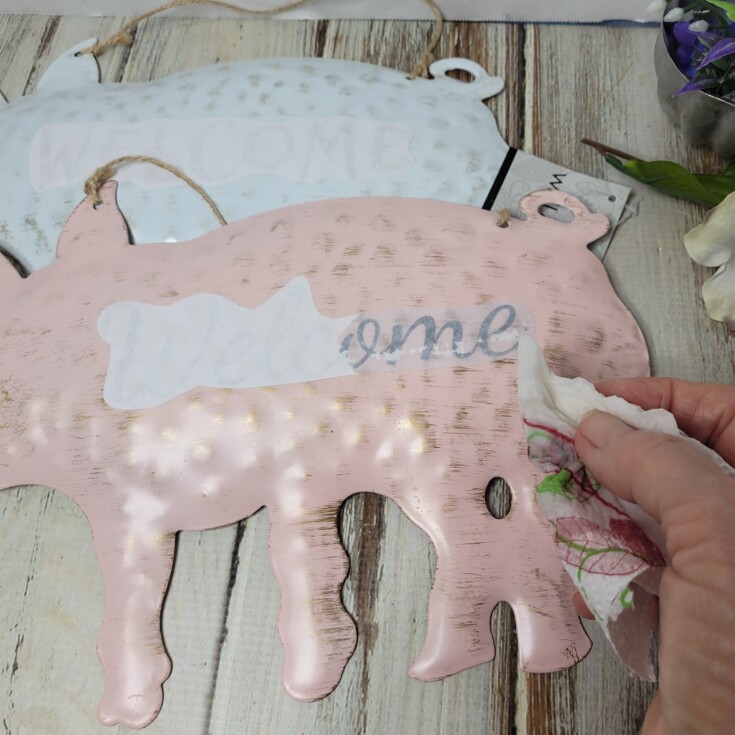
Once dry dampen the back of the prints and rub gently to remove the paper backing leaving the words welcome showing through.
Add a coat of Mod Podge for protection on these cute Welcome Signs. If you don’t have a laser printer to make reverse prints you could either freehand or stencil the welcome on the signs.
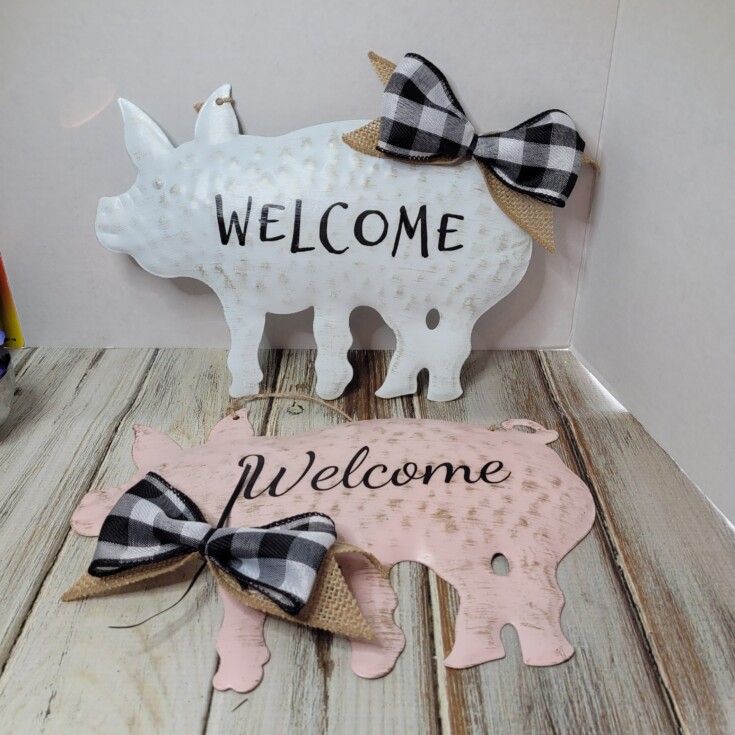
Last thing I did for these Dollar Tree Welcome Signs was to add a bow made from burlap ribbon, and a black and white buffalo plaid ribbon.
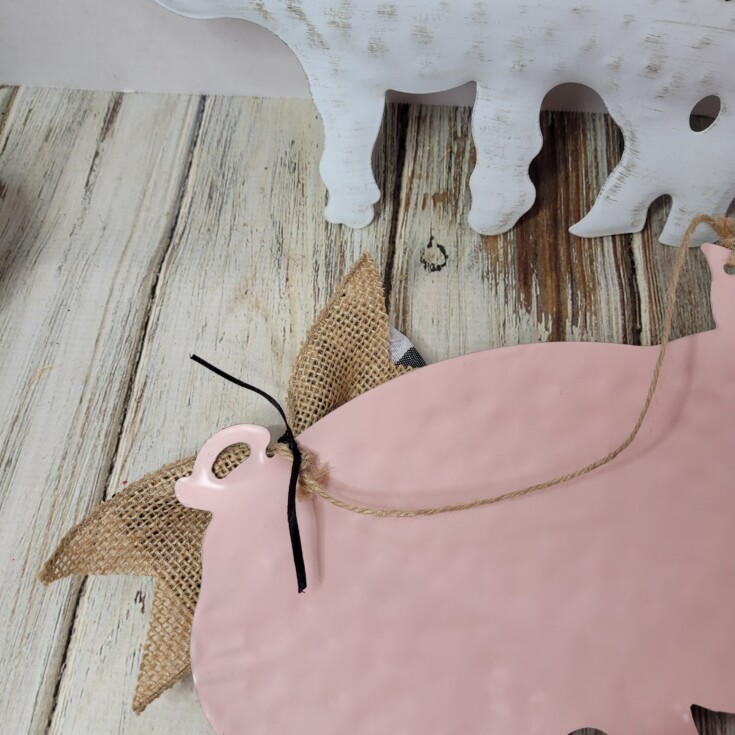
Which I attached by tying it on the back of each pig, and that’s it!
Like I said super quick and easy. Aren’t they the cutest welcome sign?
More Fun Signs
Chippy chair back welcome sign
Family photo display sign
Small laser reverse transfer signs


Leave a Reply