Hi all! Today I am excited to share these decorative wood hang tags. One of the many projects that I’ve made using my laser printer for transfers. I know that I’ve said it before, but I am will say it again. I am loving this laser printer image transfer technique! And Pic Monkey makes it so easy to make my wording using different fonts then reversing the prints to mirror image. Just be glad when I start to remember to reverse the image before printing it out, so I don’t have to go back and print it out again. LOL
***This post contains affiliate links… We are a participant in the Amazon Services LLC Associates Program, and affiliate advertising program designed to provide a means for us to earn fees by linking to Amazon.com and affiliated sites at no extra charge to you. Please read my full advertising disclosure for more info. Thanks so much for your support!***
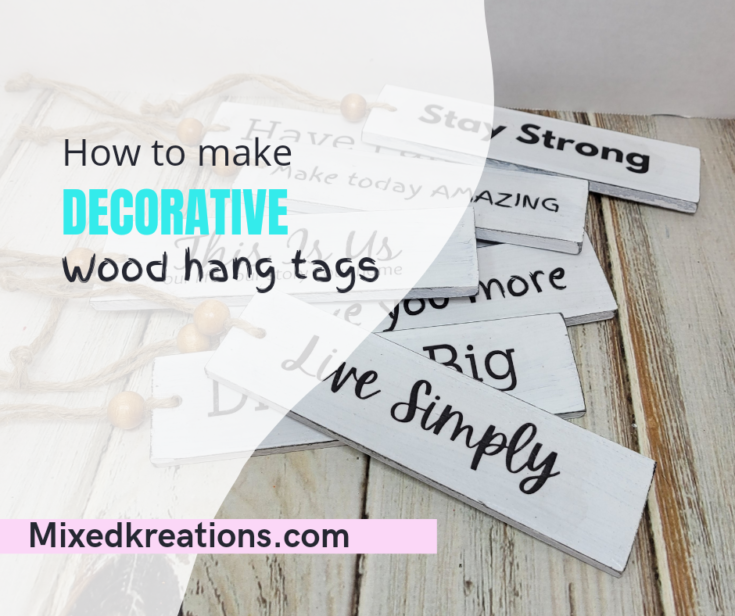
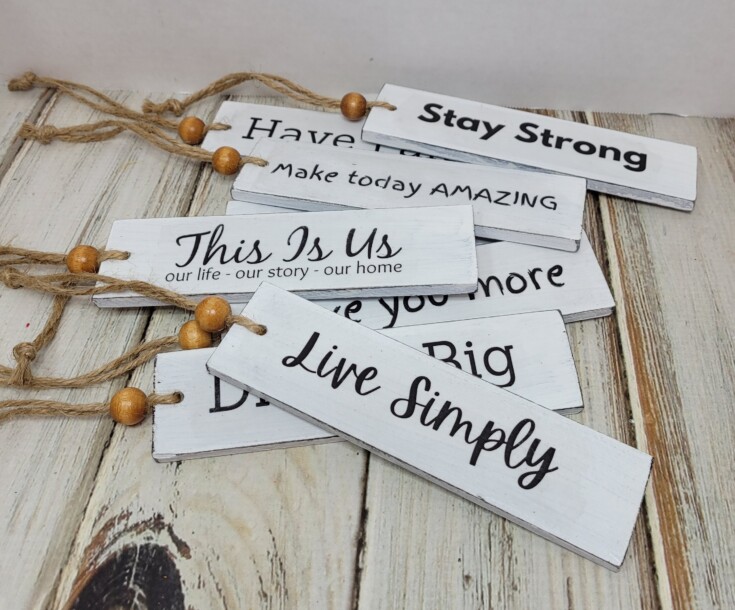
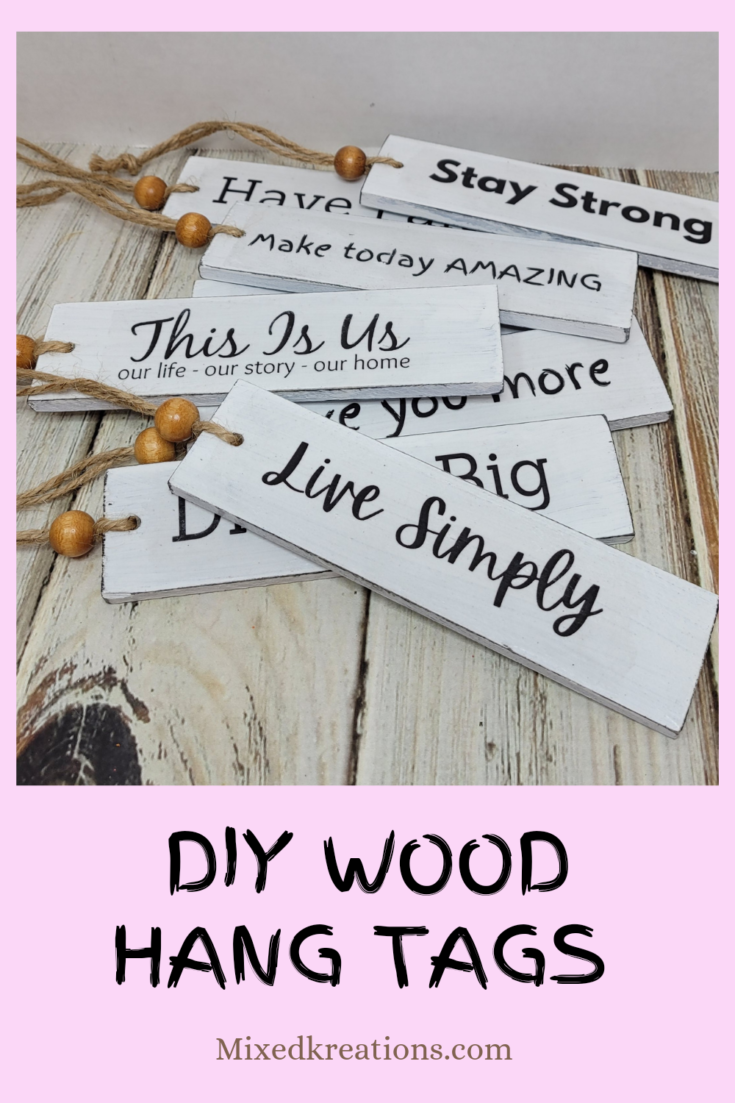
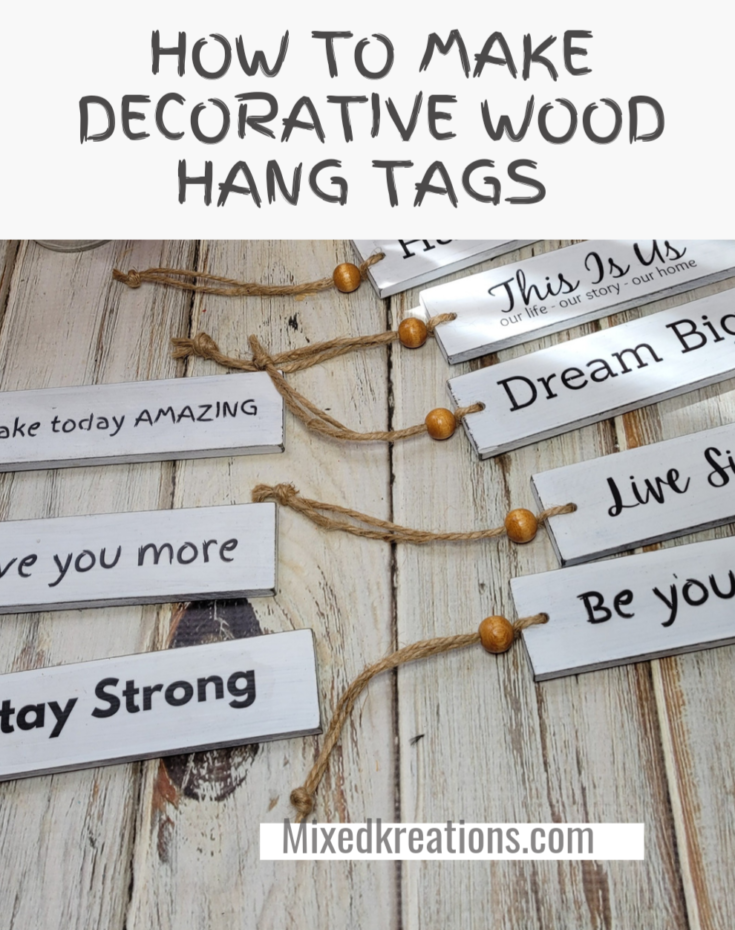
Decorative Wood Hang Tags
Let’s get started by cutting the decorative wood hang tags out to the size you would like. These here are 6” long 1 ½” wide and ¼” thick. Home Depot sells smaller pieces of craft wood as thin as ¼” thick and widths. These are perfect because all you need to do is cut the lengths and sand the edges. The rest has already been sanded smooth.
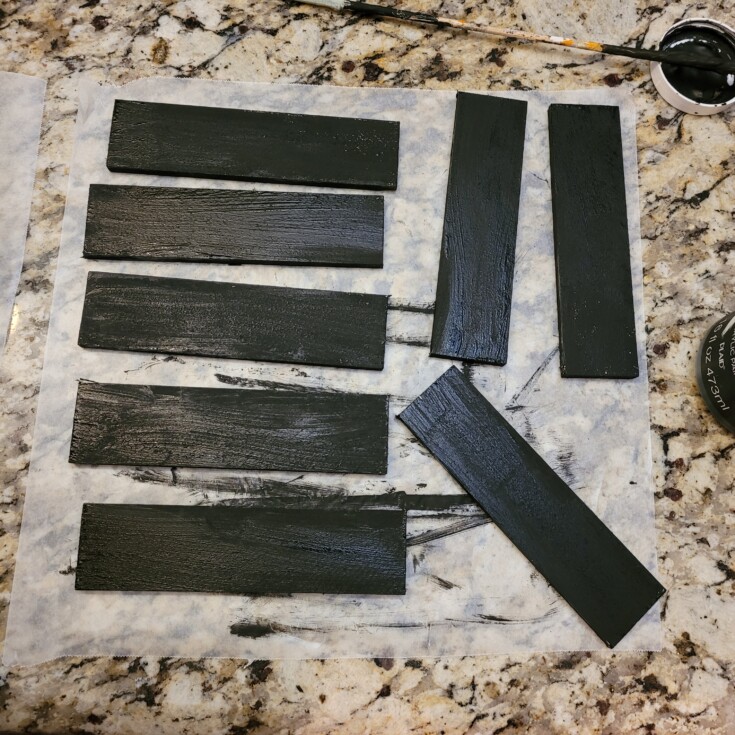
Give each hang tag a coat of black chalk paint.
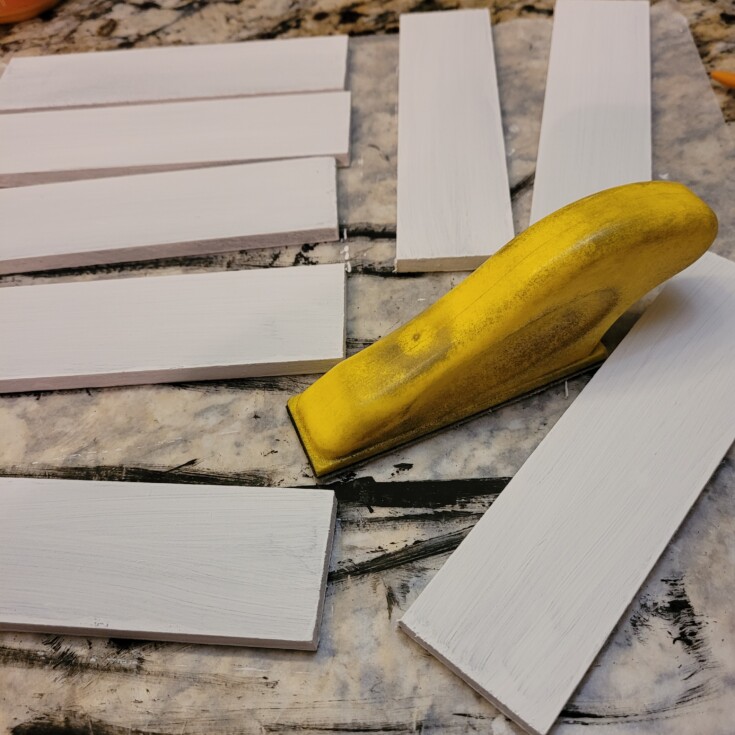
Now go back and give each piece a coat of white chalk paint. Let dry then go back and sand the edges to let some of the black show through.
Using my laser printer and Pic Monkey I made my sayings in the fonts that I liked. I was able to get four or five different saying on a page depending on the size of the fonts chosen. I probably could have gotten more if I moved them closer together. Created by using the blank canvas in the size of standard printer paper, 8 ½” by 11”. That way I am able to kind of gauge the size they will turn out to be.
Once I had them like I wanted I reversed them to the mirror image and printed them out.
Then cut them out to fit the decorative wooden hang tags.
Add a light coat of Mod Podge and place on to the tags face down and smooth out. Let dry thoroughly!
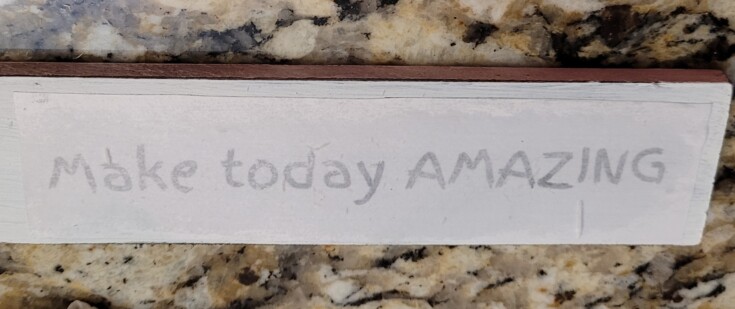
To remove the paper backing slightly dampen the paper till you can see the words showing through. Then gently start rubbing the paper off till the transfers are left showing. Don’t rub to hard or you will rub the words off.
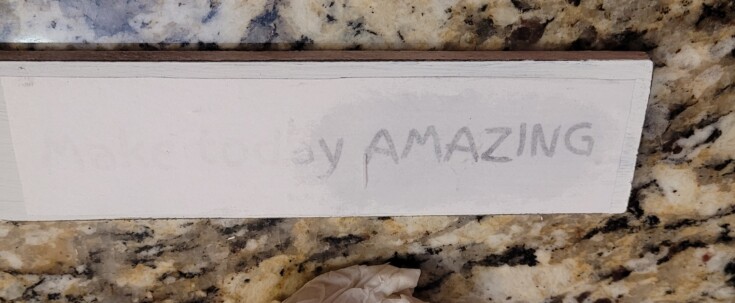
Add one or two coats of Mod Podge to seal and protect.
Drill holes in the end of each tag and add a wooden bead and jute to hang by. That’s is for these fun decorative wood hang tags!
Supplies for Decorative Wood Hang Tags
Wood ¼” x 1 ½” x 6”
Black chalk paint
White chalk paint
Paintbrush
Mod Podge
Jute 11” pieces
Wood Beads
Drill
Finger sander
Laser Printer
More Fun Printer Transfer Projects
Day’s til Christmas countdown
Fall is in the air pumpkin sign
Reversible fall decor
These are super cute. I would like to make more homemade crafts at some point.
Hi Carol! I’ve kind of got hooked on the image transfers. Hope you can start crafting more real soon. Good therapy.