Hi All! I’ve been a very busy girl lately. Lot’s going on! Working in my garden when time permits. Trying to get more of my crafting projects done. Work is picking up (people are getting tired of sitting at home). But the best part of being a busy girl is “I have about 1 ½ months more of my day job then I will be retired. YAY!!! I hadn’t planned on retiring till the end of next year so I have been scrambling to get all my retirement paperwork filled out and turned in. And boy there is a lot to learn and papers to fill out. It’s all turned in and is now on the last step to go through. I’m almost there. Did I say YAY!!! This is why I’m late with posting my rustic photo display. Once retired I will be able to get back on a regular posting routine. But I’m here now so let’s get with it!
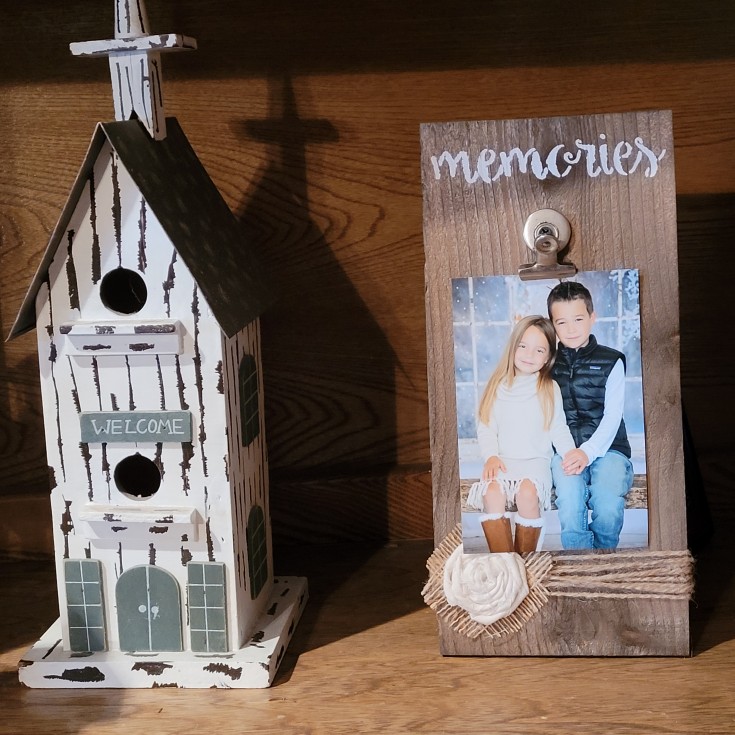
[tweetthis display_mode=”box”]How to make a Rustic photo display out of scrap Wood #DiyPhotoDisplay[/tweetthis]
Rustic Photo Display
Start off with a board approximately eight inches.
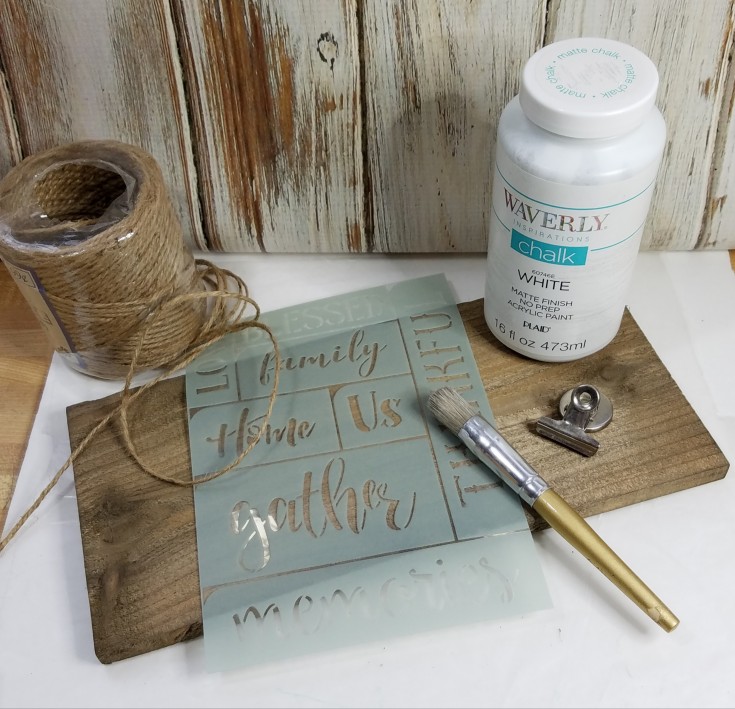
I used some water-based gel stain on my board because I was using a leftover piece of cedar fencing and I didn’t want my photo display reddish in color.
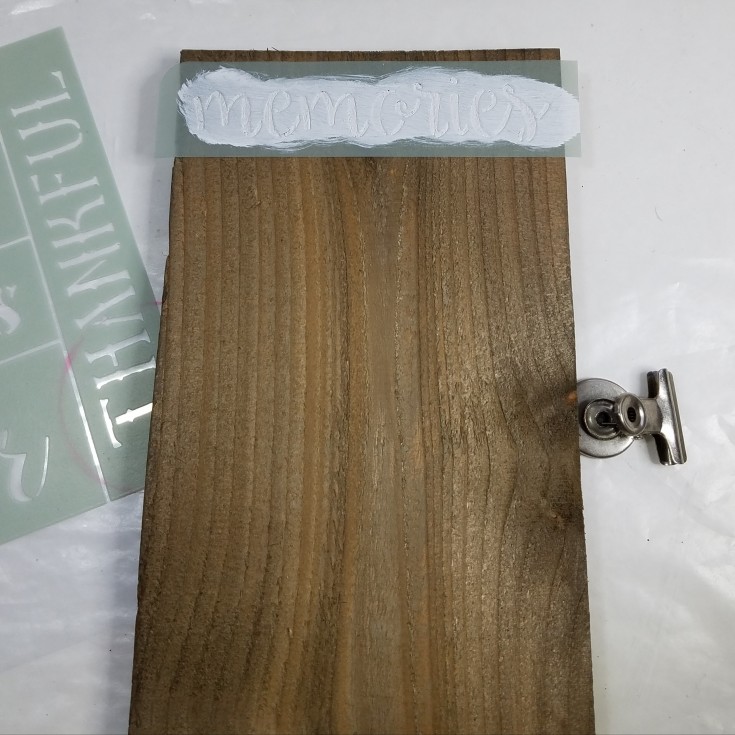
Next stencil memories at the top of your board.
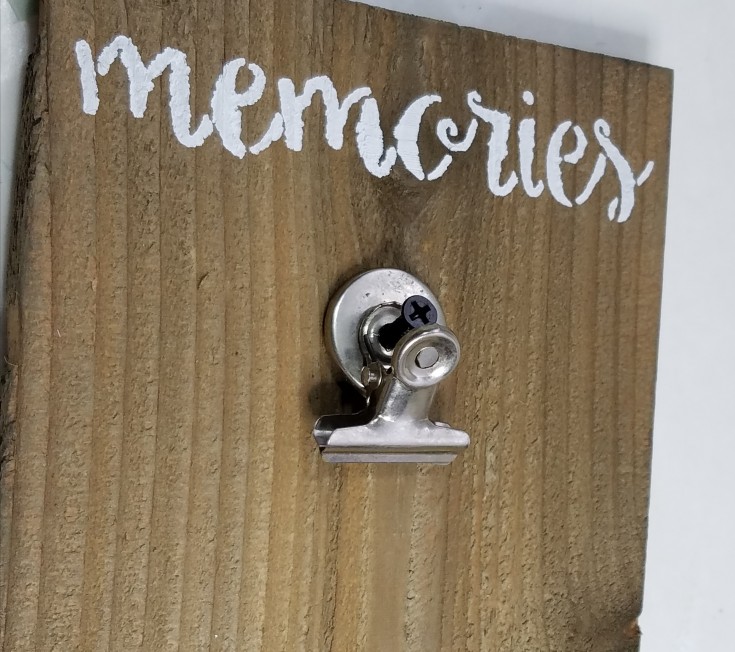
Once dry take the magnet out of the magnetic clip so that it can be attached with a screw to the front of the rustic photo display just under memories.
After I attached the clip I got to thinking the clip wasn’t even needed. A corner of a photo could have been tucked into the jute and held that way. So either way will work, just depends on if you want the clip or not.
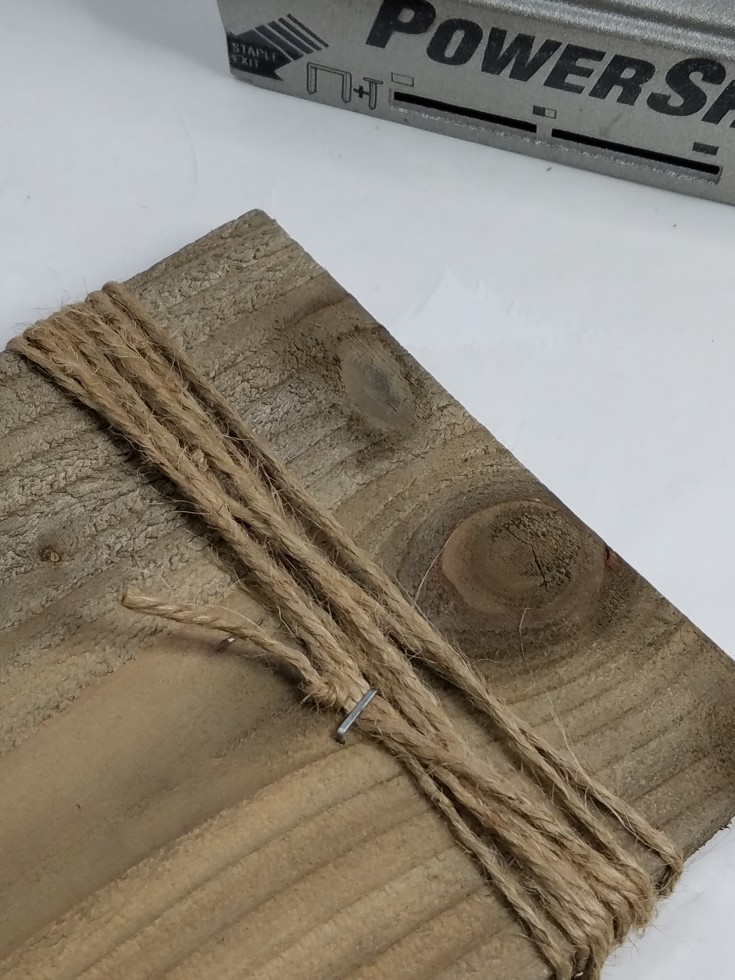
Then wrap some jute around the bottom of the photo holder and staple it on the back with a heavy stapler.
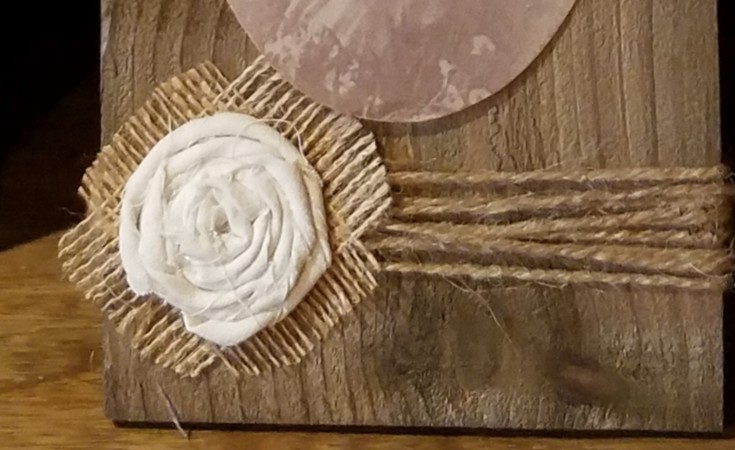
The flower and burlap were hot glued on the lower front on top of the jute. (Tutorial for the burlap and fabric flower).
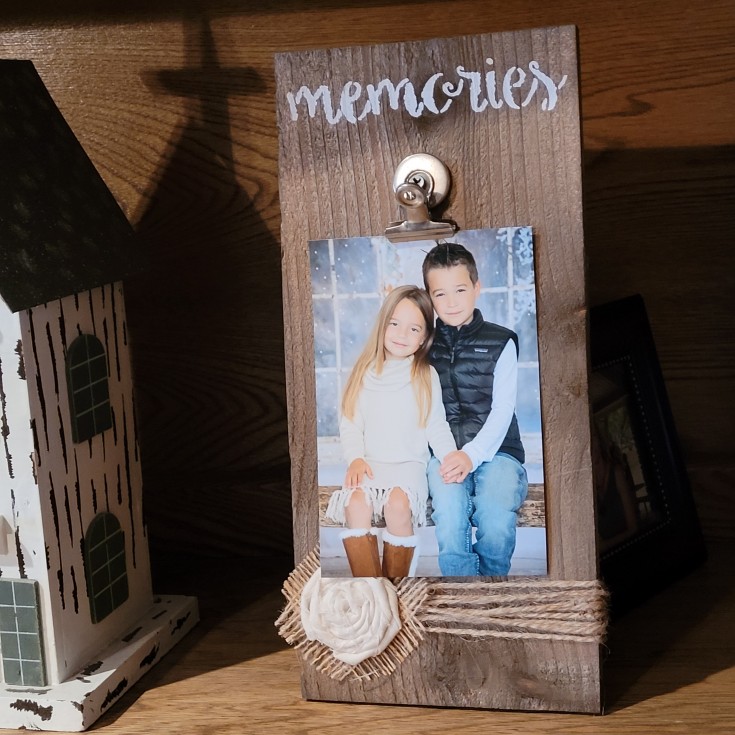
All that’s left to do on this simple rustic photo display is to find a favorite photo and attach it. That’s it! Easy Peasy!
***This post contains affiliate links… We are a participant in the Amazon Services LLC Associates Program, and affiliate advertising program designed to provide a means for us to earn fees by linking to Amazon.com and affiliated sites at no extra charge to you. Please read my full advertising disclosure for more info. Thanks so much for your support!***
Supplies for Photo Display
Wood
Stencil of choice
Jute
Hot Glue
Staple Gun
Burlap
Fabric scrap
Wood Screw
Magnetic clip (minus the magnetic)
Water-based gel stain (I found mine at Michael’s)
More Fun Photo Display
How to make a mini photo display
How to make a rustic photo display
Chevron photo block
How to make a family photo display sign
Repurposed shutter photo display
Cutting board and rusty grater photo display
Happy almost retirement, Linda 😀 For me, that’s really good news. I so missed seeing your projects on the blog, so here’s another YAY!!!! And I love how your rustic little photo display turned out. Are those your grandbabies?
Thanks Michelle! I Can’t wait till the day! YAY! I feel bad that I haven’t been posting much I miss it too. The grandbabies are good and once retired I will be able to see them more often. YAY!
This is beautiful! I love the rustic look.
Thank you Brittany!
This is so cute! What a great little clipboard, you could use it for anything. Congratulations on your upcoming retirement!
Thanks Danielle! I am sooo looking forward to the day.
This is so simple but really lovely. Very creative. Can I ask, did you make the house in the picture too?
Thanks! No I did not make the house, I’ve had it a while
Wow, this is s easy and simple way to make rustic photo display. I really enjoy this reading. thank you for sharing it.
Thank you Elan! I am glad that you enjoyed the post. Thanks for stopping by!