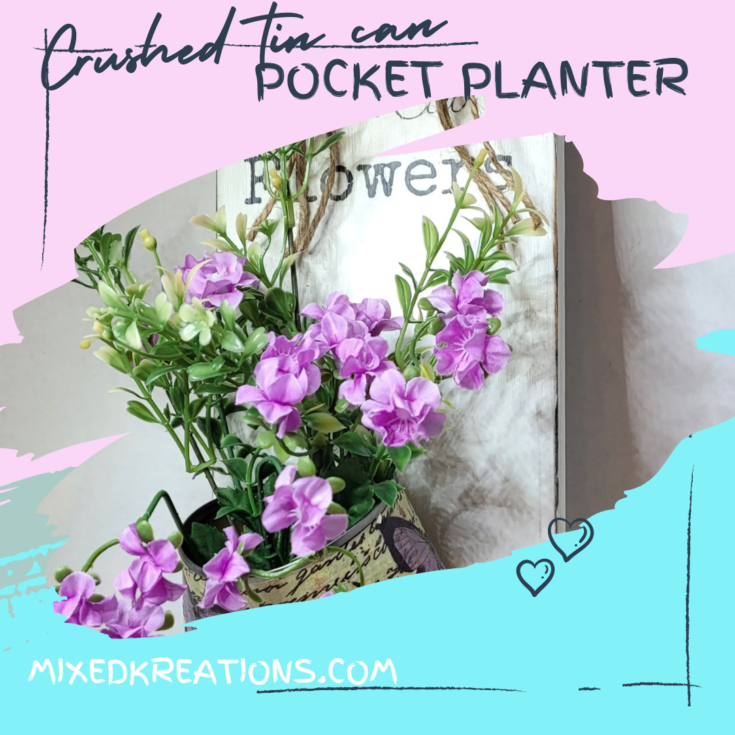
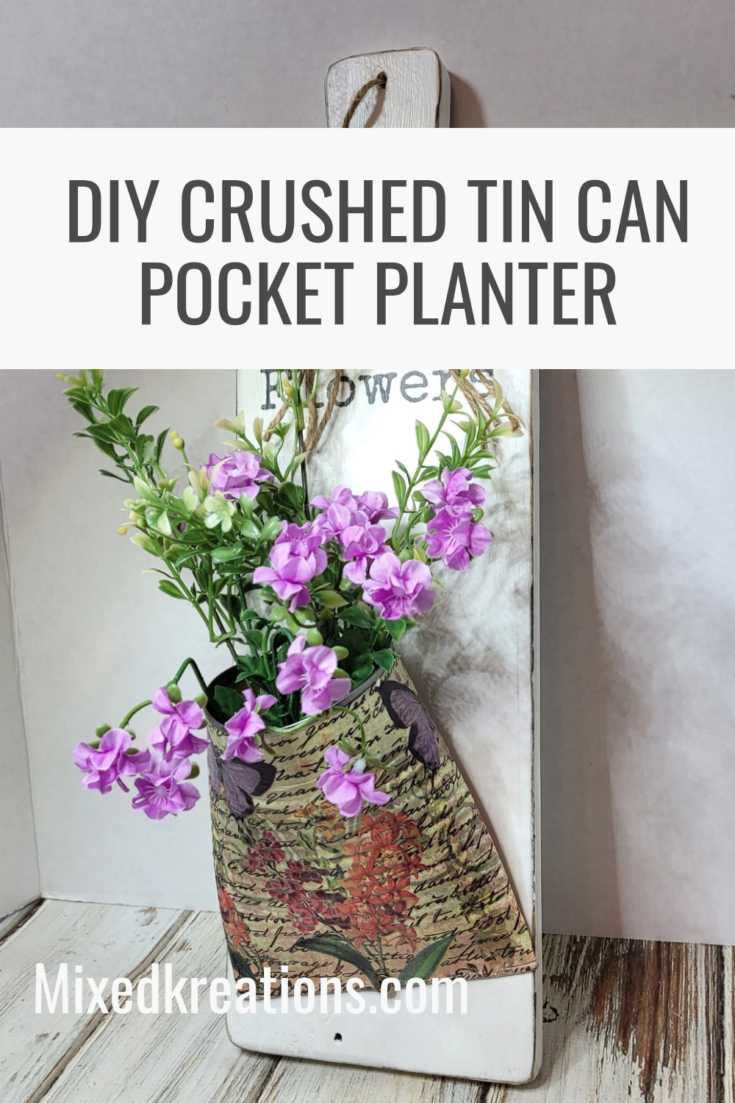
Hi all! Today’s project is a crushed tin can pocket planter that I am making for a good friend of mine. My friend seen the cutting board funnel planter that I had made, and absolutely loved it and wanted it. But that one I was keeping for myself. So, I decided to make another one for her but was unable to find another medium size vintage funnel, so I improvised. I’ve seen a lot of the crusted tin can pockets floating around on the web, and have been wanting to give them a try. So now that’s settled let’s get started.
***This post contains affiliate links… We are a participant in the Amazon Services LLC Associates Program, and affiliate advertising program designed to provide a means for us to earn fees by linking to Amazon.com and affiliated sites at no extra charge to you. Please read my full advertising disclosure for more info. Thanks so much for your support!***
Supplies for Crushed Tin Can Pocket
Tin can
Wood cutting board
Two-ply paper napkin
Mod podge
Paintbrush
Reverse image or stencil
Scissors
Hole punch
2 small screws
Twine
Craft sander
Flower sprigs
Vice
Screwdriver
Diy Crushed Tin Can Pocket Planter
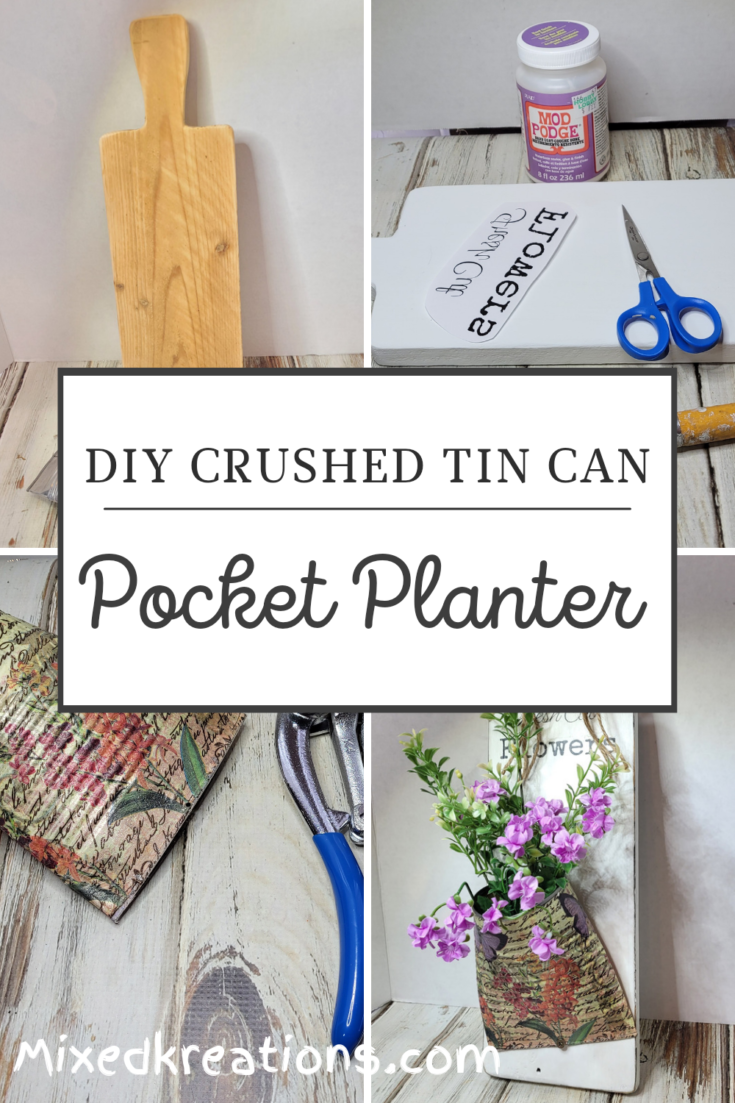
Not having another cutting board like I used in the other projects I just traced around the other and cut it out with a jig saw.
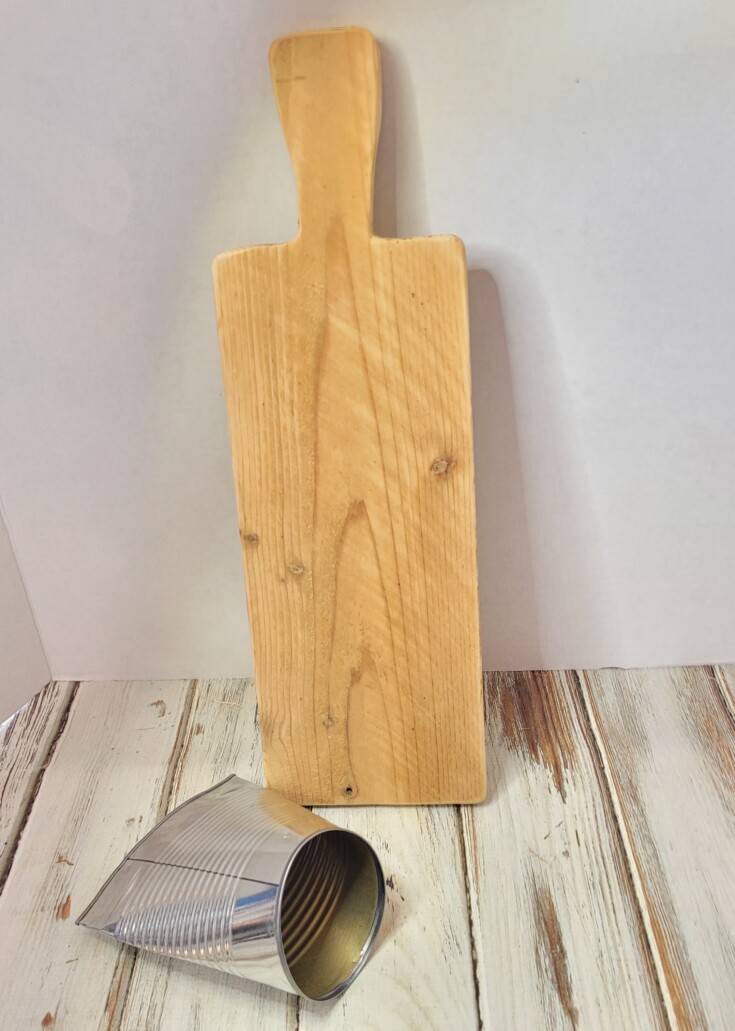
Giving it a good sanding and rounding the edges and corners.
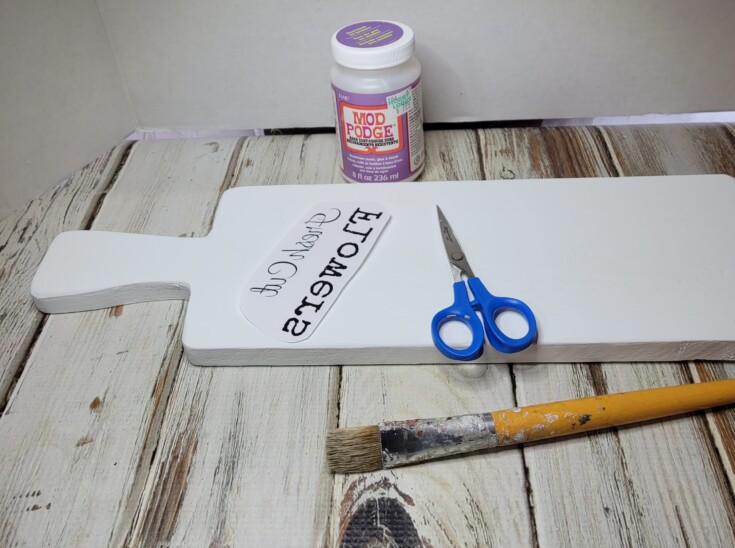
Next, I gave it two coats of white chalk paint, and set it aside to dry.
For the crush tin can pocket I took a tin can with the top and bottom both cut out. Then I crushed one end of the can the best I could with my hands then put the crushed end into a vice. Tightening the vice to crush the bottom of the can the rest of the way. Moving it to each side to crush the whole bottom of the can.
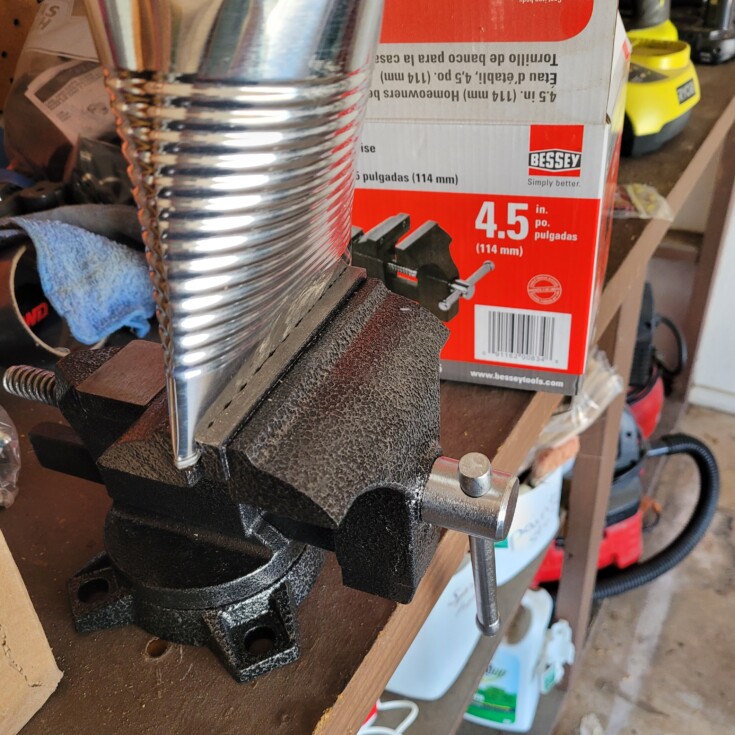
When I got done there was still a small gap. Not sure if the bottom supposed to be folded over or what to completely close the gap. But for my crushed tin can pocket planter that will be connected to a cutting board a screw will work to finish closing the gap. For a free hanging tin can pocket I bet the bottom needs to be folded over to close the gap. I will have to look into that!
Now for the decoupaged can I used a 2 two-ply napkins and removed the back of the napkins, and cut out the patterns. Starting on one side of the can I added some Mod Podge to the can a little at a time and smoothed on the napkin gently so not to tear it. Working slowly around the can until it’s completely covered.
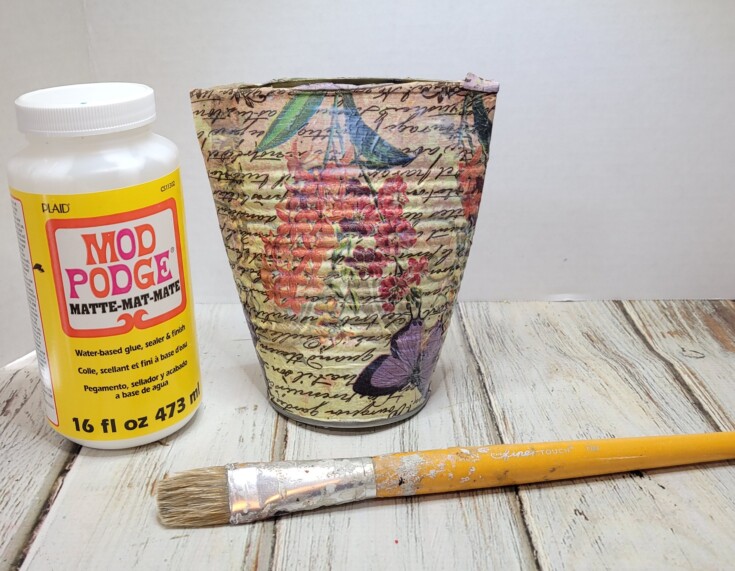
Adding another coat of Mod Podge over the top of the napkin for protection.
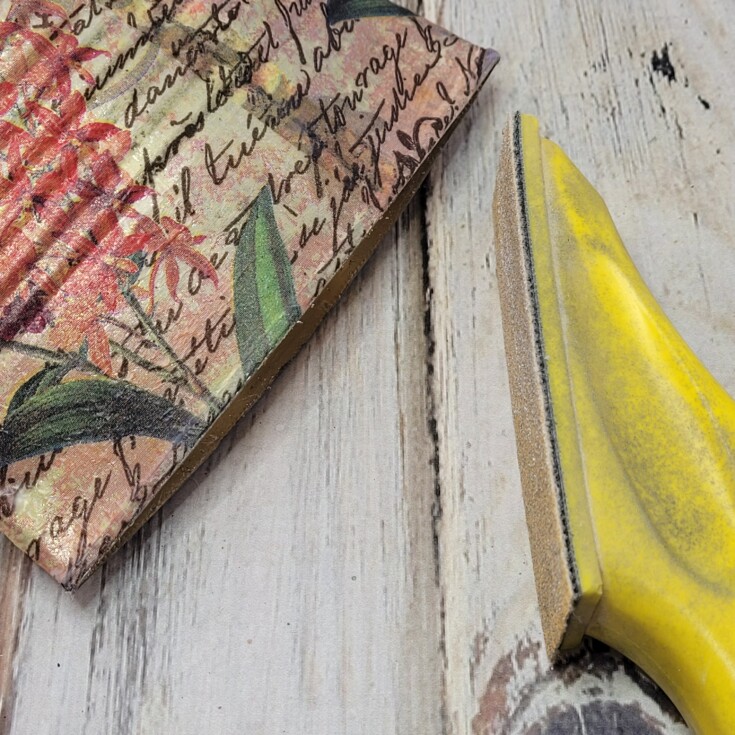
Once dry use a craft sander on the top and bottom edges to remove any overlapping napkin.
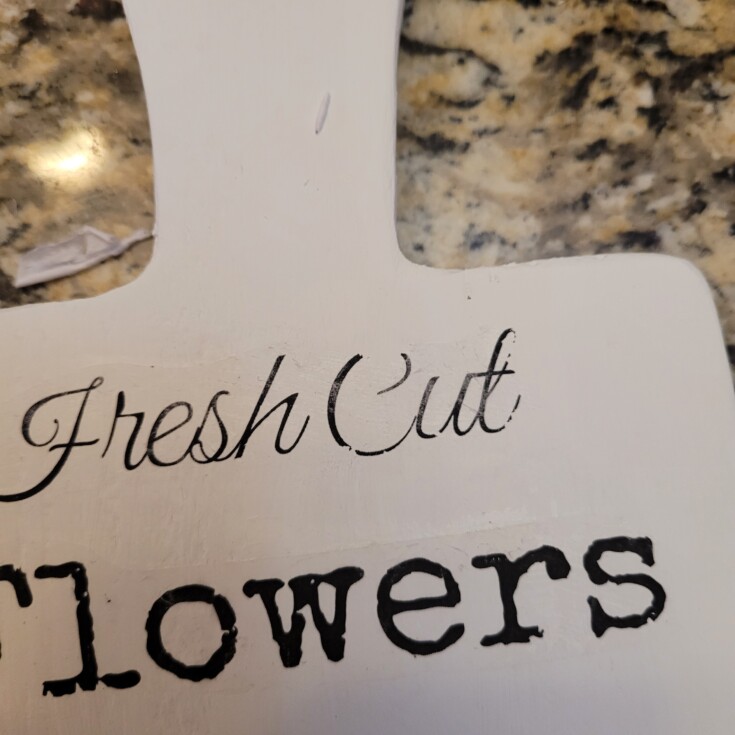
Back to the cutting board. Either use a laser printer reverse image and Mod Podge or a stencil to add the words Fresh Cut Flowers. I use the reverse image transfer technique.
Use a metal hole punch to punch a hole in the top of one side of the crushed tin can pocket planter.
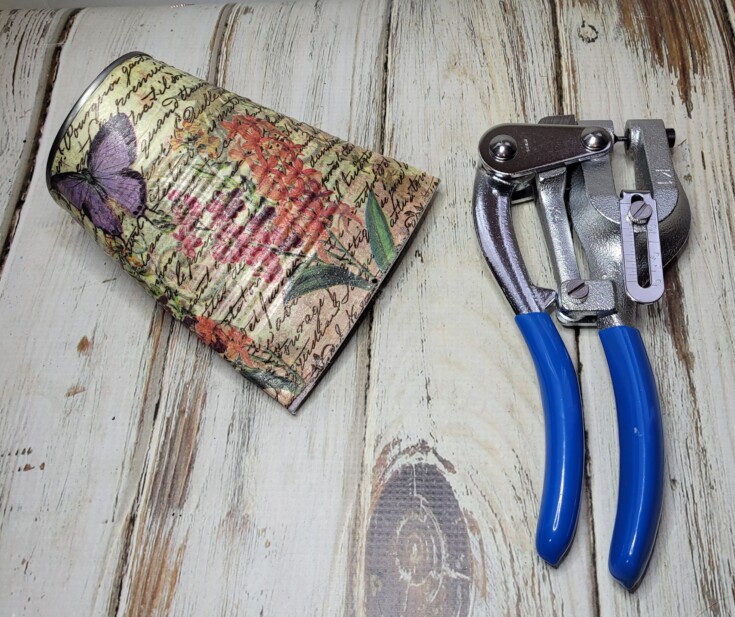
On the bottom of the can punch a hole through both sides lining the holes up.
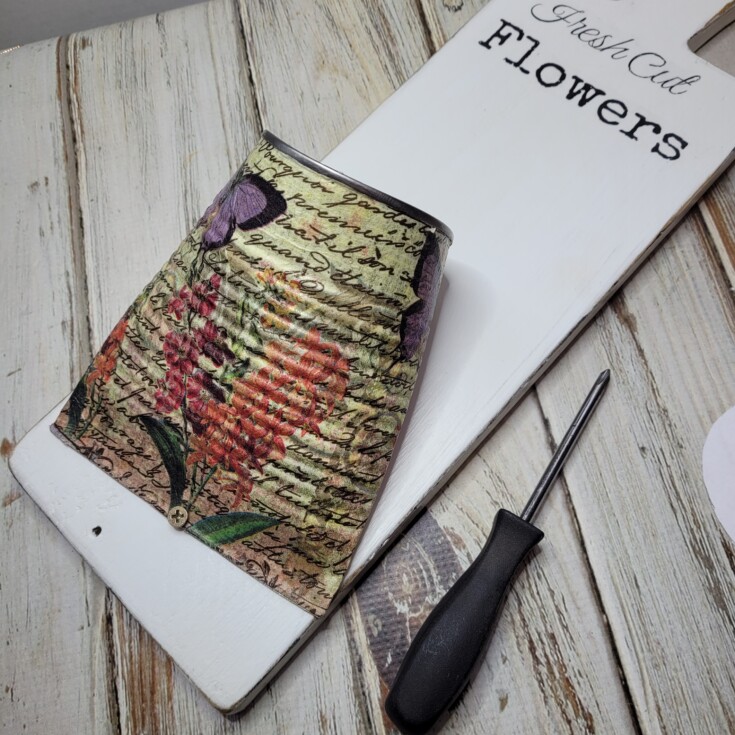
Attach the tin can pocket to the cutting board with two small screws and a screwdriver.
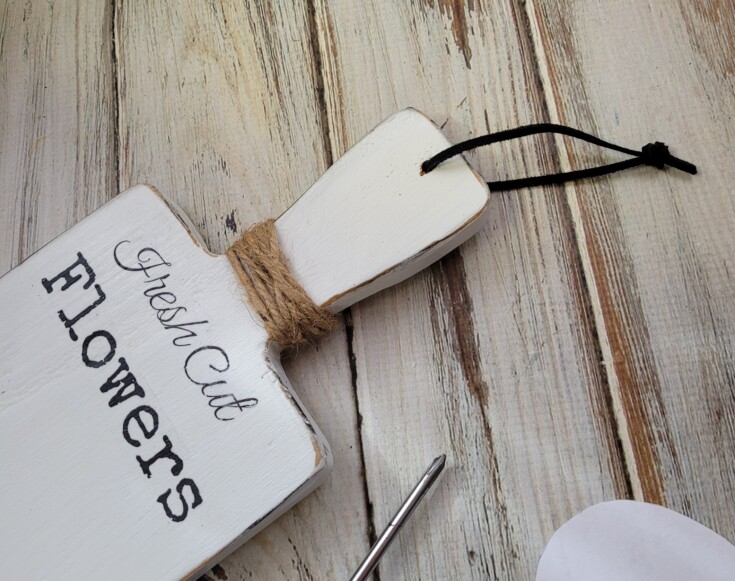
Wrap twine around the handle of the cutting board.
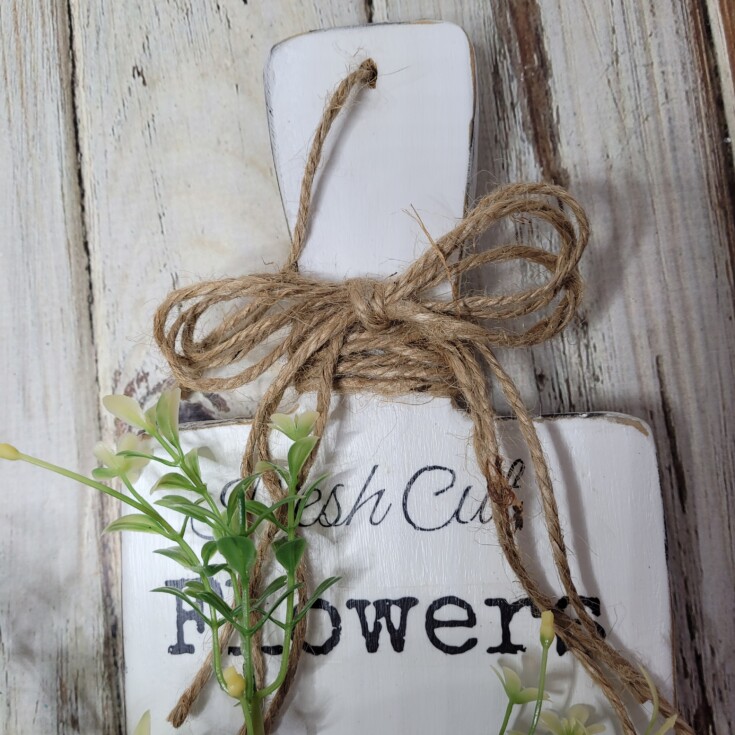
Then make a twine bow and hot glue it on the handle above the twine.
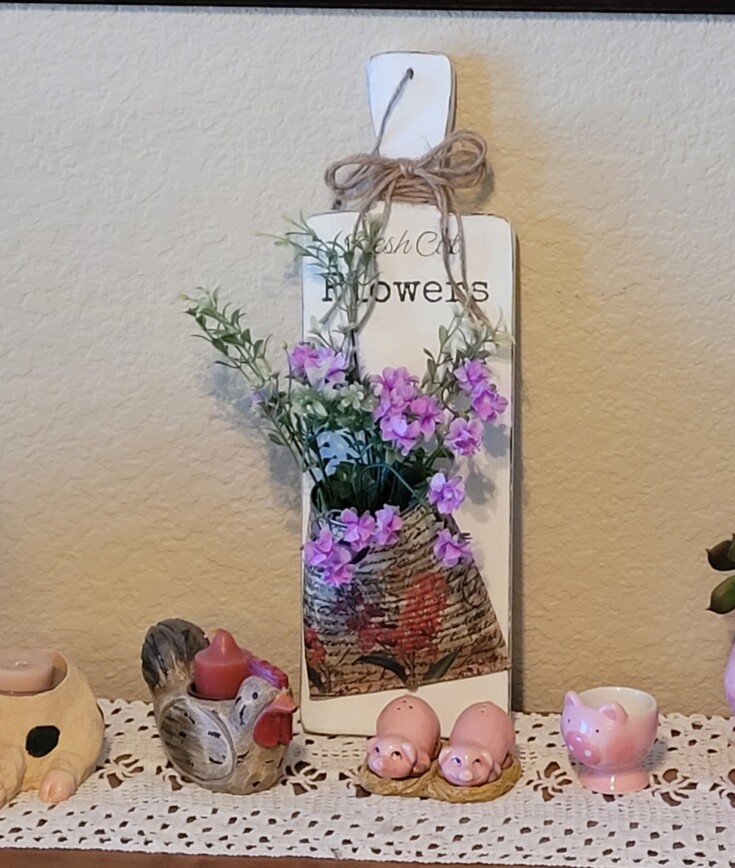
Add the faux flower sprigs to the crushed tin can pocket planter. That’s it for this super cute home décor project, and my friend loved it. I think even more than the one I had made with the vintage funnel.

More Fun Tin Can Projects!
Decoupaged Tin Cans
Red White Blue Upcycled Cans
Upcycling Cans into Wind Clankers
Diy Grungy Can
Such a cute planter. I may want to make one of these as well.
Thanks Carol! I think I will be making some more soon.
One day I will learn how to mod podge like a pro. You make it look so easy, Linda. Mine would be a bubbly, torn mess.
I highly doubt that Michelle. Everything you make is amazing. Mine isn’t perfect but I just look at it as any tear as rustic.